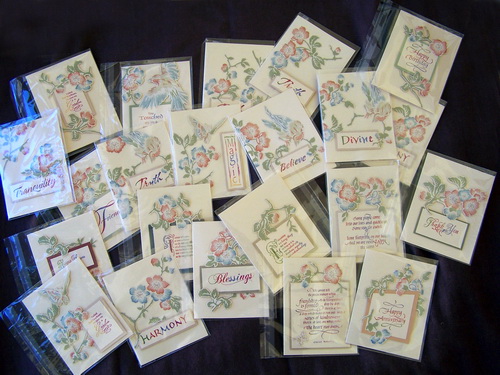
Create 100 Handmade Cards quickly and easily with 2 yards of wallpaper, some colored scraps of card stock or paper, stamps, ink pads, 50 pieces of card stock.
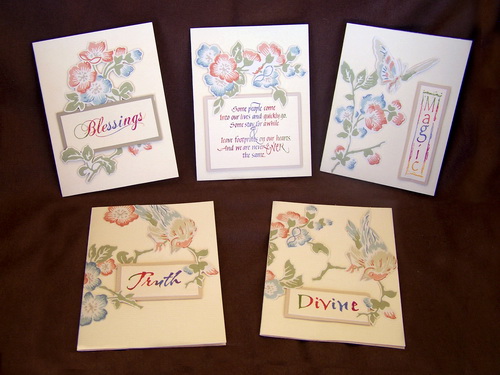
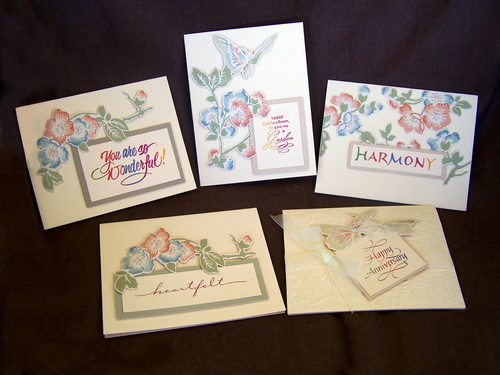
Some of the verbiage was used on more than one of these 100 handmade cards, but each card’s layout and design is slightly different. Every handmade card is beautiful and will be a joy to send.
Please note: This post contains affiliate links. If you use these links and make a purchase, we earn a commission at no extra cost to you…
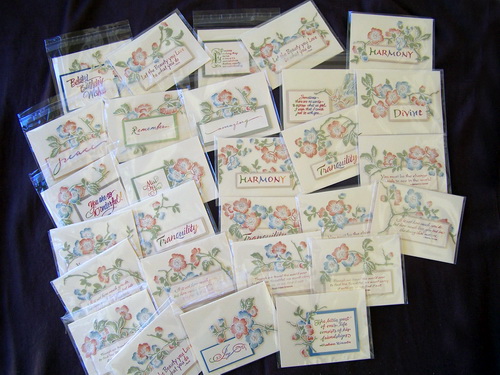
I send out 30 to 50 handmade cards a month, mostly Thinking of You, Get Well, etc., so most of these cards are of that genre.
Step One:
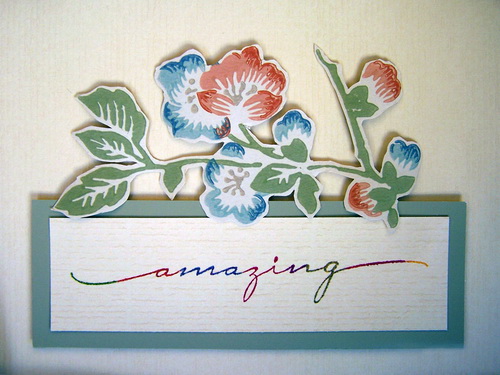
Rough cut all of the elements from the wallpaper. (Note; it is much easier to cut the intricate designs when they are in smaller sections.) Cut the incomplete designs from along the edge of the wallpaper, too. Close cut all of the designs leaving a tiny border of the background color around each design. Where it is obvious, cut the designs into smaller segments.
Step Two:
Use the Kaleidacolor ink pad and various stamps to stamp your messages onto the scraps of cream card stock scraps. Layer the stamped messages onto the colored scraps leaving an approximate 1/8” border.
Step Three:
Add small pieces of foam tape or dots to the back of all stamped & layered pieces.
Step Four:
Cut the 50 pieces of card stock in half, fold and score to create 100 A2 sized (4 ¼” x 5 ½”) cards.
Step Five:
Use the die cutting machine and the folder to emboss some or all of the cards.
Step Six:
Die cut some of the tiny butterflies from the background scrap.
Assemble the cards:
Place the stamped verbiage onto the card (do not attach yet), lay sections of the cut wallpaper segments around the verbiage until you are happy with the layout.
Place tiny pieces of foam tape or dots where needed on the back of the segments.
Remove the backing from the tape and attach the verbiage and the wallpaper segment to the card front.
Add a tiny dot of ZipDry adhesive to the parts that overlap the verbiage.
Add some of the tiny die cut butterflies. Repeat for all of the cards.

Supplies:
- Vintage Wall Paper, 2 yards
- 50 sheets of cream-colored card stock (the wallpaper background color)
- Scraps of the cream-colored card stock to stamp
- 100 envelopes (I like to use the clear envelopes so that my postman can enjoy the cards too)
- Scraps of card stock, paper and paint chip samples to match the colors in the wallpaper
- Tsukineko Kaleidacolor™ Flannel Ink pad (the colors matched the colors in the vintage wallpaper)
- Various verbiage stamps
- ZipDry Adhesive, foam tape or dots
Tools:
- Westcott Paper Cutter
- Westcott Scissors
- Several yards of cream-colored ½” sheer ribbon
- Embossing folder with similar design of the wall paper
- Spellbinders Die Cutting Machine
- Tiny Butterfly Die
- Scor-Pal (I just got the new 1/8” version and love it!)
For more Quick & Easy Handmade Cards check these out:
- Detachable Shaker Ornament Easel Card
- Glitter & Bling Ornament Card
- Easy Die Cut Christmas Card
- Halloween Slimline Shaker Card
- Interactive Venetian Blind Card
- Fancy Fold Diamond Enclosure Card
- Magical Fairy Fun Interactive Card
Project Created by Design Team Member Michele Emerson

Wonderful project Michele! Great way to re-purpose items.
Thanks Carmen……….they were fun to create!
Love and light,
Michele
Michelle, you did such a beautiful job on these cards – I have these same stamps, and can’t wait to try this technique out! Awesome project!
:) Molly
Greetings Molly,
I have so many “favorite” stamps and this was a great way to use some of them.
love and light,
Michele
So lovely and easy to make! Thanks for great post!
Greetings,
With mailing out about 50 cards a month….these get me through a couple of month…..YEA!
Love and light,
Michele
Wonderful tutorial, Michele. Thank you
Greetings,
Thanks for the compliment. I t is so nice to have it all come together…..smile.
Love and light,
Michele