I enjoy creating quick and easy projects that look like they took much longer then they did! These Easy Die Cut Christmas Cards are just that project…
Please note: This post contains affiliate links. If you use these links and make a purchase, we earn a commission at no extra cost to you…
You will be able to whip these up in an afternoon and have them ready to send out for your Christmas Cards this year! The hardest part is deciding on the colors…my new paper line Festive Lights from Emerald Creek is simply luscious!

Step One:
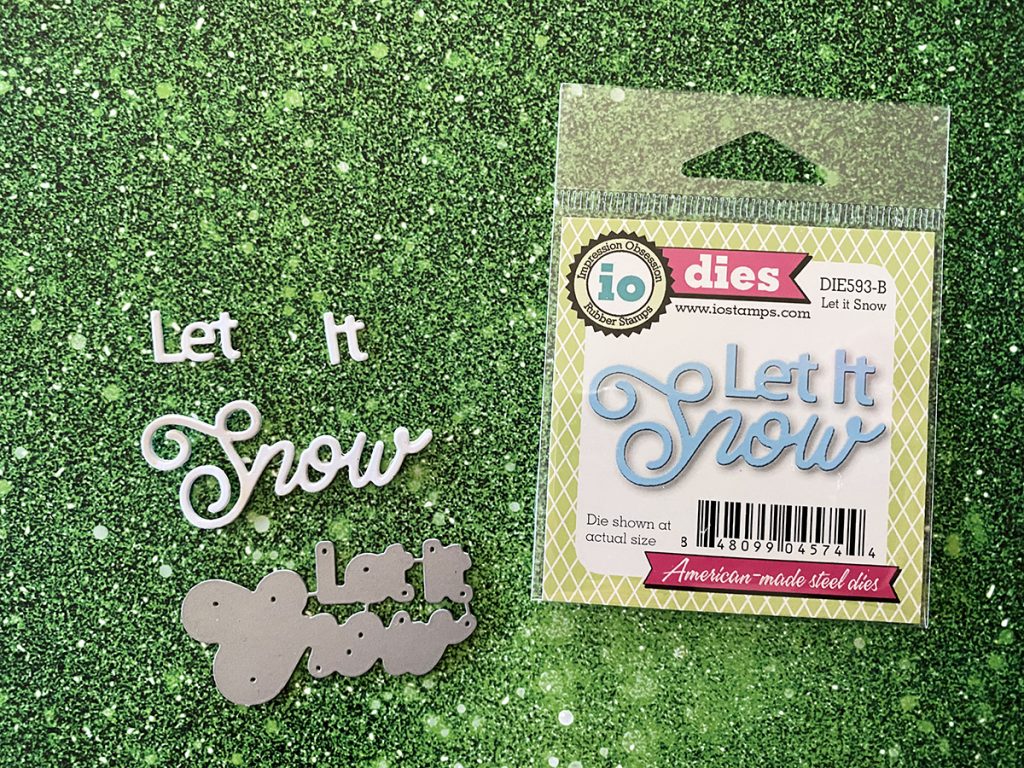
Die cut “let is snow” several times with white cardstock, layer these together to add depth.
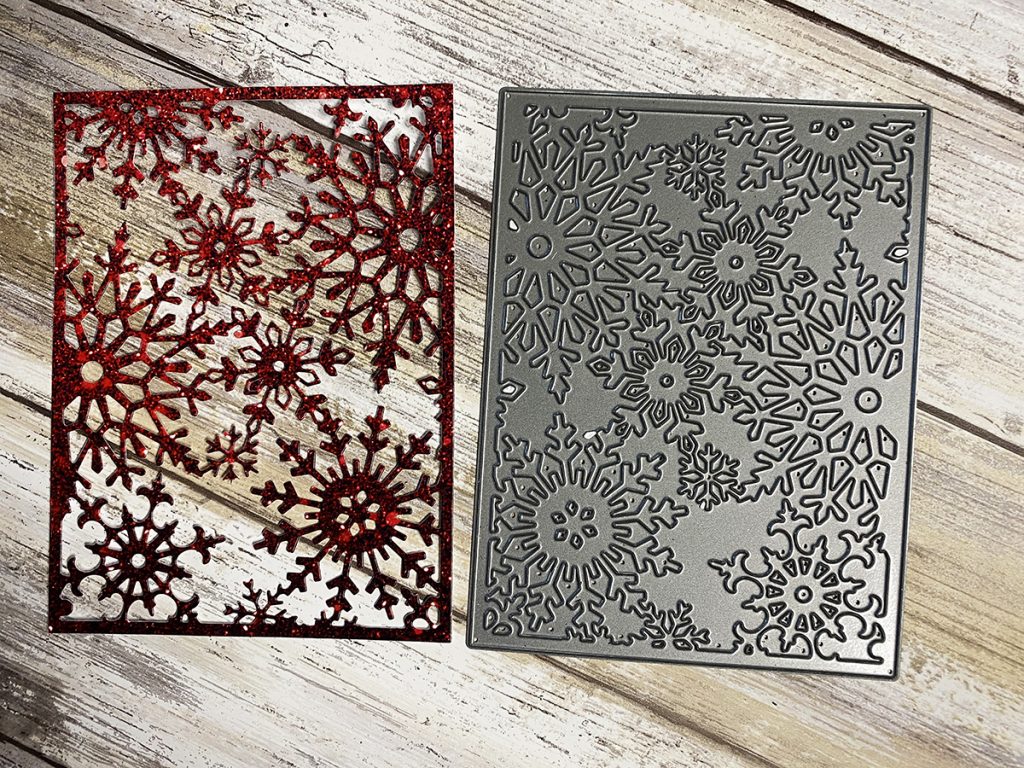
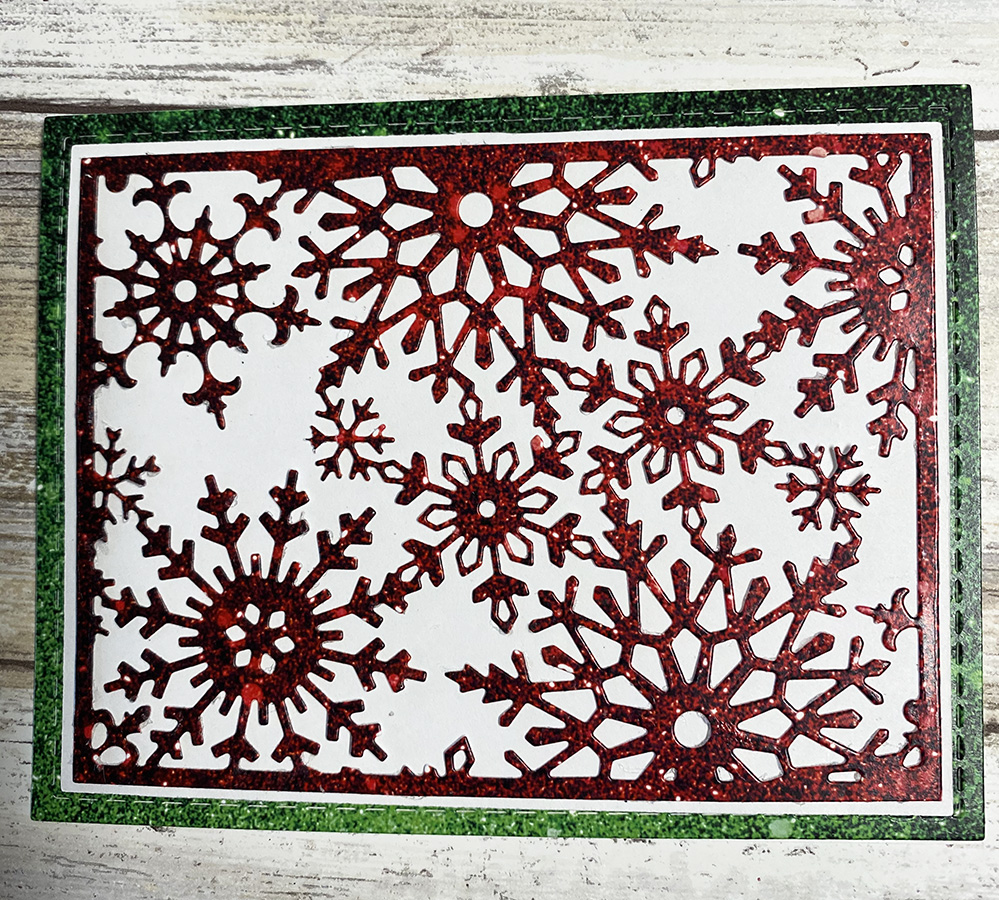
Then, die cut the snowflake background in red of Festive Lights cardstock, or color of your choice.
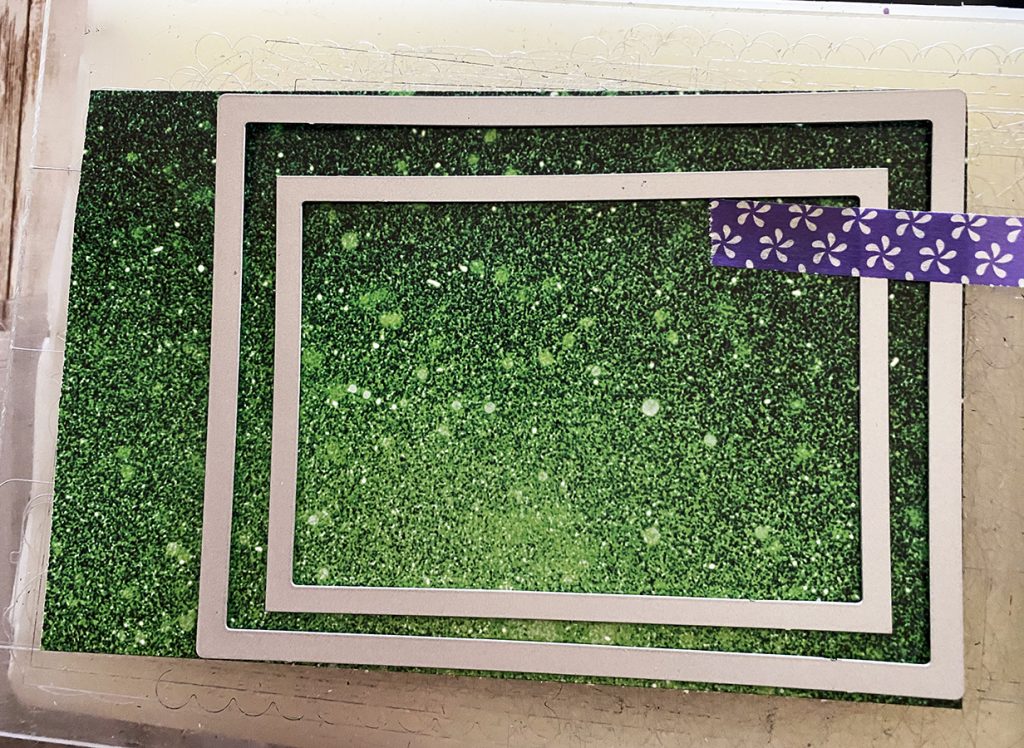
So as not to waste any of your green Festive Lights cardstock, use two nested dies to cut the background, then you will have the inside for another project.
Step Two:
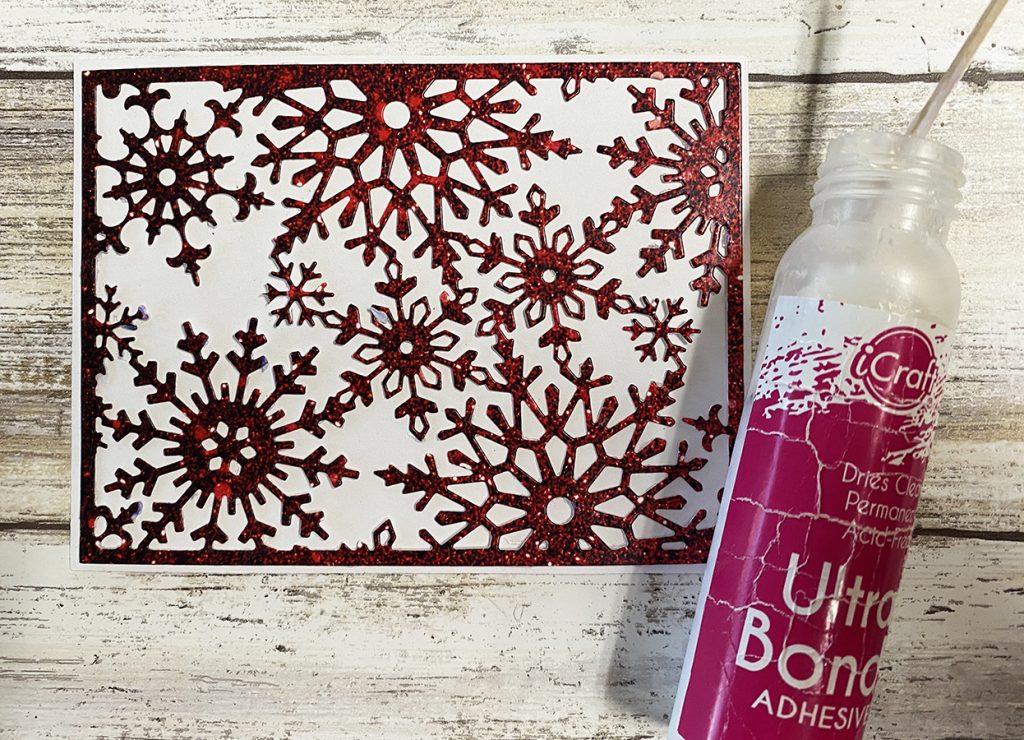
Center and attach the snowflake die cut to a piece of white cardstock, approximately 4″x5 1/4″.
Step Three:
Adhere the snowflake piece to the die cut Festive Lights green, 4 1/4″x5 1/2″. Then attach to an 2A card base.
Step Four:
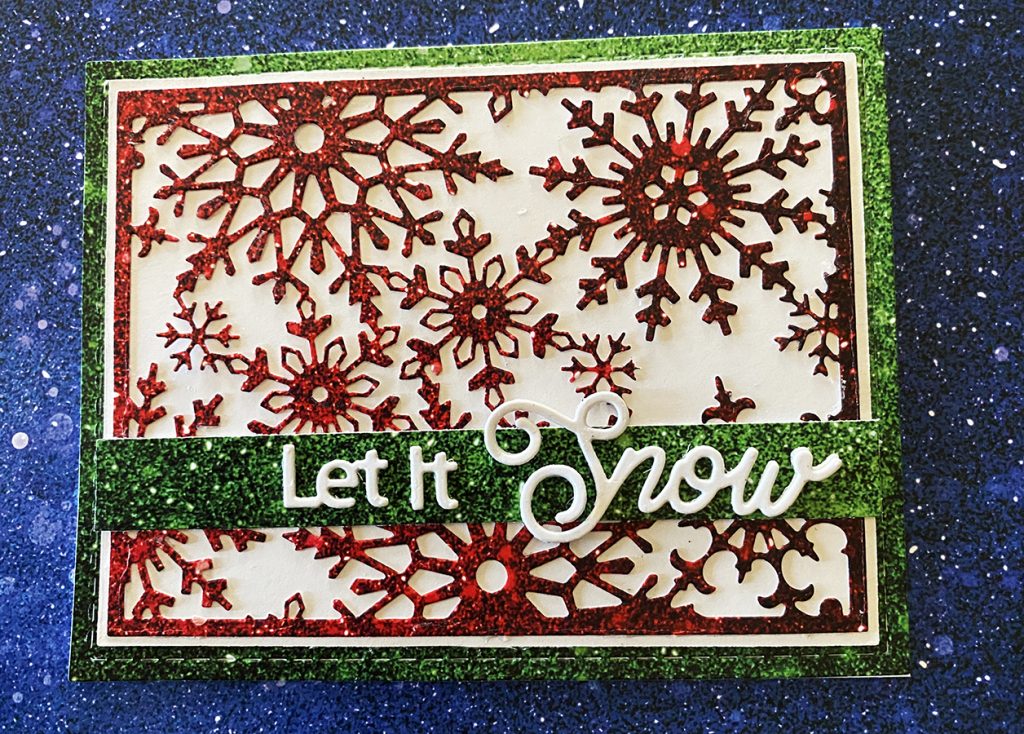
Cut a piece of Festive Lights green approximately 1/2″x5 1/4″ and glue it to the front of the card as shown.
Attach the “Let it Snow” onto the front as shown.
When creating your Easy Die Cut Christmas Card…play around with the colors of the Festive Lights Cardstock! You will love all of the choices!
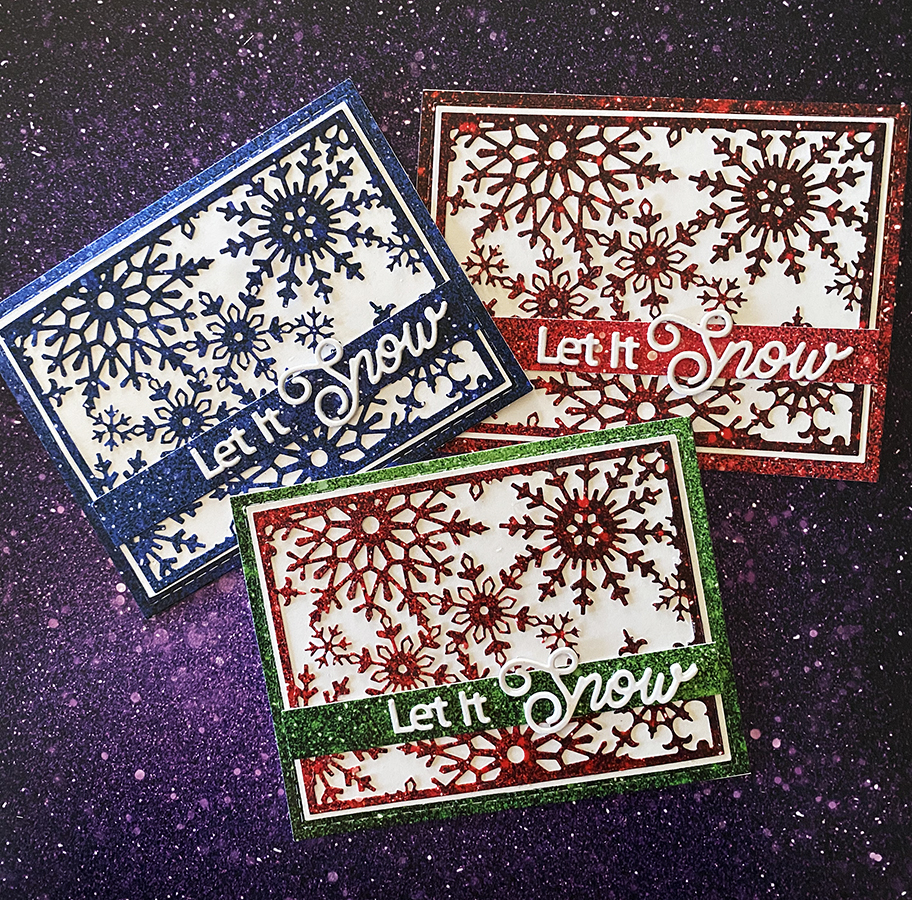
Here is a PIN if the Easy Die Cut Christmas Card to share!
Supplies for an Easy Die Cut Christmas Card
- Ann Butler’s Festive Lights Cardstock: Red, Green
- Snowflake Die by Impression Obsession
- Let it Snow Die from Impression Obsession
- Cardstock, White
- Ultra Bond by ThermoWeb
- Sizzix Big Shot
- Paper Trimmer
- Scissors
Trackbacks/Pingbacks