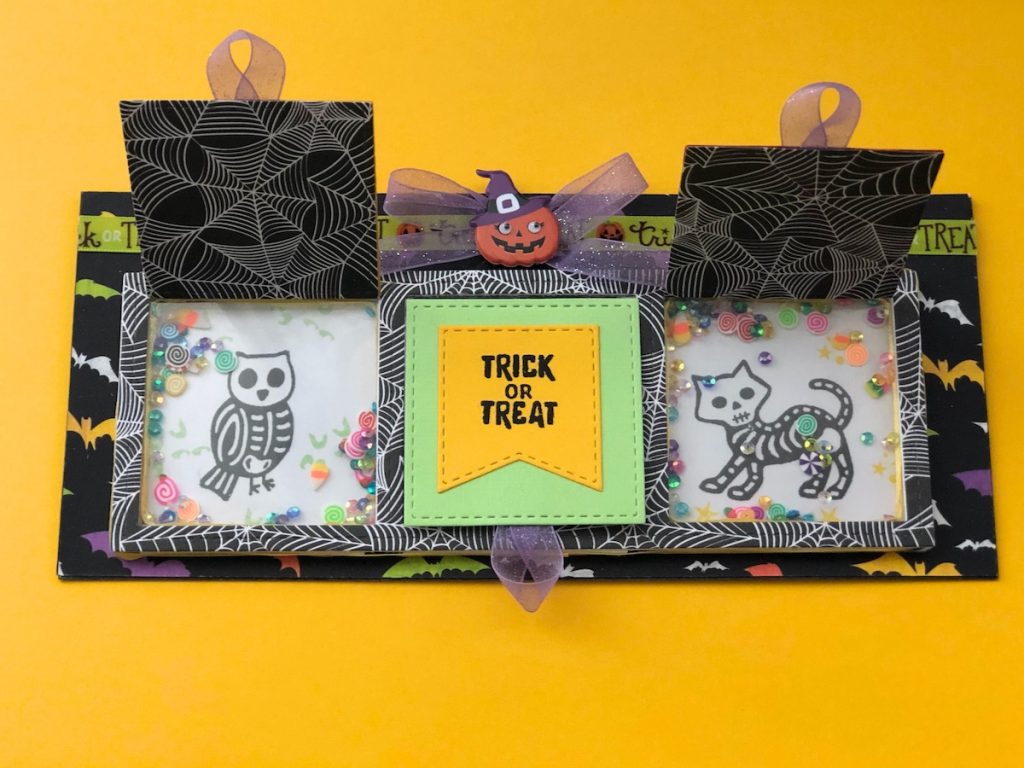
This Halloween Slimline Shaker Card has an added surprise with windows that lift up to show the confetti inside!
Please note: This post contains affiliate links. If you use these links and make a purchase, we earn a commission at no extra cost to you…

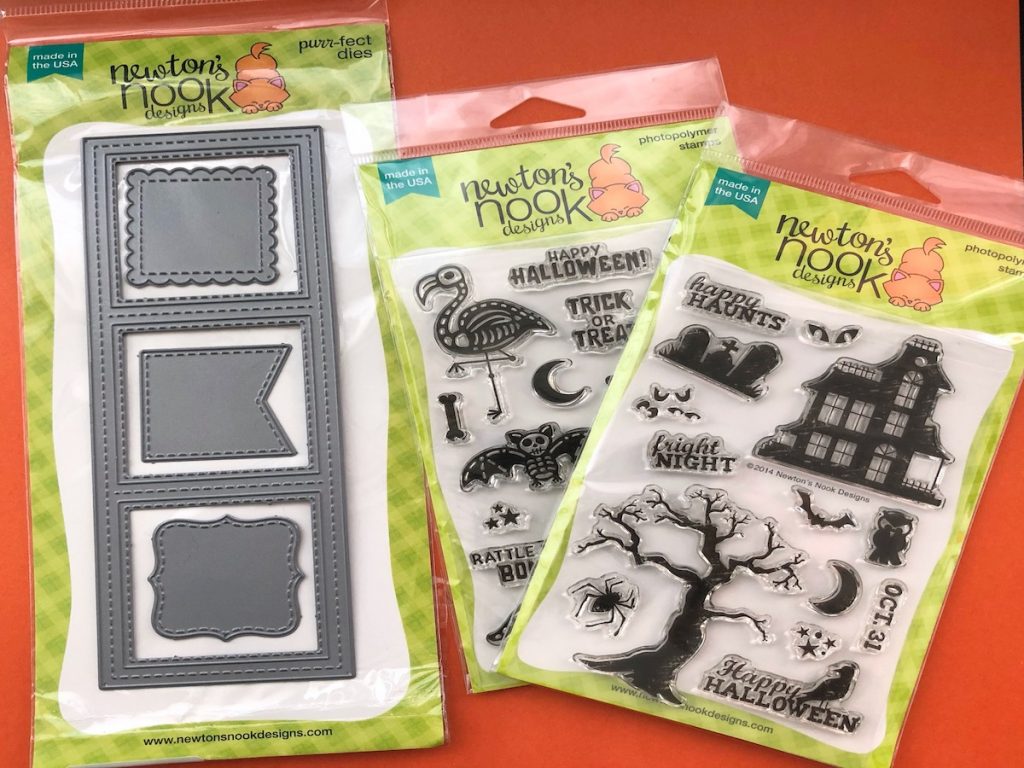
The Slimline cards are the hot new trend in cardmaking and creating one is much easier and more fun when you have a die that you can use. These dies and Halloween stamp sets from Newton’s Nook are the perfect choice to create this card~
Halloween Slimline Shaker Card Supplies
Check the end of the post for the full list of supplies
Step One:
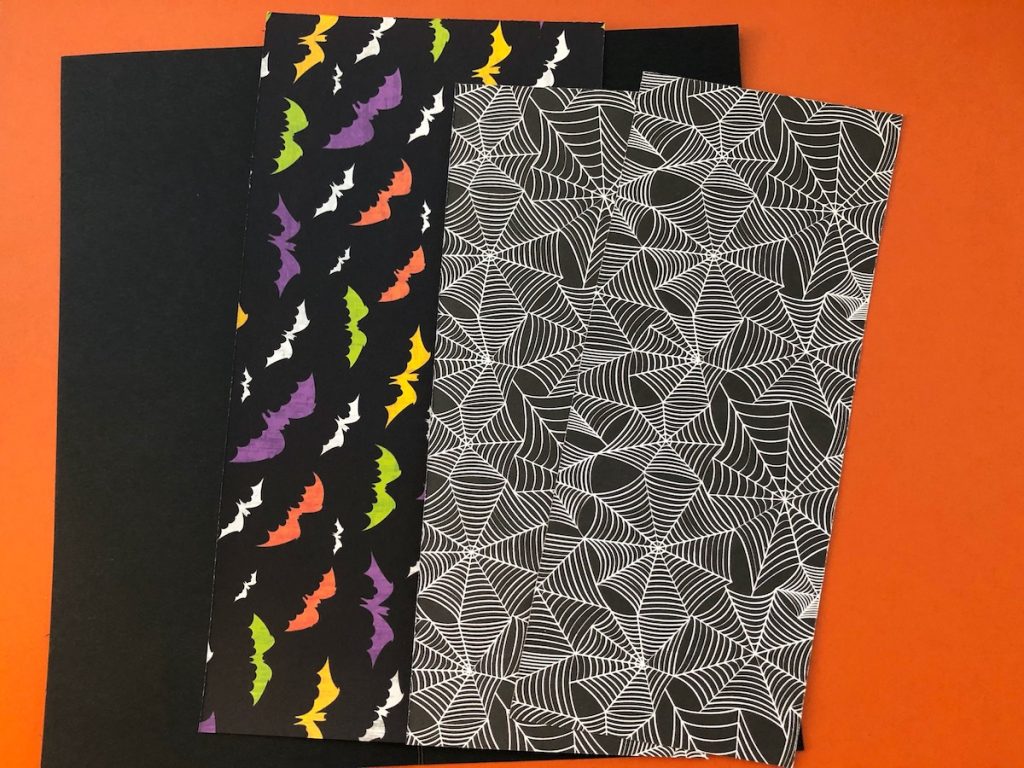
Cut the papers as follows: Black Cardstock 7 3/4″ x 8 7/8″ fold in half, Bat Patterned Paper 8 7/8″ x 3 7/8″, Spider Web Patterned Paper 8″ x 3 1/4″ (cut 2), Window Plastic 7 3/4″ x 2 3/4″ (cut 2), White Cardstock 7 3/4″ x 2 3/4″
Step Two:
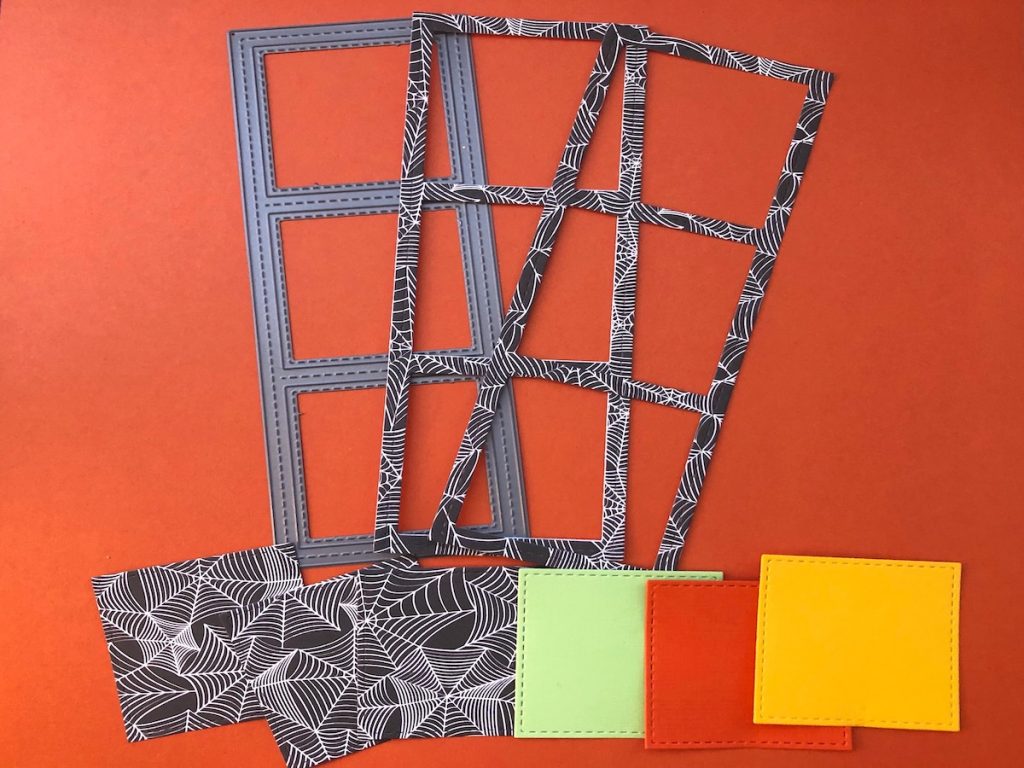
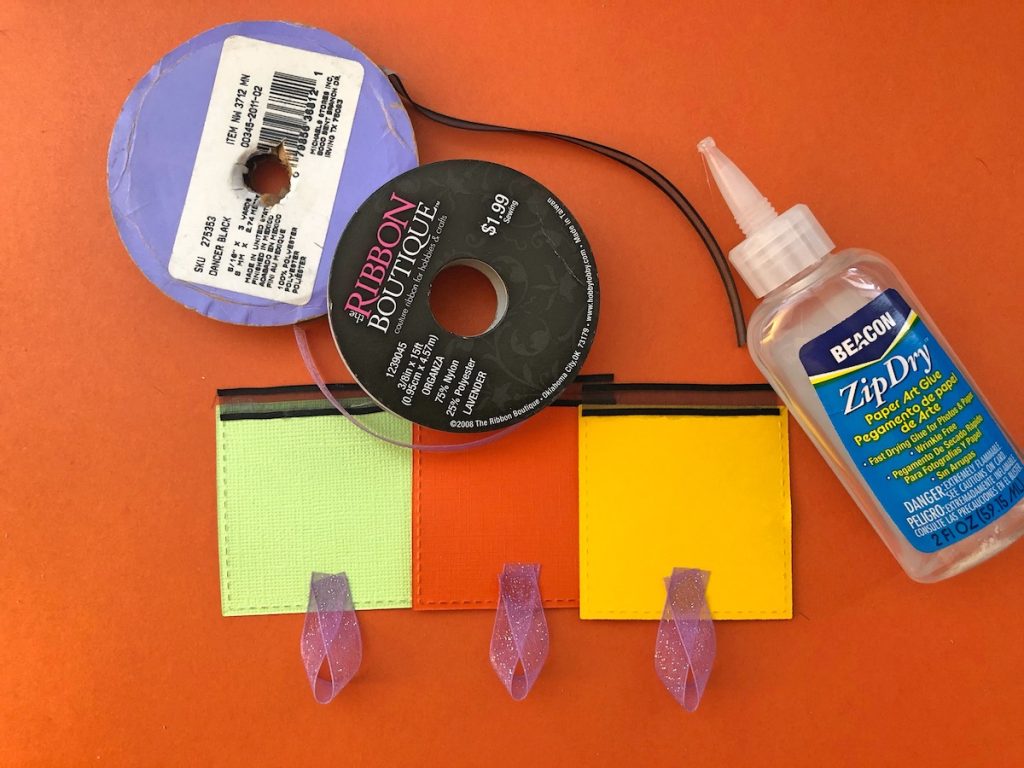
Die cut Spider Web papers twice and die cut one square from Yellow, Orange and Green cardstock. You will only need three squares from the Spider Web paper.
Step Three:
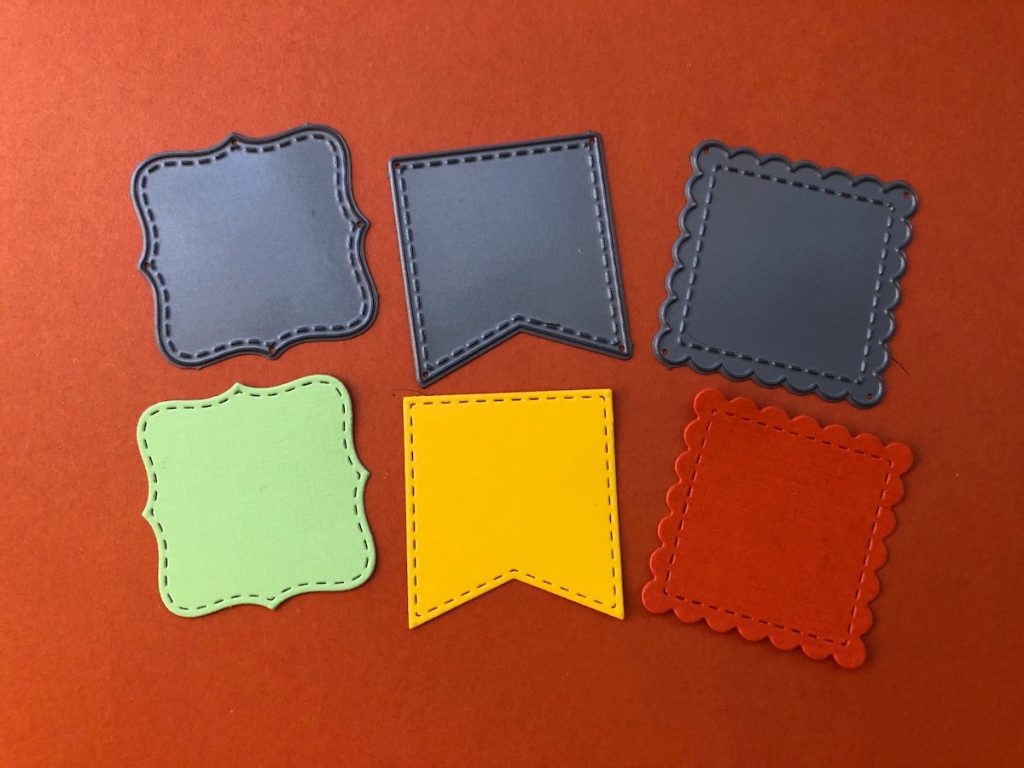
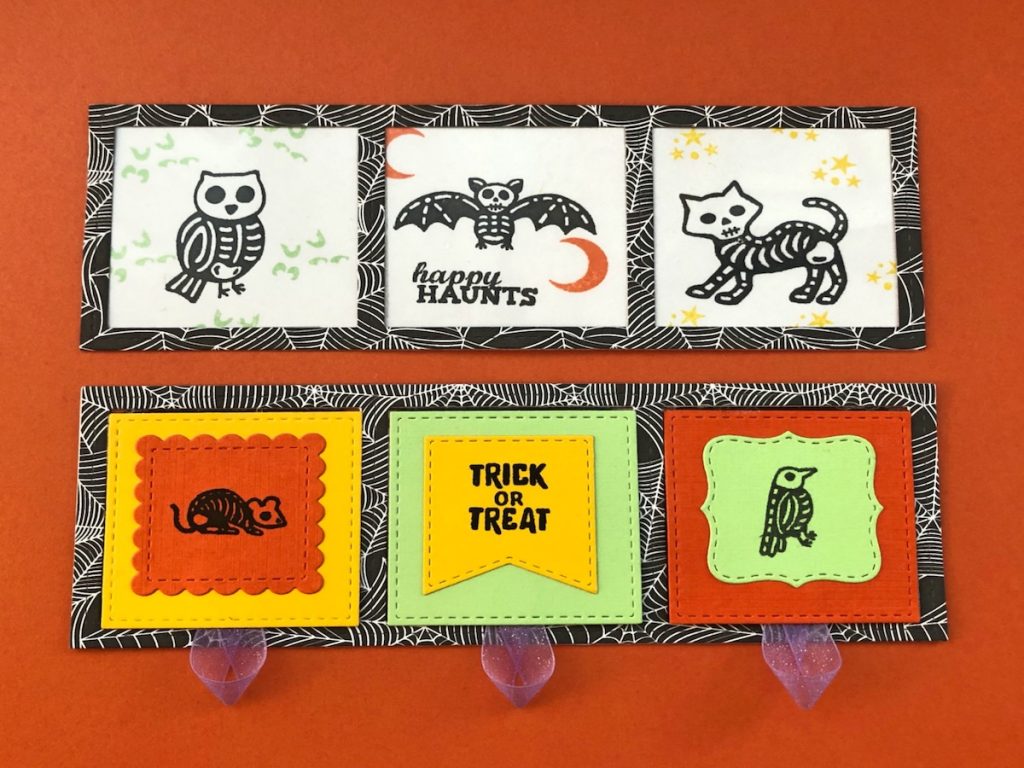
Die cut one color of each die. Stamp the front of each piece with black inkpad and stamps from the sets. See photo if needed.
Step Four:
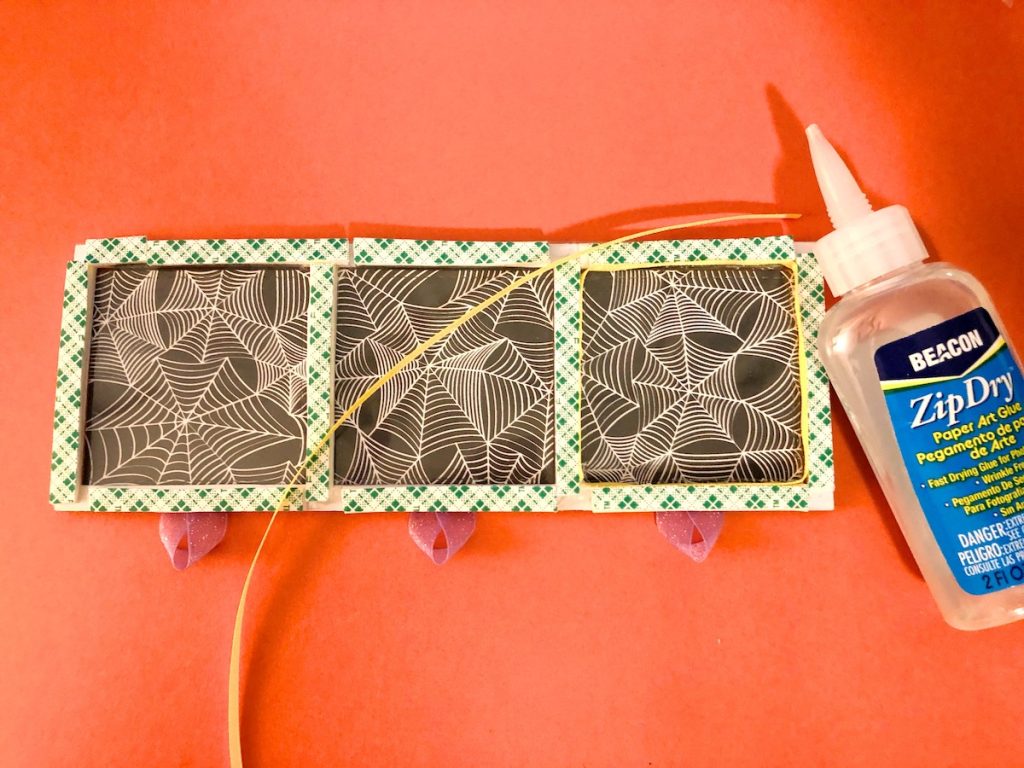
Adhere a small piece of Black ribbon to each square of cardstock for your hinges. Fold Lavender ribbon and adhere to create the pull tab for your windows.
Step Five:
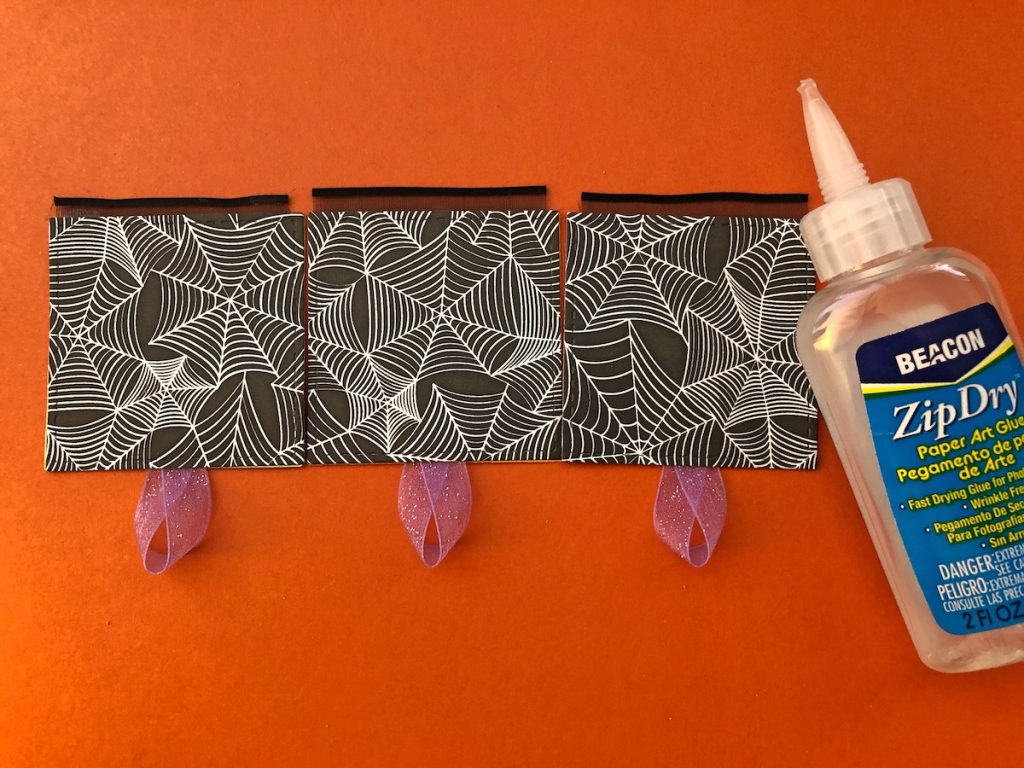
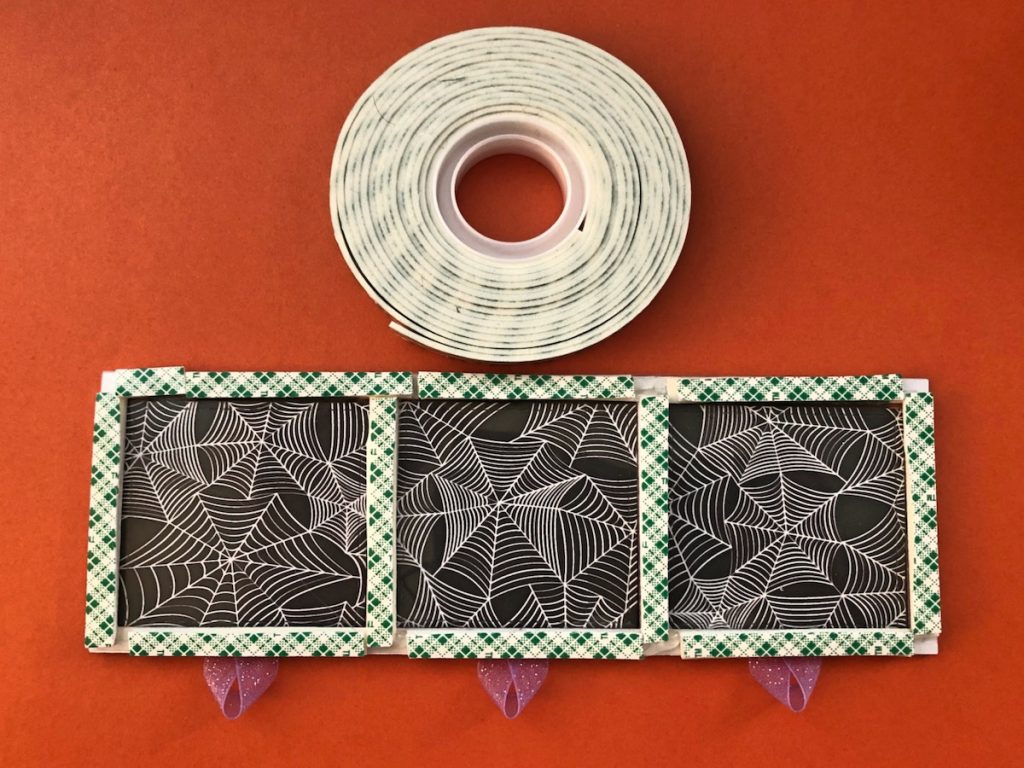
Adhere the three squares of Spider Web paper to the back of your windows.
Step 6:
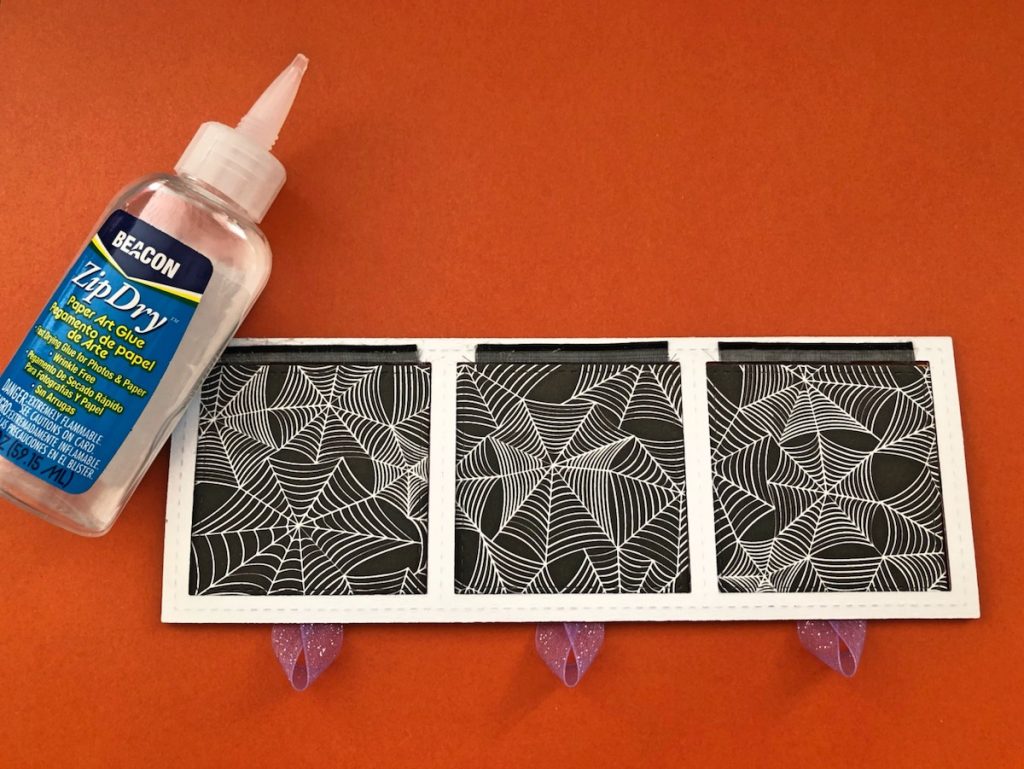
Adhere the windows to the back of the frame and then pull the windows to the front.
Step 7:
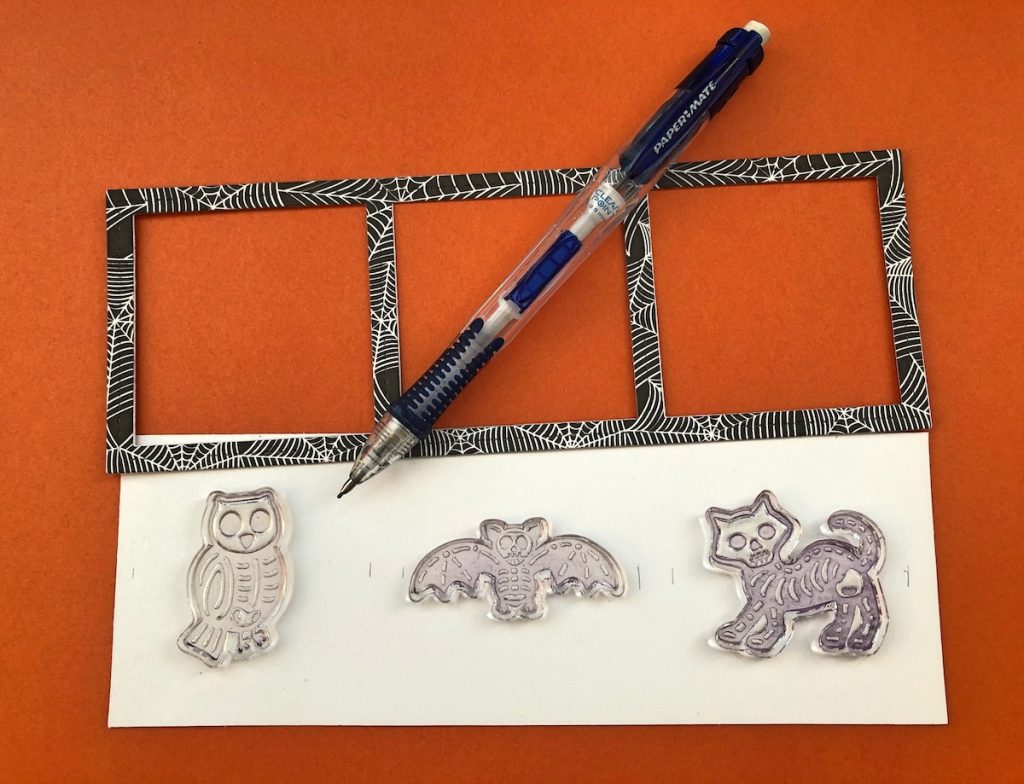
Use a pencil to lightly mark the squares of the frame onto the white cardstock and stamp images with Black inkpad. Erase the pencil marks and stamp additional images with Yellow, Green and Orange inkpads. Adhere the frame to the White cardstock
Step 8:
This is what the front of the card and the inside windows will look like.
Step 9:
Apply two layers of foam tape to the back of the front windows.
Step 10:
To finish the card, adhere ribbon to the inside of each window. Fill windows with confetti. Adhere the second piece of window plastic and then the White cardstock that has the images. Next, adhere the Bat patterned paper to the Black cardstock base and then adhere the completed window piece to the front. Adhere ribbon across the top of the card. Add a bow and a pumpkin sticker. Lift the windows to see the fun confetti inside and shake!
Halloween Slimline Shaker Card

Halloween Slimline Shaker Card-Open
Supplies for the Halloween Slimline Shaker Card
- Slimline Die by Newton’s Nook
- Halloween Stamp Sets by Newton’s Nook
- Cardstock- White, Black, Yellow, Orange and Green
- Halloween Themed Patterned Papers
- Window Plastic
- Zip Dry Paper Glue by Beacon Adhesives
- Premium Dye Inkpads by Gina K Designs
- Confetti
- Ribbons
- Pumpin Sticker
- Foam Tape
- Paper Trimmer
- Scissors
- Die Cutting Machine
Trackbacks/Pingbacks