
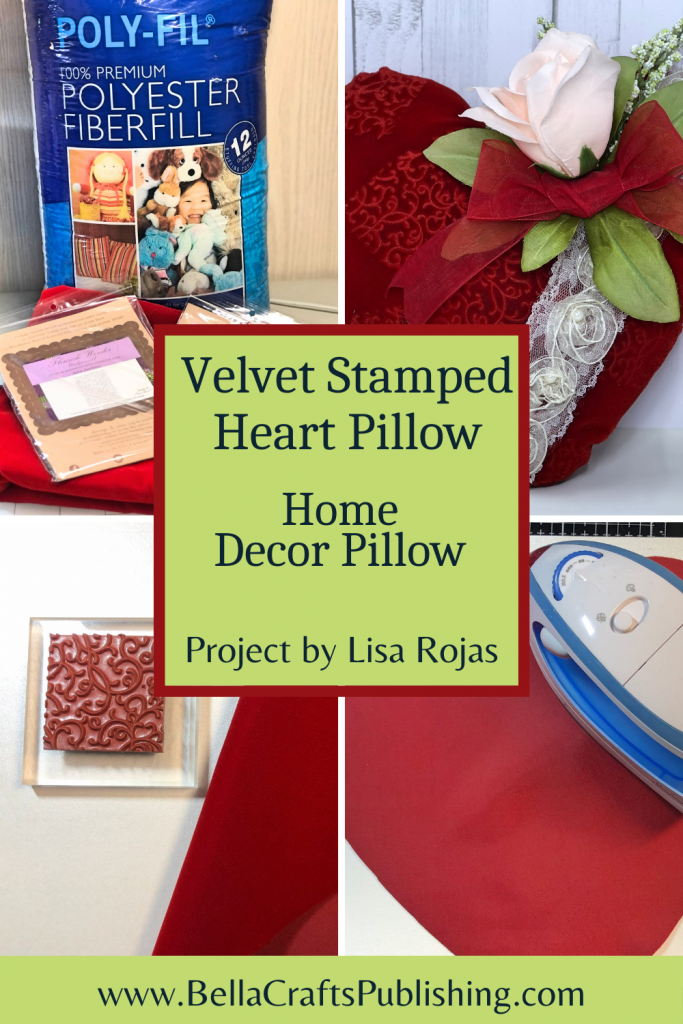
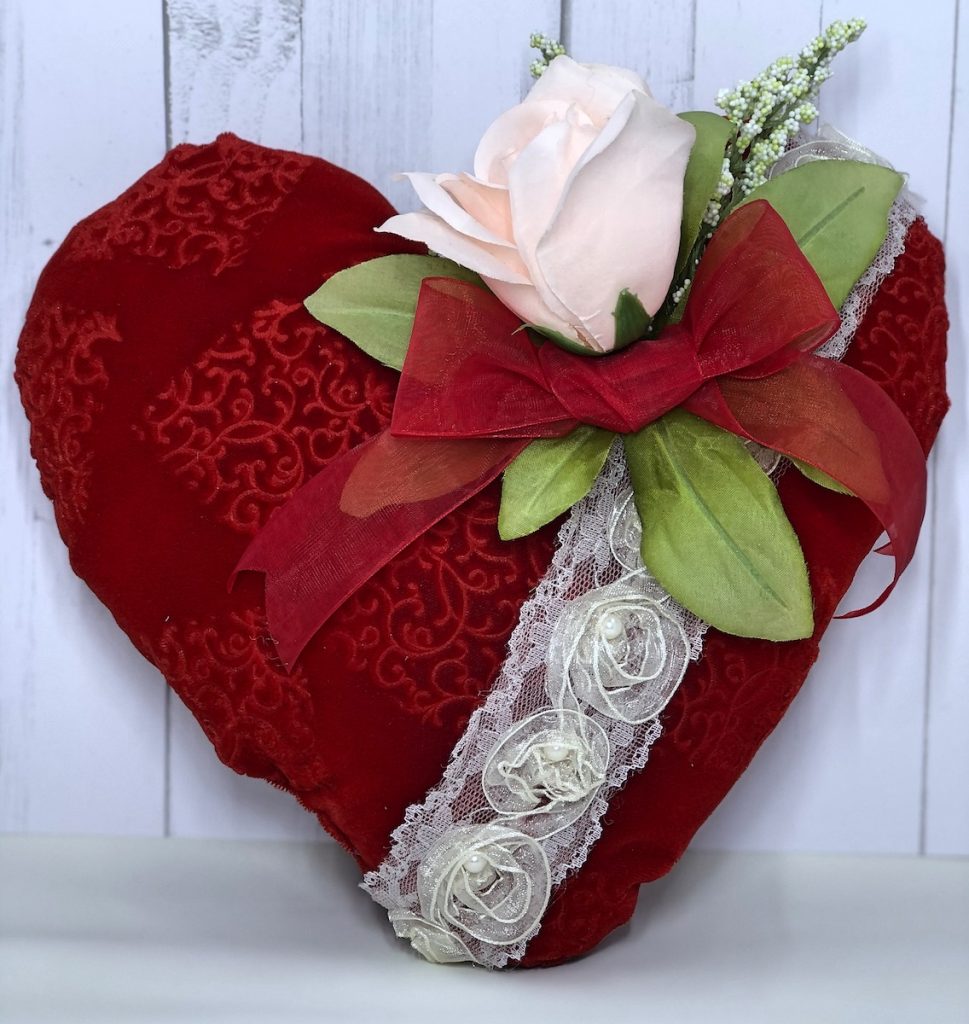
Add a romantic touch this Valentine’s Day to your home decor with this Velvet Stamped Heart Pillow
Please note: This post contains affiliate links. If you use these links and make a purchase, we earn a commission at no extra cost to you…
Ever since the first time I saw Mary O’Neil demonstrate how to stamp on velvet, I was hooked! I have used this technique many, many times through the years and each time I see the finished result I’m truly amazed. I hope you enjoy this project and give velvet stamping a try. Lisa~
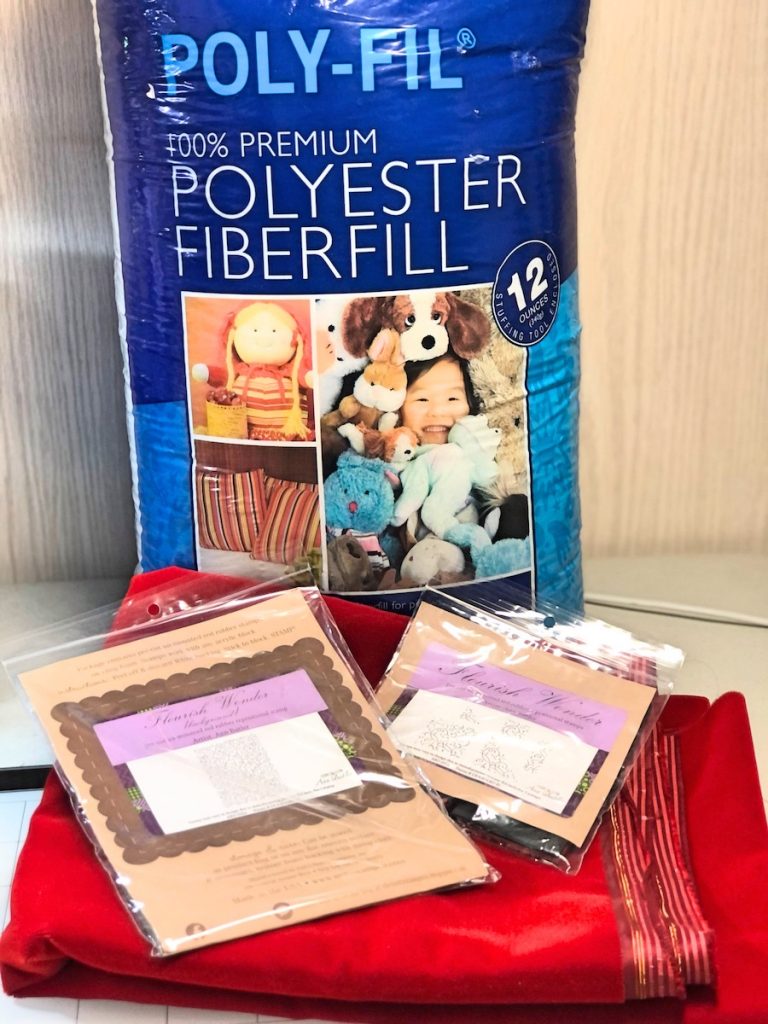
Supplies for Velvet Stamped Heart Pillow
Check out the full list of supplies at the end of this post.
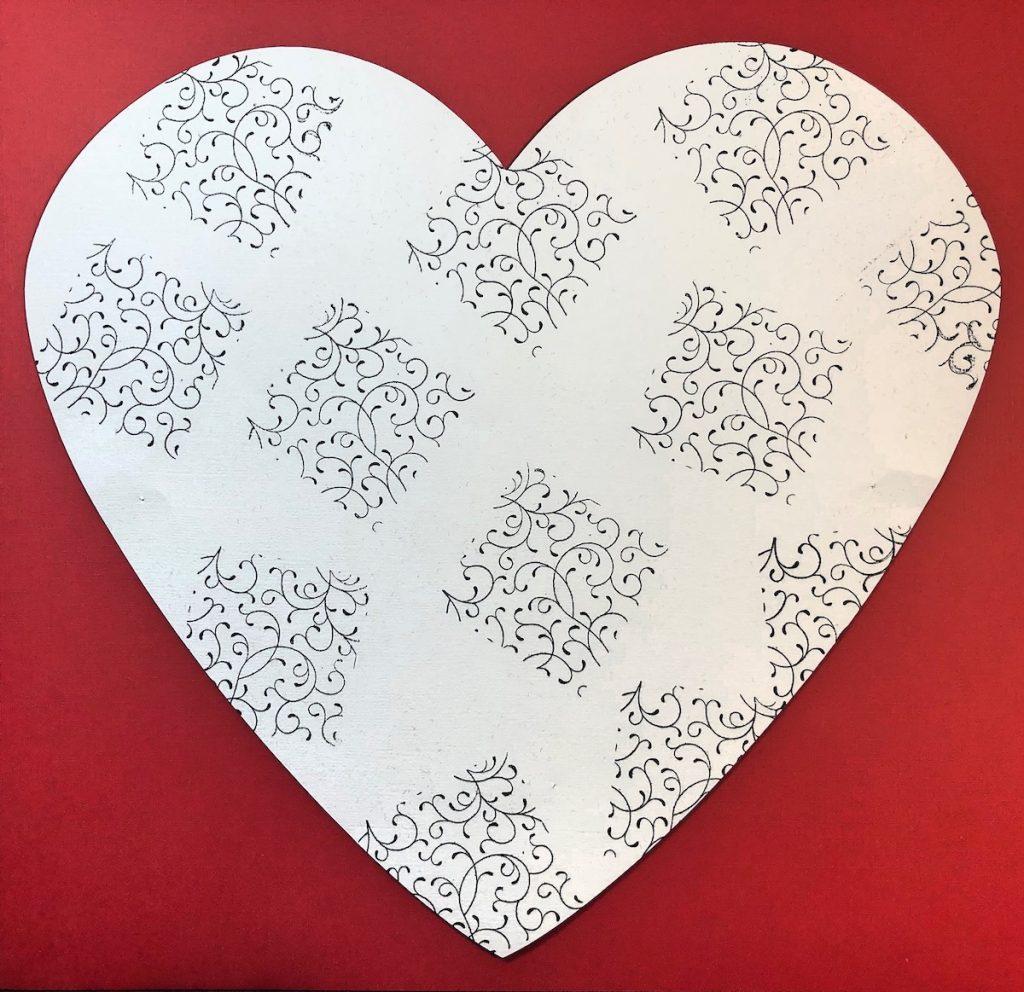
Step One:
Iron velvet to remove any wrinkles. Optional: Use a black inkpad to stamp the design onto the heart pattern. The heart pattern is approximately 11″ x 10″.
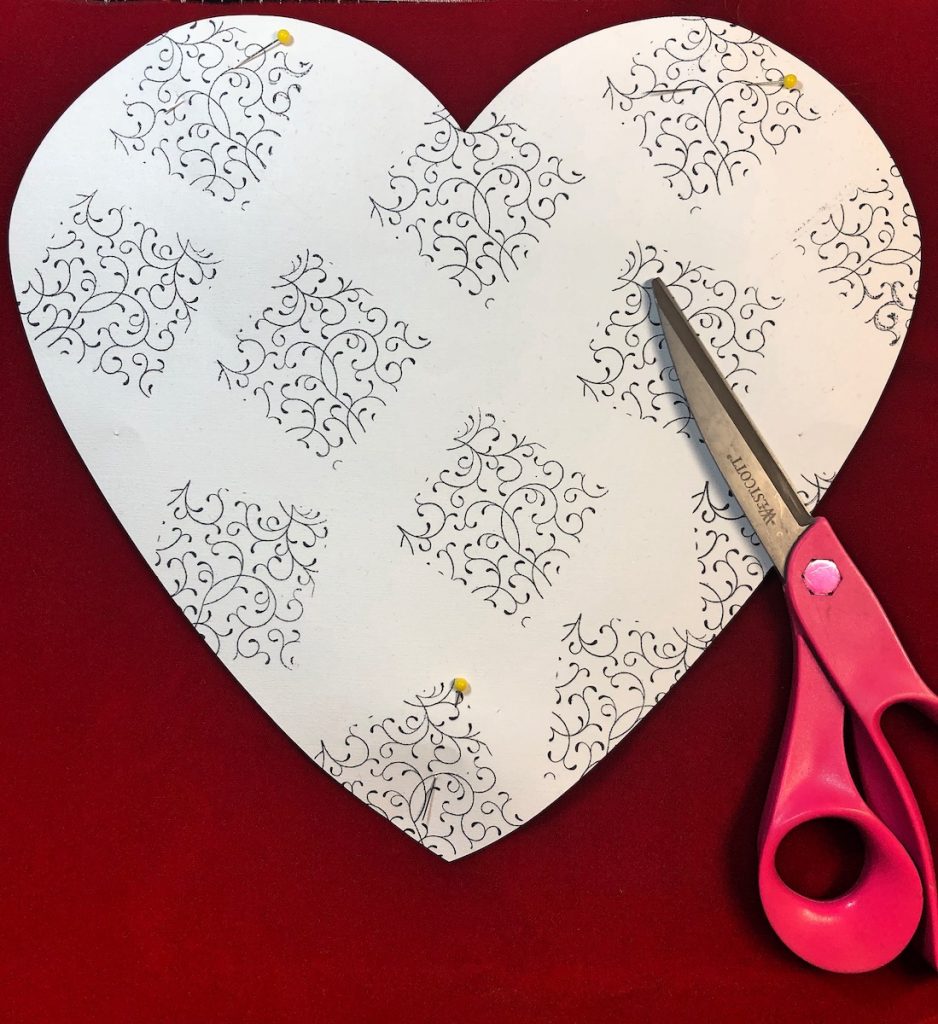
Step Two:
Pin pattern onto the velvet and cut out two layers.
Step Three:
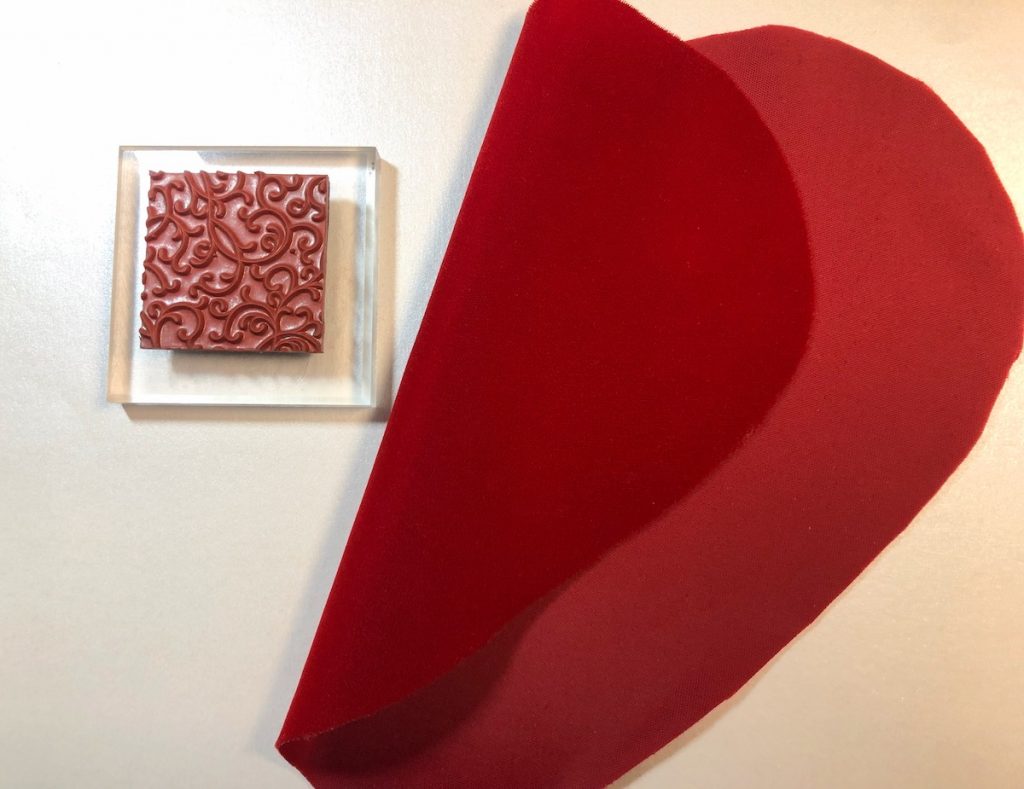
Place stamp on the table face up. Lightly spray the velvet with water. Lay velvet right side down on top of the stamp.
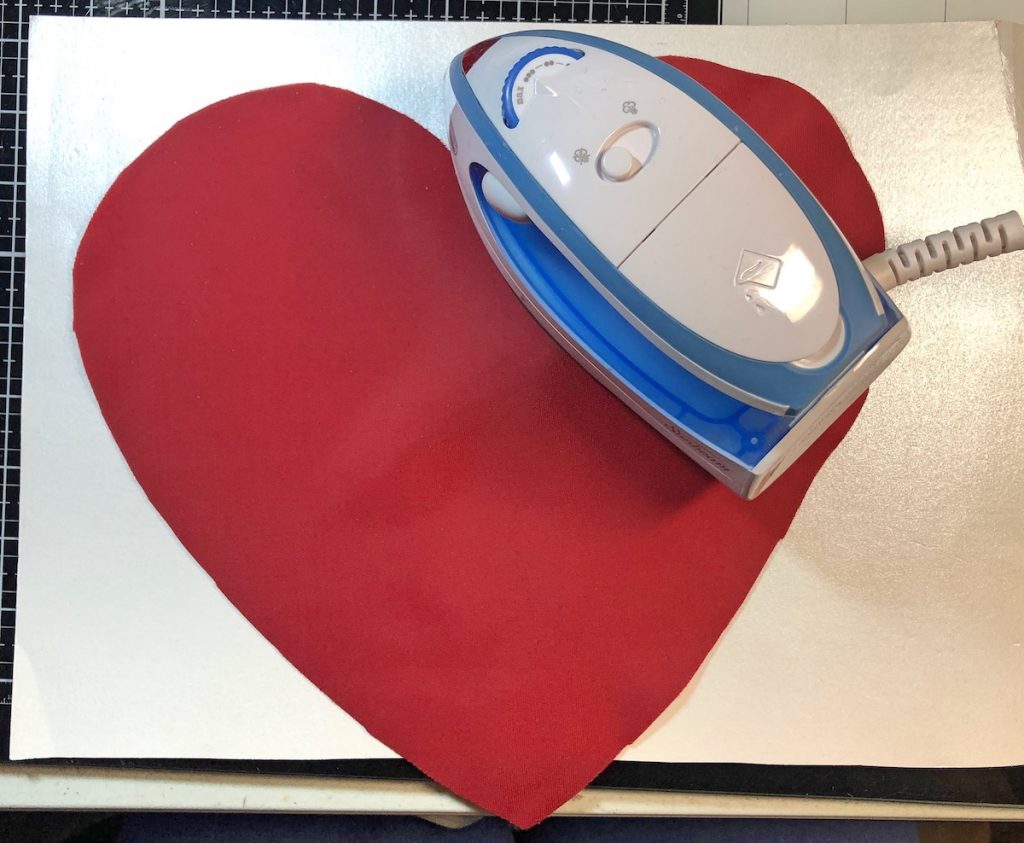
Step Four:
Using a hot, dry iron, place it onto the velvet and hold for approximately 10 seconds. Repeat until desired pattern is achieved. With right sides together machine stitch around edges, leaving a 2″ opening for stuffing.
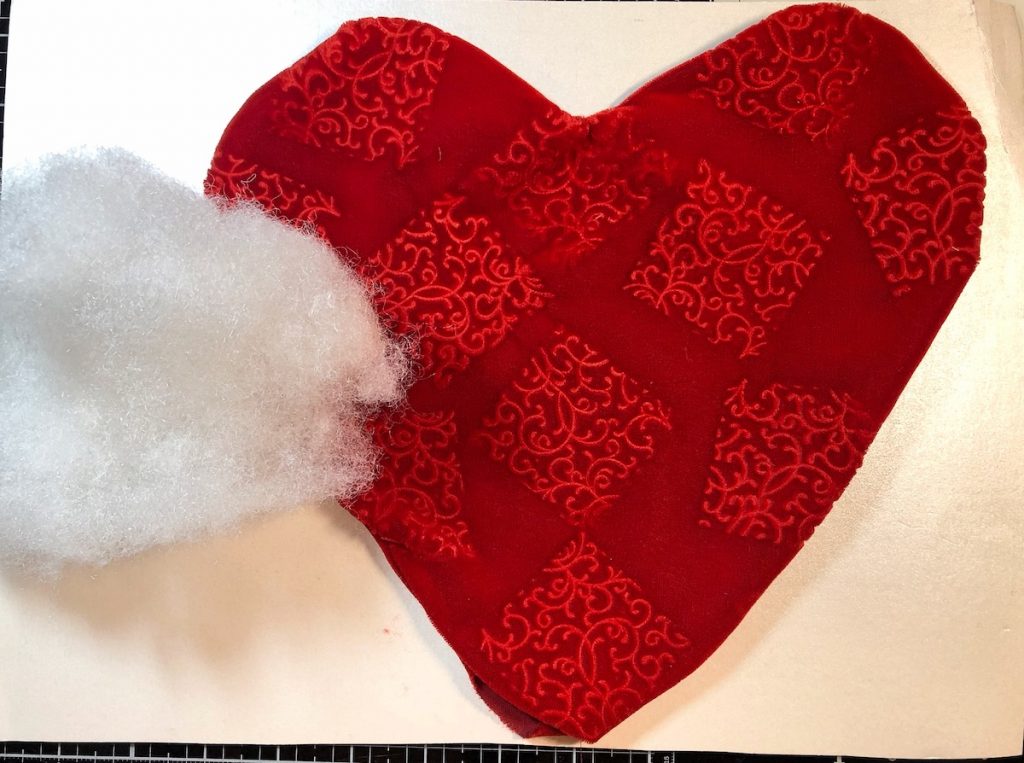
Step Five:
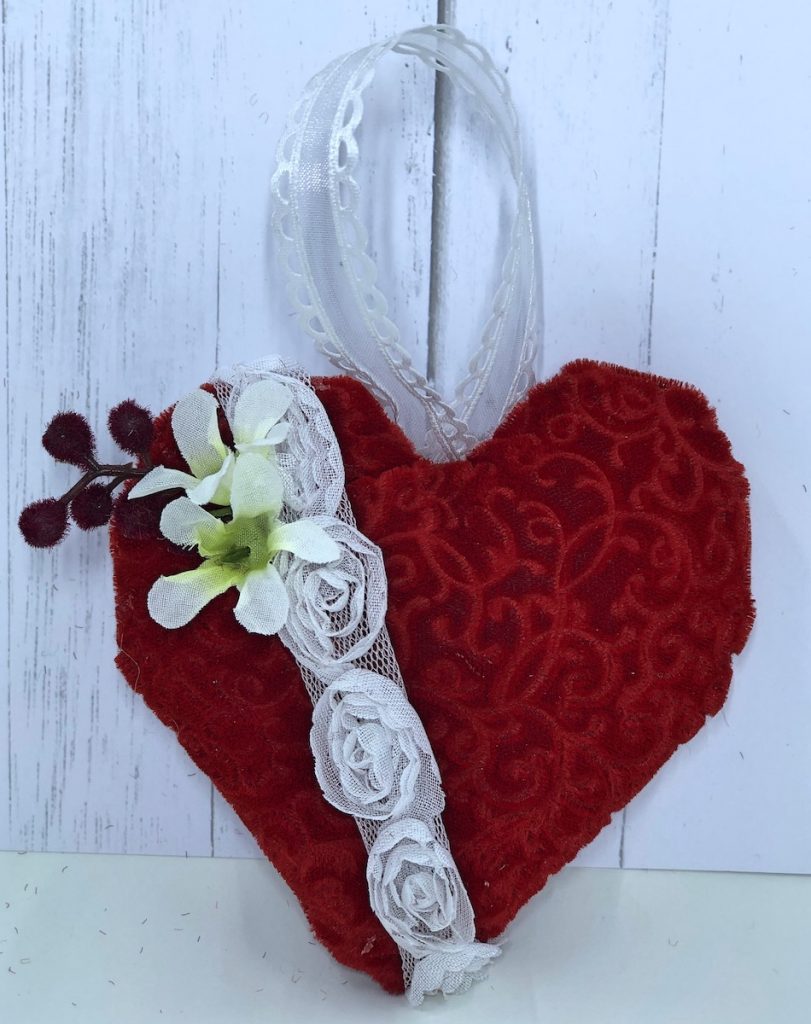
Turn velvet right sides out and stuff with Poly-Fil. Hand-sew opening closed. Finish pillow by adding lace trim, flower and bow. Use glue gun to adhere to pillow.
Velvet Stamped Heart Pillow
Supplies for Velvet Stamped Heart Pillow
- Acetate/Rayon Velvet
- Heart Pattern
- Poly-Fil by Fairfield World
- Ann Butler Designs Flourish Stamp Set by Unity Stamp Co.
- Iron
- Lace Trim
- Ribbon
- Flowers
- Sewing Machine & Thread
- Scissors
- Glue Gun
Trackbacks/Pingbacks