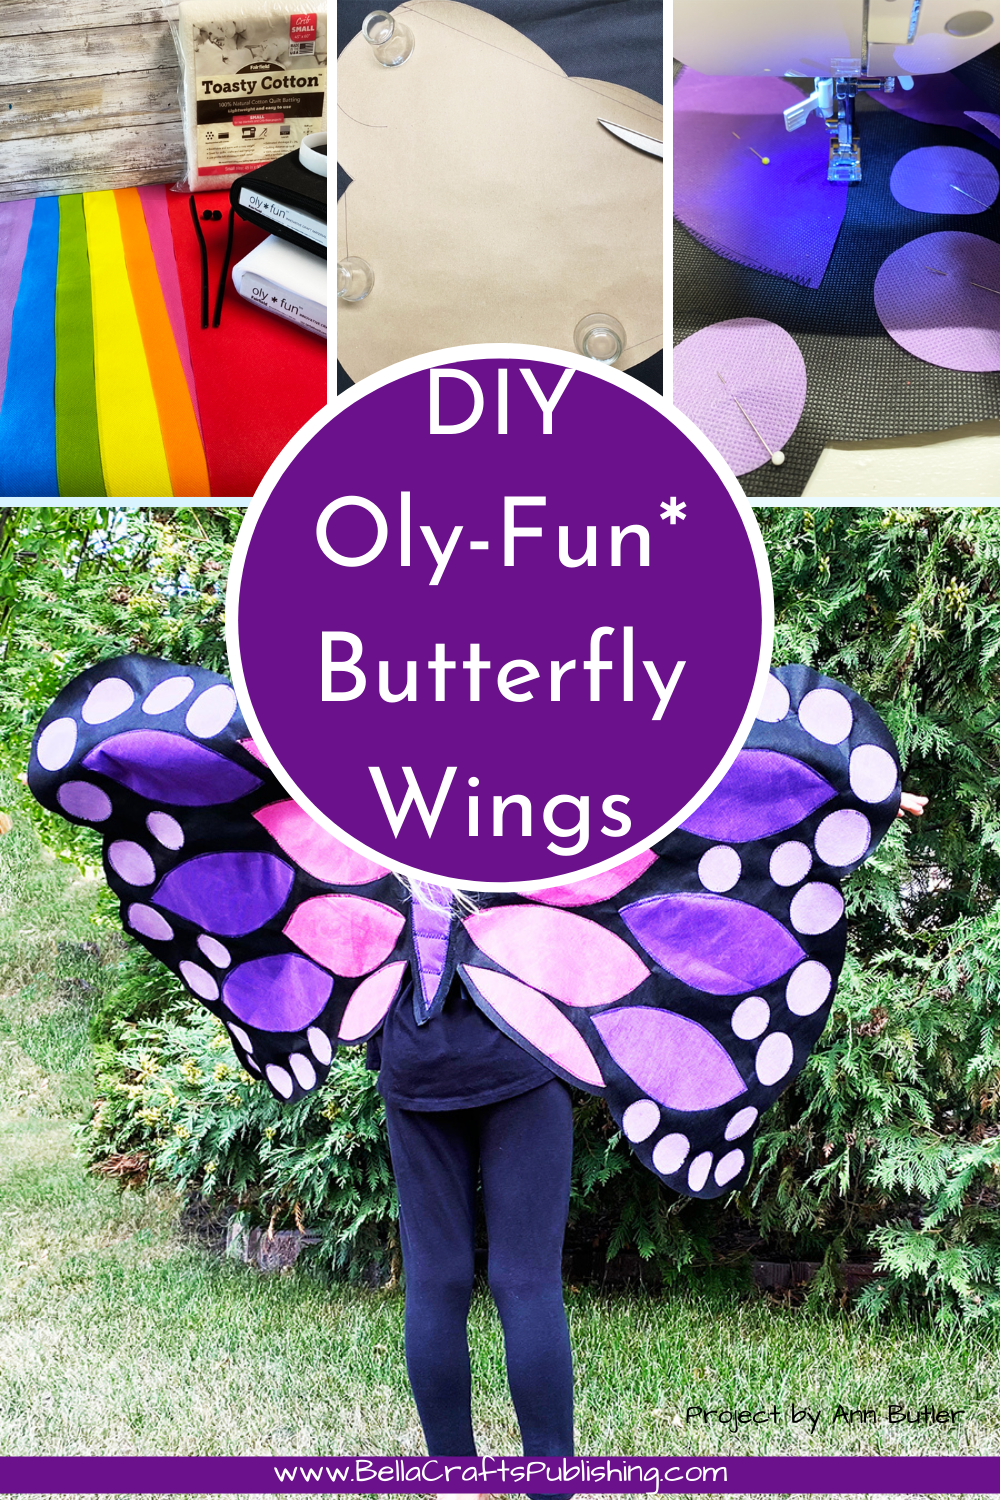
These DIY Oly-Fun* Butterfly Wings are perfect for Halloween. So…oh my goodness we have you covered for the costume!
Please note: This post contains affiliate links. If you use these links and make a purchase, we earn a commission at no extra cost to you…
These DIY Oly-Fun* Butterfly Wings take an afternoon to create if you are going to sew them as I did…they could go quicker if you wanted to use glue…but I think the stitching adds so much to the finished cosutme.
Bonus, these DIY Oly-Fun* Butterfly Wings go from Halloween to Dress-up to Play-time in a snap!
Steps One, Two, Three, Four:
Take the following measurements: base of neck to waist and fingertip to fingertip with arms open.
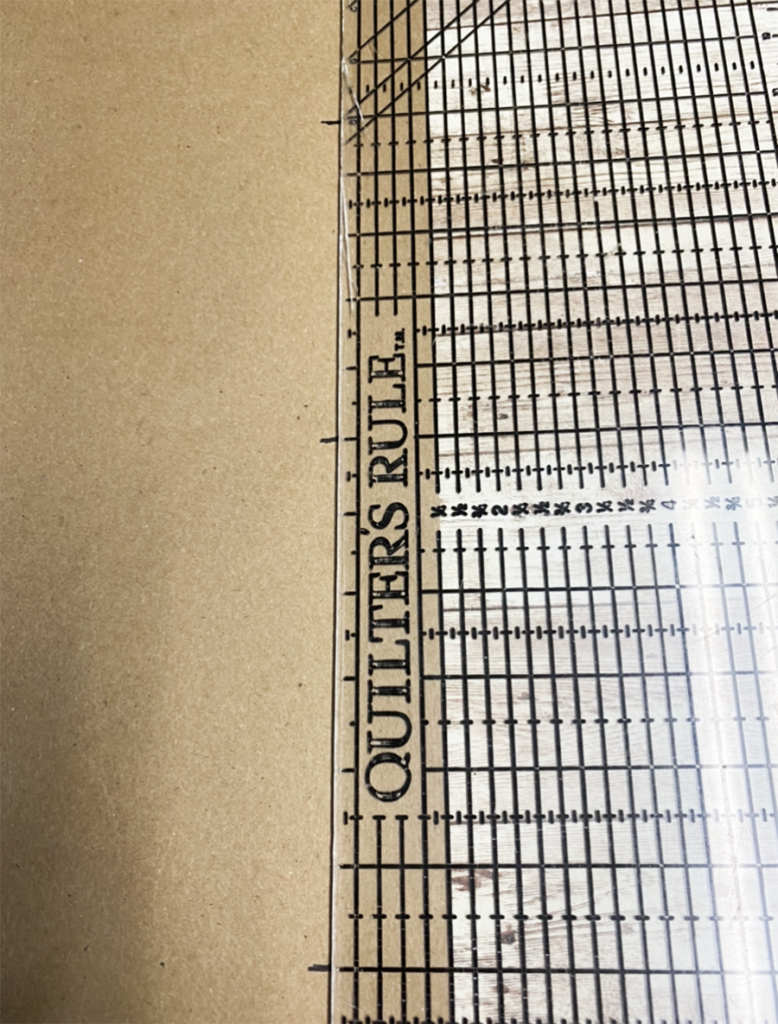
On a large piece of paper mark the length of the neck to waist 1 1/2″ from the edge.
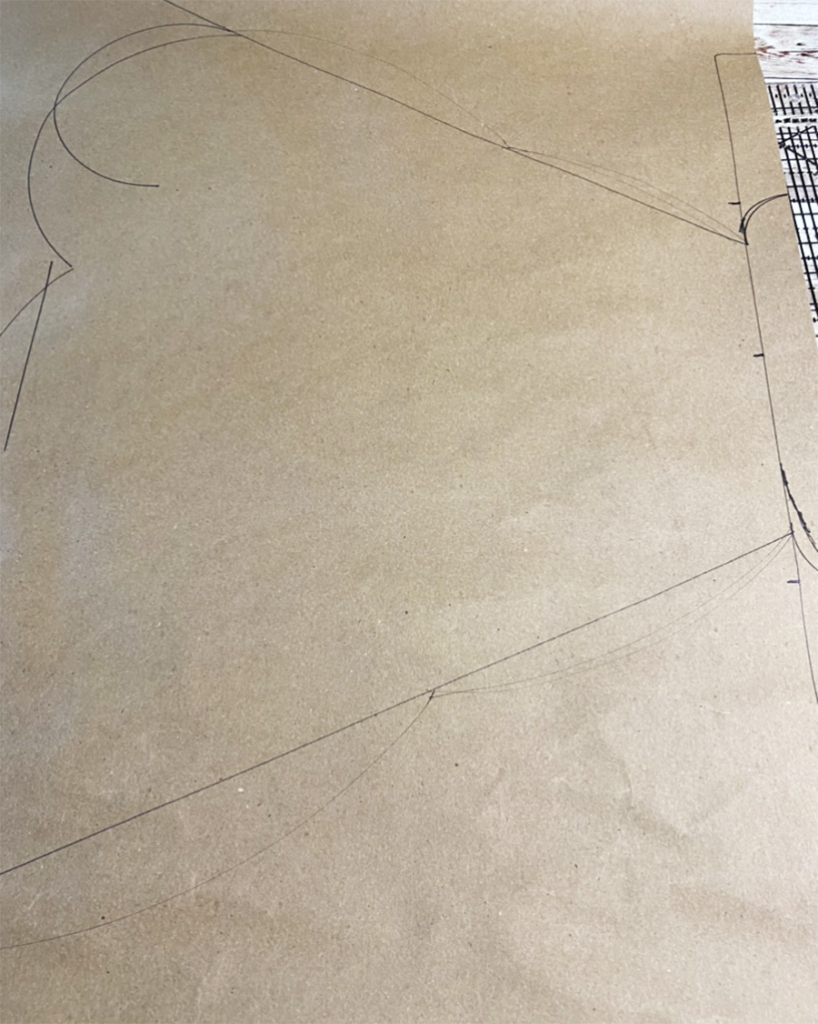
Angel the top and bottom to create a rounded area for the top and bottom of the butterfly body.
Draw 2 lines out from the body with a ruler, to half the width of the fingertip to fingertip measurement. At this point you can use plates to create the wings or free-hand draw them. I started would with a plate, but did not like the look so I free-handed it from the top line to the bottom.
Steps Five, Six, Seven:
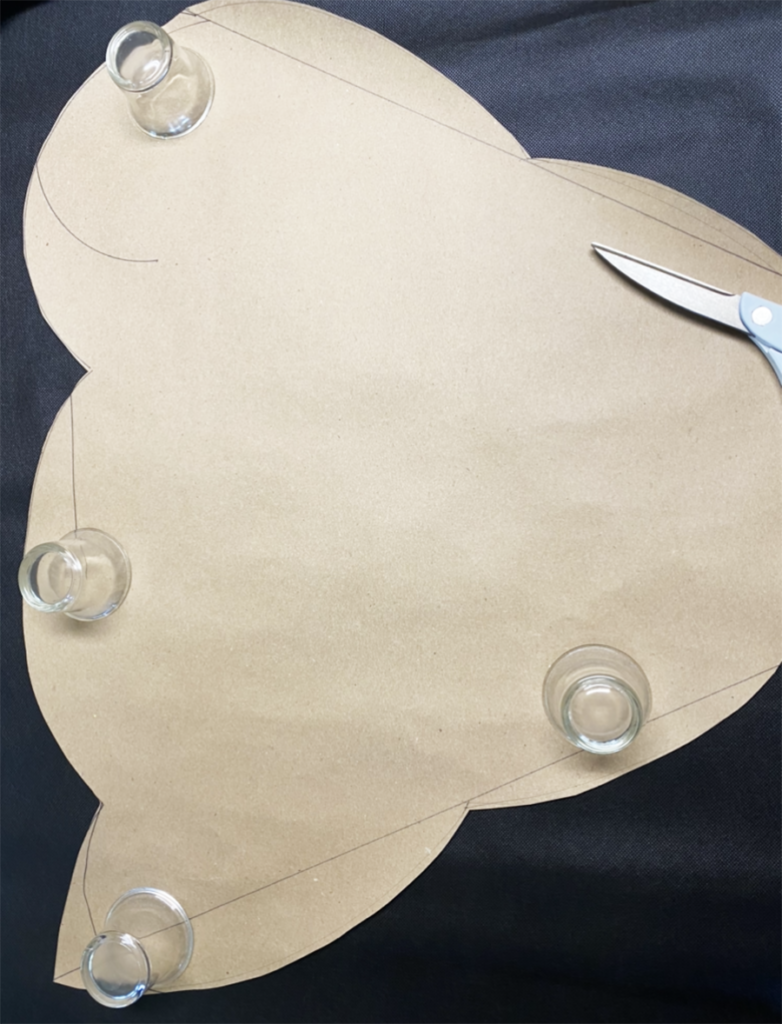
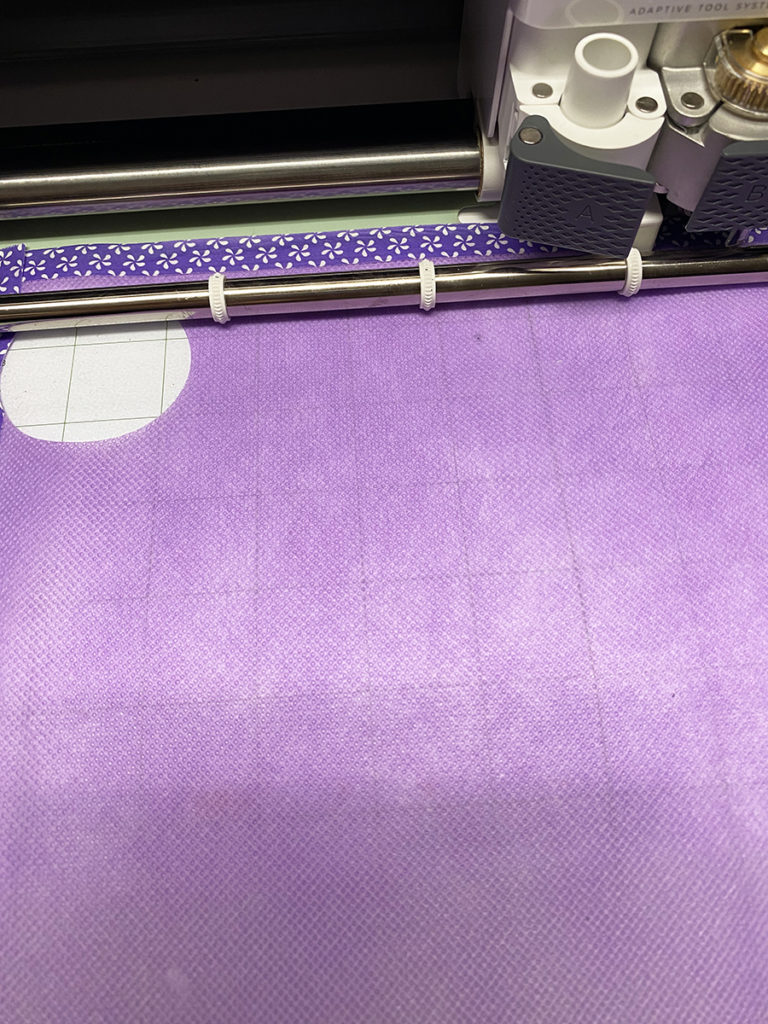
Cut the paper pattern out and place the body on the fold of the Oly-Fun*. Cut out.
I knew I wanted circles somewhere on the wings so I cut out several 2 1/2″ and 2 ” circles from the light purple Oly-Fun* so that I would have options.
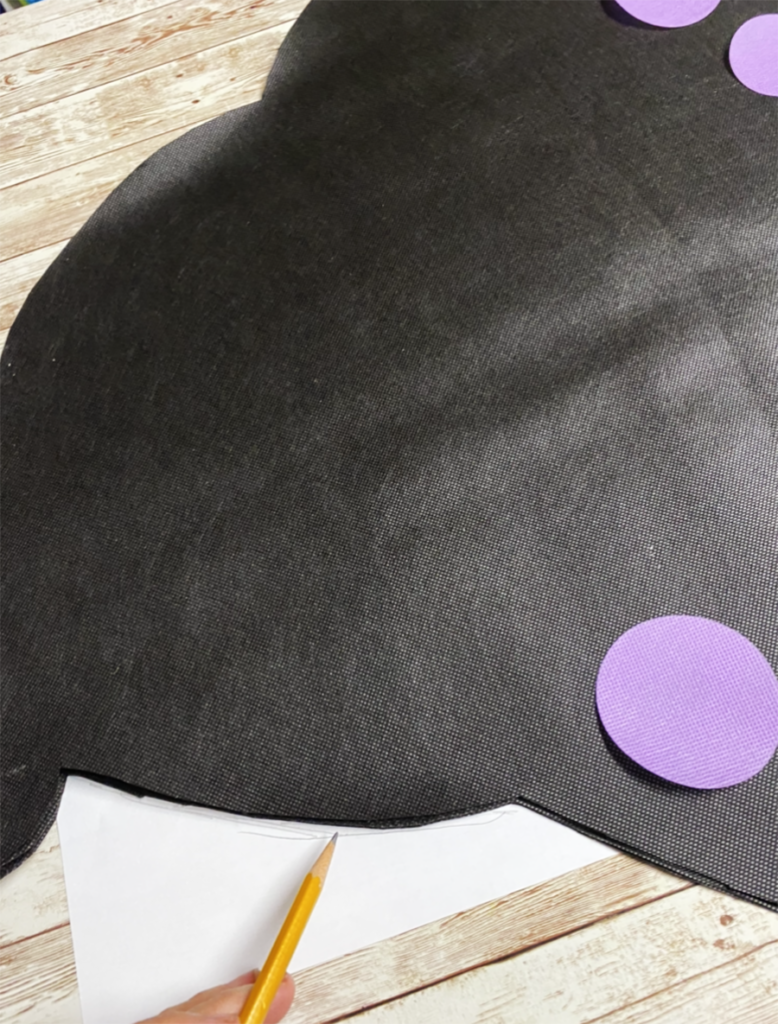
Using a piece of copy paper, trace the angle of part of the wing to create a pattern for some pointed oval shapes.
Steps Eight, Nine, Ten:
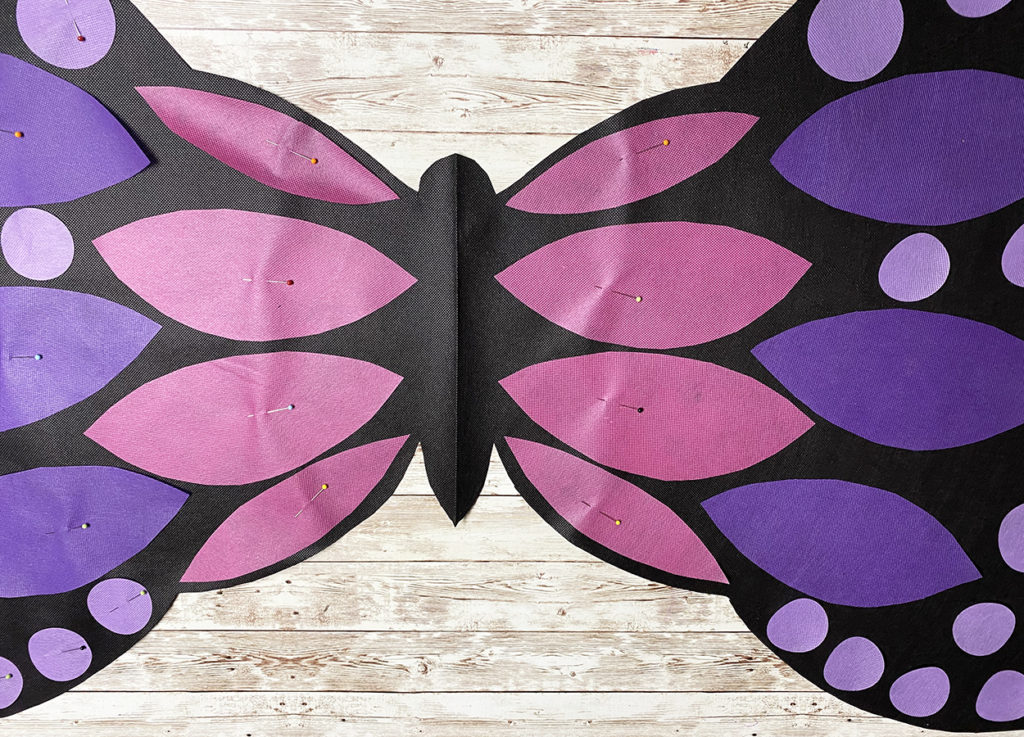
Using the pattern cut out several pointed oval shapes from pink and dark purple Oly-Fun*, adjusting and making them fit as desired.
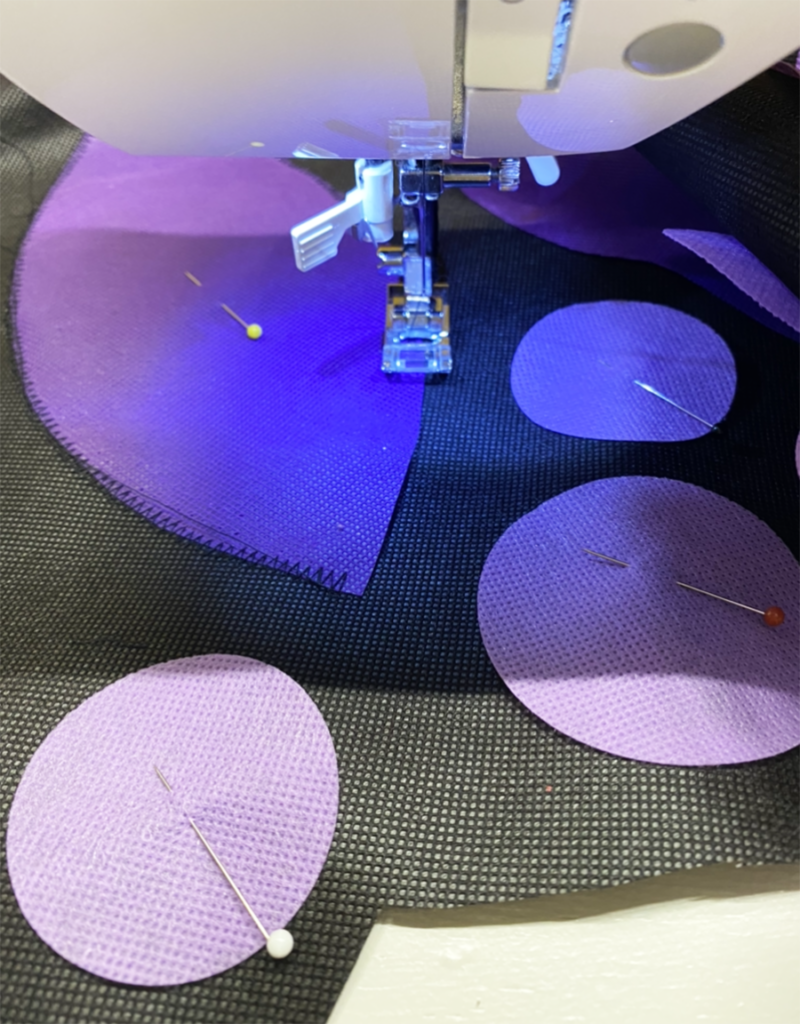
Pin shapes onto the wings of the body. You can add or take away as desired,
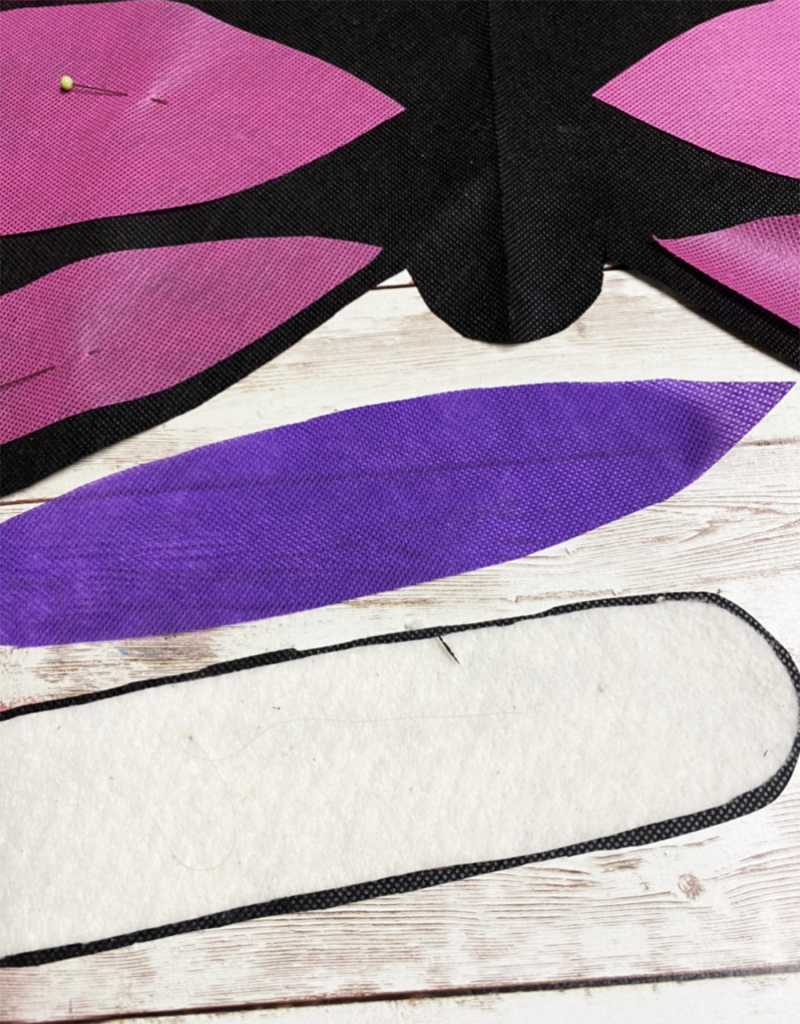
Cut a second body from black Oly-Fun*, a pointed oval to fit with-in the body from dark purple and a piece of Toasty Cotton Batting slightly smaller then the second body piece.
Step Eleven, Twelve, Thirteen, Fourteen:
Layer the batting, 2nd body and dark purple onto the main body. Pin in place.
Stitch with a zig-ag stich around all of the shapes on the wings using black thread and taking your time.
Stitch around the second body adding horizontal lines accross the body and dark purple.
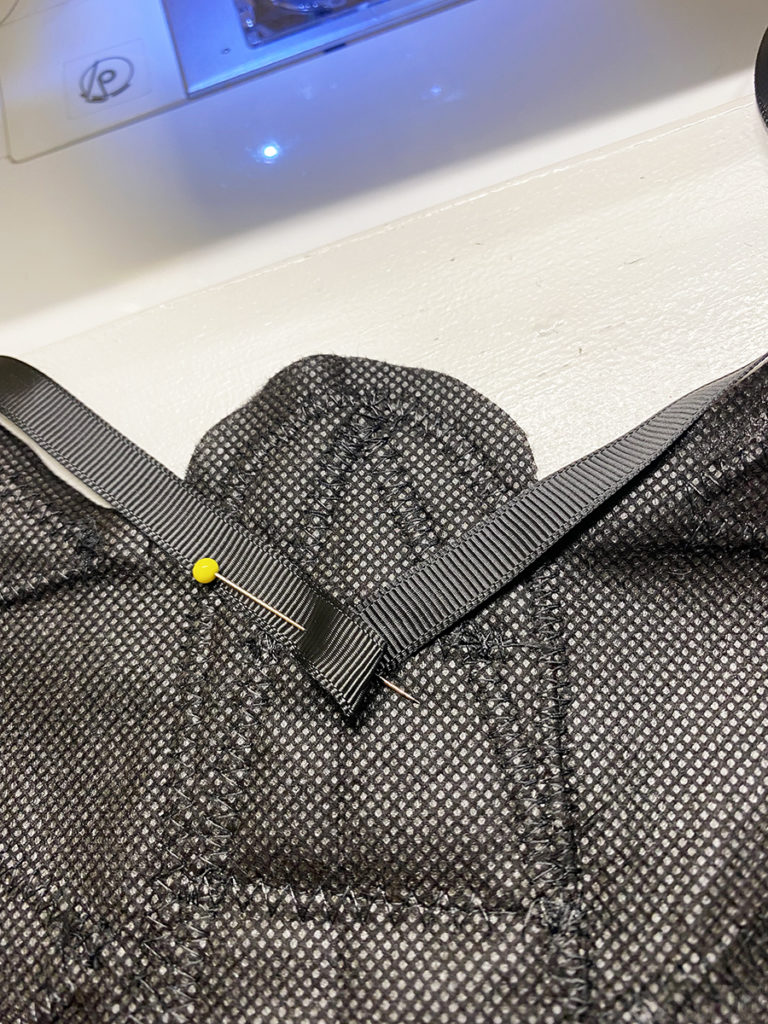
Cut a piece of ribbon approximately 36″. Form a V in the middle and stitch this onto the top center of the body. This will be used to wrap around the shoulders and tie behind the back to hold the wings on.
Add elastic for the wirst by holding the wings up to the child that will be wearing them and determining placement. I chose to place them on the upper third of the wing so that they would look great when on and opened and closed.
Here is another PIN to share for the DIY Oly-Fun* Butterfly Wings!
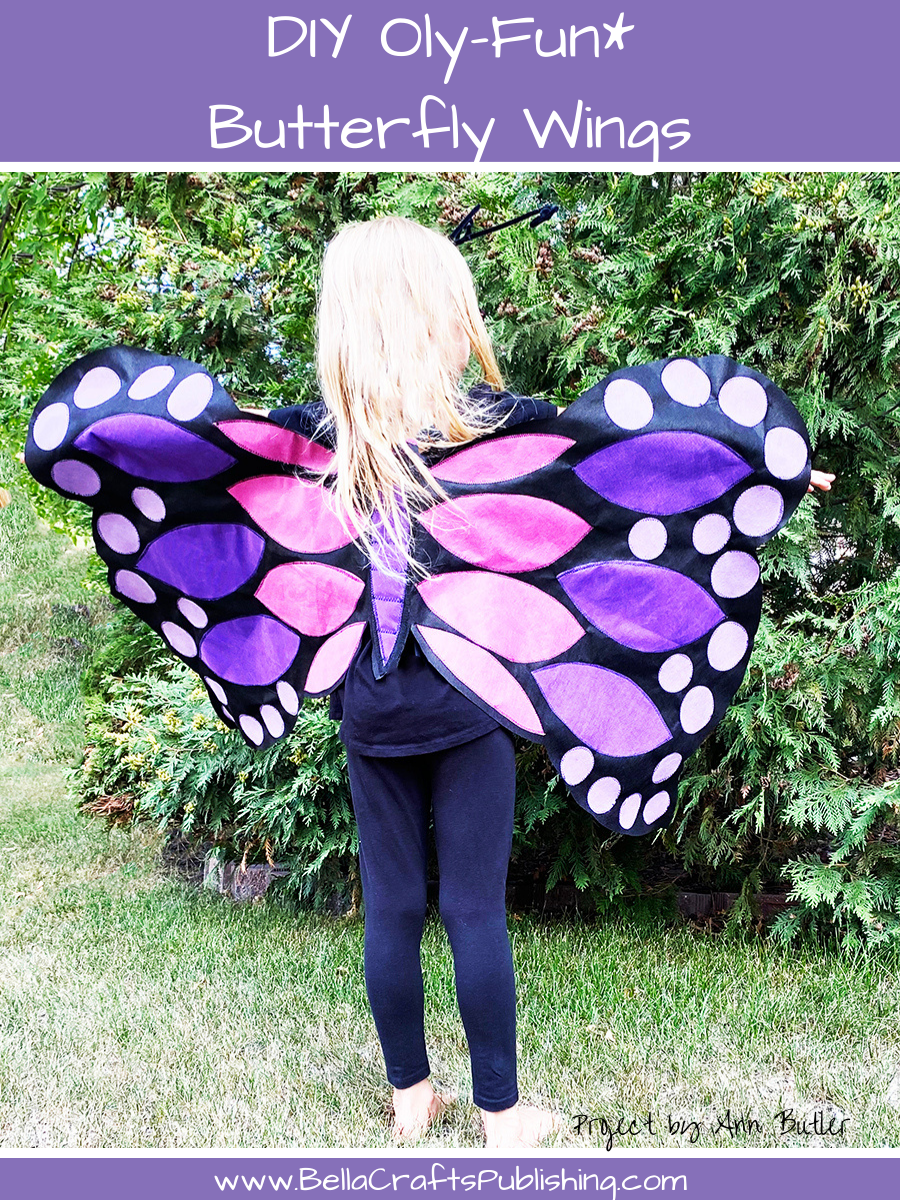
These DIY Oly-Fun* Butterfly Wings are just so much fun!
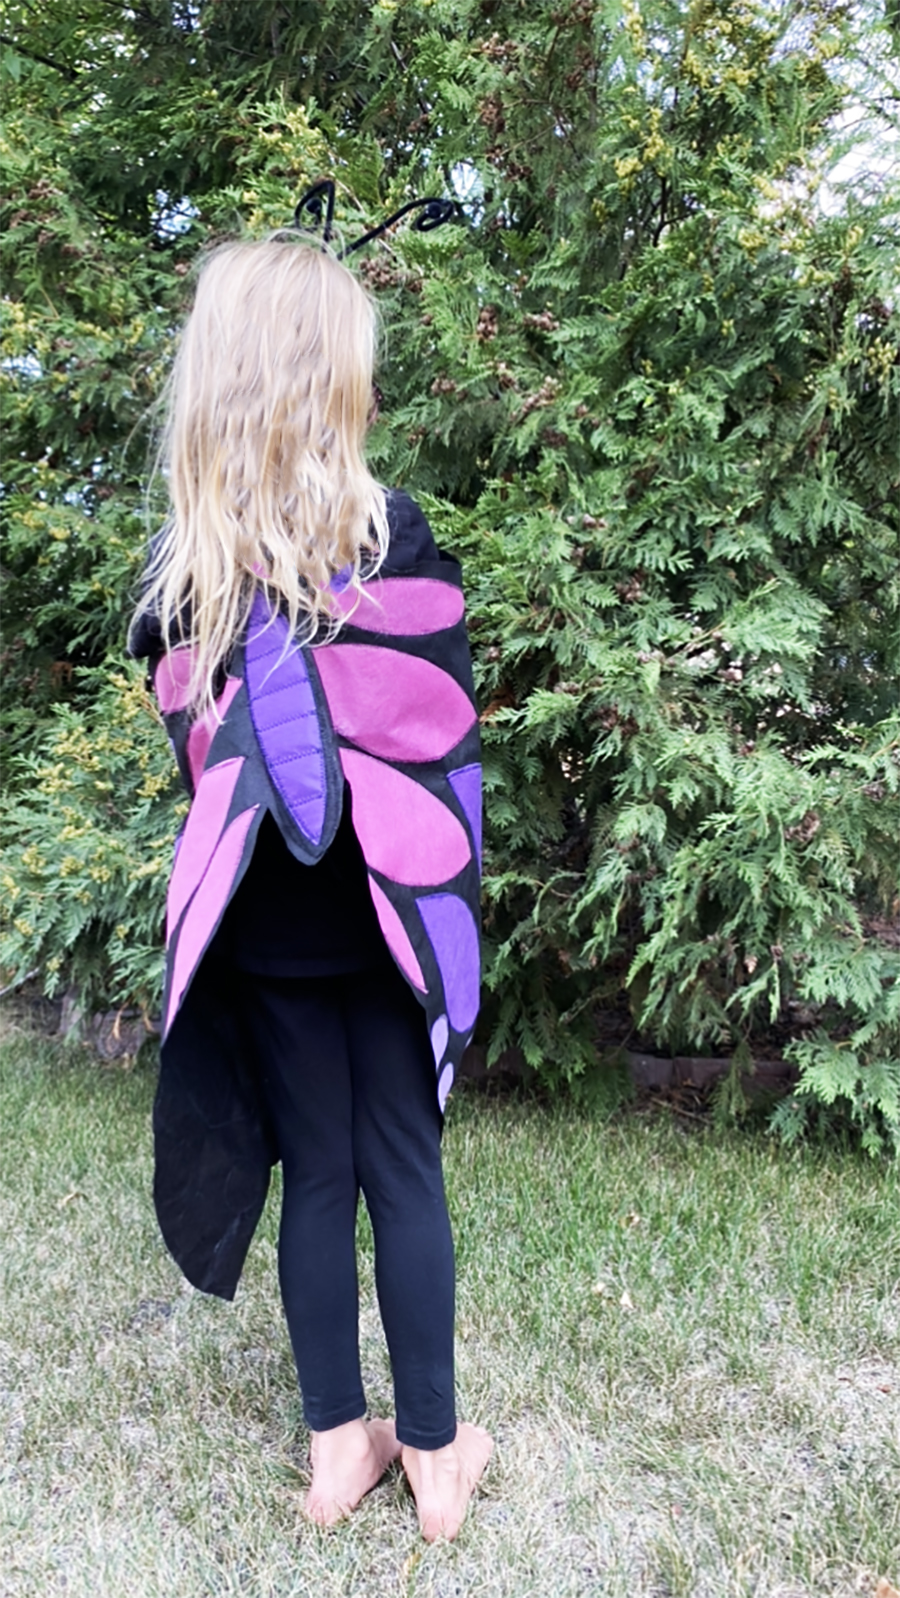
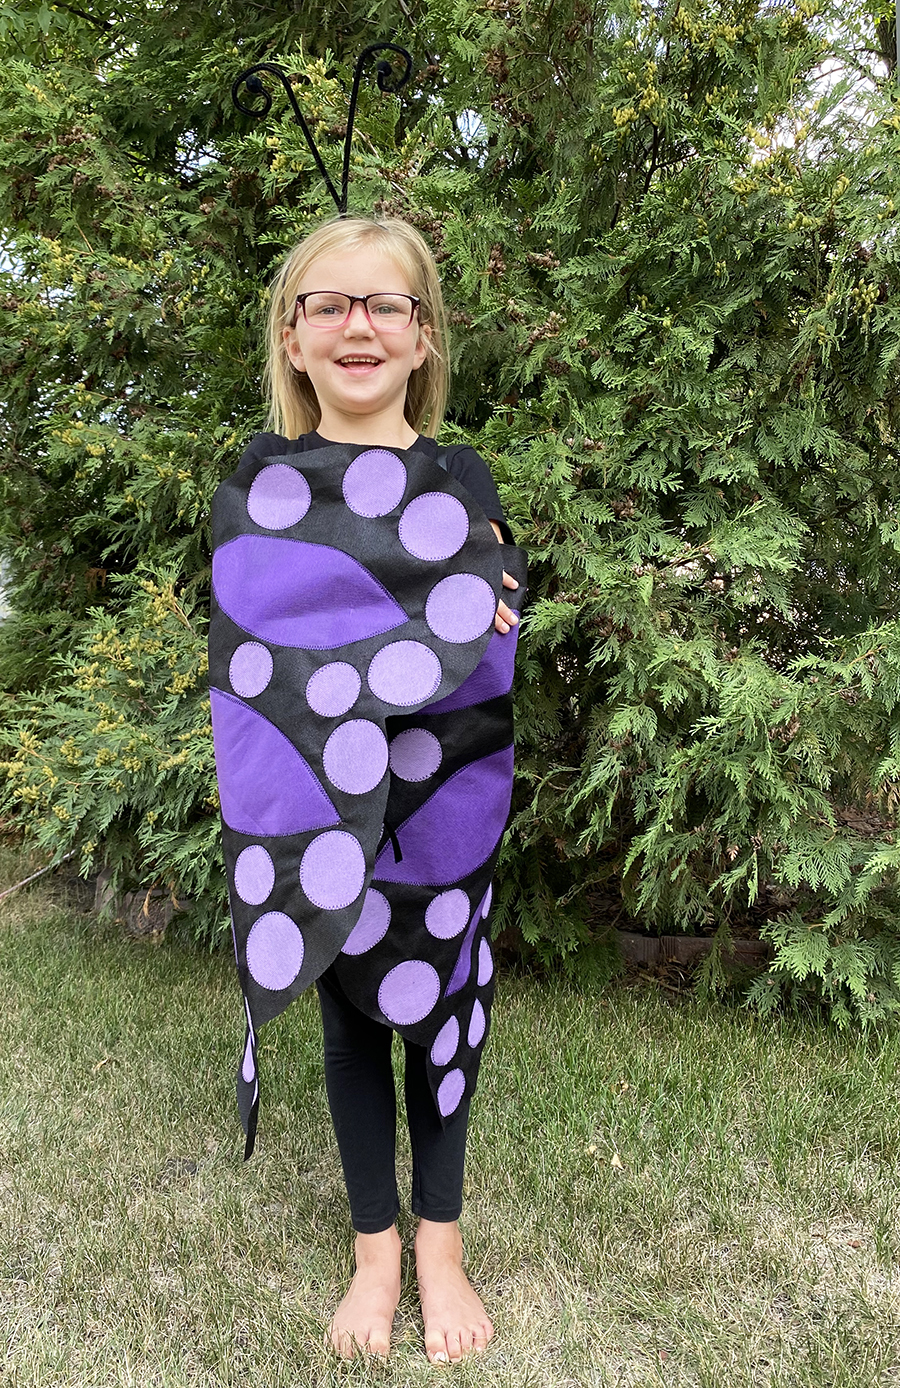
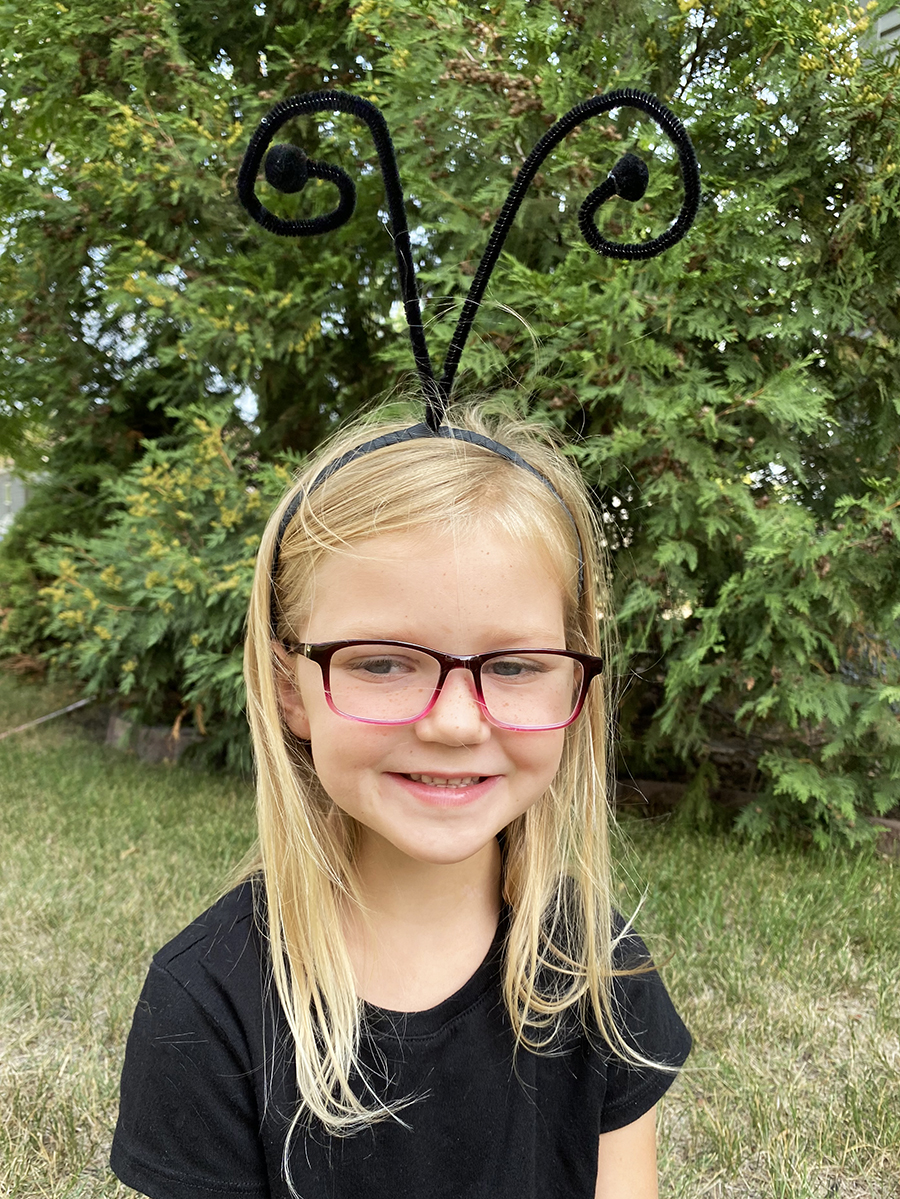
These DIY Oly-Fun* Butterfly Wings are perfect to wrap up in…and they are so much fun! Be sure and make an antenia headband to complete the outfit…with pipe cleaners, ribbon and pom-poms.
Supplies for your very own DIY Oly-Fun* Butterfly Wings:
- FairfieldWorld Oly-Fun*: Black, Pink, Light Purple, Dark Purple
- Toasty Cotton from Fairfield World™
- Sewing Machine
- Ruler
- Pins
- Paper
- Pencil
- Headband
- Pipe Cleaners
- Ribbon
- Elastic
- Pom-Poms
- Scissors
If your looking for some more Crafty ideas the Summer Issue of Bella Crafts is available to download FREE…to grab your copy sign up here!
You might also enjoy these projects using Fairfield World Products:
- Snowflake Rhinestone Pillow
- Easy Buffalo Plaid Pillow
- Velvet Embossed Heart Pillow
- Stenciled Faux Quilted Pin Cushion
- Upcycle a Sweater to a Pillow
Do you Love to Craft?
We do…which is why do two Facebook Lives each and every week. Join us every Wednesday at 12 noon cst and 2:00 pm cst and get crafty with us!
Also, we share projects and have a giveaway (or two) each and every week! If you miss the lives you can watch the replays and still enter for the giveaways…as we draw the winners right before we do our next Facebook Lives so you have time evn if you can not be live with us!
Plus, we also have created a Facebook Group where we share projects, announcments and more! And, we encourage the members to share what they are creating. Afterall, we love to see what everyone is creating too! So, join us and share your crafty projects!