This post may contain affiliate links, when you make a purchase, we earn a commission at no extra cost to you – this helps to keep this website up and to continue to bring you awesome projects like this one!
Creating this Stamped Quilted Table Runner has never been easier…simply Stamp and Quilt, oh so easy!

I created this with my 3″ Background Basics Stamps so it came together in about an hour.
Here’s how to make your own:
Step 1:

Start the first row approximately three inches down from one of the short edges of one piece of muslin. Stamp once with the color of your choice using a square background basic of your choice, leave it in place and then, stamp the second row…again with colors of your choice and 2 different patterns of the square background basics stamps.
Step 2:

Continue with the third row using the colors of your choice and 3 square background basics stamps in different patterns. For the forth row stamp with 1 triangle, 2 squares and followed with 1 triangle. Continue rows three and four, 5 times. Then, repeat rows 3, 2 and 1 to finish the out the pattern.
Step 3:

Heat set with an iron.
Step 4:

Sandwich the Soft & Toasty batting between stamped pattern and the second piece of muslin.
Step 5:

Stitch between all of the rows of the stamped images.
Step 6:

Then, stitch around the outside edge of the stamped pattern.
Step 7:
Trim close to the stitched outer edge through all layers.
Step 8:

You can either stitch or glue trim along the outer edge.

Supplies:
- Ann Butler’s Crafter’s Ink, assorted colors
- Ann Butler Background Basics: Squares and Triangles, assorted
- Fairfield Soft & Toasty Batting
- Trim, Cream
- Iron
- Pins, optional
- Sewing Machine
- Baby Wipes

Today is the third day of Creative Fall Crafts hosted by Laura, Meg, Beth and myself…check out the projects below for some more great Fall projects!
Book Stacks are HOT right now and Beth shares how to create a Book Stack for Fall with items from the Dollar Store.

Laura created a fun Autumn Leaves Wreath using cherry and bright colors of felt, oh so easy!

Have you always wanted to create a Custom Haunted House? Jenny over at Jenny’s Crayon Collection share just how you can!!

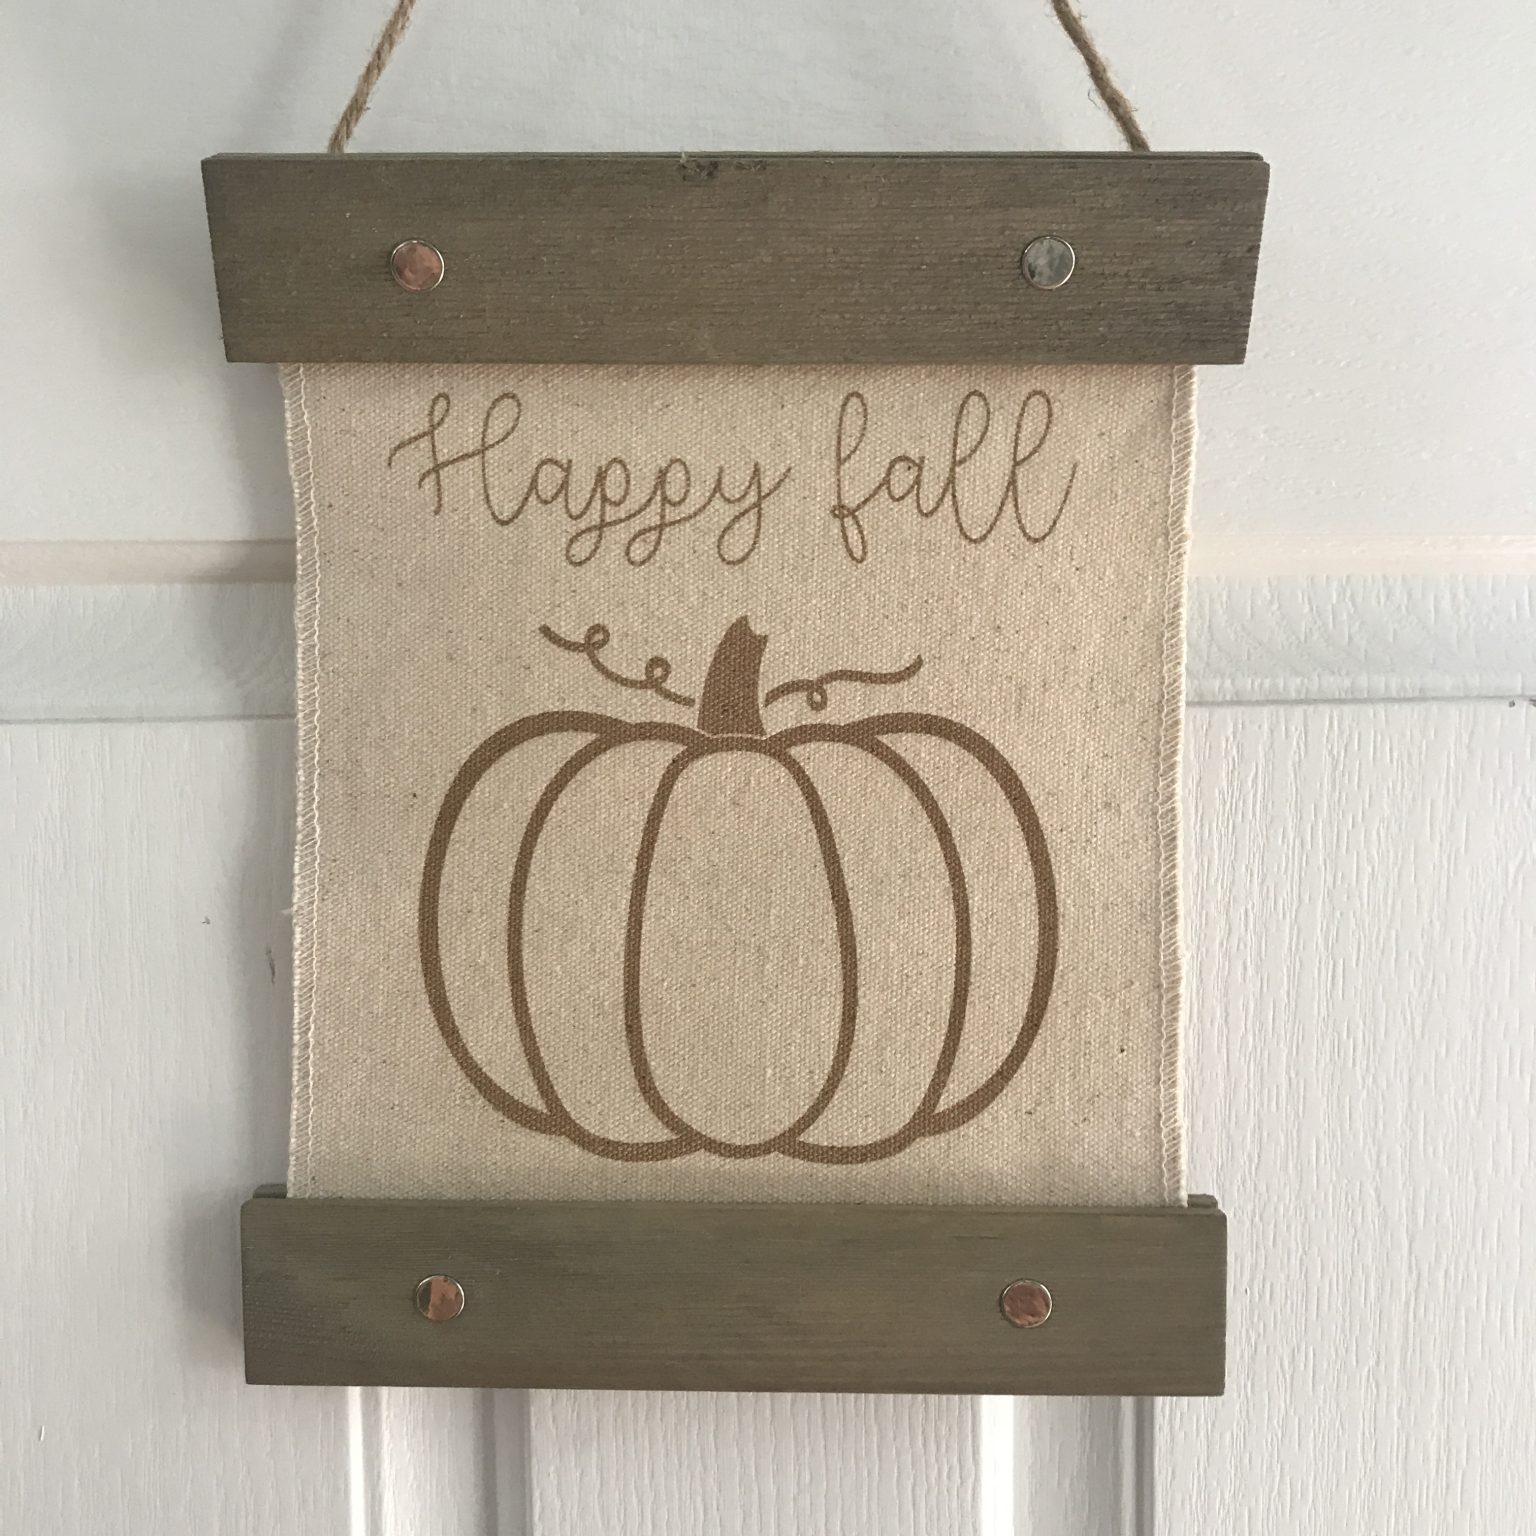
Katie over at A Sweet Berry Designs created an Engraved Happy Fall Sign on Canvas with her Glowforge…you have to check out how she did it!
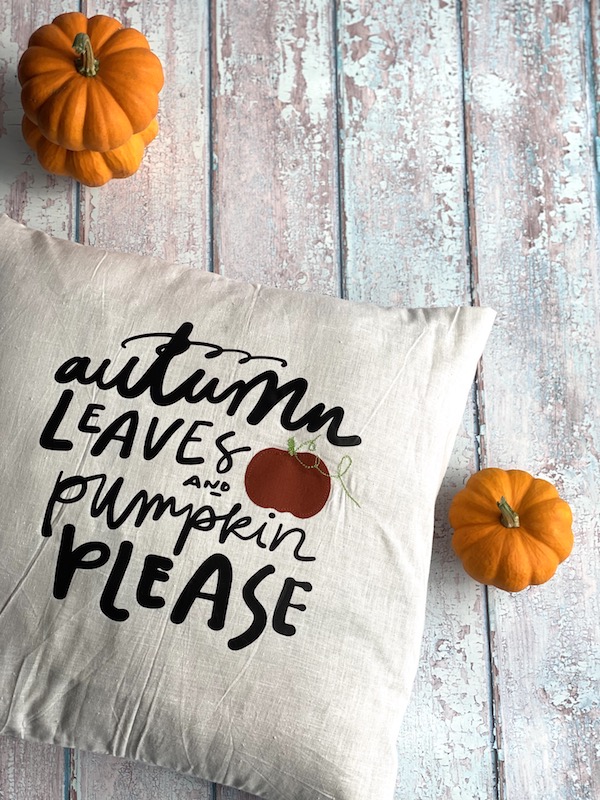
Marissa over at Rae Gun Ramblings created a Quick & Easy Fall Autumn Leaves and Pumpkin Pillow that would fit perfectly in any home.
If your looking for Fast and Easy Debra over at Debra Quartermain Designs has you covered with these cute Felt Pumpkins made in 30 minutes or less!

Morena with Morena’s Corner shares a DIY Gather Sign with metallic painted letters and a pallet sign which would look great displayed on a mantle.

Here is a link to yesterdays projects if you missed them!

I love all the colors in this!
Thanks so much!!