Please note: This post contains affiliate links. If you use these links and make a purchase, we earn a commission at no extra cost to you…
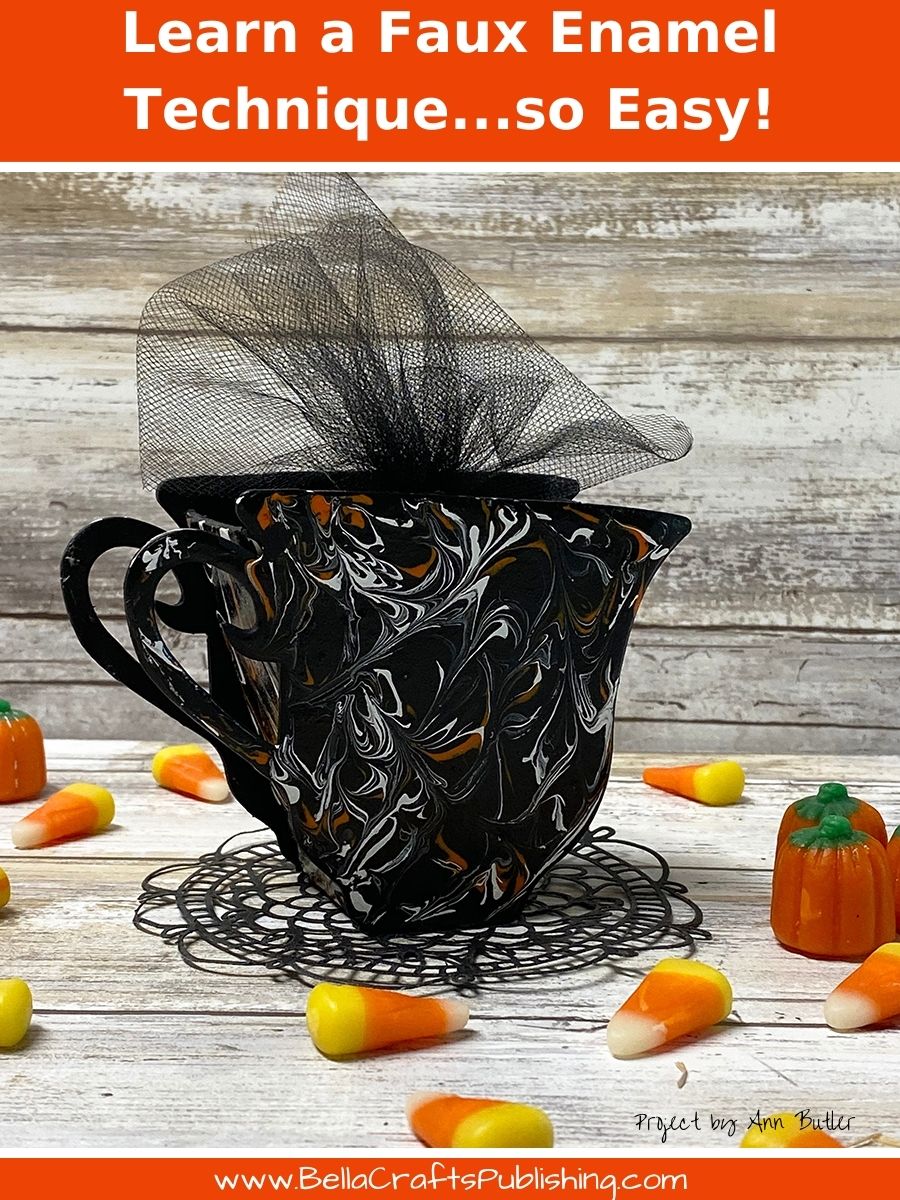
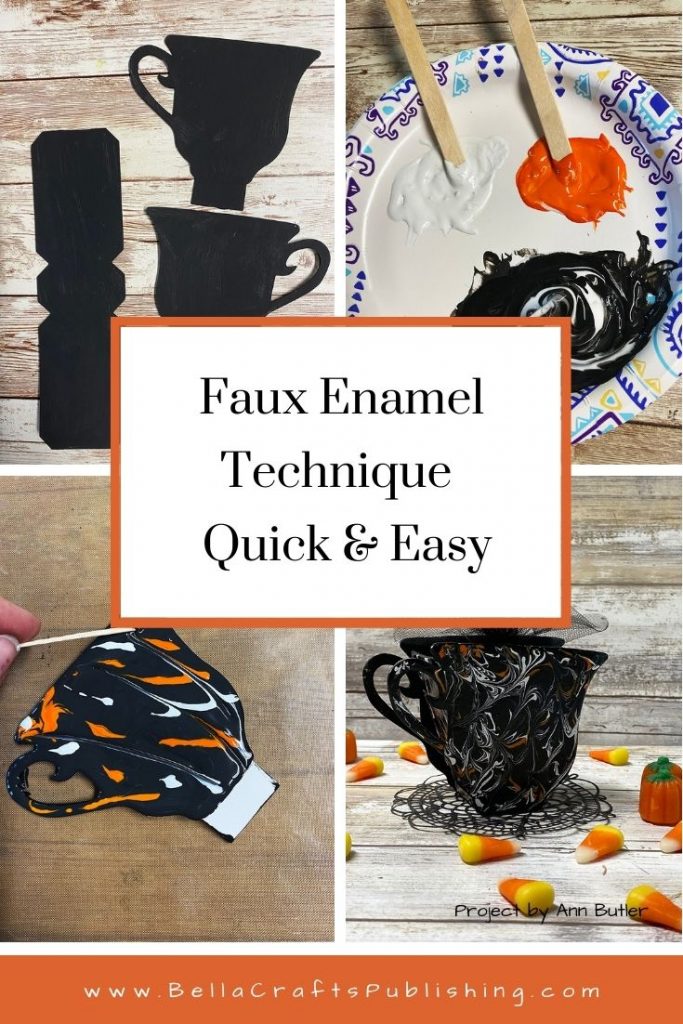
I LOVE this Enamel Paint Technique! It is so easy and the results are amazing…

This is a Unique Party Favor you will want to Create!
Here’s how to make your own:
Step 1:
Die cut your Tea Cup being sure to cut two of the cup and one side section.
Step 2:
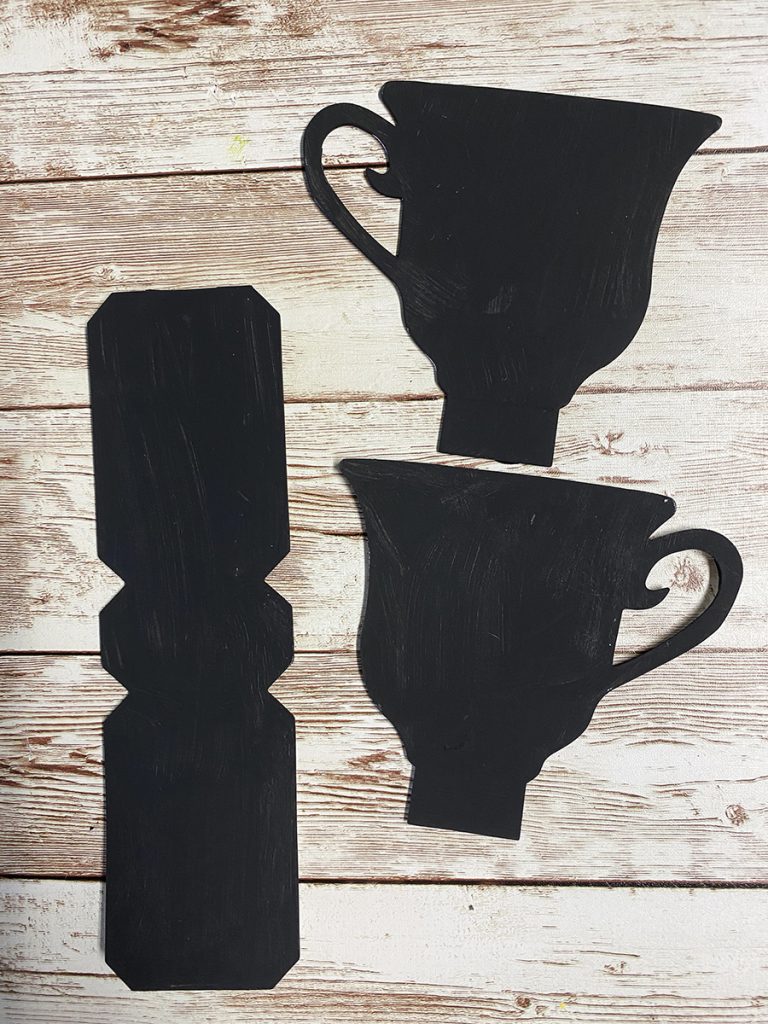
Paint one side of your die cut pieces as shown.
Step 3:
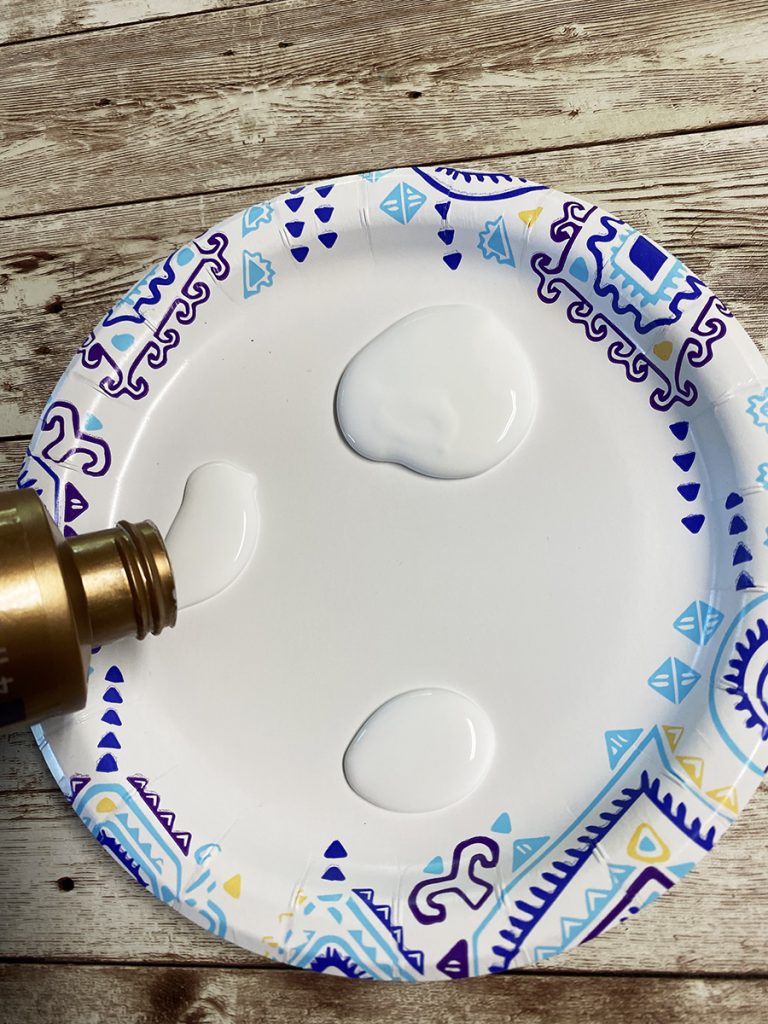
Pour small amount of glue onto a paper plate.
Mix paint into glue at about a 3 parts glue to 1 part paint ratio. Be sure to add white paint to glue also, as the glue dries clear not white.
Step 4:
Fold sections at score lines, folding away from the score line for a clean fold.
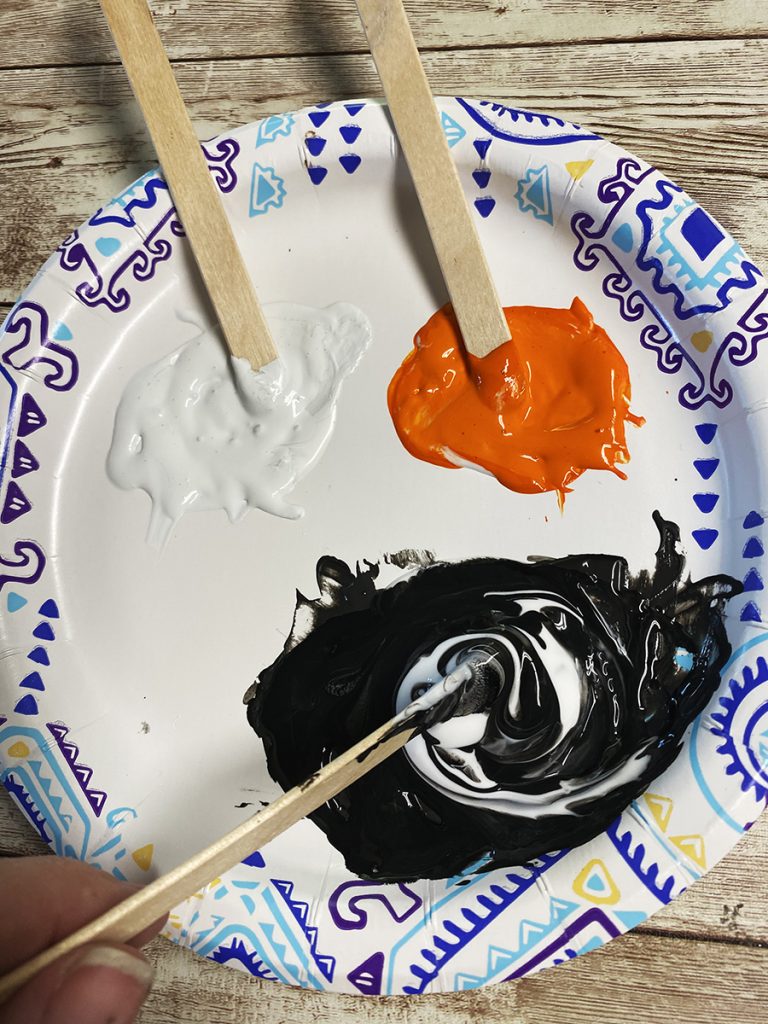
Step 5:
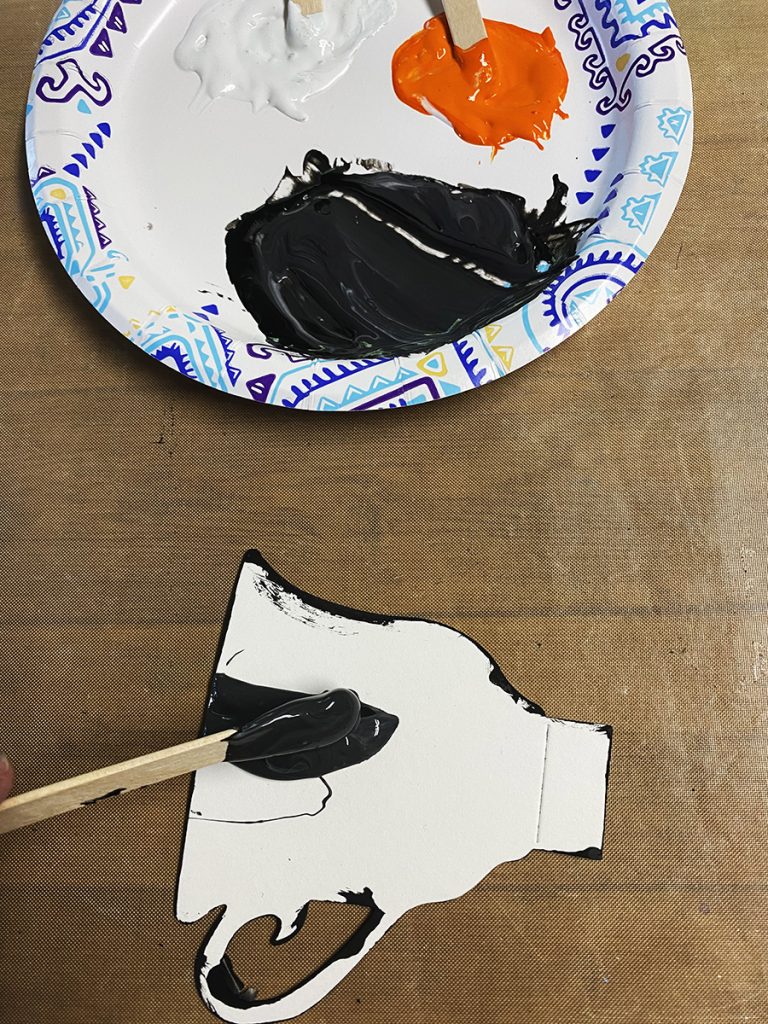
Spread black mixture onto unpainted side of one tea cup piece, leaving the tab to use as a handle.
Step 6:
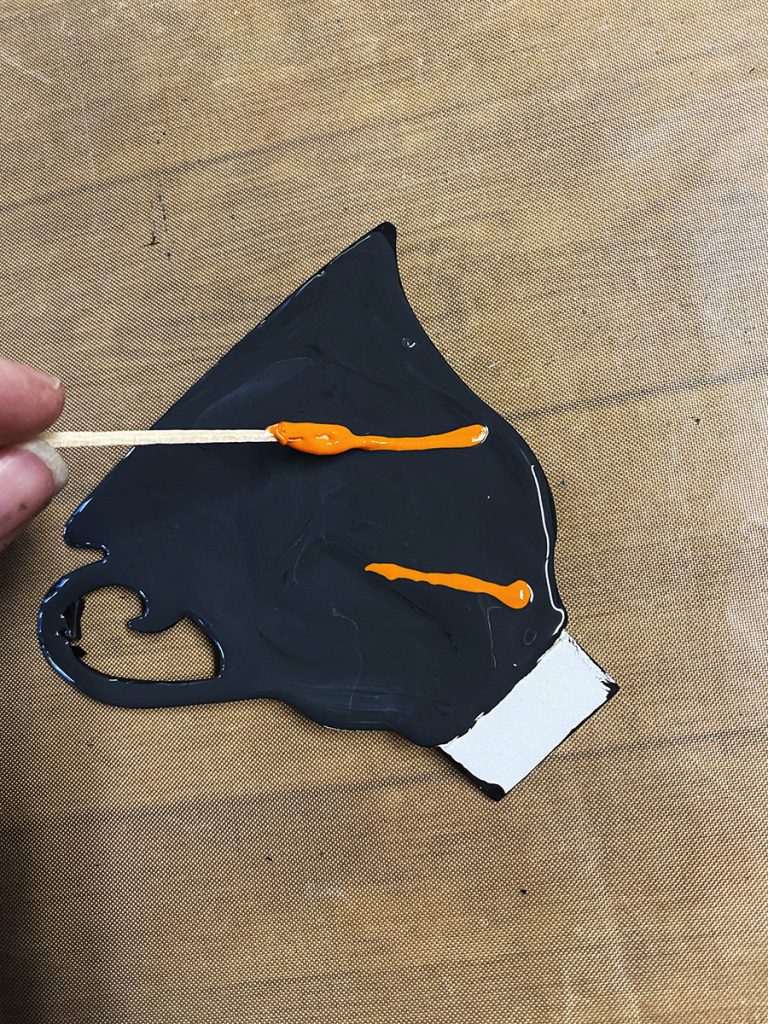
Randomly drizzle the orange enamel mixture onto tea cup. Repeat with the white enamel mixture.
Step 7:
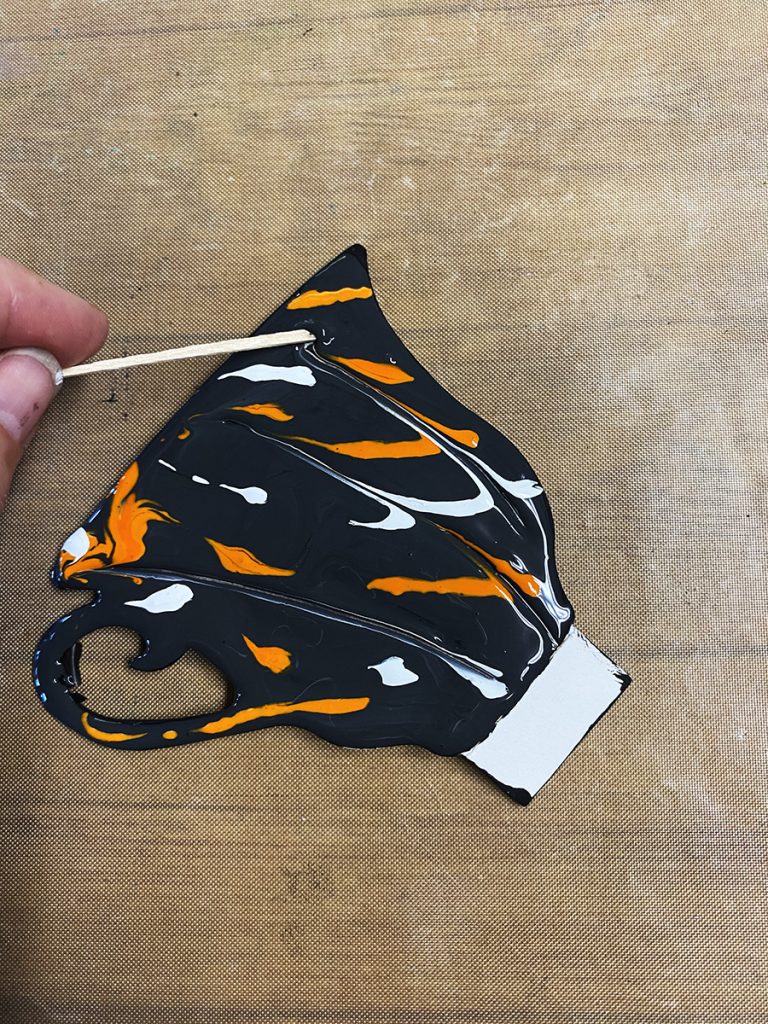
Using a toothpick, pull the colors through being sure to wipe toothpick off in between each pull. Add more orange and or white as needed until you are happy with the marbled result. Repeat for the other tea cup section and side section. Set aside to dry, overnight.
Step 8:

Trim the bottom tab off of the tea cup sections. Hot glue the sections together to form Tea Cup. Fill with treats.
Isn’t this Enamel Paint Technique great? What will you use it to create?
Supplies:
- Eileen Hull’s Tea Cup Die
- Sizzix Big Shot
- Mat Board (2)
- Aleene’s Tacky Glue
- Acrylic Paint: Black, Orange, White
- Craft Sticks
- Toothpicks
- Baby Wipes
- Paper Plate
- Glue Gun

Today is the second day of Creative Fall Crafts hosted by Laura, Meg, Beth and myself…check out the projects below for some more great Fall projects!
Beth created the most adorable Dollar Store Bandana Pumpkins over at CreativelyBeth.

Laura blogs over at Me and My Inklings created this adorable Hand Painted Sign would look good on any doorstep.

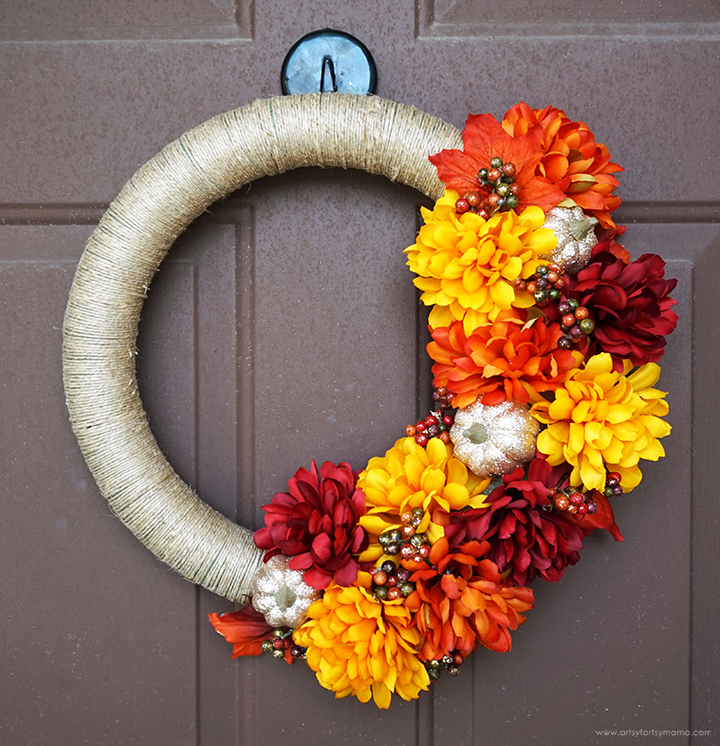
Lindsay over at Artsy Fartsy Mama created a stunning Fall Wreath using jute, fall flowers and glittered pumpkins.
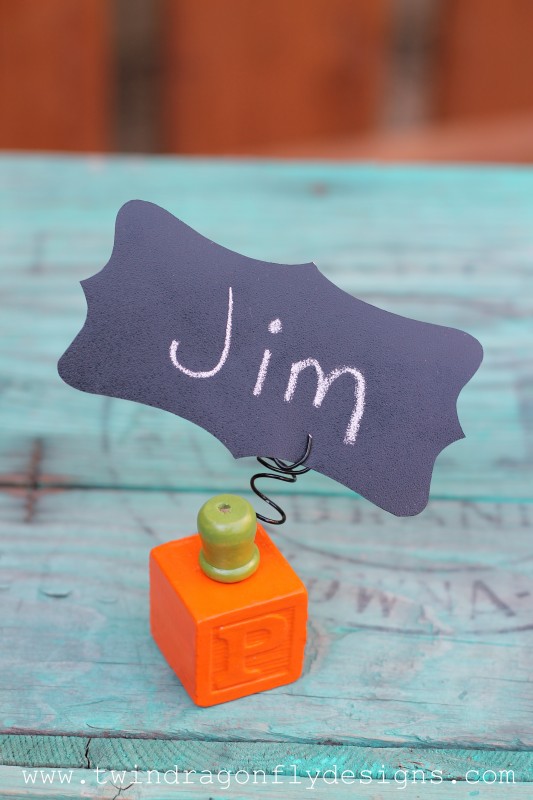
Heather over at Homemade Heather created a cute little upcycled Pumpkin Block Place Card Holders from kids alphabet blocks.
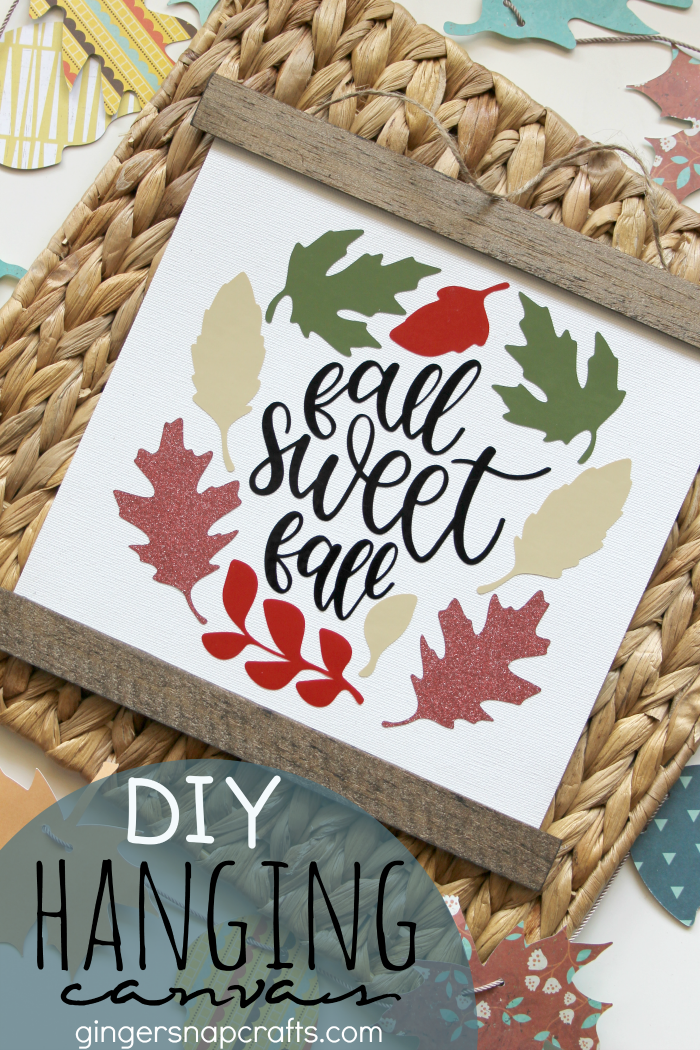
Ginger with Ginger Snap Crafts used her Cricut to create a Fall Sweet Fall DIY Hanging Canvas that is quick and easy.
Erin takes a Dollar Tree Wooded Pumpkin and up creates a wonderful home decor piece.

Susan lives in Florida and created a Fall Beachy Themed Welcome Wreath that will welcome Snow Birds all winter long.

These are AWESOME fall decorating ideas! Just by changing up the colors, any could be made for different seasons.
Thank you Marjorie!