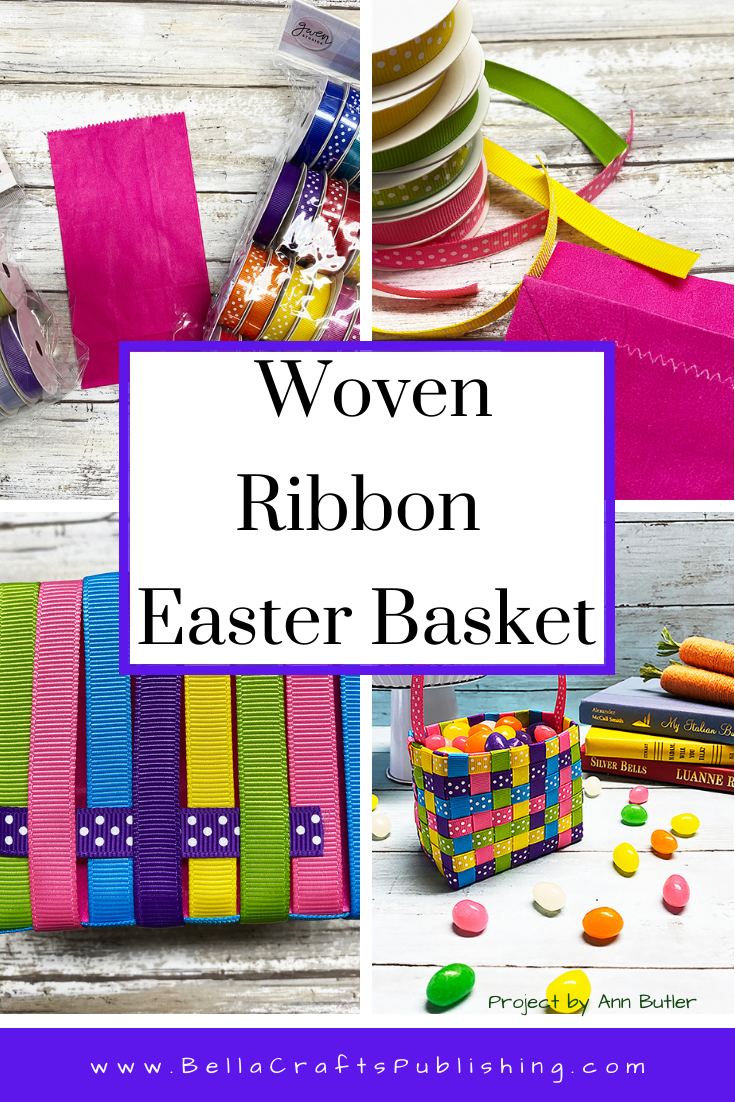
This Woven Ribbon Easter Basket is spectacular! It takes a bit of time but is so worth it for the end results…
Please note: This post contains affiliate links. If you use these links and make a purchase, we earn a commission at no extra cost to you…
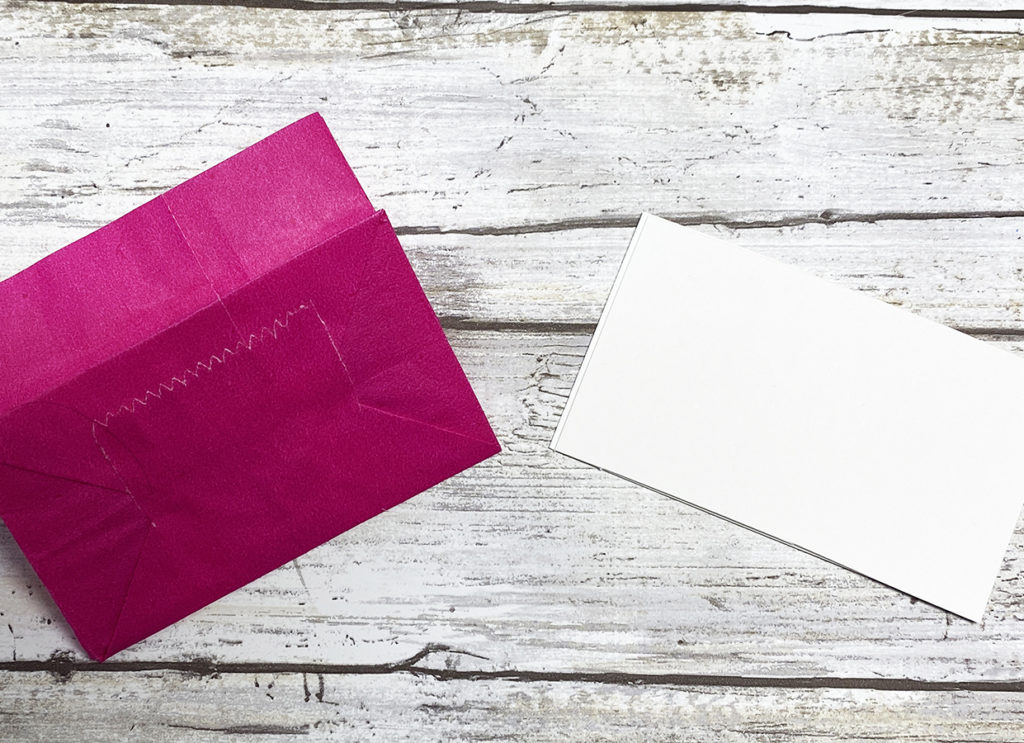
Steps One, Two, Three:
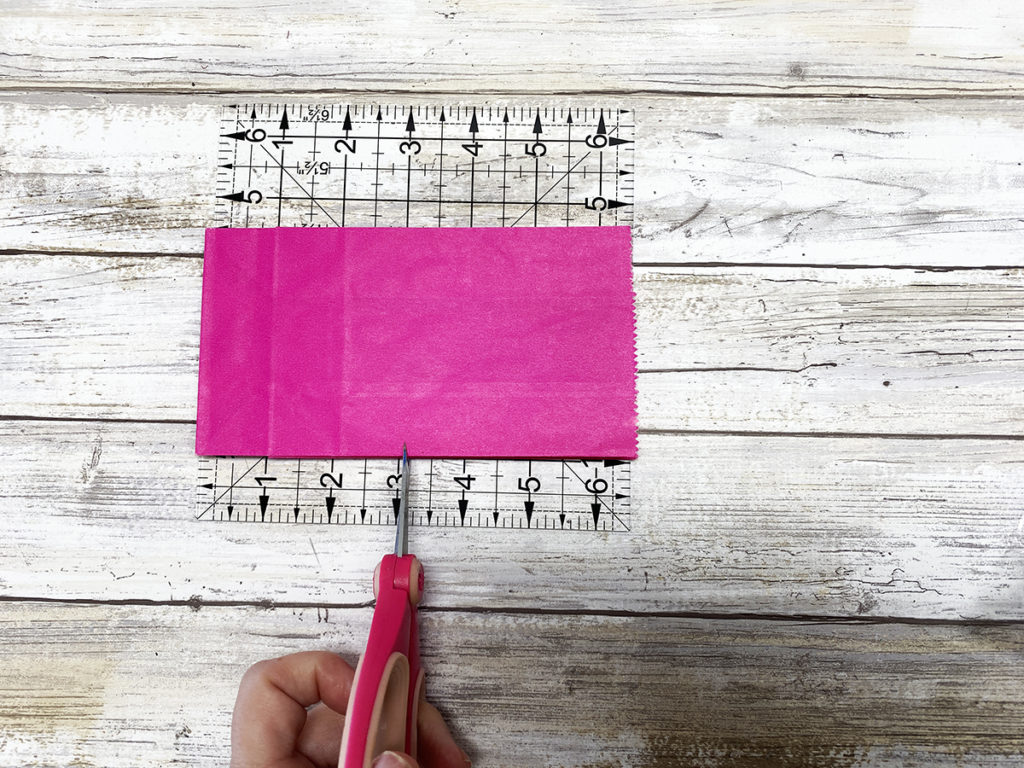
Measure and cut the bag three inches from the bottom.
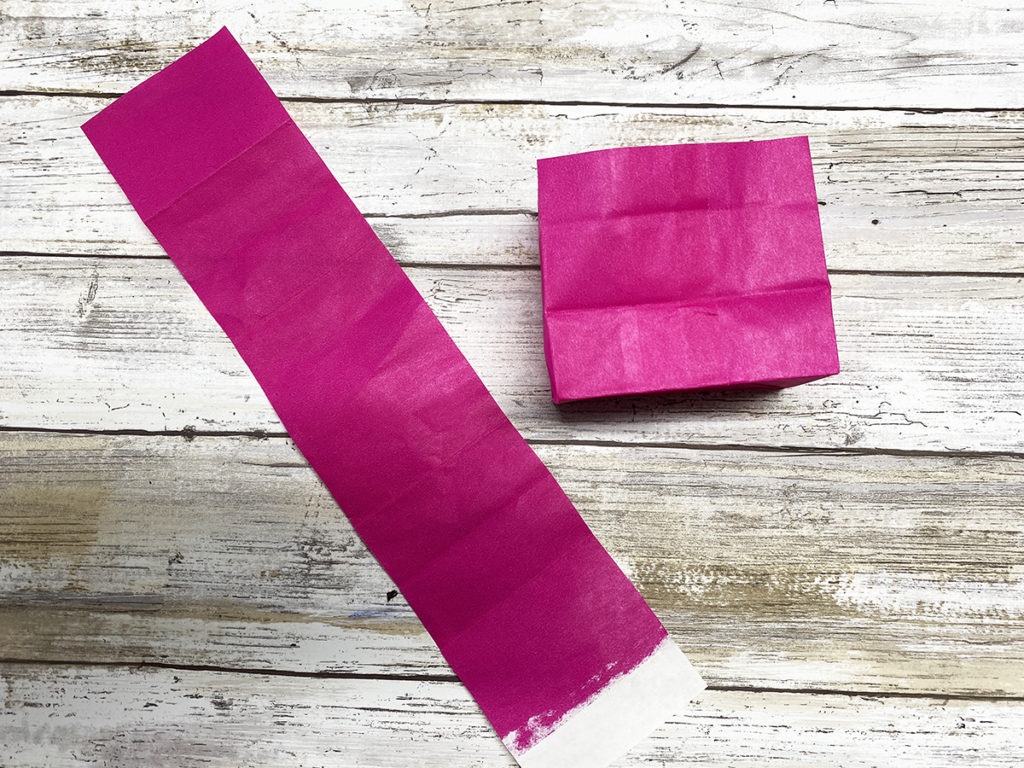
Open the cut portion and flatten.
Glue the top toption the the inside of the bag, wrong sides together. This will strengthen the bag a bit.
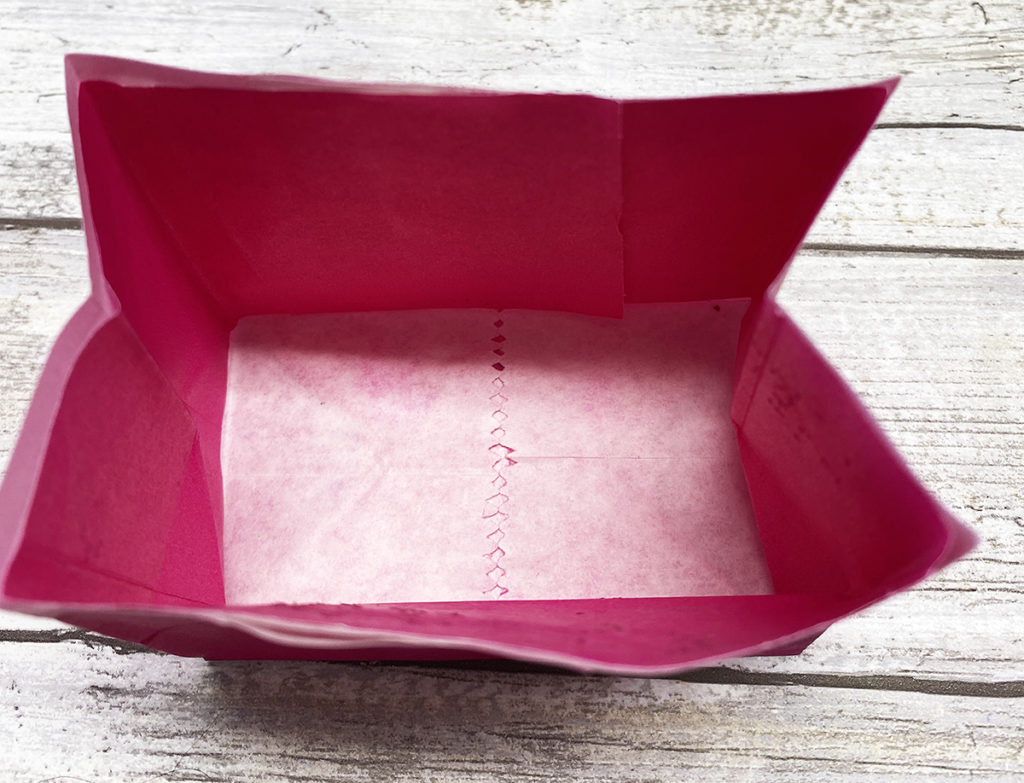
Steps Four, Five, Six:
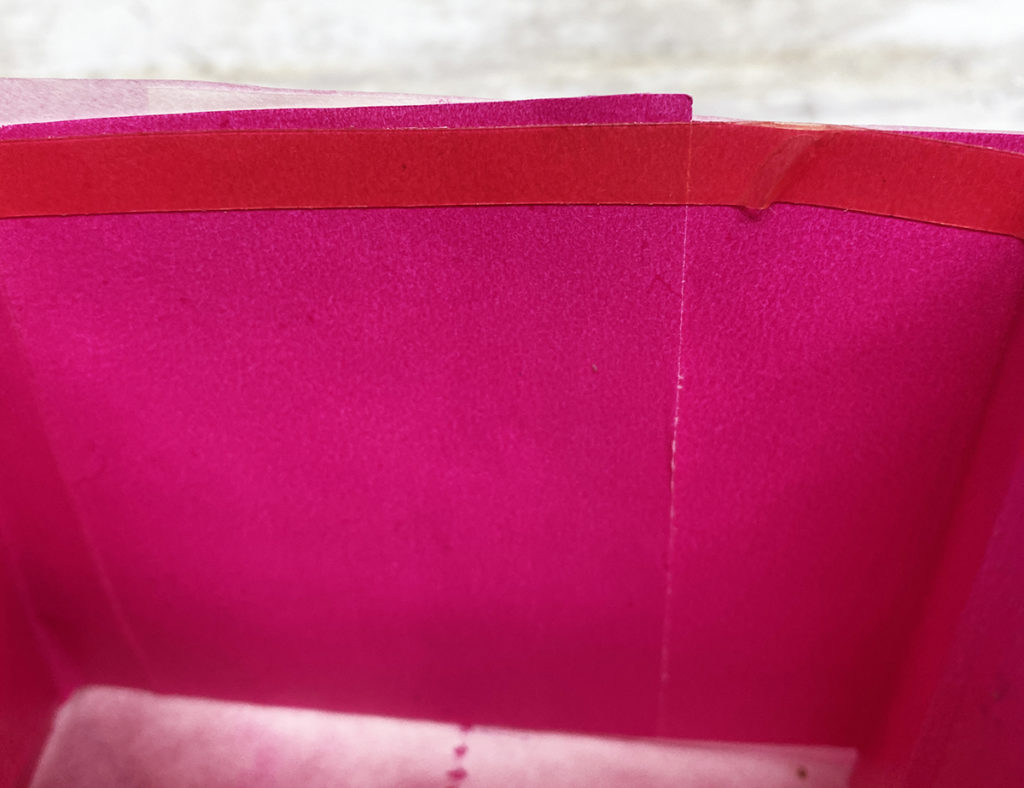
Measure the bottom of the bag. Then, cut a piece of cardstock that size. Set aside.
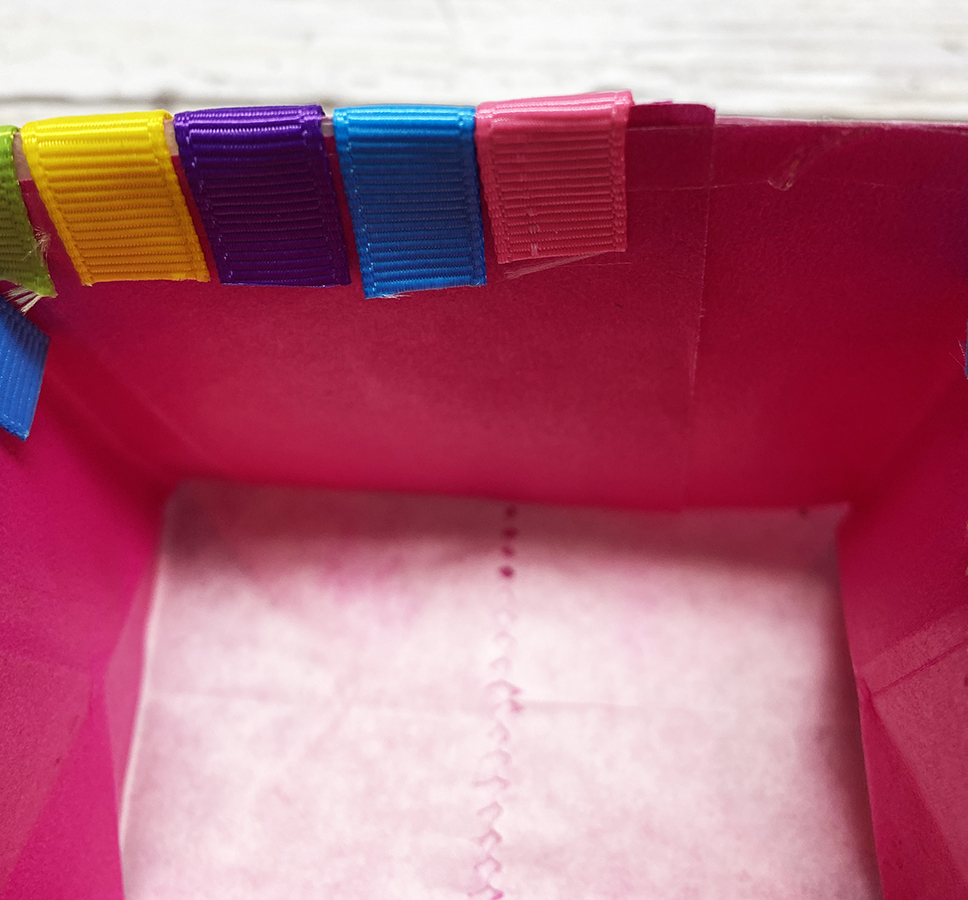
Apply red liner tape around the inside edge of the bag. Pull away the liner to expose the tape.
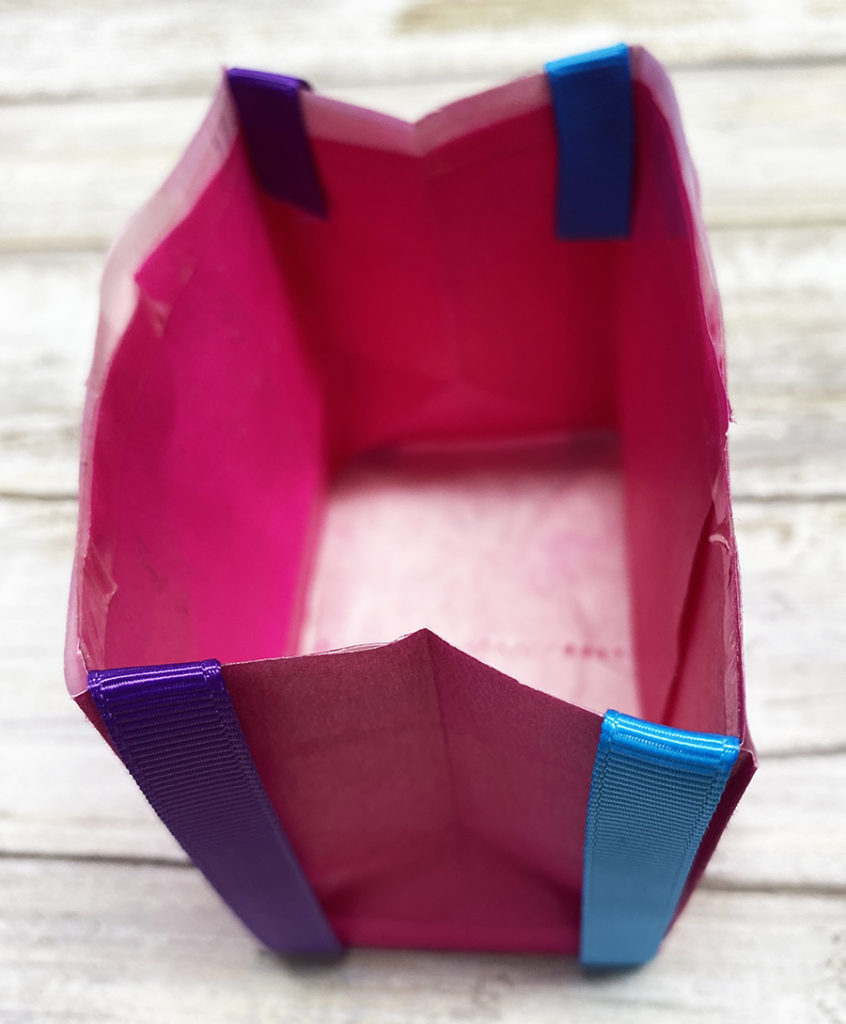
Cut five pieces of ribbon in various solid colors eleven inches. Starting on the left side edge, place the end of one ribbon to the inside of the bag, over the tape. Wrap the ribbon down the side, around the bottom and up the other side bringing the other end inside the side covering the tape.
Repeat step six with a second piece of ribbon on the right side edge.
Steps Eight, Nine, Ten:
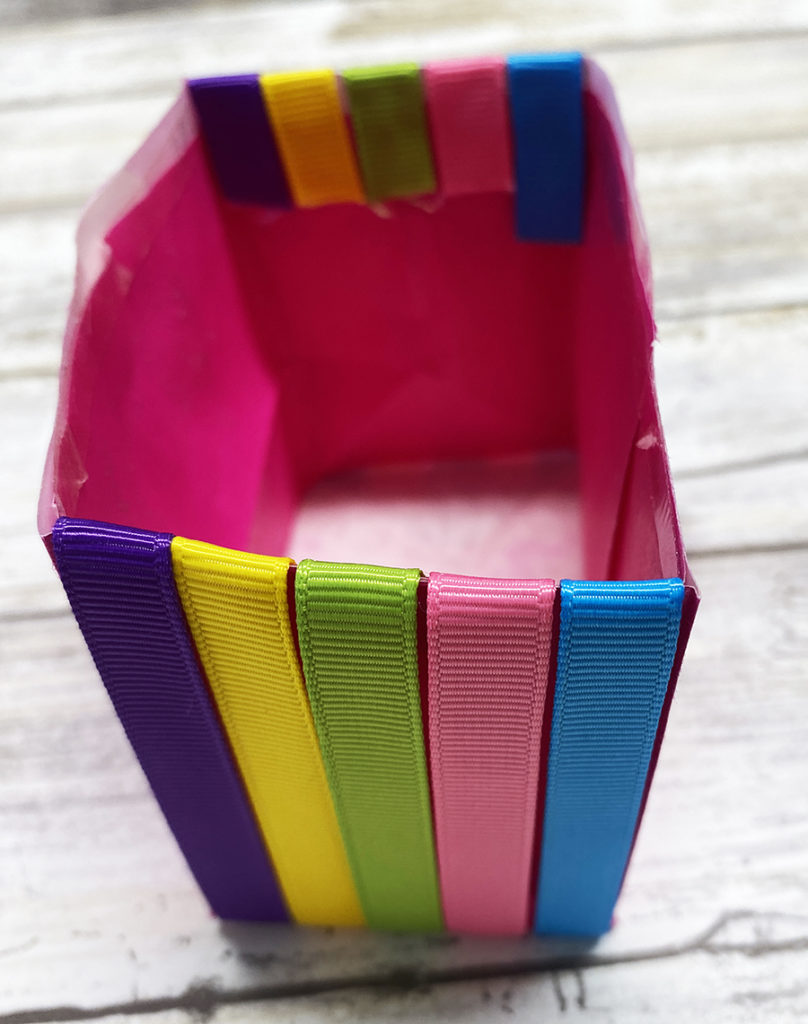
Add the next three ribbons to the bag inbetween the first two ribbons following the directions in step six.
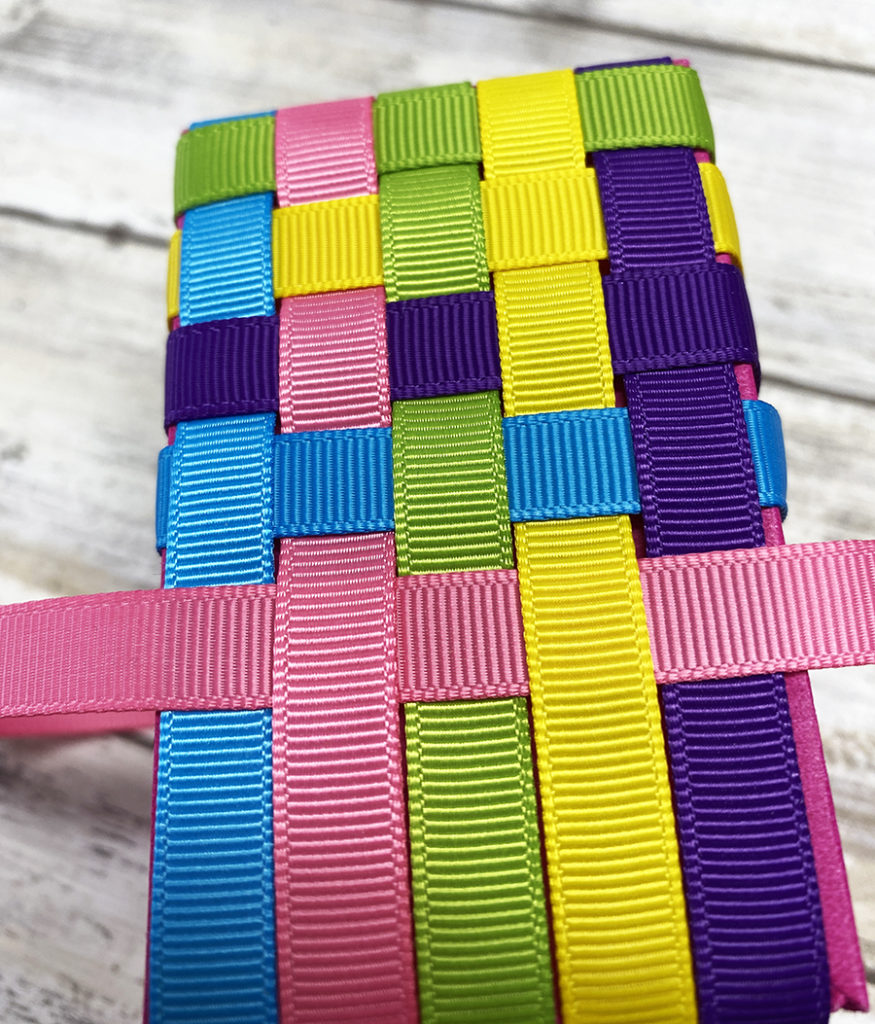
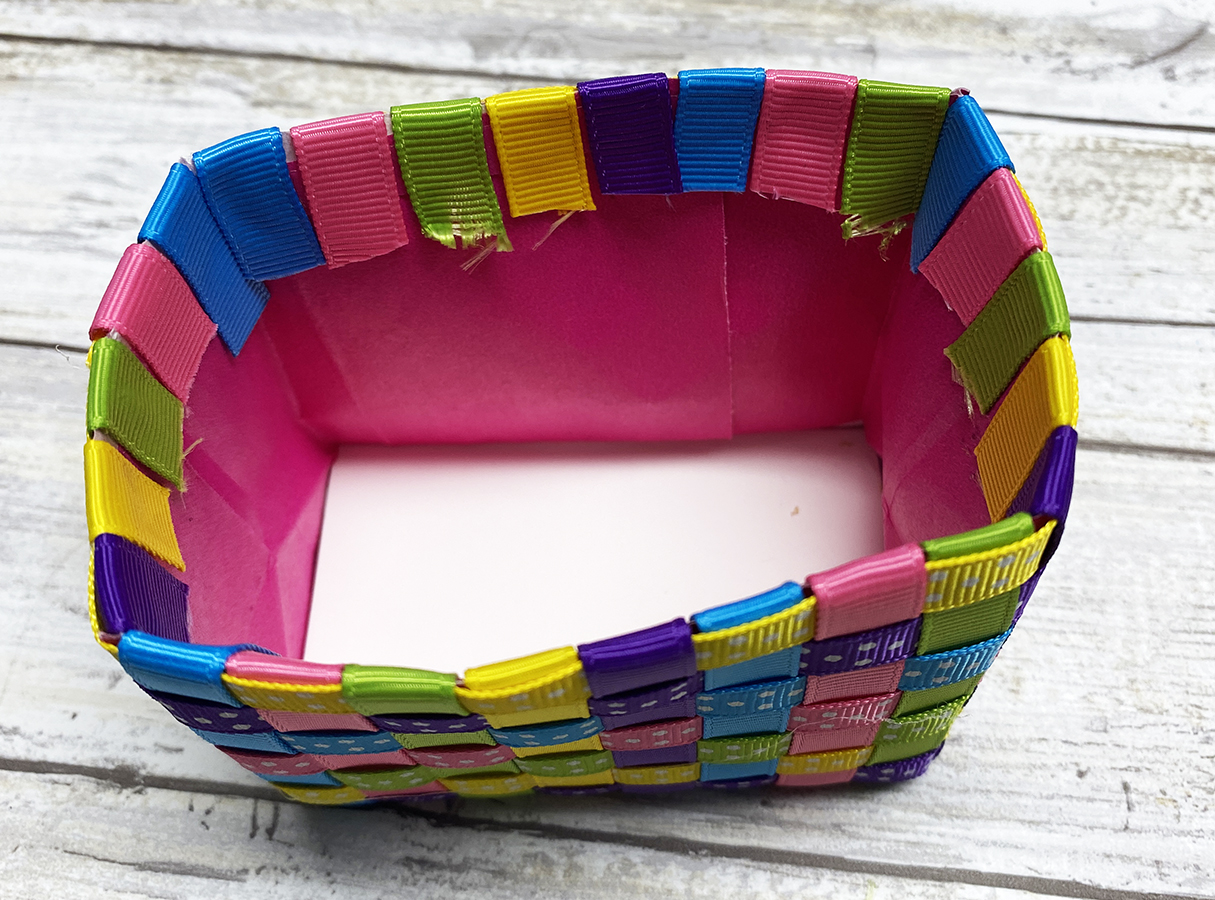
Cut seven ribbons in assorted solid colors nine inches long. On the bottom of the bag weave the ribbons over and under the existing ribbons on the bag.
Bring the ribbons up the front side of the bag and adhere to the inside over the tape. Then, bring up the back side of the bag and attach the inside over the tape.
Steps Eleven, Twelve, Thirteen:
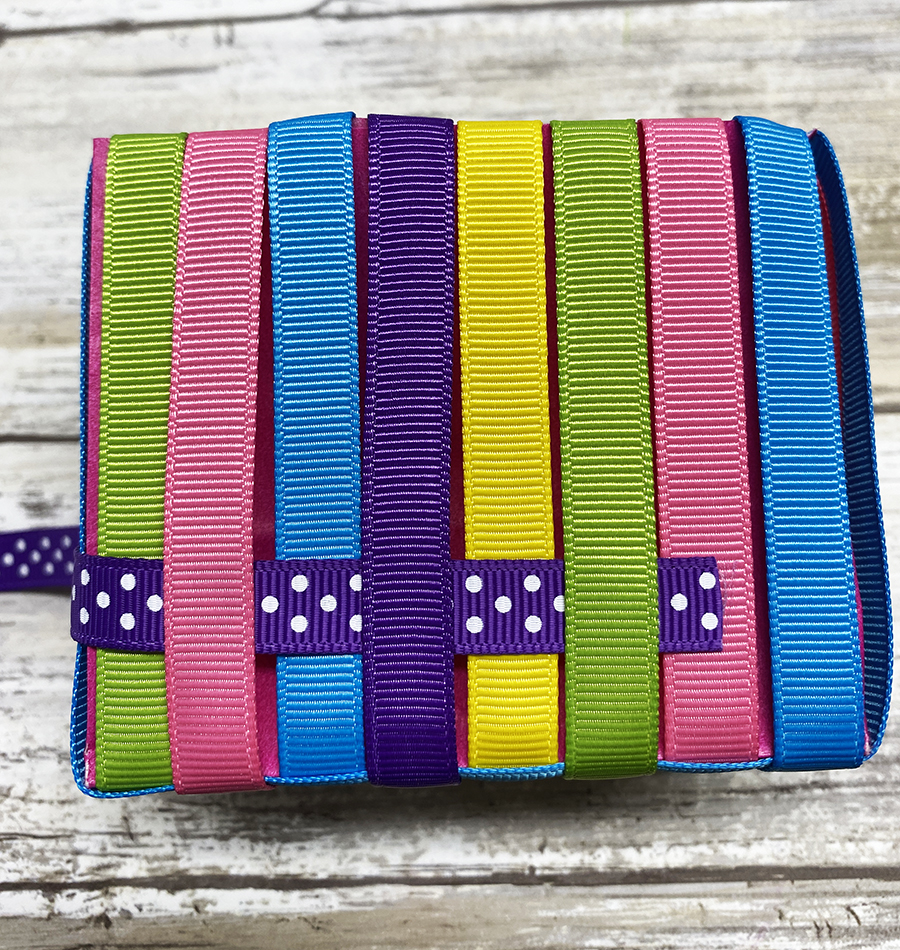
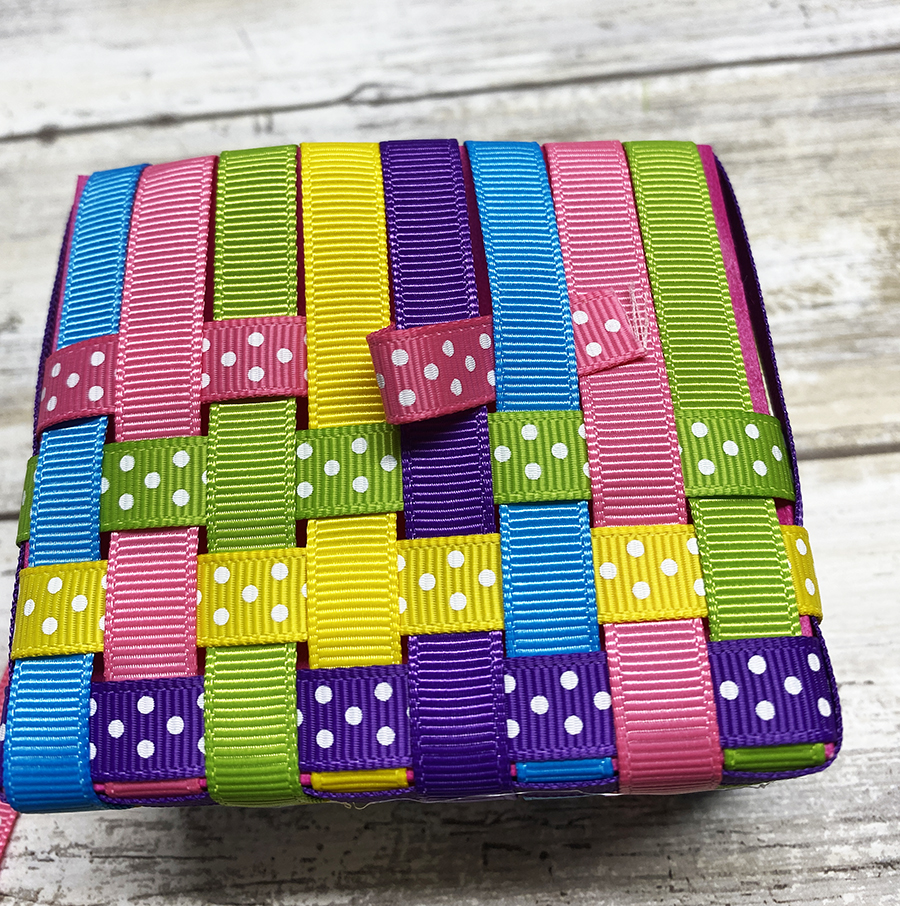
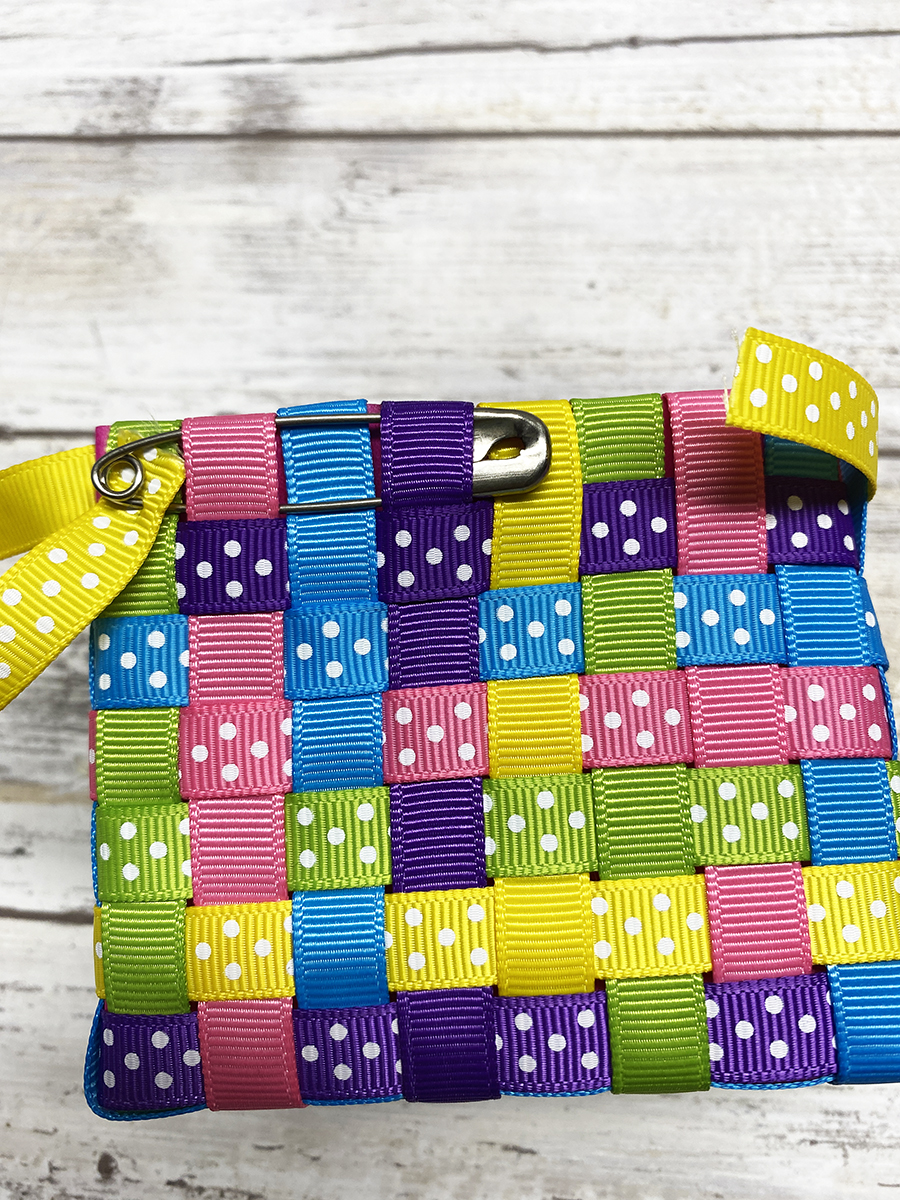
Cut seven pieces of polka-dot ribbon in assorted colors thirteen inches long. Beginning at one edge and near the bottom of the basket weave one ribbon over and under the ribbons on the bag, all the way around. Glue the end, trimming if needed and place under one of the ribbons so you will not see the raw edges.
Repeat step eleven for the remaining ribbons…
Pushing the polka-dot ribbons close together. For the last row, attach a saftey pin as it will make it easier to weave.
Steps Fourteen, Fifteen, Sixteen:
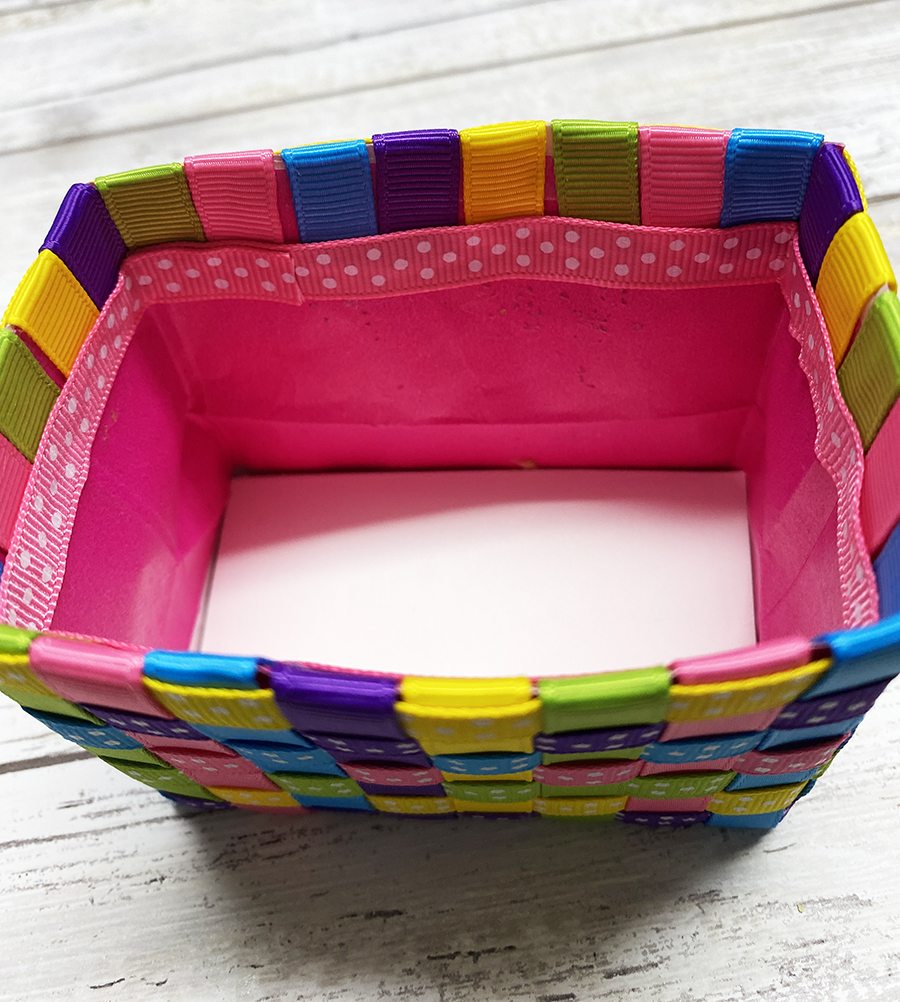
Place the cardstock you cut in step four in the bottom of the bag. Trim ribbon ends so they are about the same length, if needed. Apply red liner tape to the inside of the bag at the edge of the ribbon ends, remove the liner.
Cut pme piece of polka-dot ribbon thirteen inches long, in color of choice. Attach to the inside on the tape.
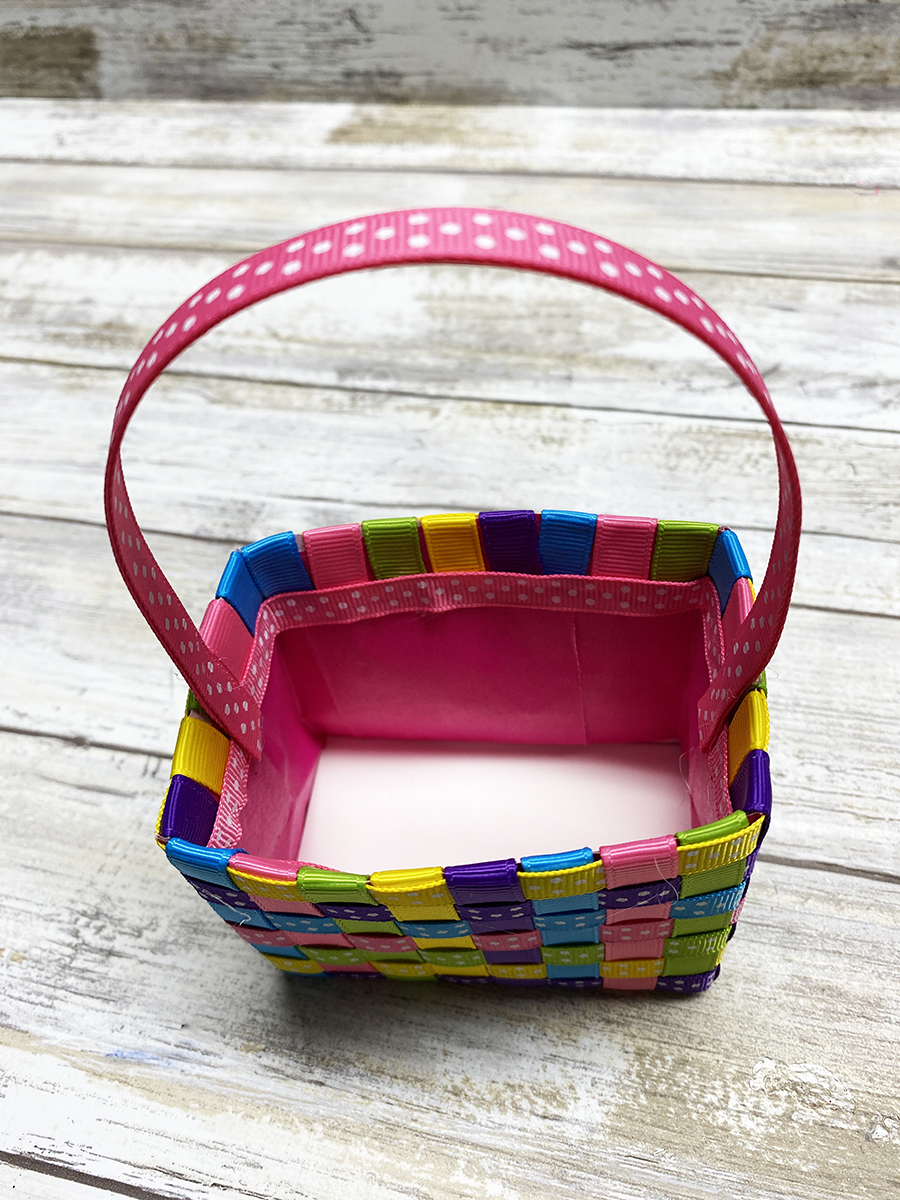
Measure and cut two pieces of polka-dot ribbon nine inches long,in color of choice for the handle. Glue the two ribbons together with the wrong sides facing. Center and attach to the inside of the bag at the sides.
The possibilities for creating these Woven Ribbon Easter Baskets are endless with the wide variety of ribbons from Gwen Studios! Change the size of ribbons and bag to get the look you want.
Here is another PIN to share!
Woven Ribbon Easter Basket Supplies:
- Ribbons from Gwen Studios, 3/8″ Grosgrain Ribbon, assorted solid colors
- Ribbons from Gwen Studios, 3/8″ Grosgrain Ribbon, assorted polka-dot colors
- Red Liner Tape
- Bag, 6″ x 3 1/2″
- Ruler
- Scissors
- Ultra Bond Adhesive
- Saftey Pin
Great idea! Love the colors!