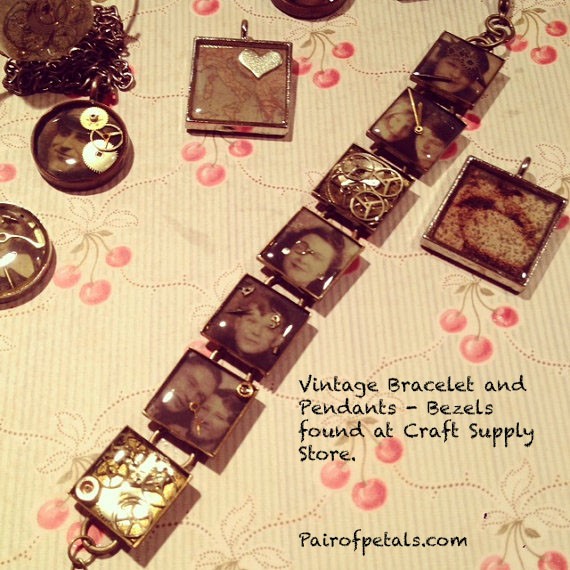
Vintage Resin Jewelry
I just love all things quirky, vintage, Steampunk…mix all those things together and you get these amazingly fun pendants that can be worn, used as key-chains, or given as thoughtful gifts. I was inspired by this project when I came across a few sheets of Tim Holtz craft paper that featured old photos on it.
You will need:

-Resin and Hardener
-Bezels
-Vintage Photos/Photo Paper
(I used Tim Holtz “Lost and Found” Paper-which featured page of vintage photos.)
-Straw
-Popsicle Stick
-Vintage Photos/Photo Paper
-Watch pieces/Parts (purchased from craft supply store or harvested from old watches)
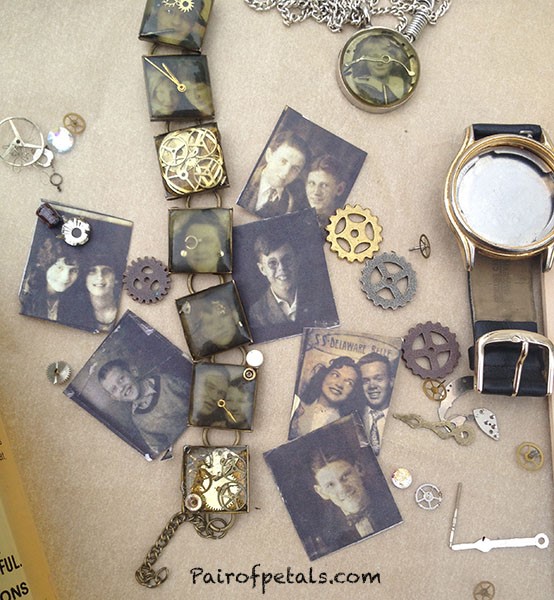
You will need to lie out all your materials in a clean and neat space. Resin is tricky; you don’t want any little particles ending up in your project. First, cut desired photo and place in bottom of bezel. Use broken watch pieces and lay on top of photo in your own composition that compliments the photo.
Next, you will need to prepare your resin. This is the most important part in the process. Please read the directions that are specific to your resin. *The craft supply store sells plastic marked cups that will allow you to measure properly. I have also used a plastic spoon to measure as they can be disposed of after use (use one for resin and one for hardener).
Use the Popsicle stick to mix, continue mixing until the mixture begins to mix and slightly thicken. *I used EnviroTex polymer coating Resin. It has a yellow tint to it, giving the final project a more unique and vintage feel. Pour the resin mixture into the bezel, making sure not to over pour. Over pouring gets messy and is really hard to get off the final project. A nice perfect pour will result in a domed finish (given you purchased “doming” resin).
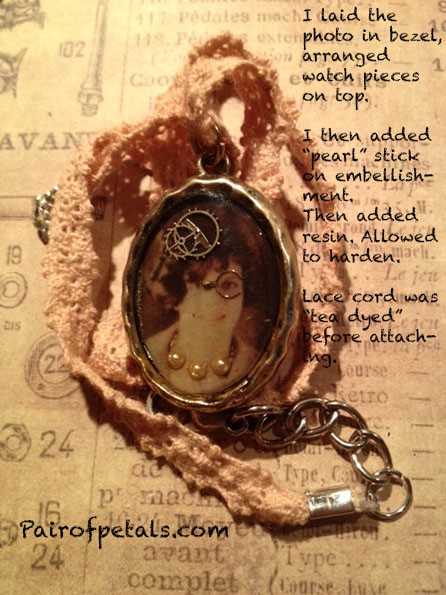
Once the resin is in the holder, use a straw to gently blow air across the top of the resin to release any small bubbles that may be present in the resin. This is a great tip and works beautifully. Allow the resin to rest, move as little as possible and continue checking the piece to make sure air bubbles haven’t formed, and use the straw to blow out or a toothpick to break deeper bubbles. Let the resin cure overnight. Use a soft cloth to polish the piece. If the surface has imperfections, you can add a small amount of additional resin to fix, or coat the surface to give a more polished finish.
Enjoy. You did it! Now go and make lots of cool vintage resin jewelry pieces for your friends or family using old family vintage photos. I just love this project; I think it is just so cool. The craft store sells tons of bezels from bracelets, like the piece featured here…to large or small pendants. You can then attach to any desired chain or cord to complete the piece.
Happy Crafting,
Michelle Moore
MichelleMooreArt.Crevado.Com
Thank You so much for the feature! I hope your readers enjoy my project. :)