Have you ever wondered about using stencils in your craft projects? Well, wonder no more because we’re going to show you just how easy it is to do with some beautiful stencils from StencilGirl®!
We are back once again with two absolutely fabulous brand new Facebook Live videos that we are so excited to share with you. We have found that some crafters shy away from using stencils because they feel like they won’t get the same variety of images that rubber stamps have. That may have been true once upon a time but not anymore. You can find a multitude of stencils in just about any design you can imagine and they are so simple to use!
Please note: This post contains affiliate links. If you use these links and make a purchase, we earn a commission at no extra cost to you…
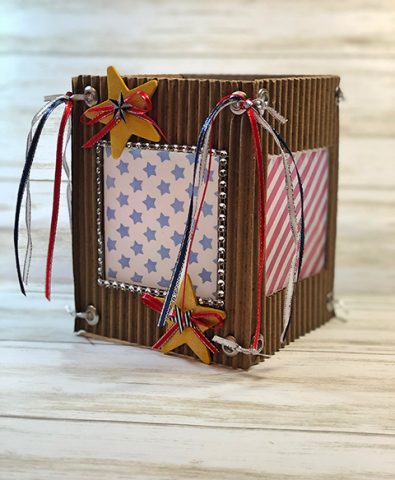
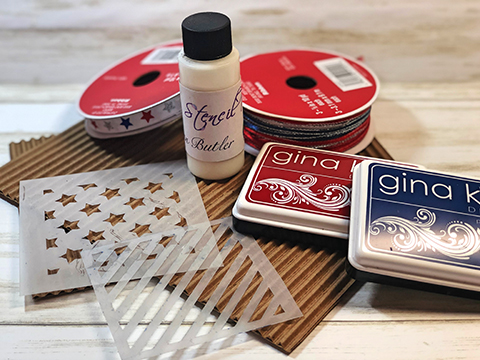
In our first video this week, Lisa created a patriotic luminary that is not only quick & easy to make but also very easy on your wallet. If you’re looking to have a party for the upcoming 4th of July holiday, this luminary is perfect. All you need are a few supplies to create just one or many for your party tables.
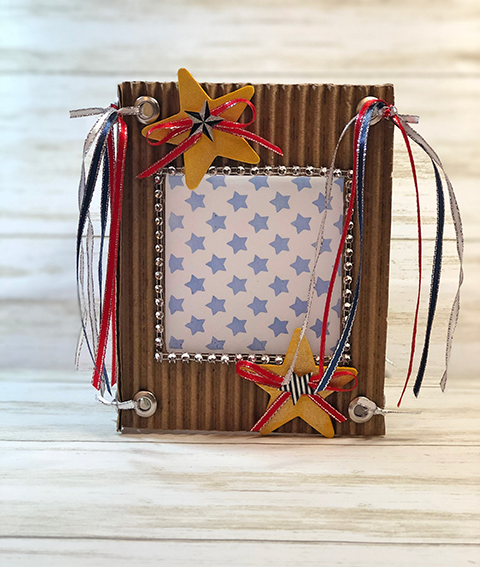
 This is the front view of our patriotic luminary~
This is the side view of the luminary~
Click Here for Lisa’s Facebook Live Video
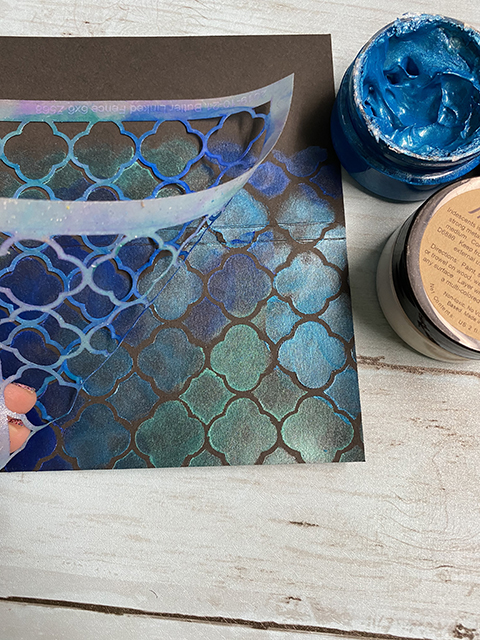
In our second video, Ann shows how to use stencils by applying different mediums like paint and inkpads to create a Post It Note holder for your purse and a checkbook cover. She shares a few step by step photos here, but you don’t want to miss her full tutorial in her video below.
Step 1:
Place your stencil onto your surface. Apply a bit of Iridescents paint onto a dauber, dab off a bit onto a craft mat and then, apply in open areas of the stencil.

Step 2:
Remove the stencil to see the beautiful colors of the Iridescents. Move the stencil to continue creating your pattern.
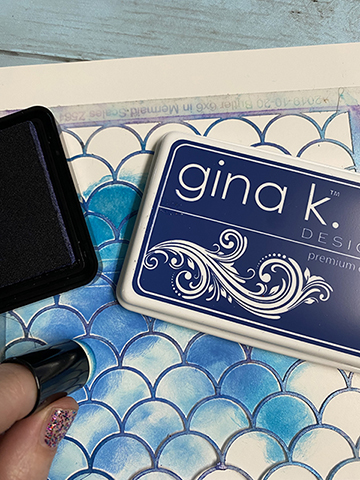
Step 3:
Place your stencil onto your surface. Apply ink onto a dauber, dab off a bit onto a craft mat and then, apply in open areas of the stencil. Tip: Go lighter in some areas and darker in others.
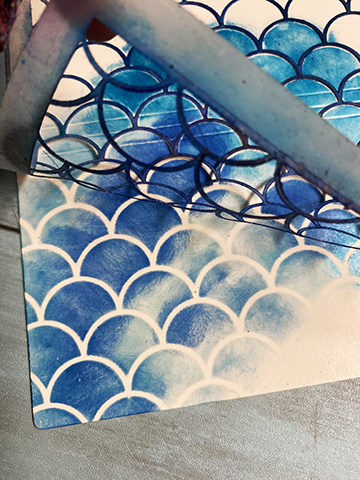
Step 4:
Remove the stencil to see the beautiful color. Move the stencil to continue creating your pattern
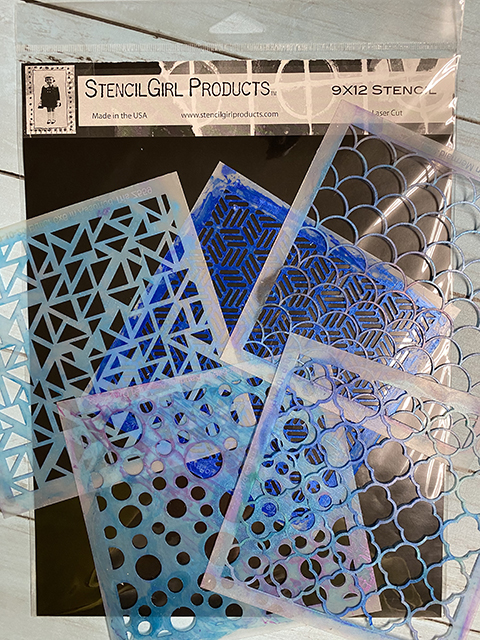
Here is an assortment of Ann Butler’s Stencils with StencilGirl®.
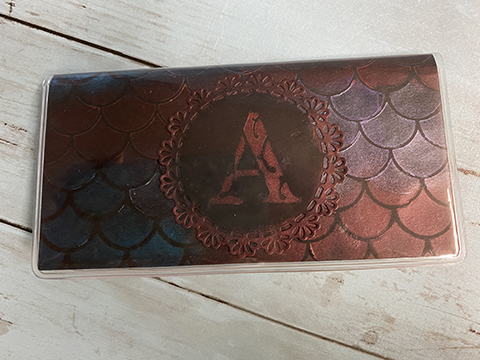
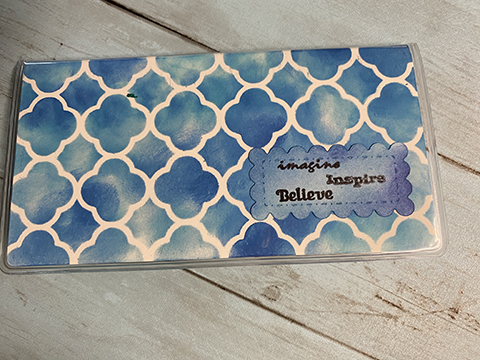
Below is the finished stenciled checkbook cover.
Here is the stenciled Post-it Note Holder.
Click Here for Ann’s Facebook Live Video
***Giveaway News***
Now, we know that we have just blown your mind with some great stencil crafts but we have one more thing to share before we leave you today. Each week along with our Facebook Live videos we also have a giveaway! Our sponsors vary every week but each of them offer awesome prize packages or gift certificates for one of our lucky viewers. This week we have a big surprise… Our sponsor, StencilGirl Products giving away TWO $50.00 gift certificates! If you would like to enter our giveaways you need to watch our videos to find out how you could be one of our lucky winners this week! You have until Tuesday, June 9th at midnight CST to enter. We hope you enjoy the projects and videos.
If we ever inspire you to create a project we would love for you to share it in the comment section below or join us in our crafty fun Facebook Group~ Do You Love To Craft We would love for you to come craft with us and show us your crafty projects using stencils!
Don’t forget to join us every Wednesday on our Bella Crafts Publishing’s Facebook Page at 10:00 am PST (12:00 pm CST, 1:00 pm EST) and again at 2:00 pm CST (12:00 pm PST, 3:00 pm EST) for two brand new videos and a new giveaway. Hope to see you there~ Ann & Lisa
Awww! These are great projects and love all of these fabulous stencils you used!! The stars and stripes are a must have for celebratory as well as patriotic themes! Wonderful luminary using them! And the second project was beautiful with the iridescence! So pretty!!