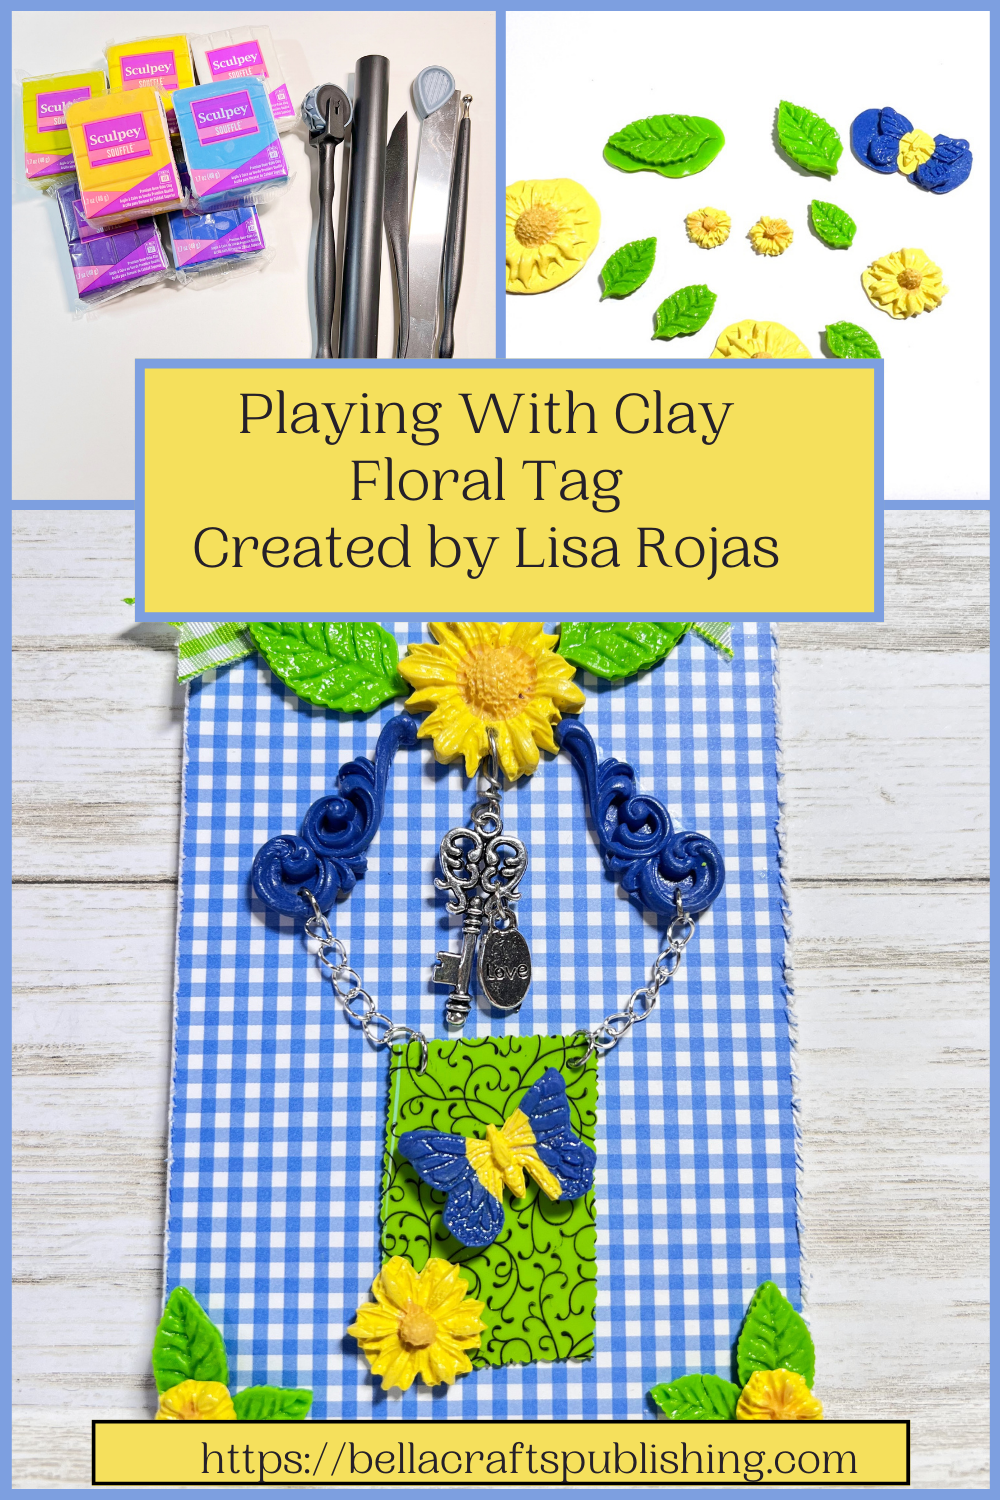
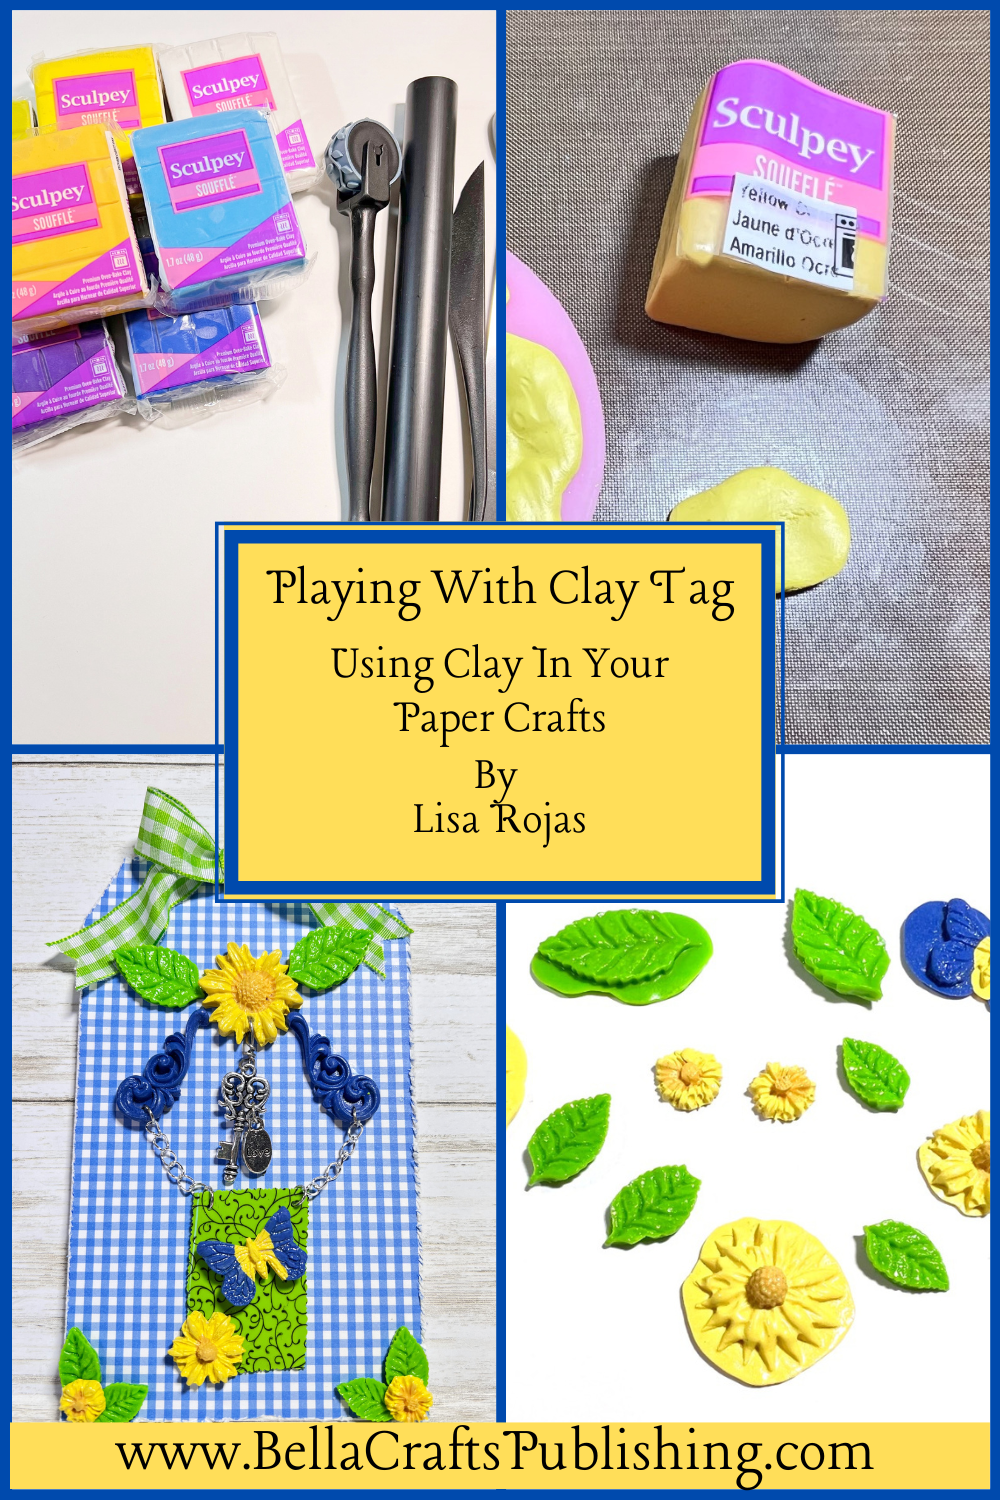
Find some new creative inspiration by using polymer clay in your paper crafts. It’s so fun and easy to do!
Please note: This post contains affiliate links. If you use these links and make a purchase, we earn a commission at no extra cost to you…
You know, as a paper crafter, I’m always looking for new techniques to try and new mediums to use in my projects. Although I have used clay in the past I haven’t played with it for a while so creating this project for a recent Facebook Live reminded me how much I love using it to make embellishments and other fun things. It’s a perfect medium to use in your paper crafts and I hope you check out all the wonderful products that Sculpey has to offer. Have fun! Lisa~
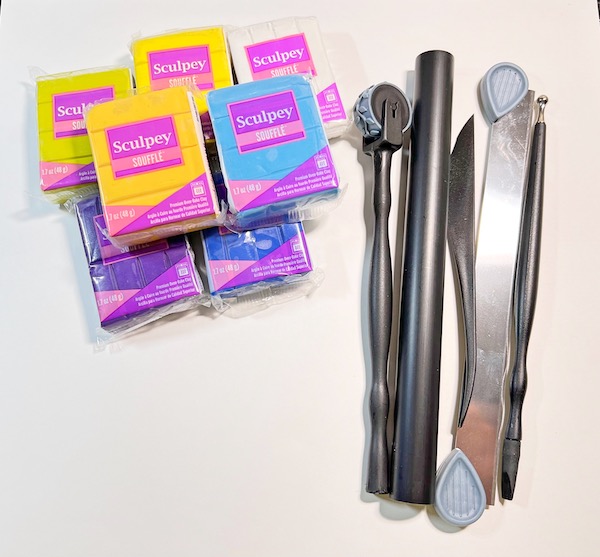
Supplies for Clay Floral Tag
Check out the full list of supplies at the end of this post.
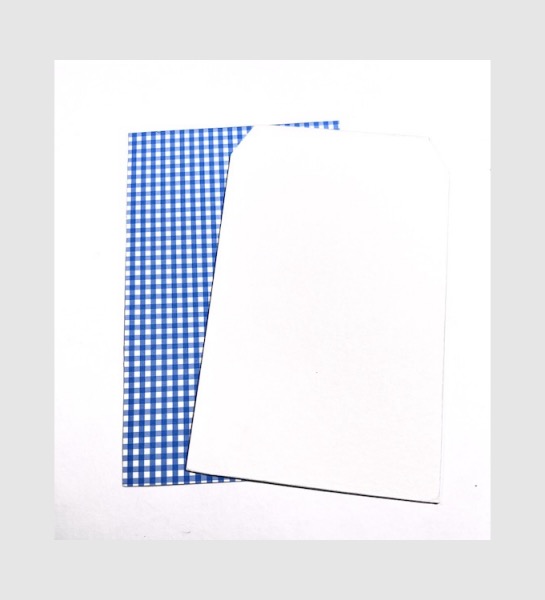
Step One:
Cut a piece of matboard 3 3/4″ x 6″ into a tag shape. Adhere the patterned paper to the matboard.
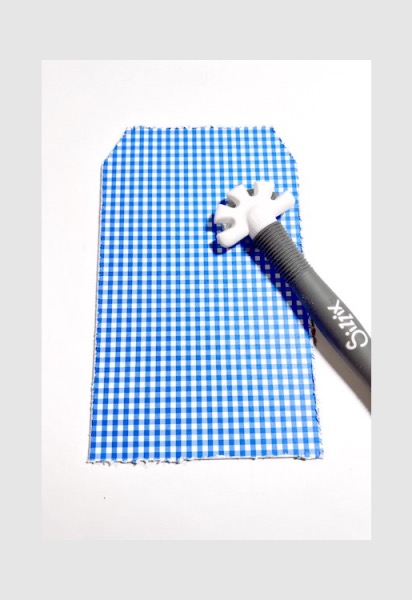
Step Two:
Using a tool, distress all the edges of the tag. You can also use a pair of scissors, but be very careful that you don’t cut yourself.
Step Three:
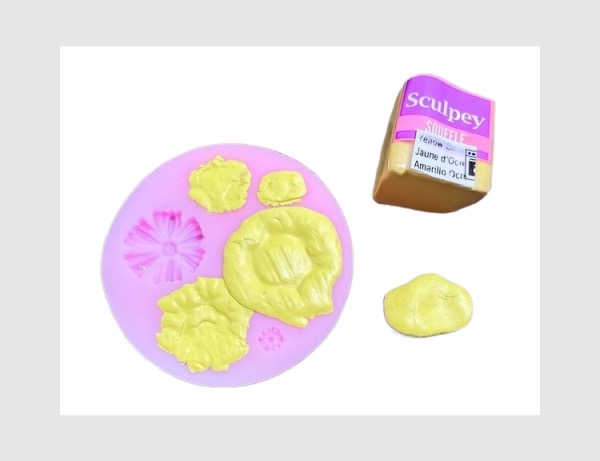
Use silicone molds to create all of the clay pieces. To work with clay you have to condition it first by rolling it into your hands until it softens up. Next, push the clay into the molds and cut away any extra clay. Poke a hole into the large flower before baking. Place the molds into an oven at 275 degrees for approximately 8 minutes.
NOTE: The manufacturer’s directions are 15 minutes per 1/4″ thickness of clay. These clay pieces are small and took less time to bake. Always check the clay a few times when baking since oven temperatures can vary.
Step Four:
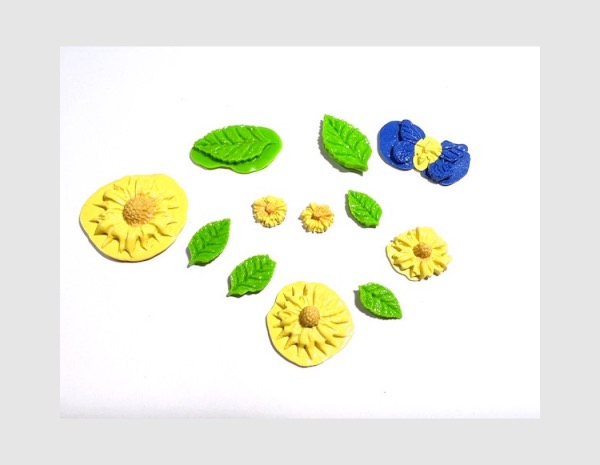
Carefully remove the molds from the oven and pop the clay pieces out. Once they have cooled, cut the extra clay off with scissors or a craft knife.
Step Five:
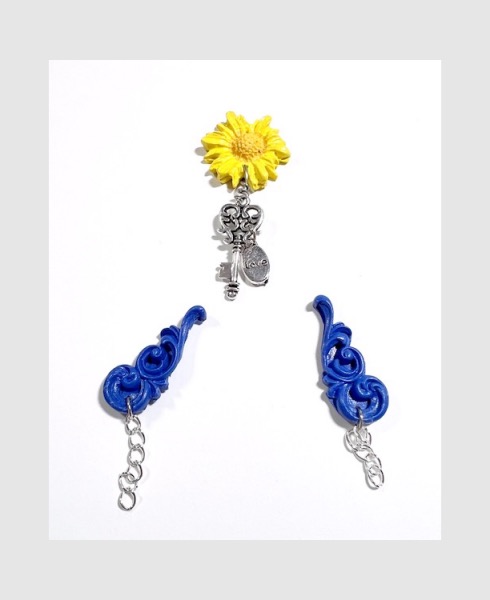
Cut a piece of wire 3″ long and thread it through the hole in the large sunflower. Add the charms and twist the wire around to the back of the sunflower. Poke one hole in each of the blue swirls. Attach a jump ring and chain to each one.
Step Six:
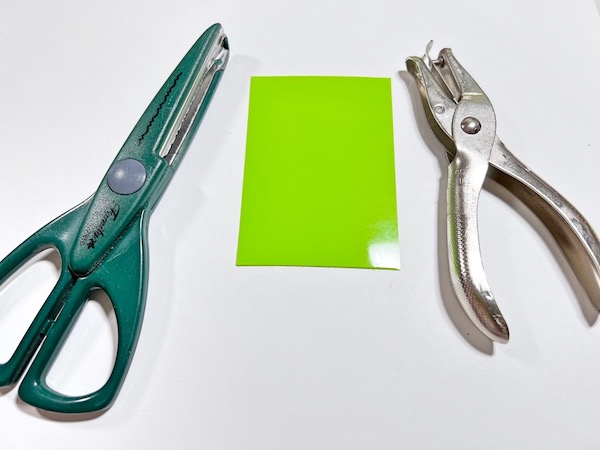
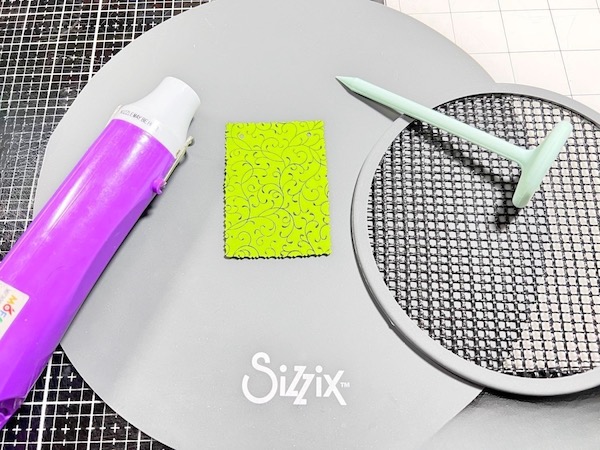
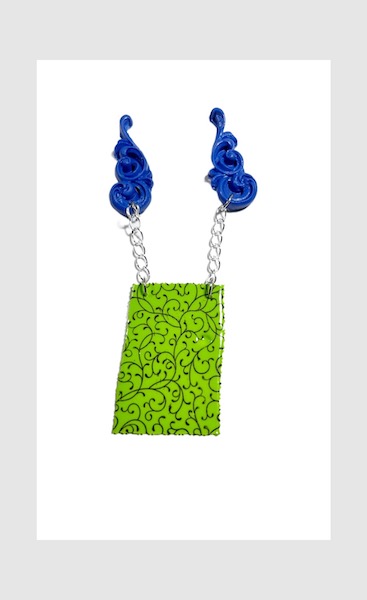
Use decorative scissors and cut all around the Shrink Plastic. Punch two holes in the top to attach the chains once the plastic is ready. Stamp the flourish image with black inkpad onto the plastic, being careful not to smear it.
Step Seven:
Place the plastic onto the Sizzix mat and follow the manufacturer’s instructions to shrink the plastic with a heat tool.
Step Eight:
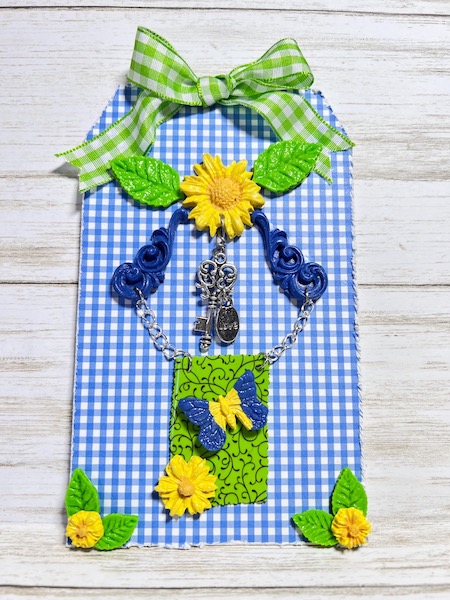
Once the Shrink Plastic is ready attach the clay pieces and chain. To finish the tag adhere all of the elements to the tag with white glue using the finished photo for placement if needed. To attach the butterfly and medium size sunflower to the plastic use a super glue or E6000. Adhere the bow to the top.
Clay Floral Tag
Here’s Another PIN For You To Share!
Supplies for Clay Floral Tag
- Matboard
- Patterned Paper
- Shrink Plastic, Green on Amazon
- Sculpey Souffle Clay: Cornflower, Canary, Yellow Ochre
- Sculpey III Clay, Spring Green
- Jewelry Chain
- Charms
- Wire, 20 gauge
- Ribbon
- Connections Glue by Gina K. Designs
- Super Glue
- Silicone Molds Florals on Amazon
- Silicone Molds Florals on Amazon
- Sculpey Tools Essential Tool Kit
- Sculpey Tools Oven Safe Mat
- Oven
Trackbacks/Pingbacks