
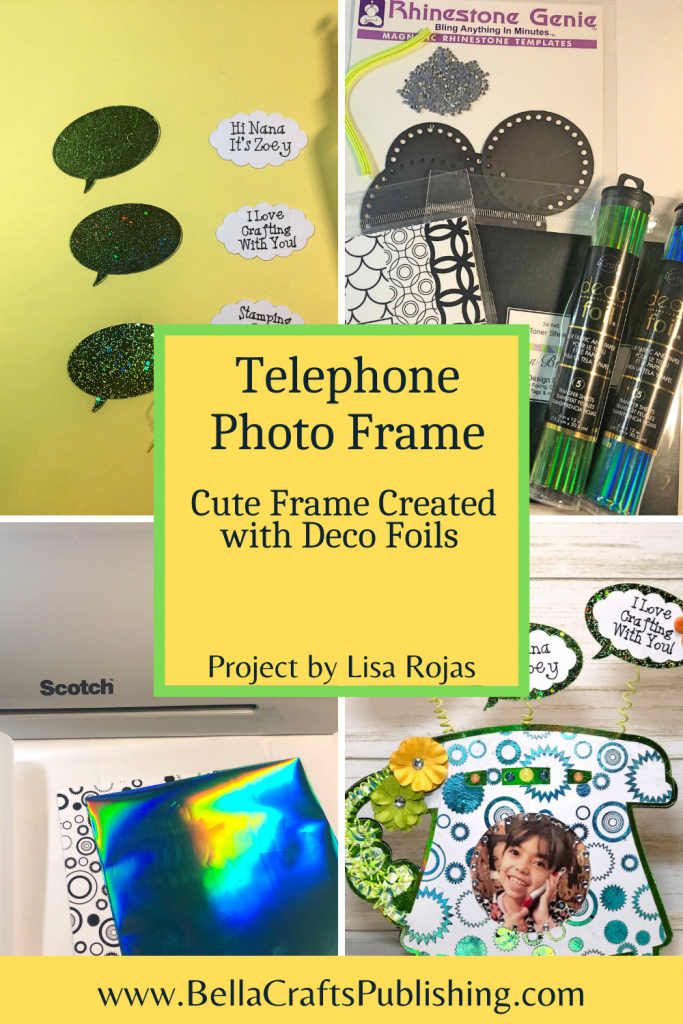
Create This Super Cute Telephone Photo Frame For Someone You Love!
Please note: This post contains affiliate links. If you use these links and make a purchase, we earn a commission at no extra cost to you…
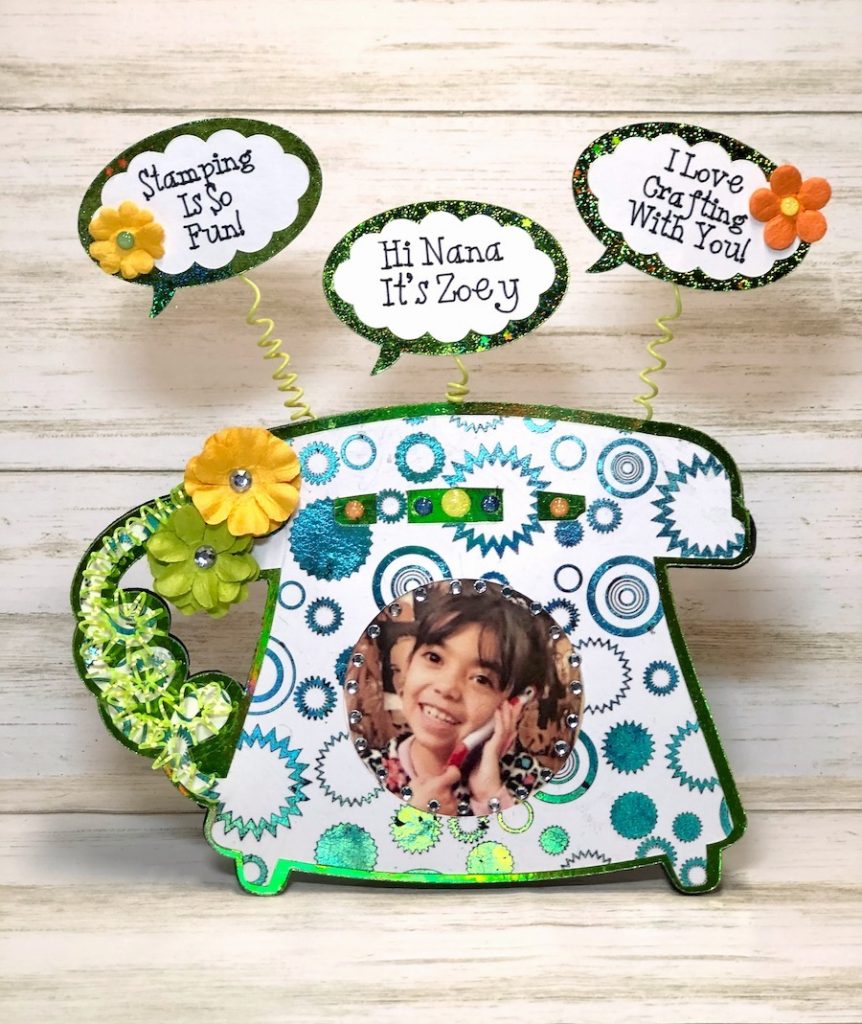
I created this super cute telephone photo frame for my granddaughter Zoey and I just love how it turned out! By using some Deco Foils from Therm O Web, along with the new foil papers by Ann Butler Designs, it gave this project just the right amount of shiny awesomeness! I really hope that you give it a try. Have fun! ~Lisa
Supplies for Telephone Photo Frame
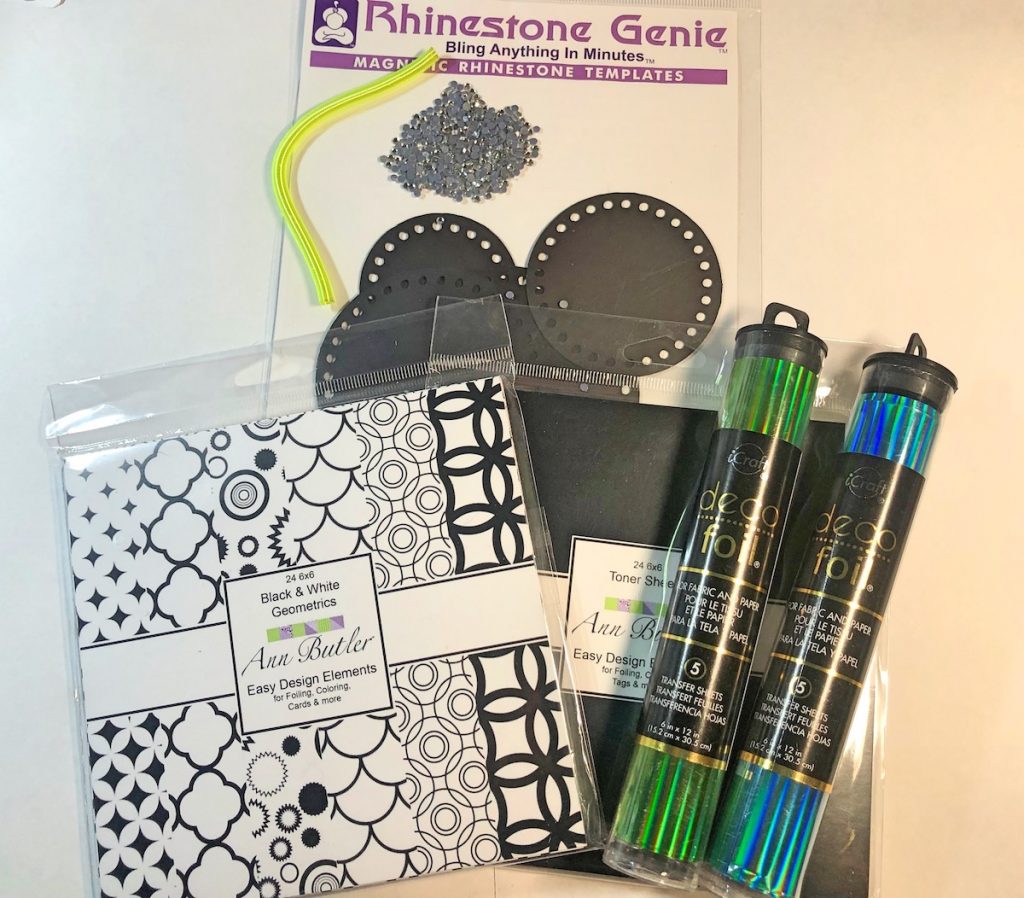
Check out the full list of supplies at the end of this post.
Step One:
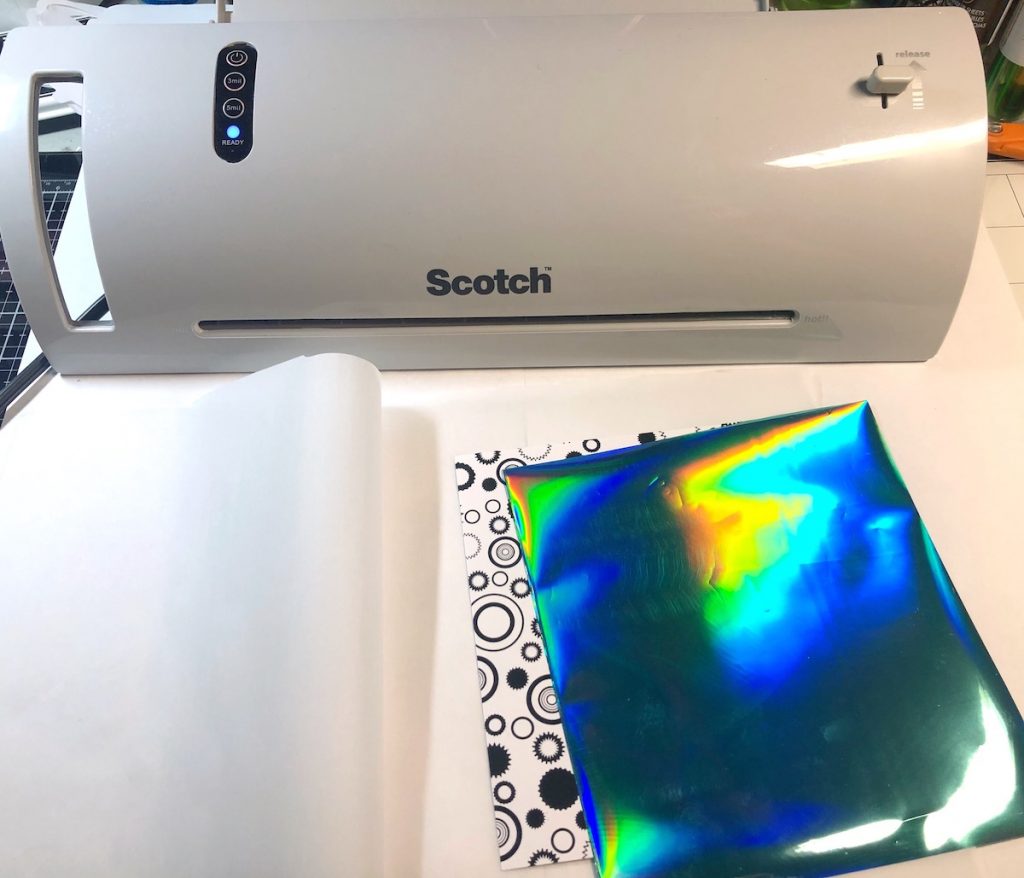
Place the Deco Foil on top of a piece of Black & White Geometrics foil paper. Place both pieces in parchment paper and run it through the hot laminator. Repeat the process two more times with the foil and two pieces of the Toner Sheets.
Step Two:
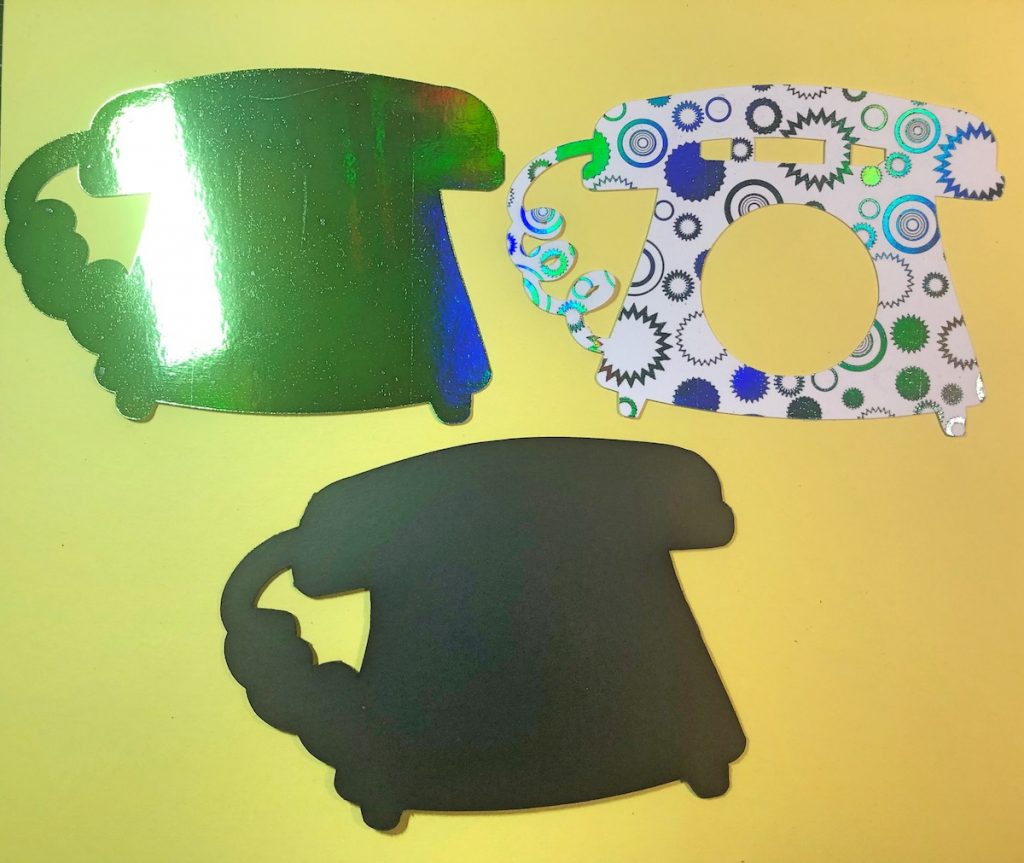
Using the Cricut Maker, cut out the telephone images with the foil papers. Cut out one with black chipboard for the backing.
Step Three:
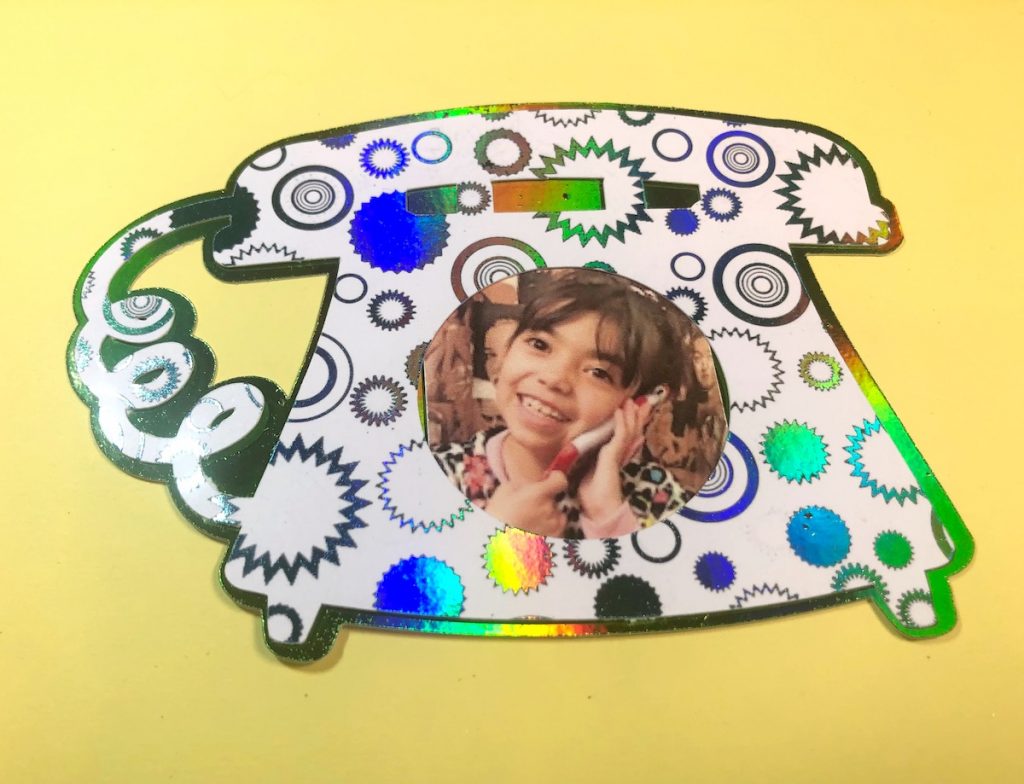
Add photo and adhere the papers together with Zip Dry Paper Glue.
Step Four:
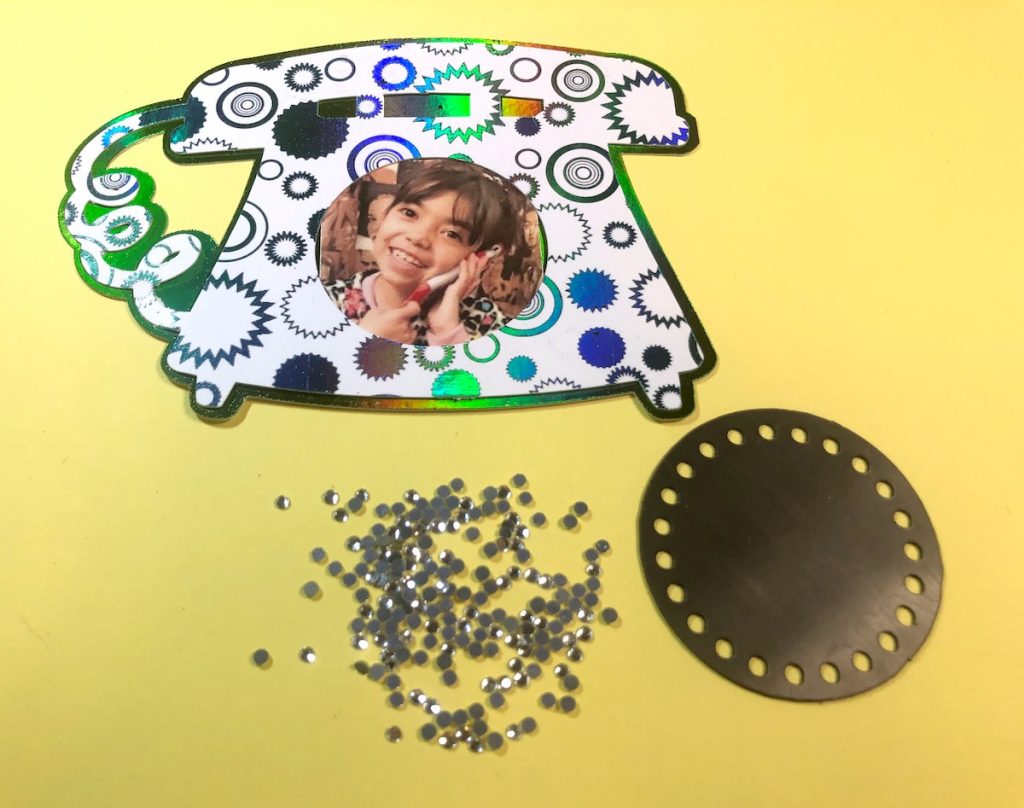
Add rhinestones to the frame following the directions from Rhinestone Genie.
Step Five:

Use the Cricut Maker to cut out the talk bubbles with white cardstock and the second piece of the Toner Sheets. Wrap wire around a dowel and then adhere the wires to the back of the talk bubbles.
Step 6:
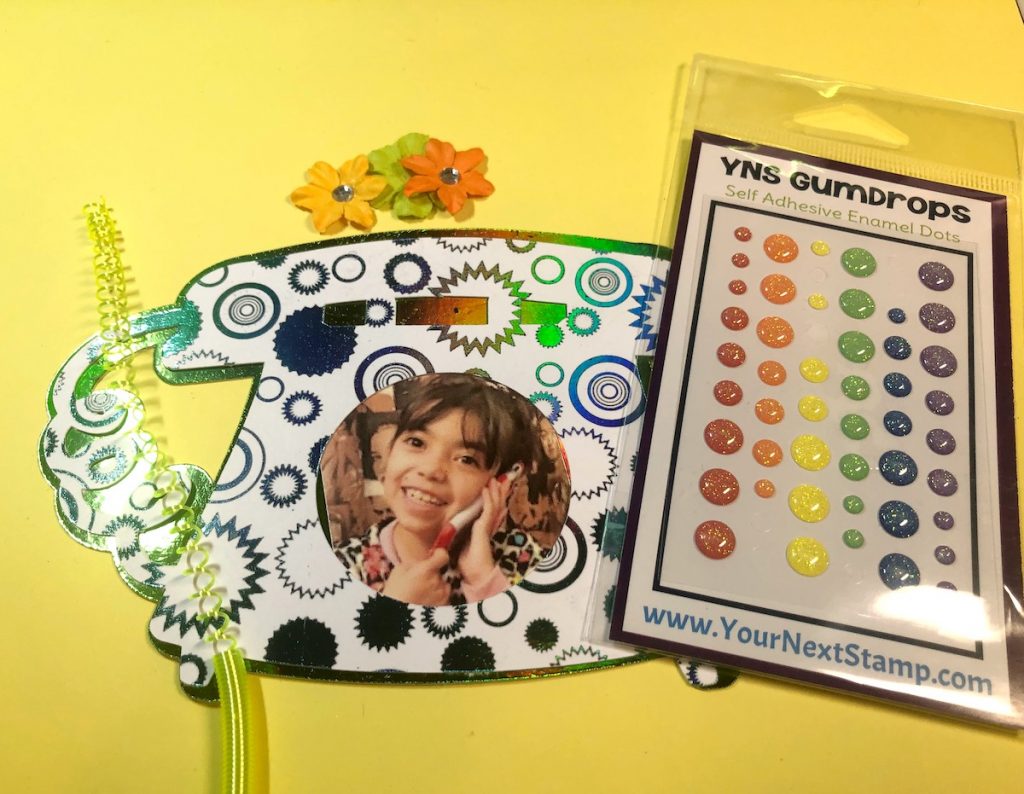
To finish the frame, adhere plastic cording, gumdrops and flowers to the frame. Adhere the talk bubbles and the black chipboard to the back of the frame. Create a small easel from the black chipboard and adhere it to the back of the frame.
Telephone Photo Frame
Supplies for Telephone Photo Frame
- Black & White Geometrics Papers by Ann Butler Designs
- Black Toner Sheets by Ann Butler Designs
- White Cardstock
- Deco Foils: Glass Slipper, Lily Pad by Therm O Web
- Fancy Foils, Glittering Green by Therm O Web
- Rhinestone Genie Starter Kit
- Circle Template by Ann Butler Designs
- Plastic Cording
- Wire
- Gumdrops Embellishments
- Flowers
- Cricut Maker Machine
Trackbacks/Pingbacks