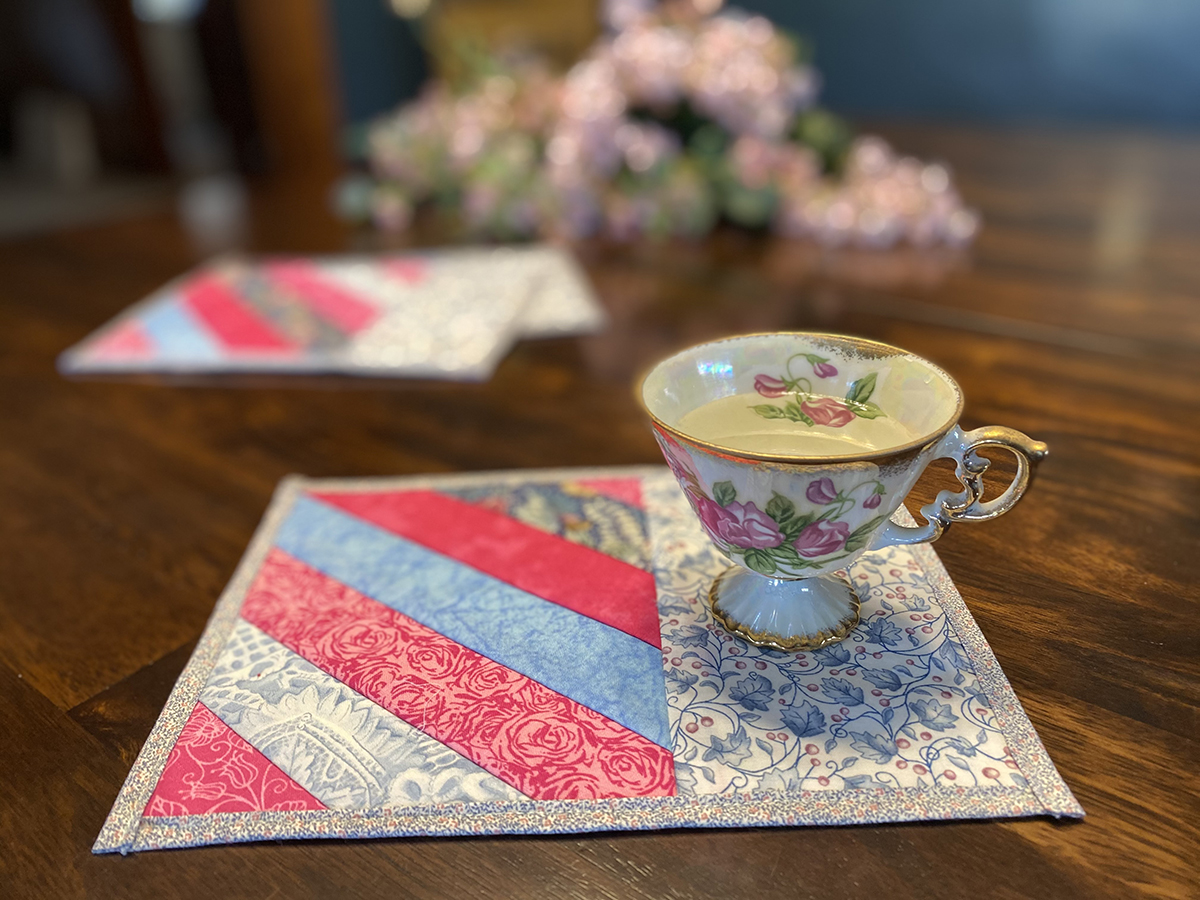
This Strip Quilted Mug Rug is so easy to make and perfect for gifts. It is a perfect learn how to quilt project!
Please note: This post contains affiliate links. If you use these links and make a purchase, we earn a commission at no extra cost to you…
I save way more scraps then I should but this is why…this Strip Quilted Mug Rug is a perfect way to use up those scraps.
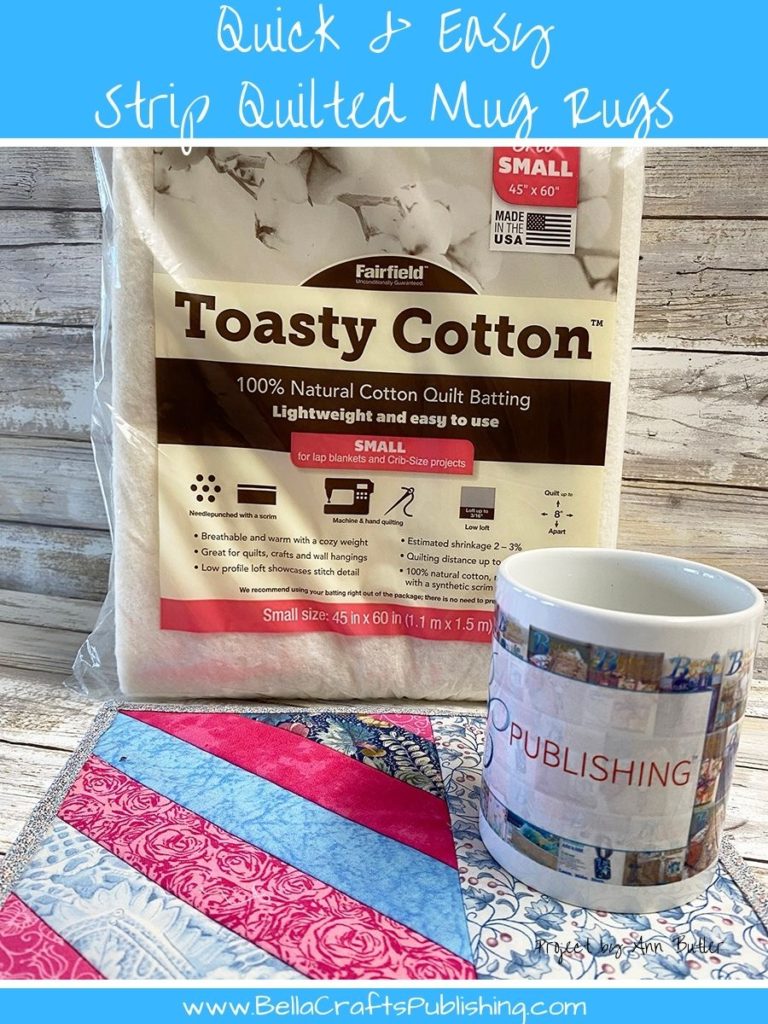
Quilt as you go is what makes this such a great project!
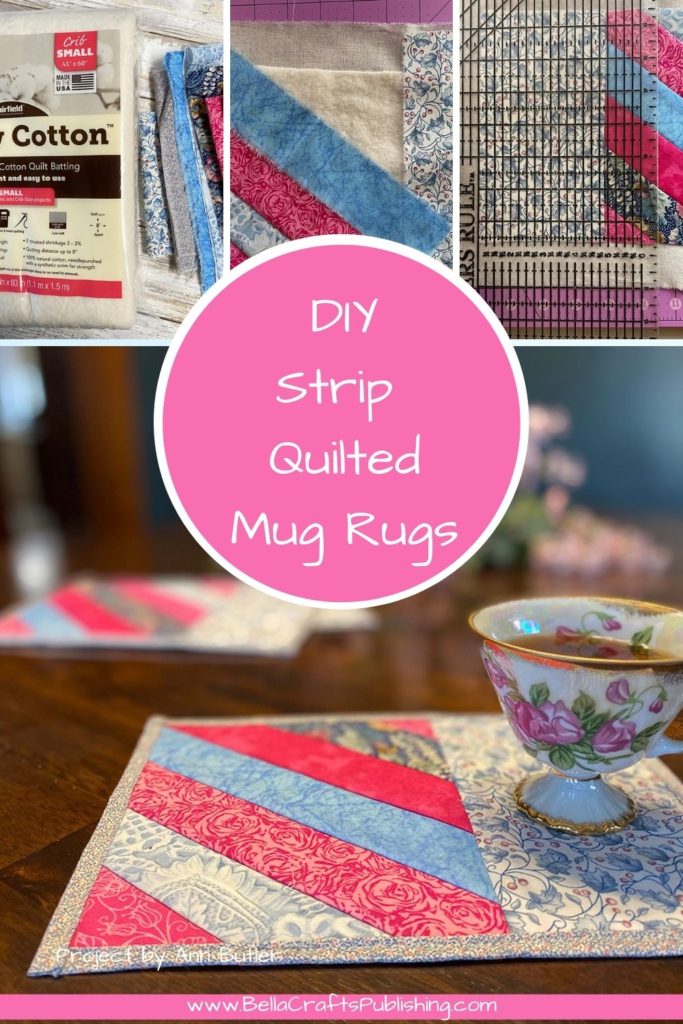
Steps One, Two, Three:
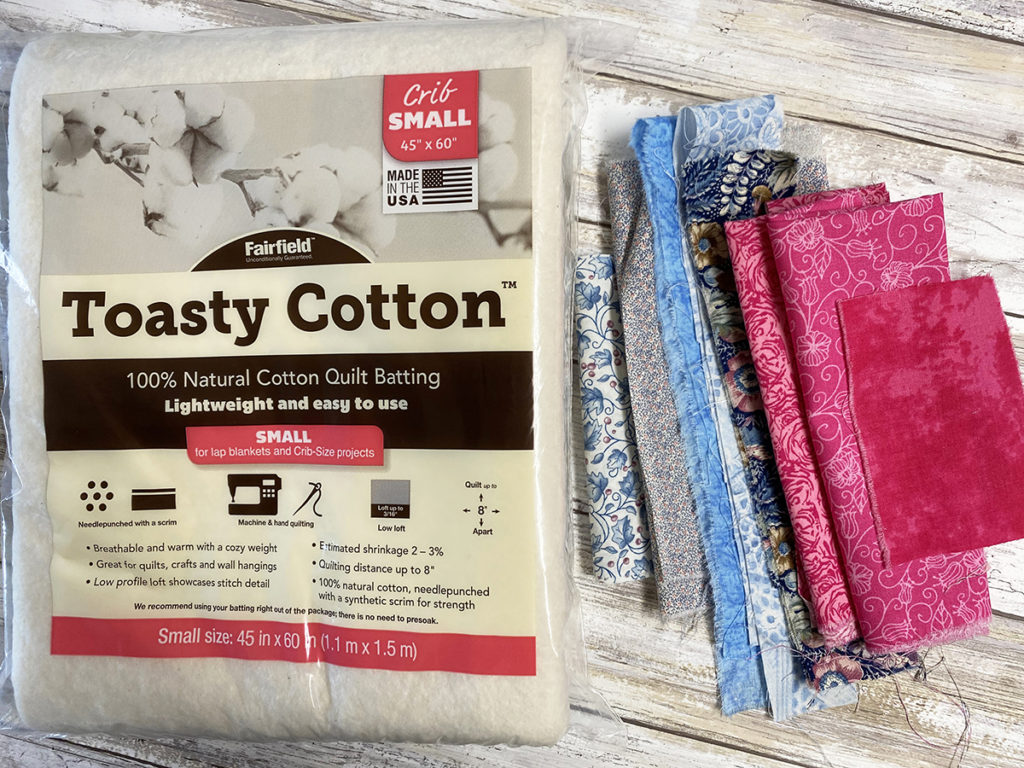
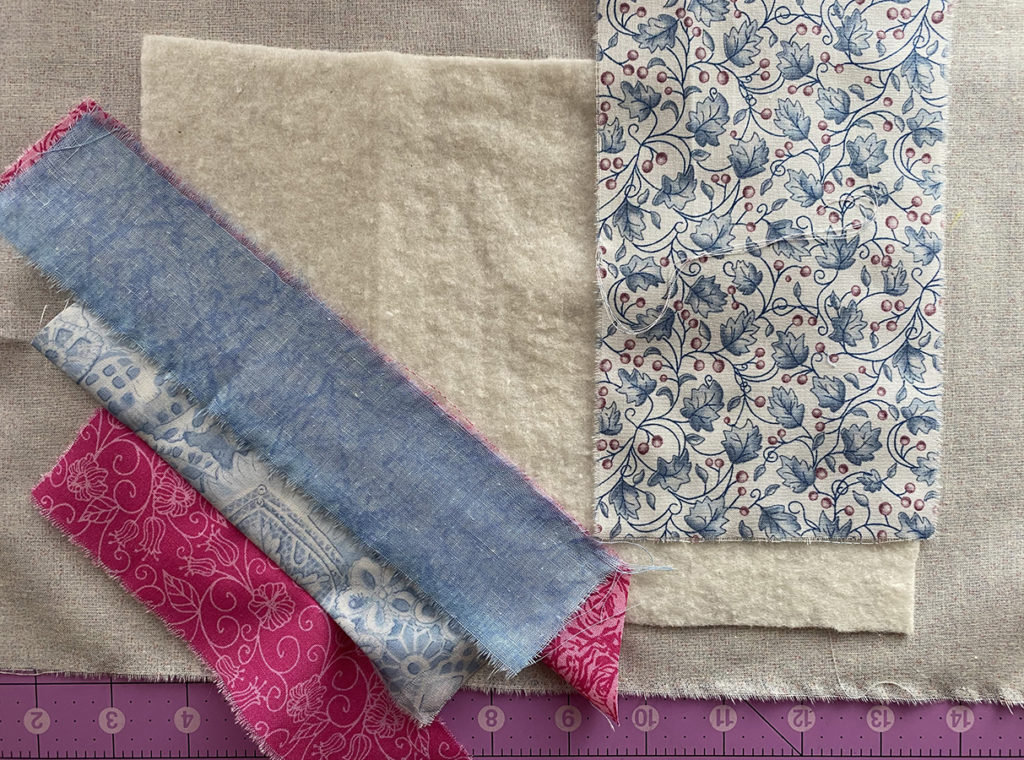
Gather your supplies.
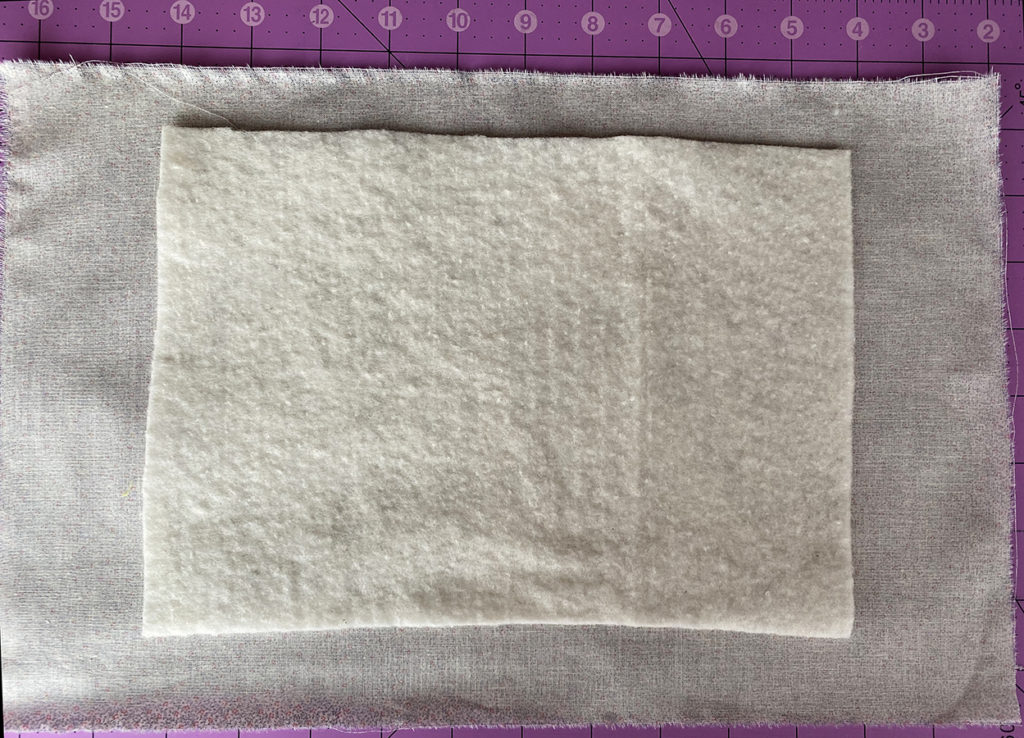
Cut batting for each Mug Rug, 7″ high x 10″ wide. Cut backing fabric at least one inch larger, all the way around, then the batting. Place batting onto the backing fabric.
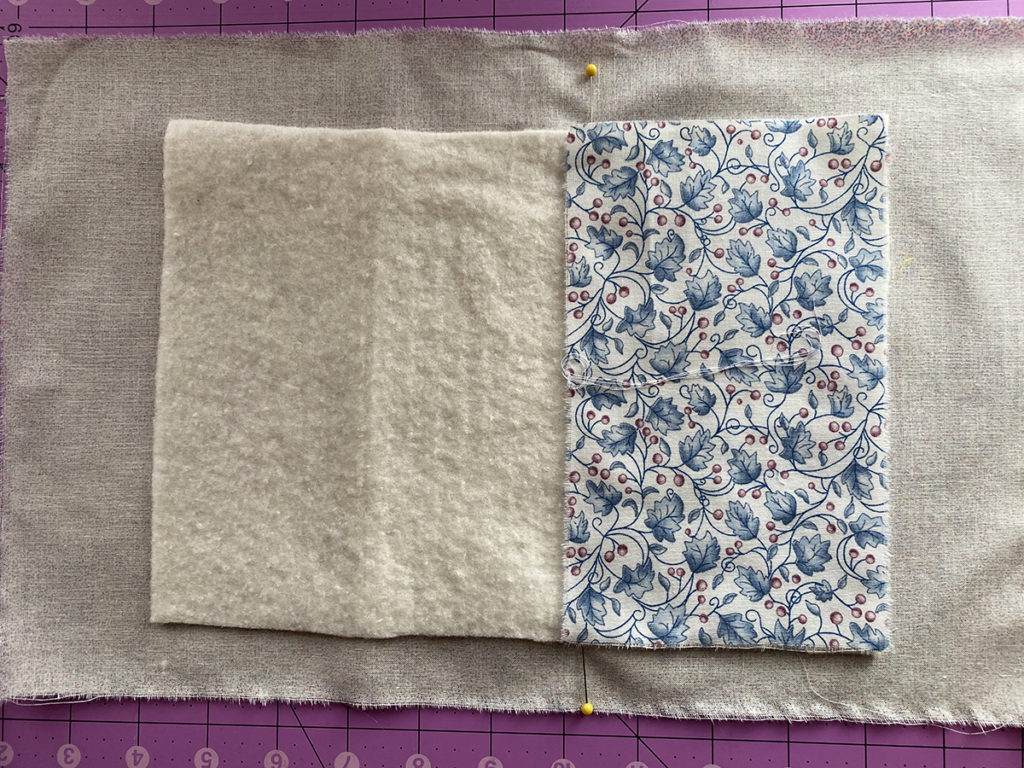
Cut Side fabric piece, 7″ high x 4″ wide, and then, place onto the right side of the batting edge. Secure pins at the top and botton of the batting and backing 3 1/2″ from the right edge.
Steps Four, Five, Six:
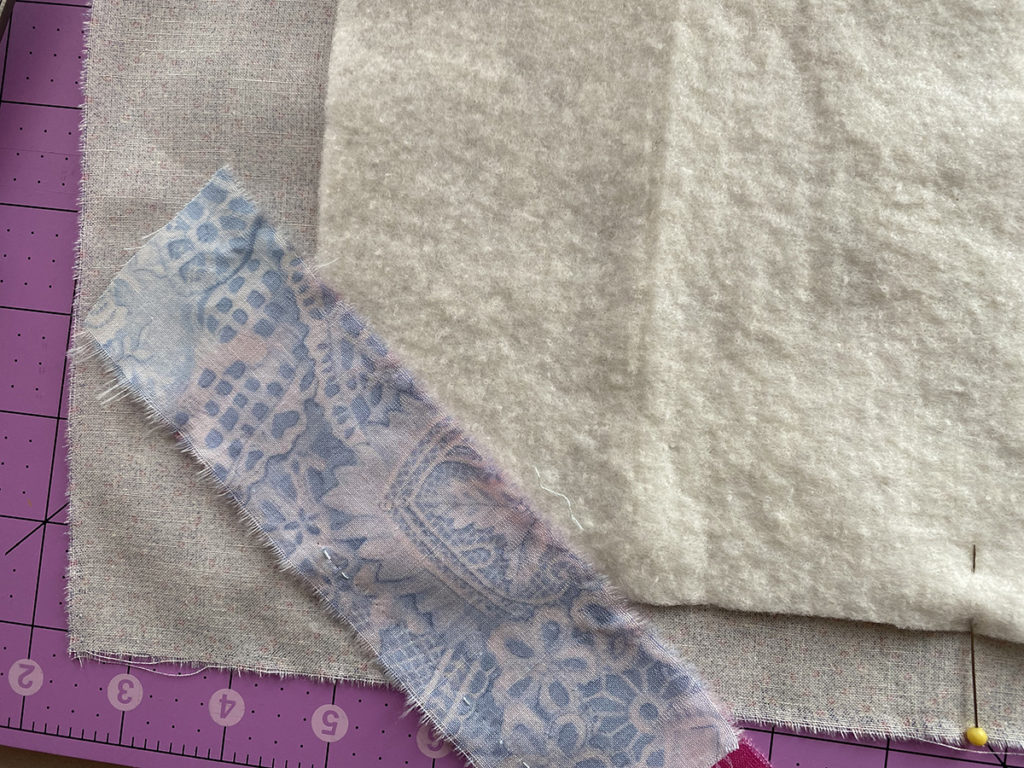
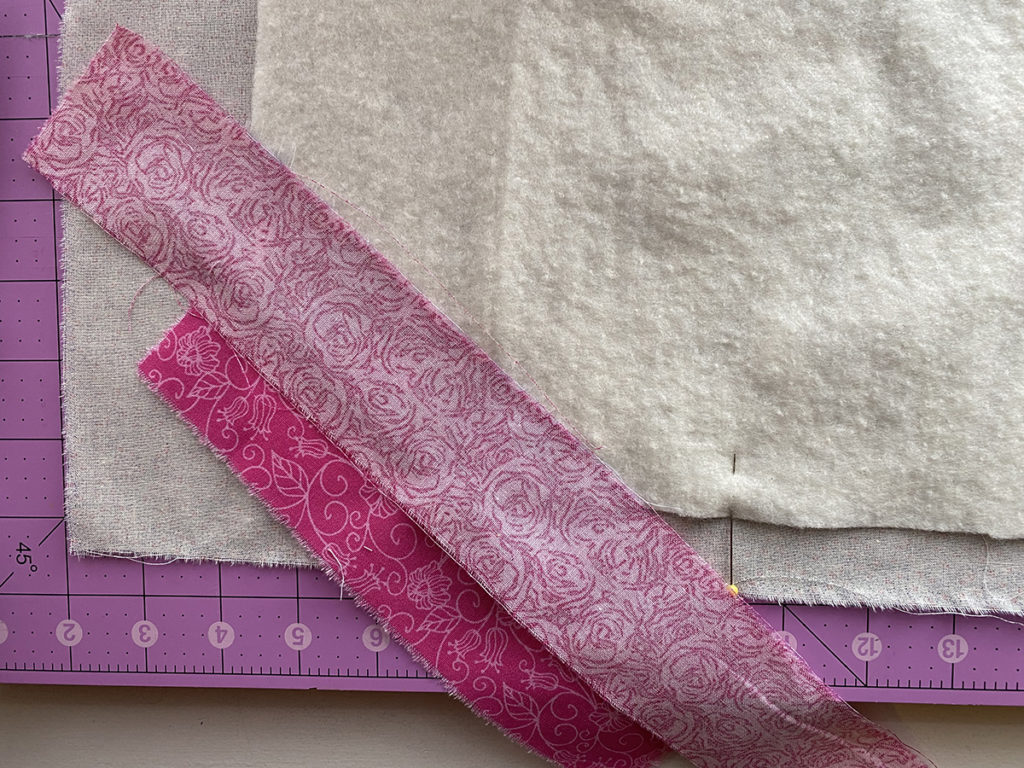
Tear or cut fabric into 1″ – 2″ strips. Place your first strip onto the left bottom corner of the batting right side up, with the second on top with right side down.
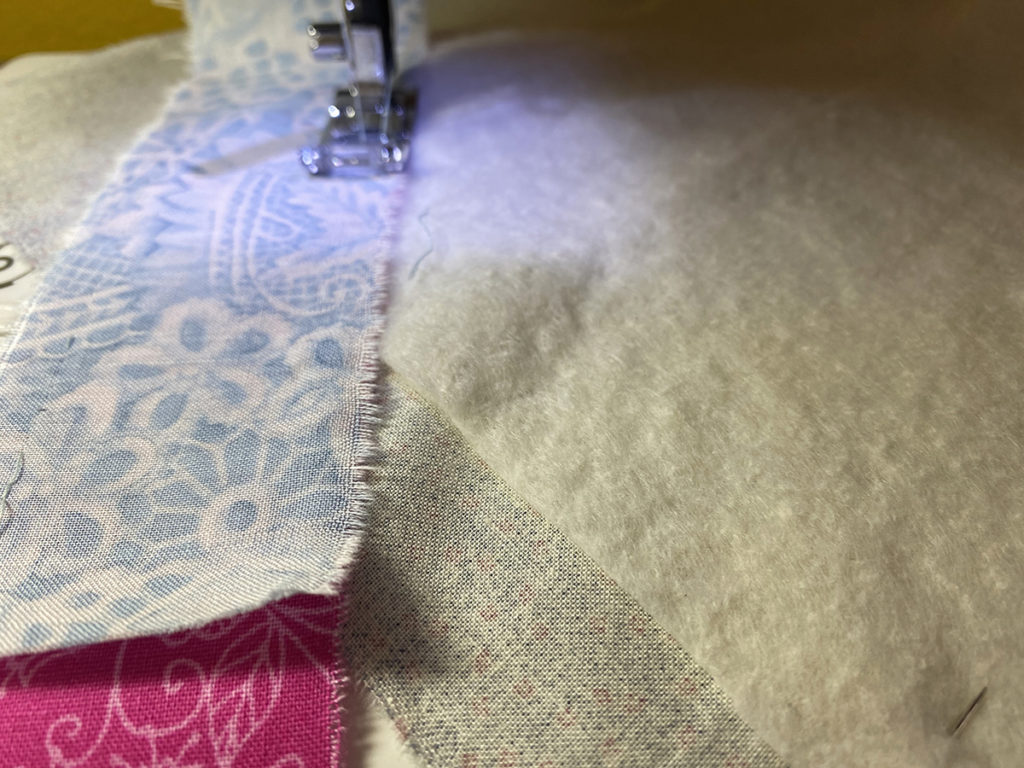
Stitch with a 1/4″ seam.
Turn the second strip towards the batting and finger press in place.
Steps Seven, Eight, Nine:
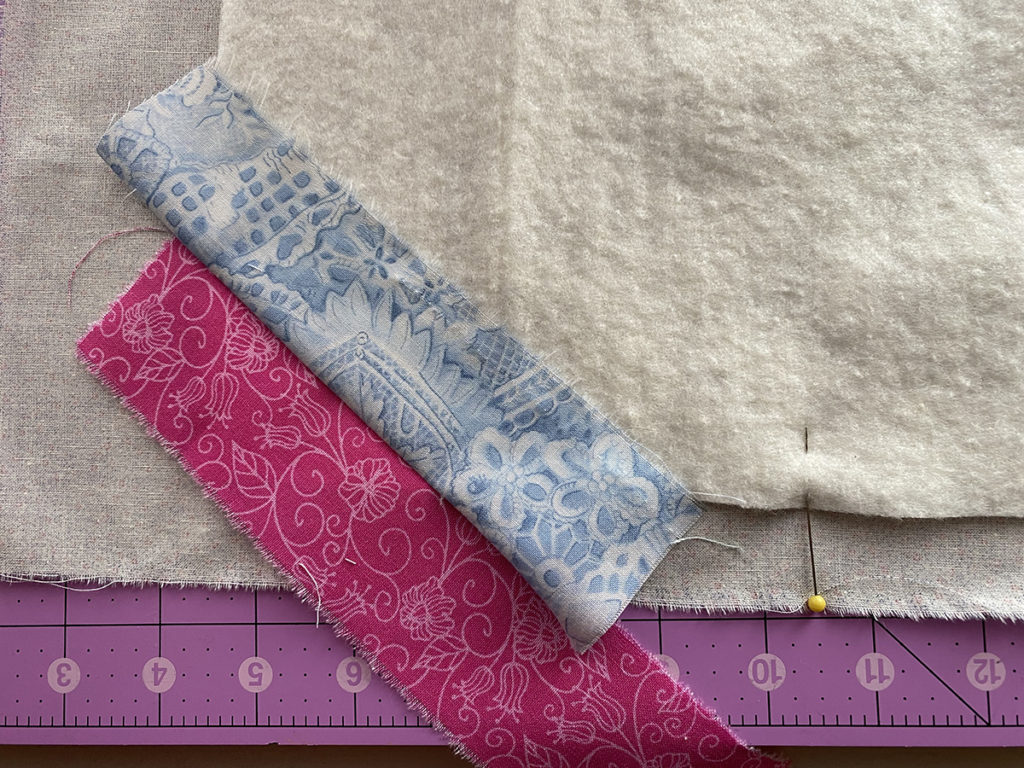
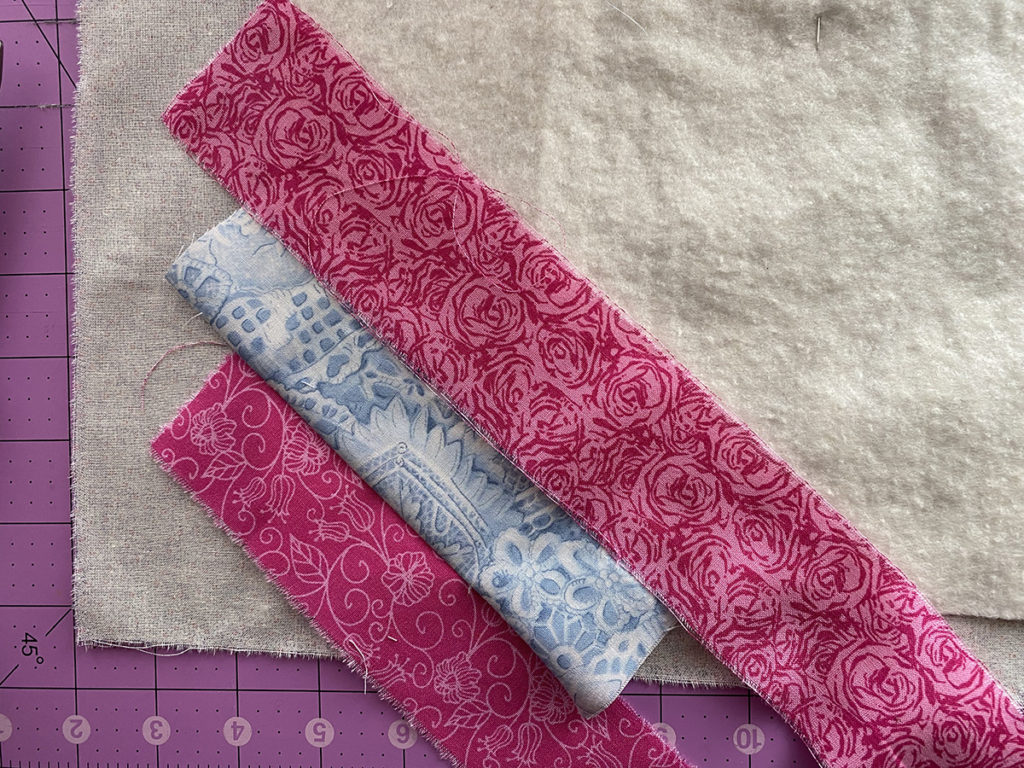
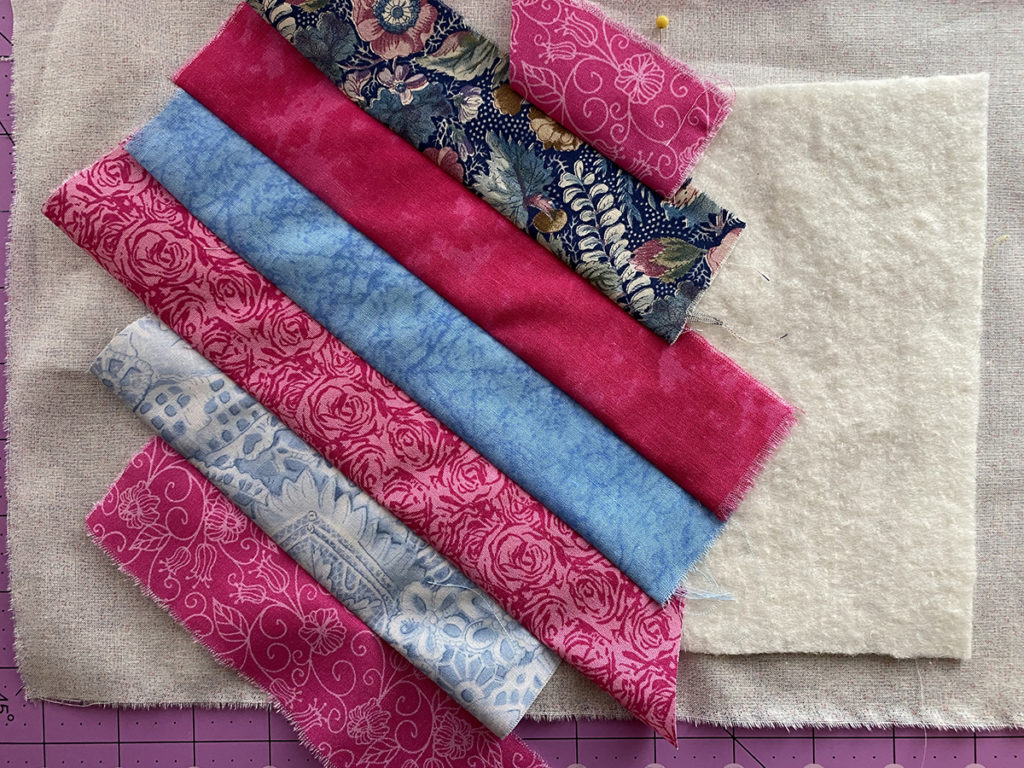
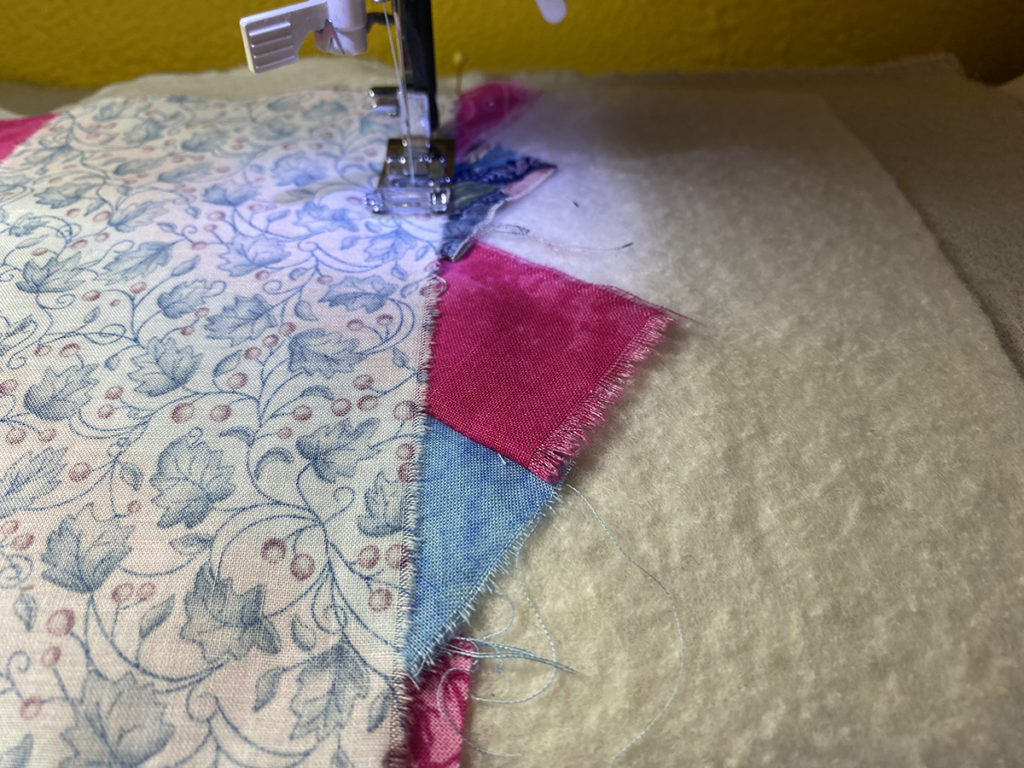
Add the third strip next to the first two, to gauge the correct length you need, as when you sew and flip you want it to go past the pins.
Turn the third strip with right side on top of the second strip and sew pin place.
Repeat steps seven and eight for the rest of the strips.
Step Ten, Eleven, Twelve:
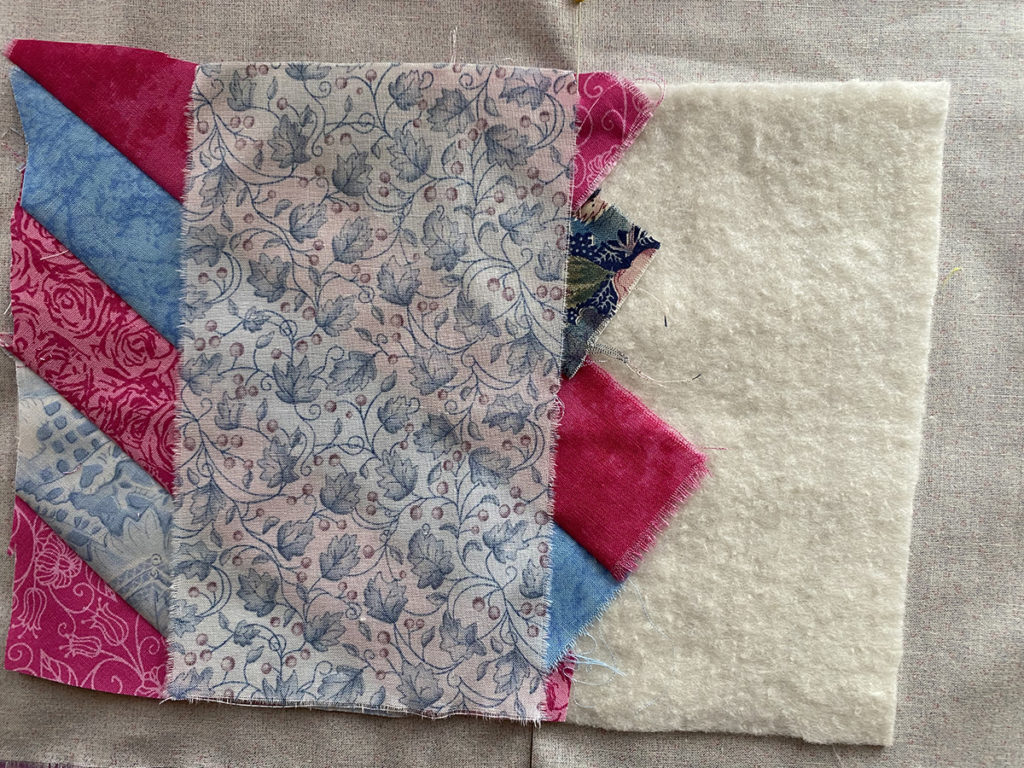
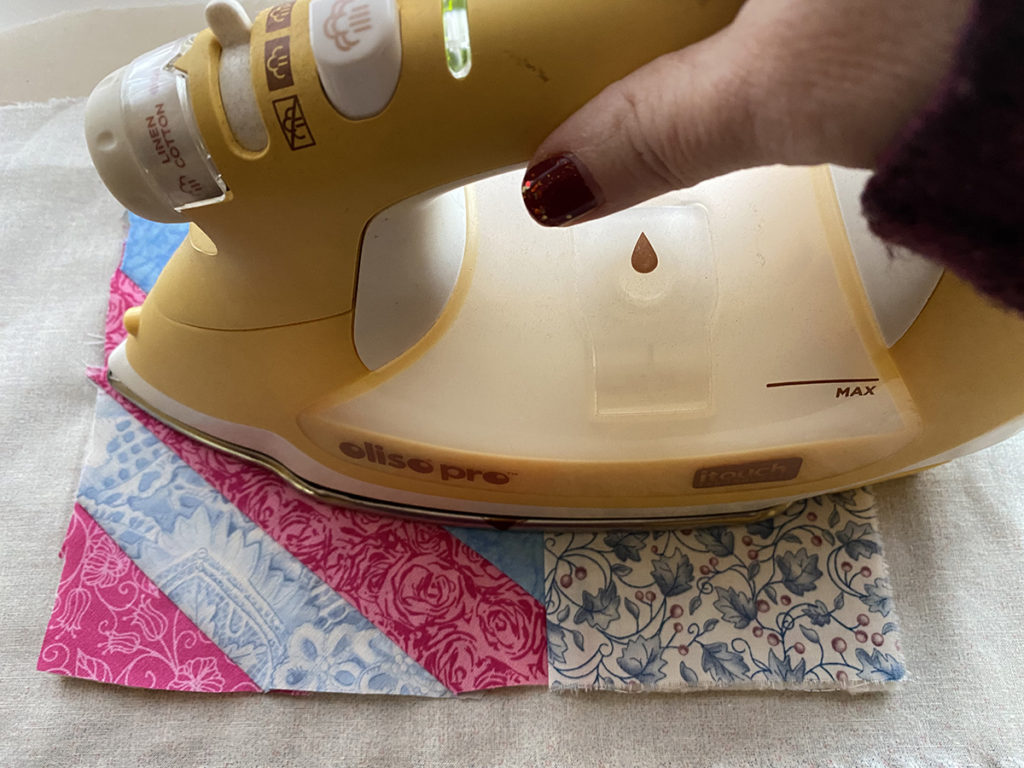
Press fabric side with iron.
Add the extra strip, right side down, onto the sewn strips with the right edge aligned with the pins.
Stitch with a 1/4″ seam.
Steps Thirteen, Fourteen, Fifteen:
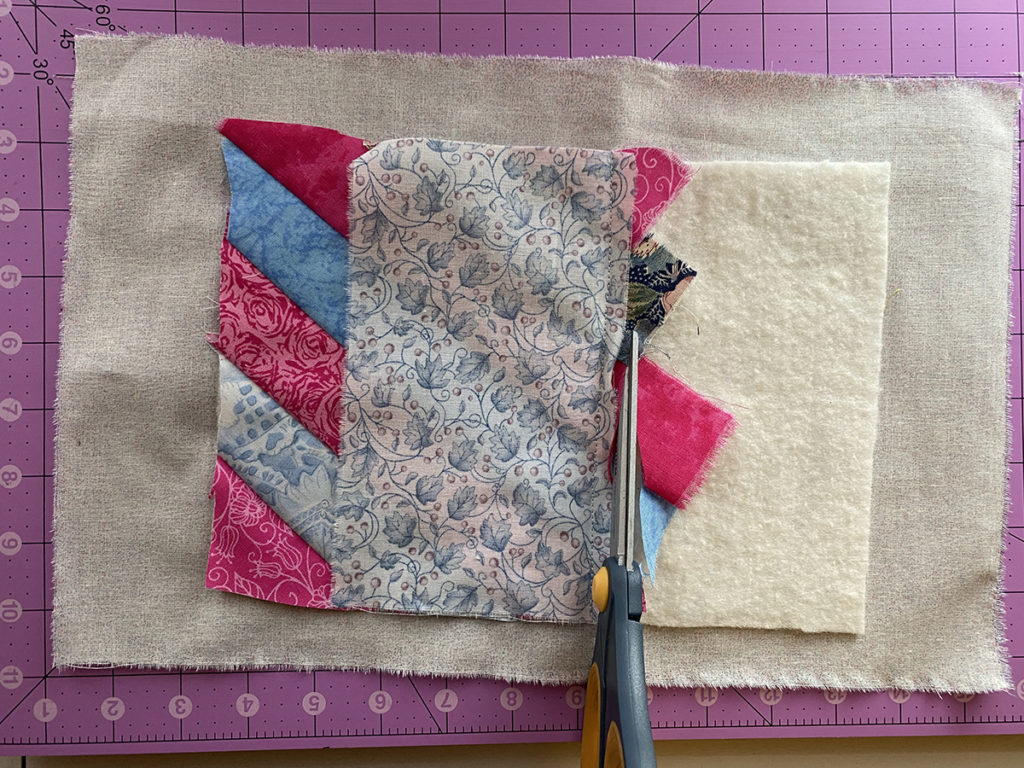
Trim the excess fabric away.
Iron the extra strip over.
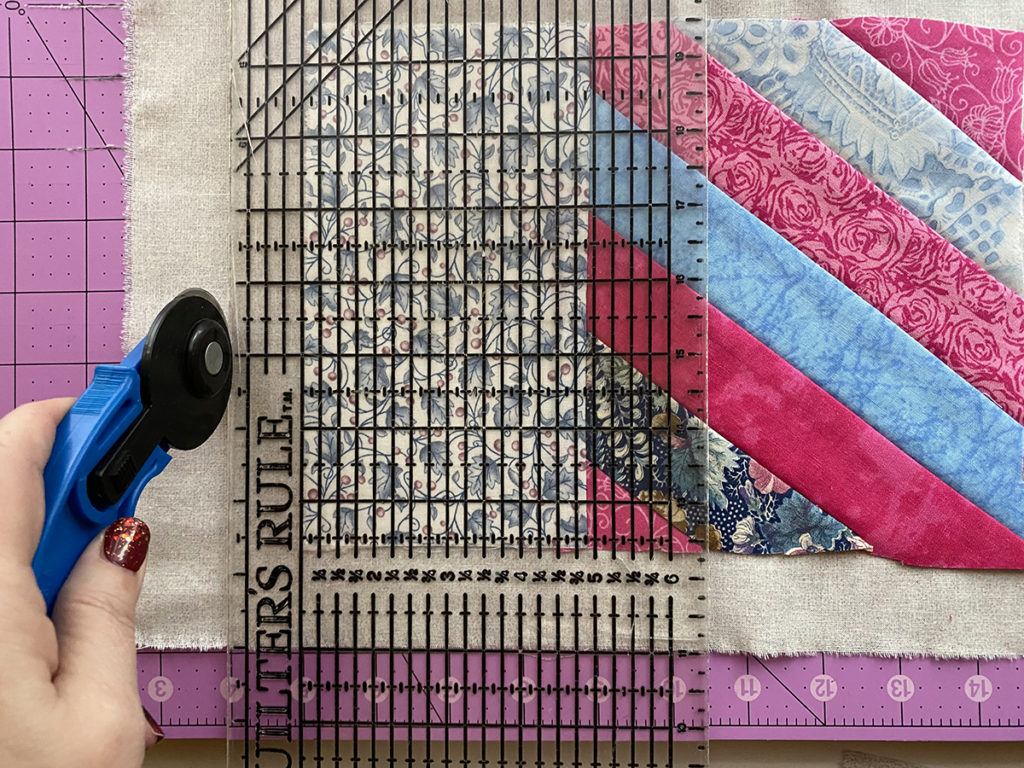
Using a ruler, measure 1″ from the mug rug and and cut away excess backing.
Step Sixteen:
Fold backing up 1/2″ all the way around and iron in place. Turn backing up again and hand or machine stitch on top of the mug rug to finish it off. Repeat all of the steps for each mug rug.
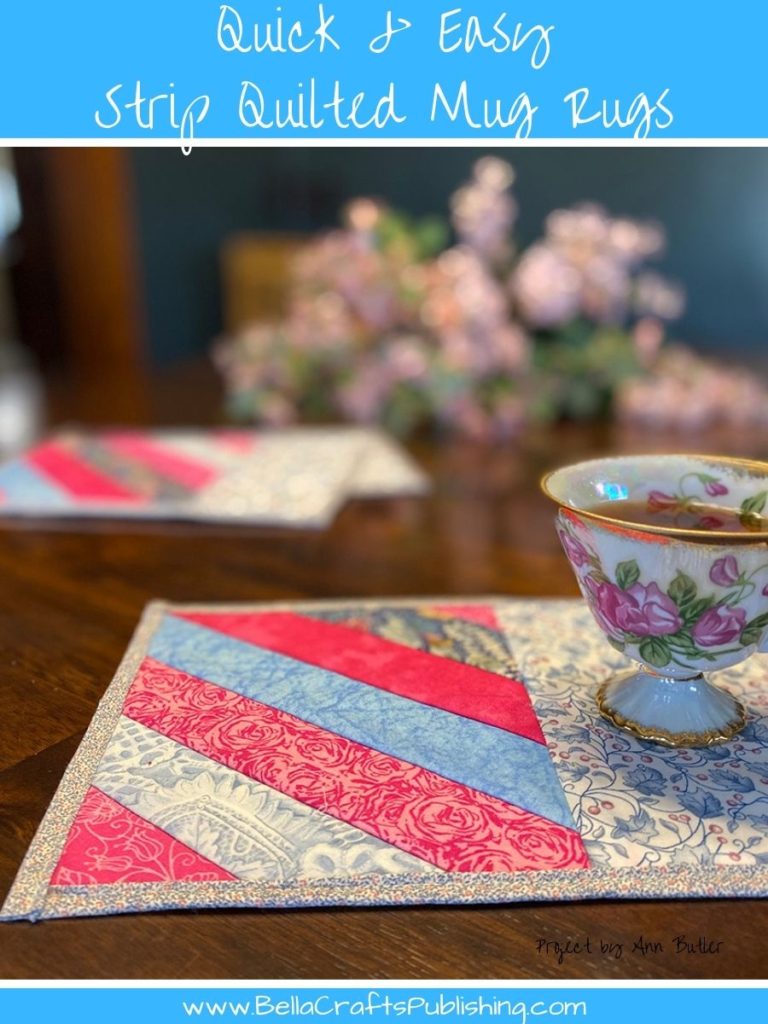
Here is another Pin to Share of the Strip Quilted Mug Rug.
Designer Tips for completing your Mug Rugs:
- I tear my strips to make usre they are on the straight of grain, you can cut them if your prefer.
- Pre-wash all of your fabric.
- Iron all of your fabric before assembly.
- Mug Rugs can be a variety of sizes, I personally like this size, but go ahead and play with it and determine which size is best for you.
- You can do these in any designs you want, experiment and have fun!
Supplies for the Easy Strip Quilted Mug Rugs:
- Toasty Cotton from Fairfield World™
- Fabric, scraps
- Sewing Machine
- Ruler
- Pins
- Iron
- Rotary Cutter (optional)
- Cutting Mat
- Scissors
- Needle
If your looking for some more Crafty ideas the Spring Issue of Bella Crafts is available to download FREE…to grab your copy sign up here!
You might also enjoy these projects using Fairfield World Products:
- Snowflake Rhinestone Pillow
- Easy Buffalo Plaid Pillow
- Velvet Embossed Heart Pillow
- Stenciled Faux Quilted Pin Cushion
- Upcycle a Sweater to a Pillow
Do you Love to Craft?
We do…which is why do two Facebook Lives each and every week. Join us every Wednesday at 12 noon cst and 2:00 pm cst and get crafty with us!
Also, we share projects and have a giveaway (or two) each and every week! If you miss the lives you can watch the replays and still enter for the giveaways…as we draw the winners right before we do our next Facebook Lives so you have time evn if you can not be live with us!
Plus, we also have created a Facebook Group where we share projects, announcments and more! And, we encourage the members to share what they are creating. Afterall, we love to see what everyone is creating too! So, join us and share your crafty projects!

Trackbacks/Pingbacks