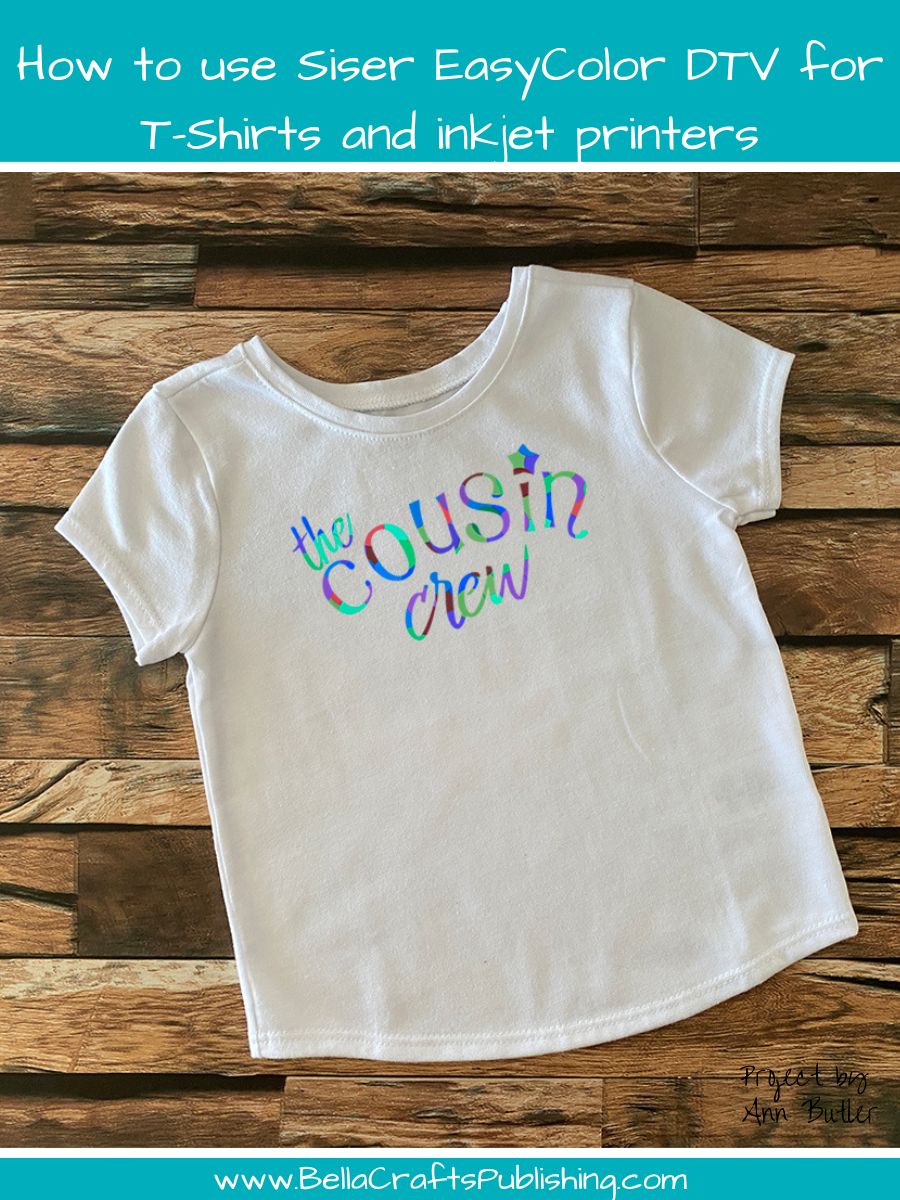
Oh my goodness…did you know that you can Print and Cut from your inkjet printer? Siser EasyColor DTV makes it so easy. Best thing is you can then use it on T-shirts? It is so cool…if you do not have a sublimation printer this is the next best thing!
Please note: This post contains affiliate links. If you use these links and make a purchase, we earn a commission at no extra cost to you…
If you have ever went to do sublimation but don’t want to invest in the high cost of everything…this is the next best thing. With Siser EasyColor DTV you are able to print with your inkjet printer and then use your Cricut Maker (or Explore)to Print it out and then Cut to apply to your T-shirts. This is a Game Changer!
The steps are easy so let’s get started…
Steps One, Two, Three:
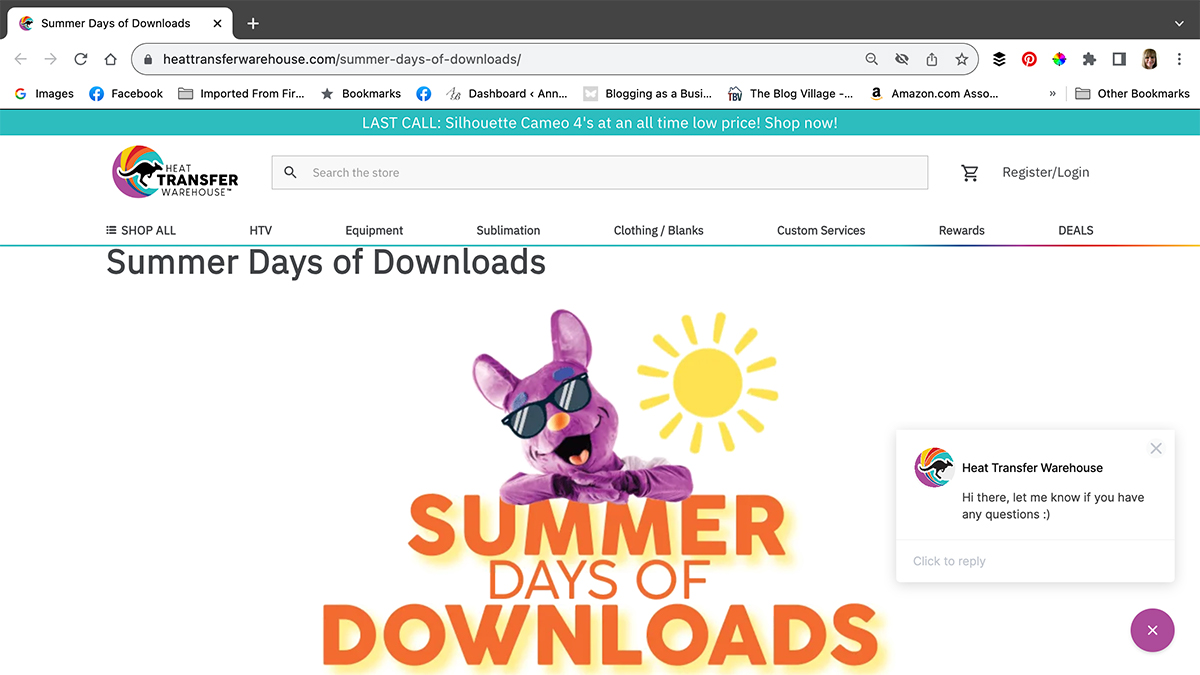
Go to Heat Transfer Warehouse Summer of Downloads.
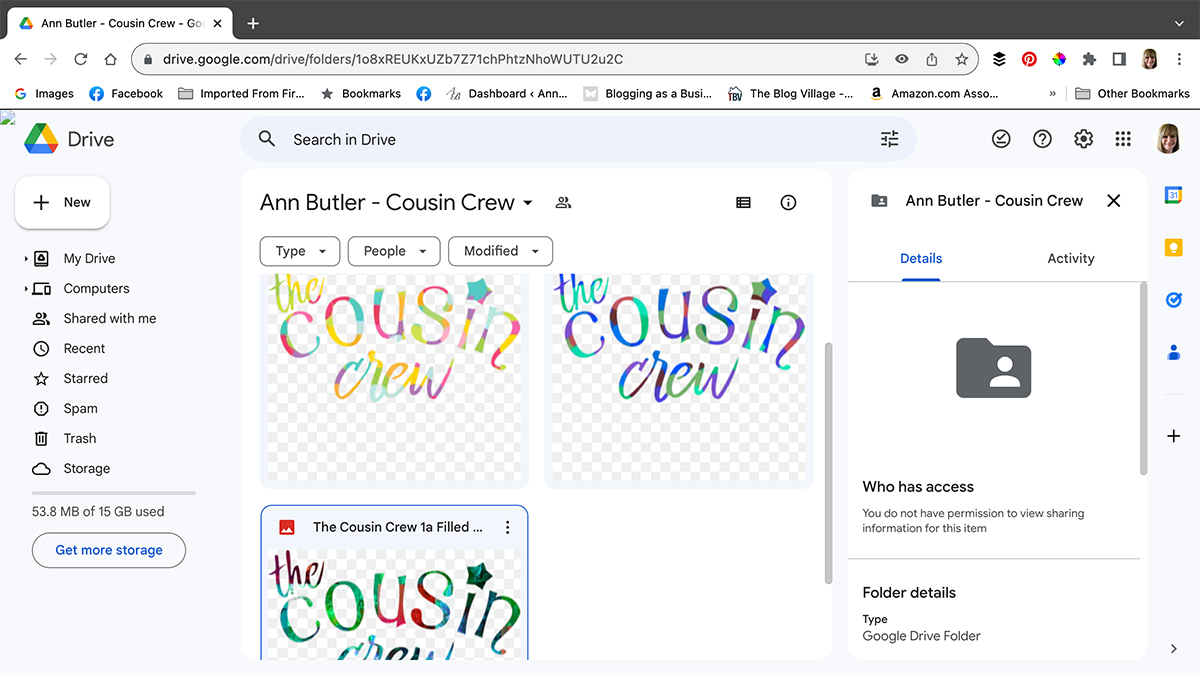
Choose “The Cousin Crew” and it will bring you to a page with three choices. Choose the one, or all of them if you desire, and download them onto your computer.
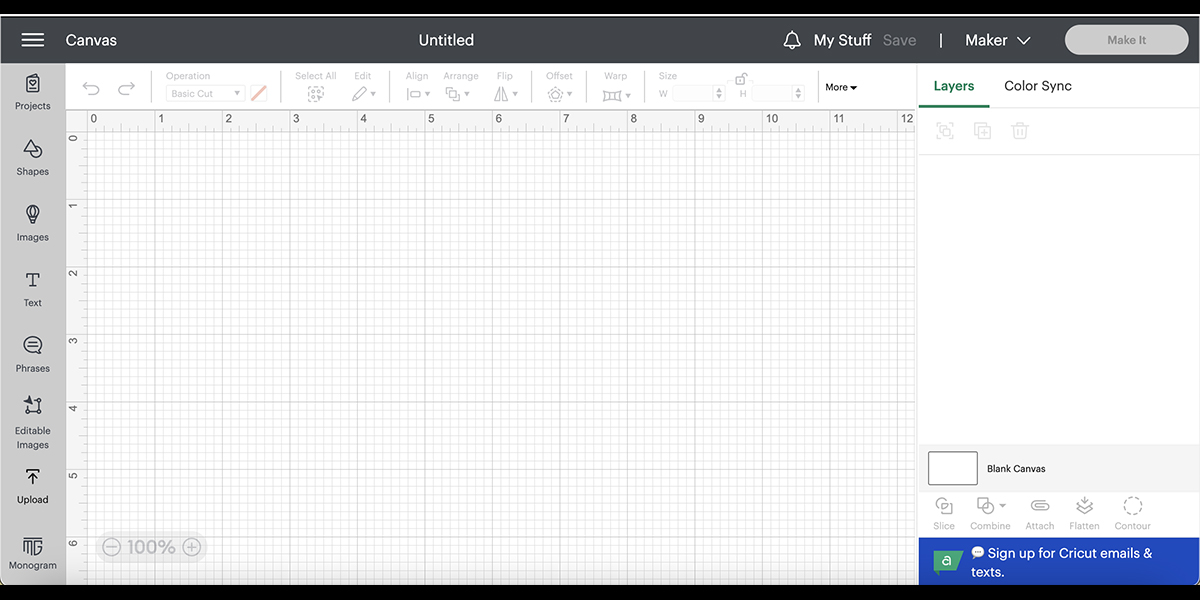
Open up Cricut Design Space and start a new project.
Steps Four, Five, Six:
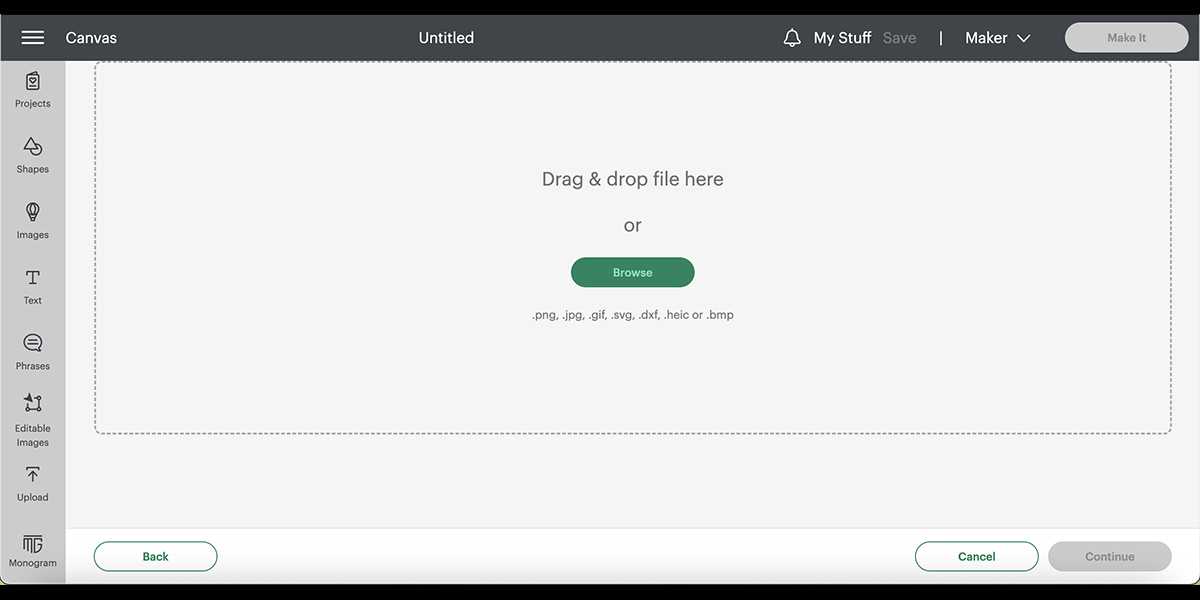
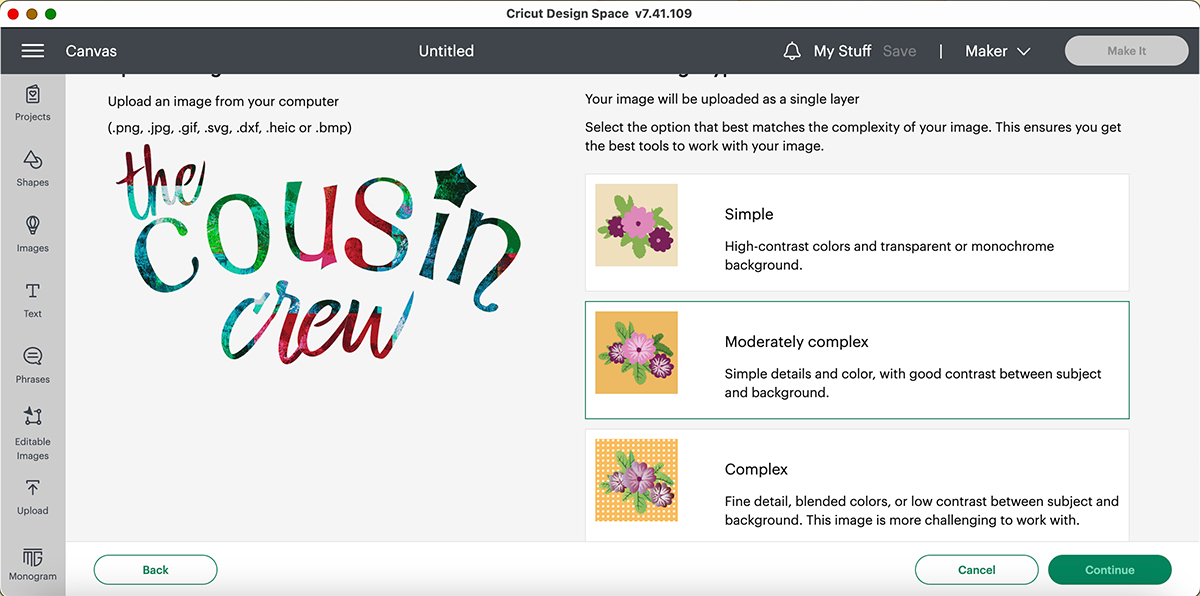
Click upload so that you can upload the design.
Choose “The Cousin Crew” from your computer.
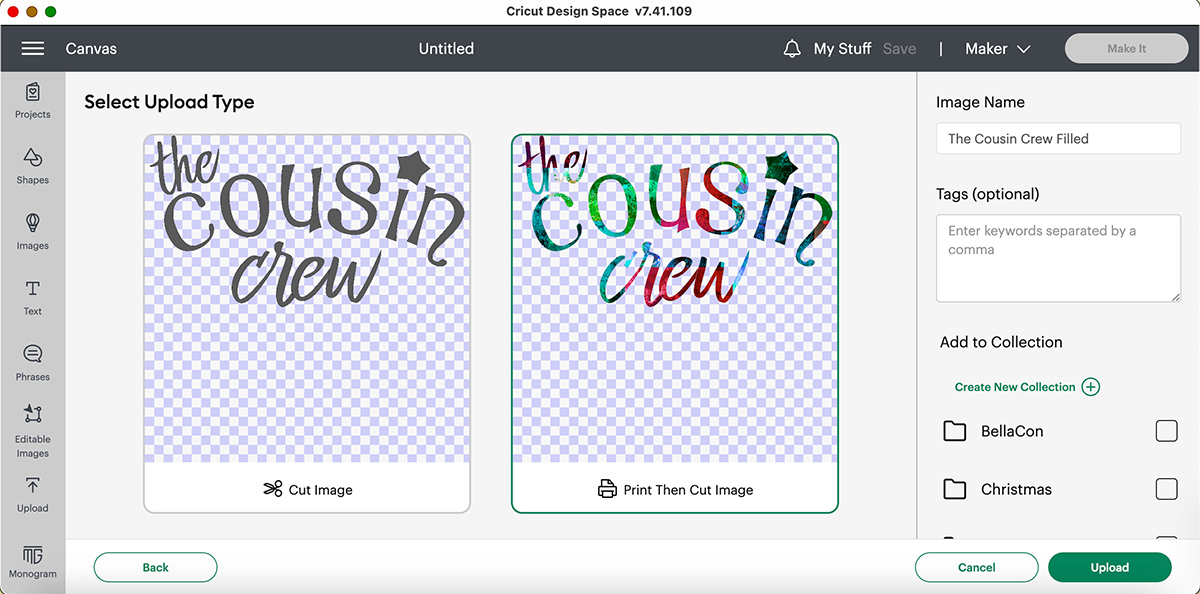
Select print and cut.
Steps Seven, Eight, Nine:
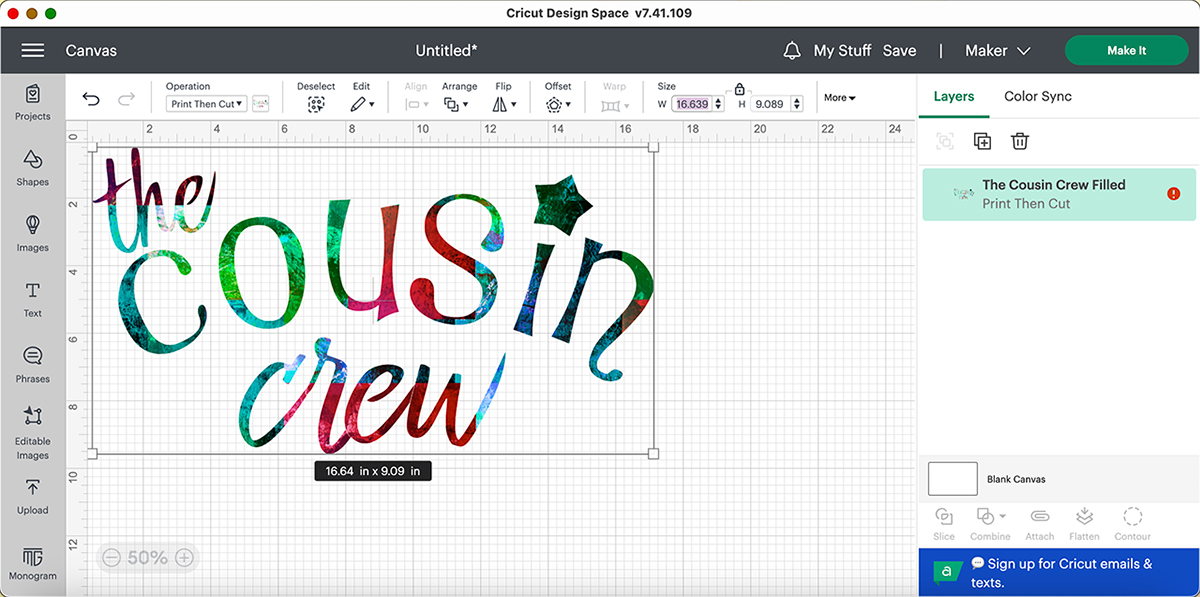
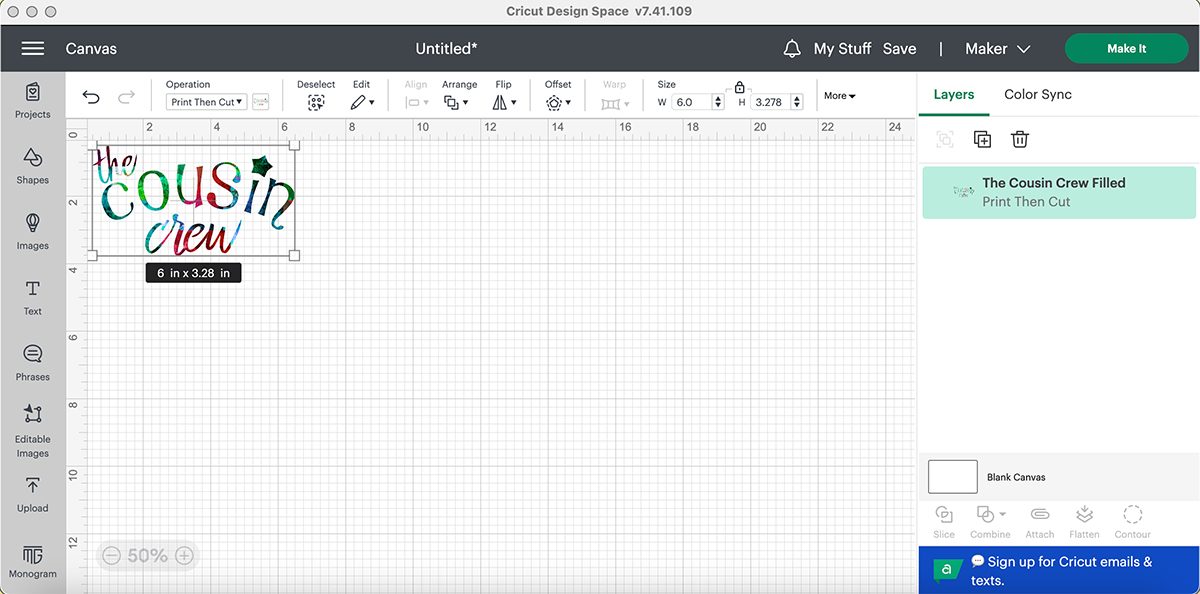
Upload to image to the project mat.
Chosse the size desired for you t-shirt.
Click on make.
Steps Ten, Eleven, Twelve:
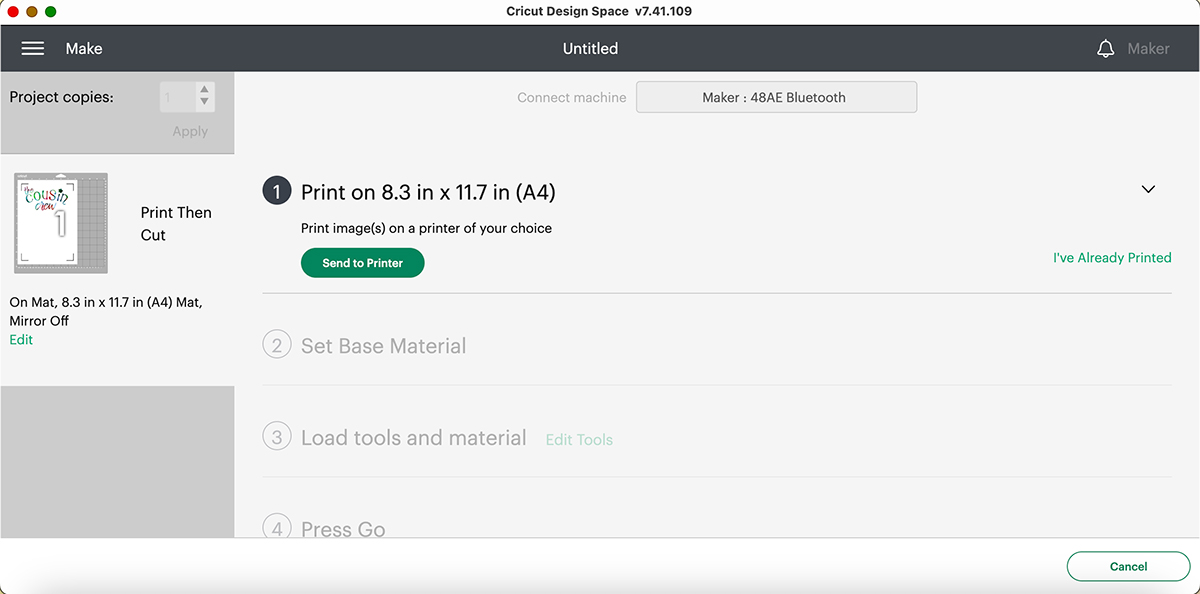
Send to printer.
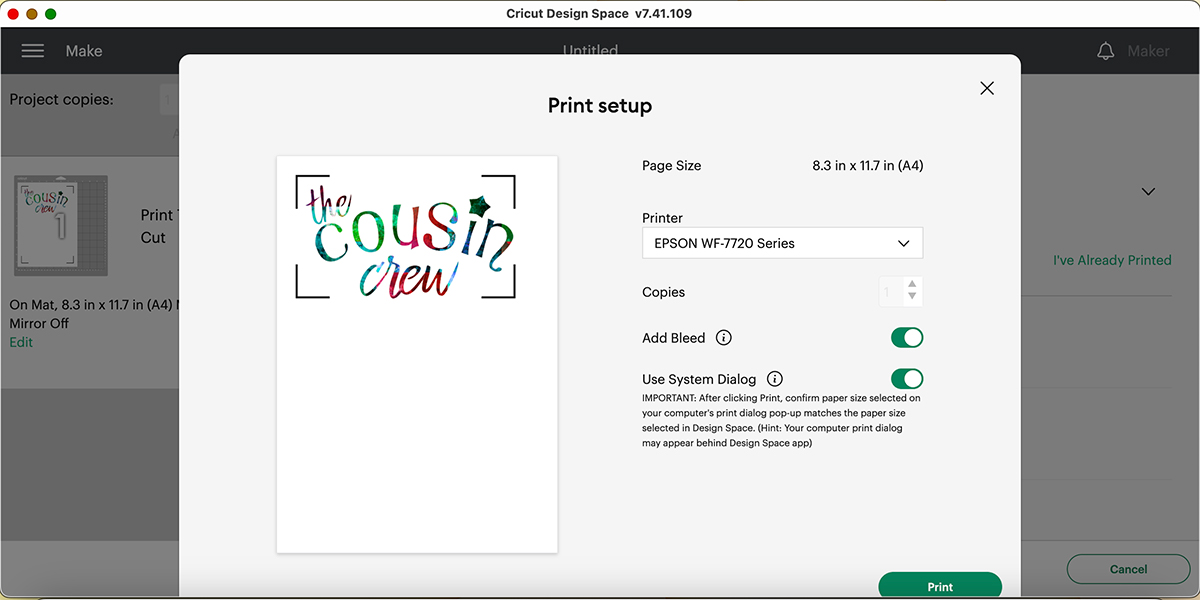
Select add bleed.
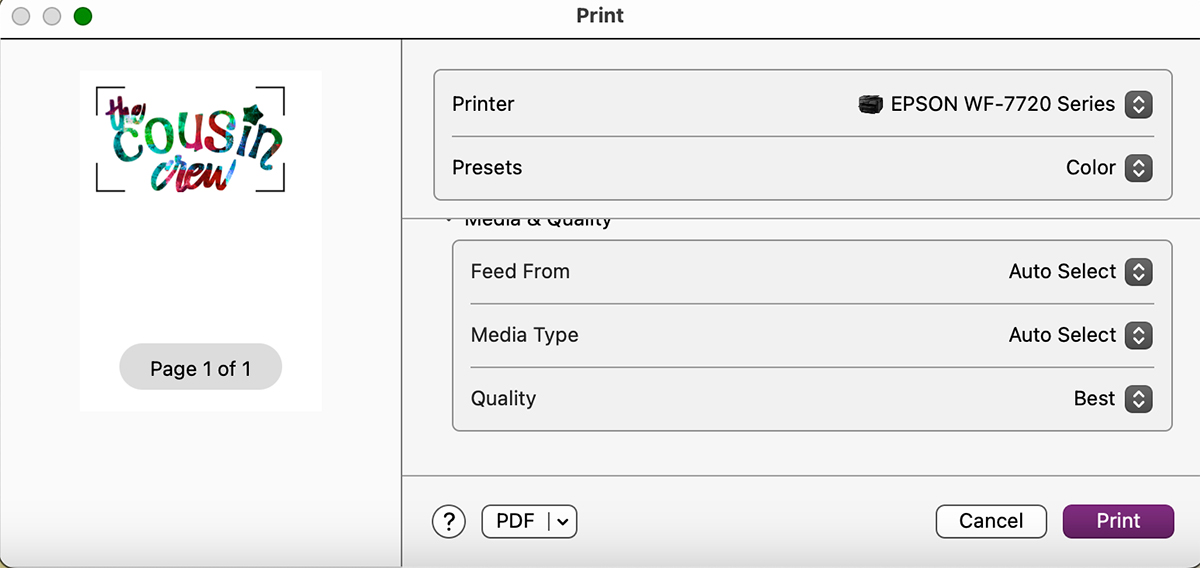
Choose best setting for printing.
Steps Thirteen, Fourteen, Fifteen:
Grab your Siser EasyColor DTV from Heat Transfer Warehouse.
One side of the Siser EasyColor DTV will be greyish while the other side is white. You will want to print on the white side. Load the Siser EasyColor DTV into the printer.
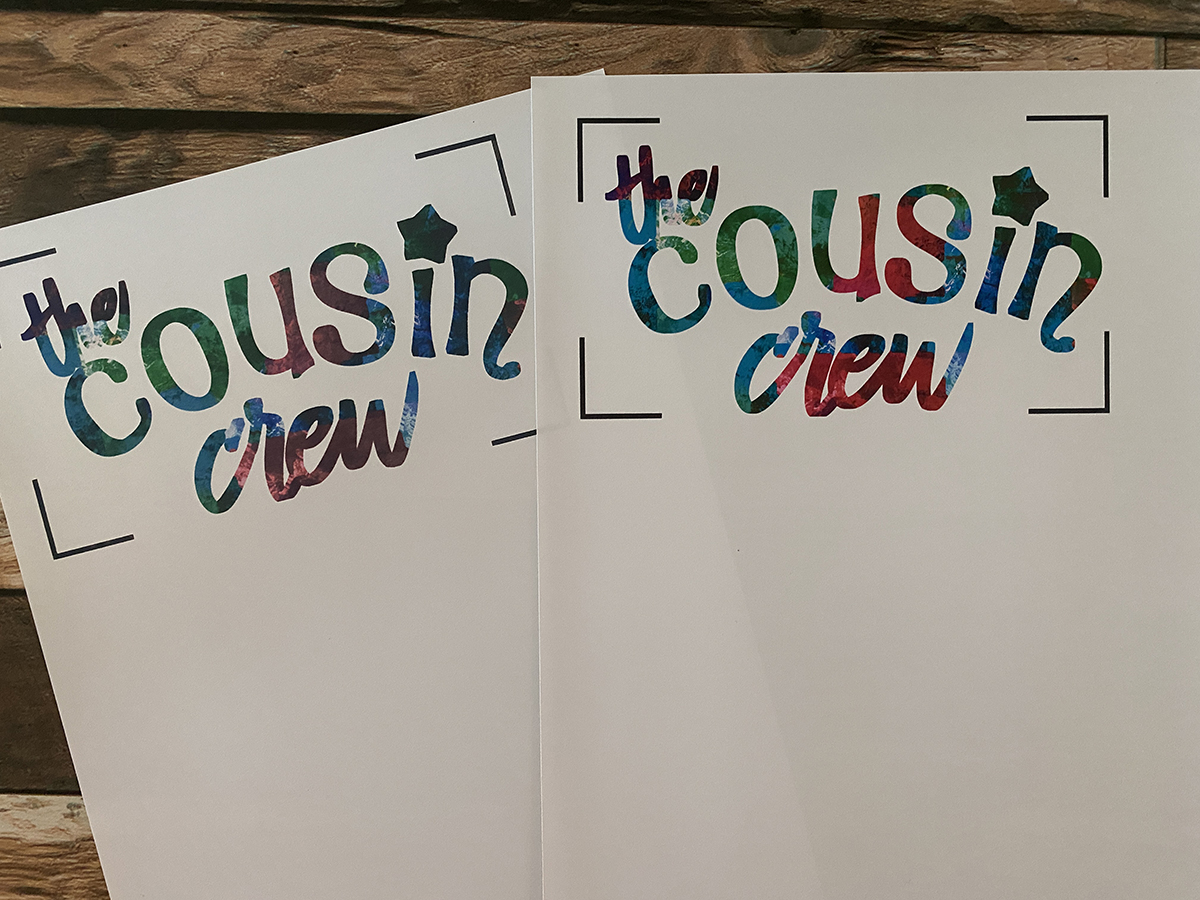
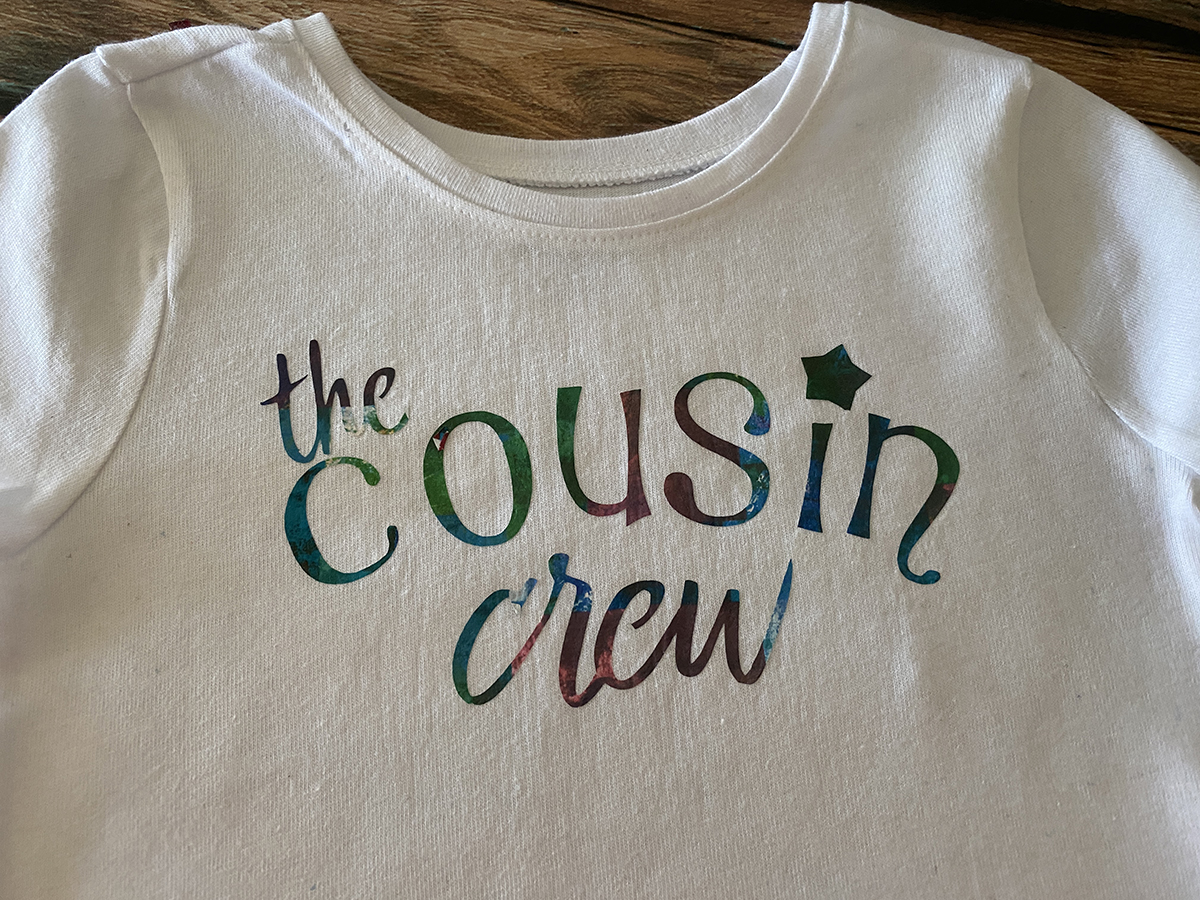
Print desired amount of copies. You will notice the writing is a bit large on my print copies. This is because of the bleed, so if your machine is off at all there will still be color instead of white.
Steps Sixteen, Seventeen, Eighteen, Nineteen:
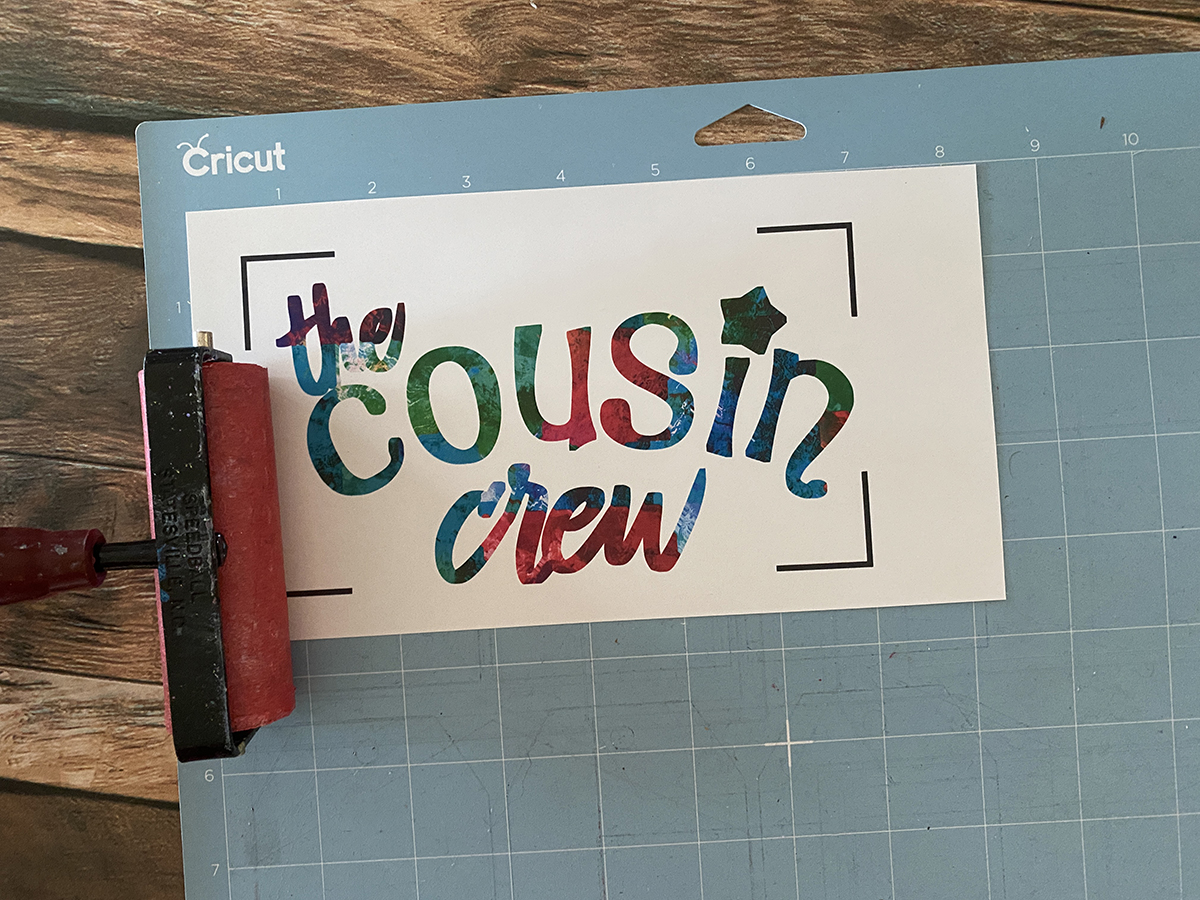
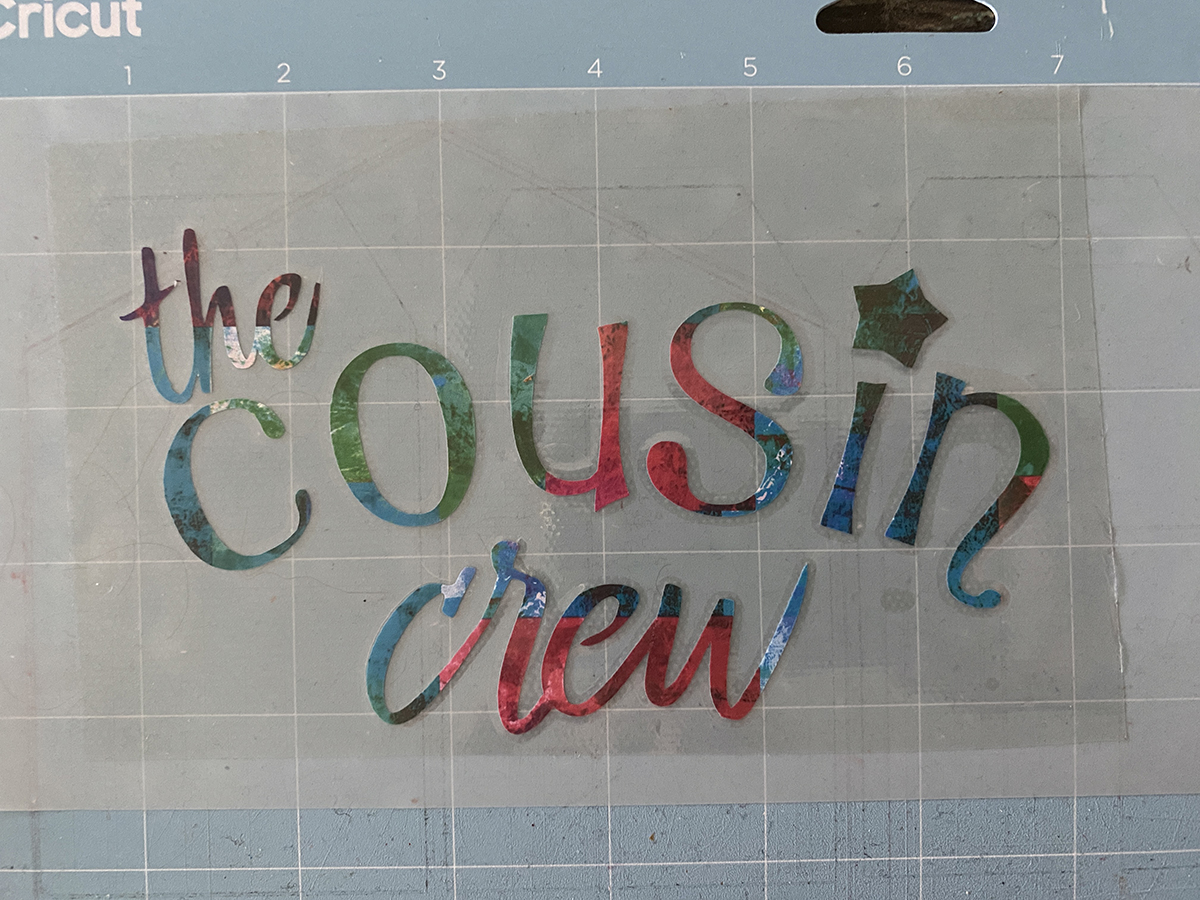
Cut off the excess of the EasyColor DTV, to be used in another project. Place your image onto a light blue cutting mat with the image side up. Use a brayer to secure down.
Siser recommends you cut this product on the vinyl setting with more pressure.
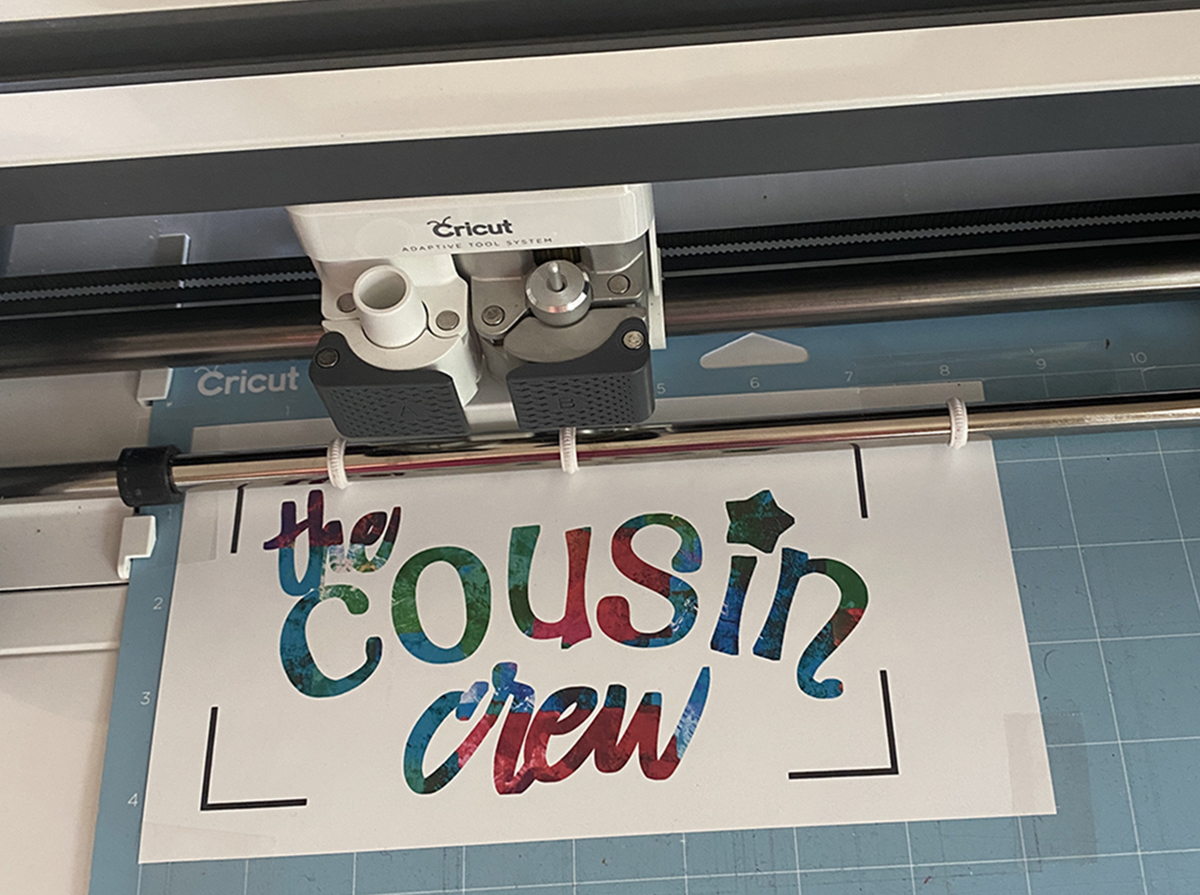
Next, load the mat into your machine and press Go. Your machine will read the black box around your design and then cut the image. When it is finished, unload the mat.
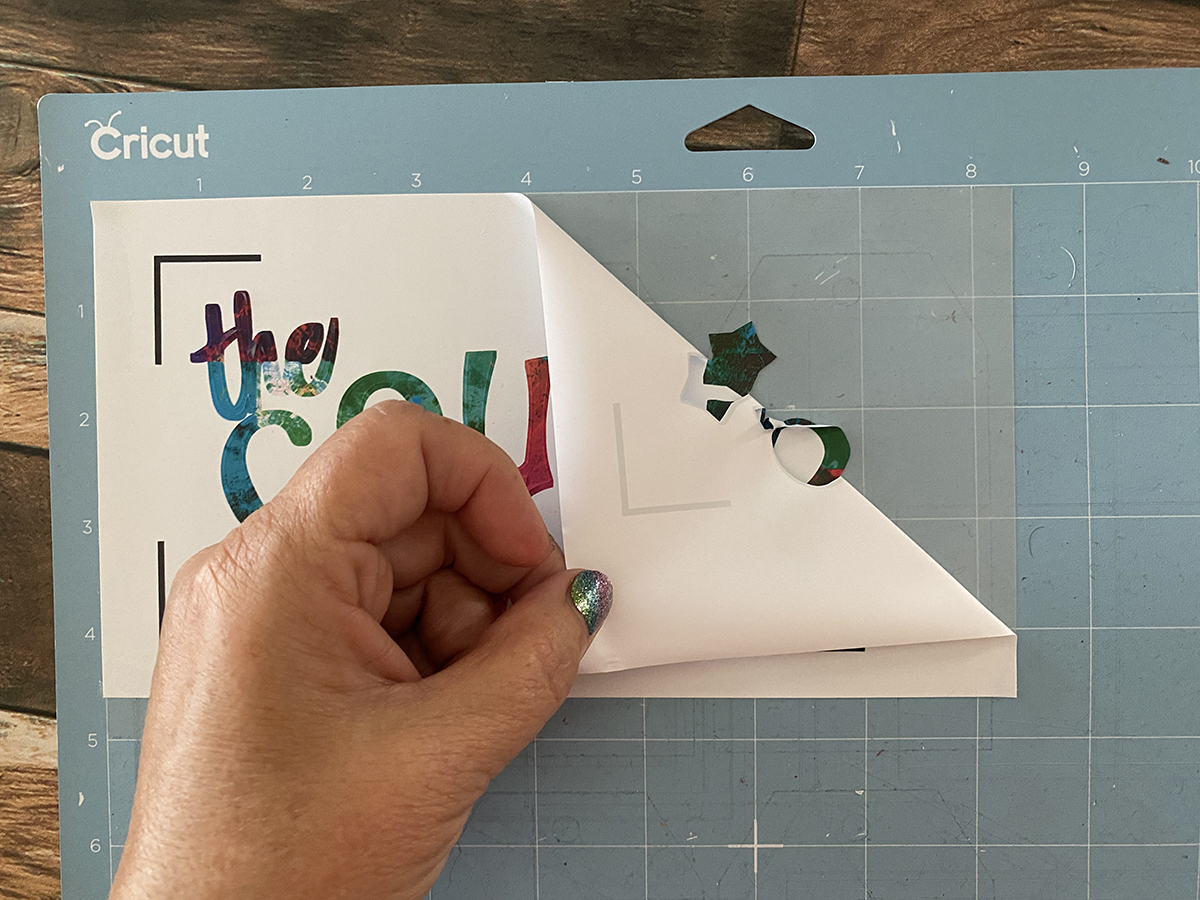
For weeding start in one corner and remove all the outside excess vinyl. Then using a weeding tool,go through and remove the insides of all the letters.
Steps Twenty, Twenty-one, Twenty-two:
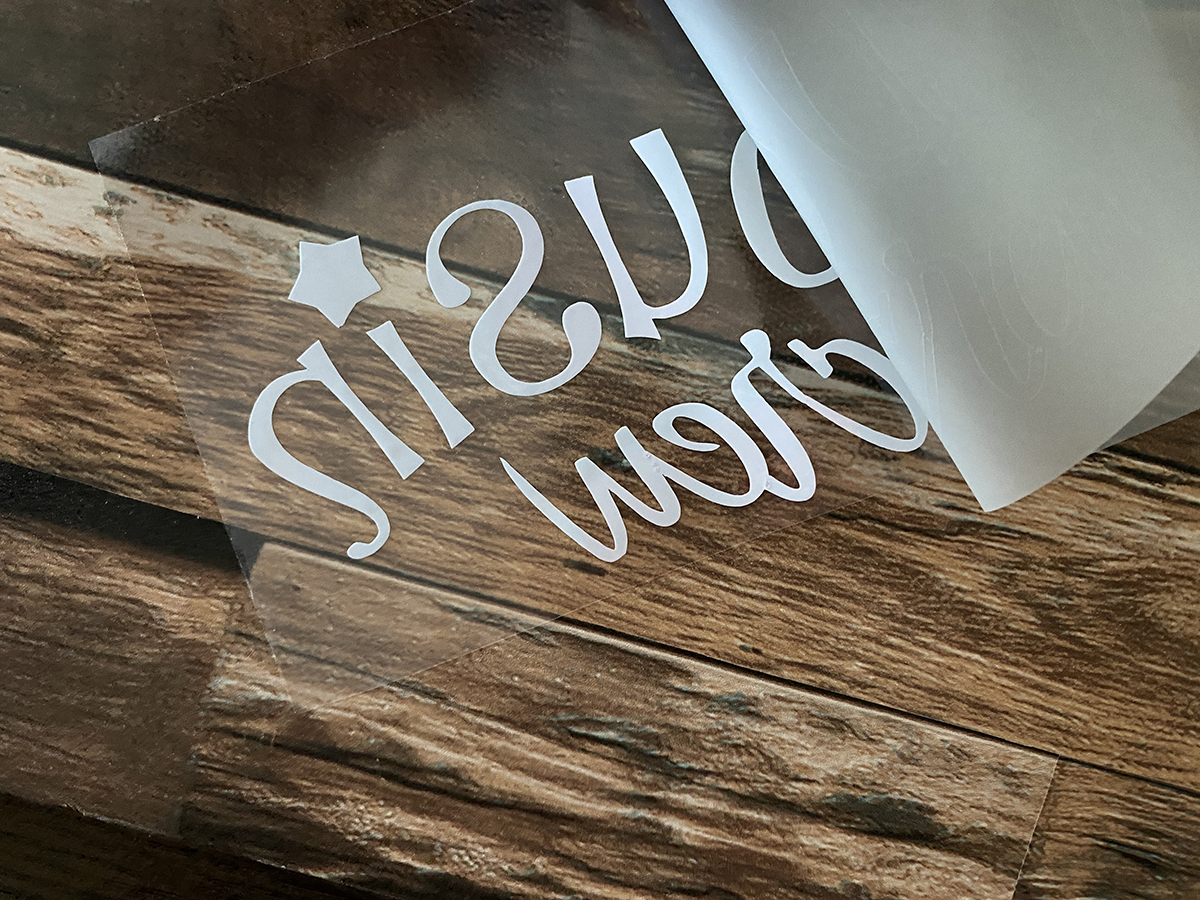
Cut the heat mask large enough to cover your entire image. Peel the backing off the heat mask and place sticky side on top of your image. Use a brayer if needed.
Flip the design, mask side down, and slowly peel the backer from your design leaving the image attached to the mask.
Place design on t-shirt.
Steps Twent-three, Twenty-four, Twenty-five:
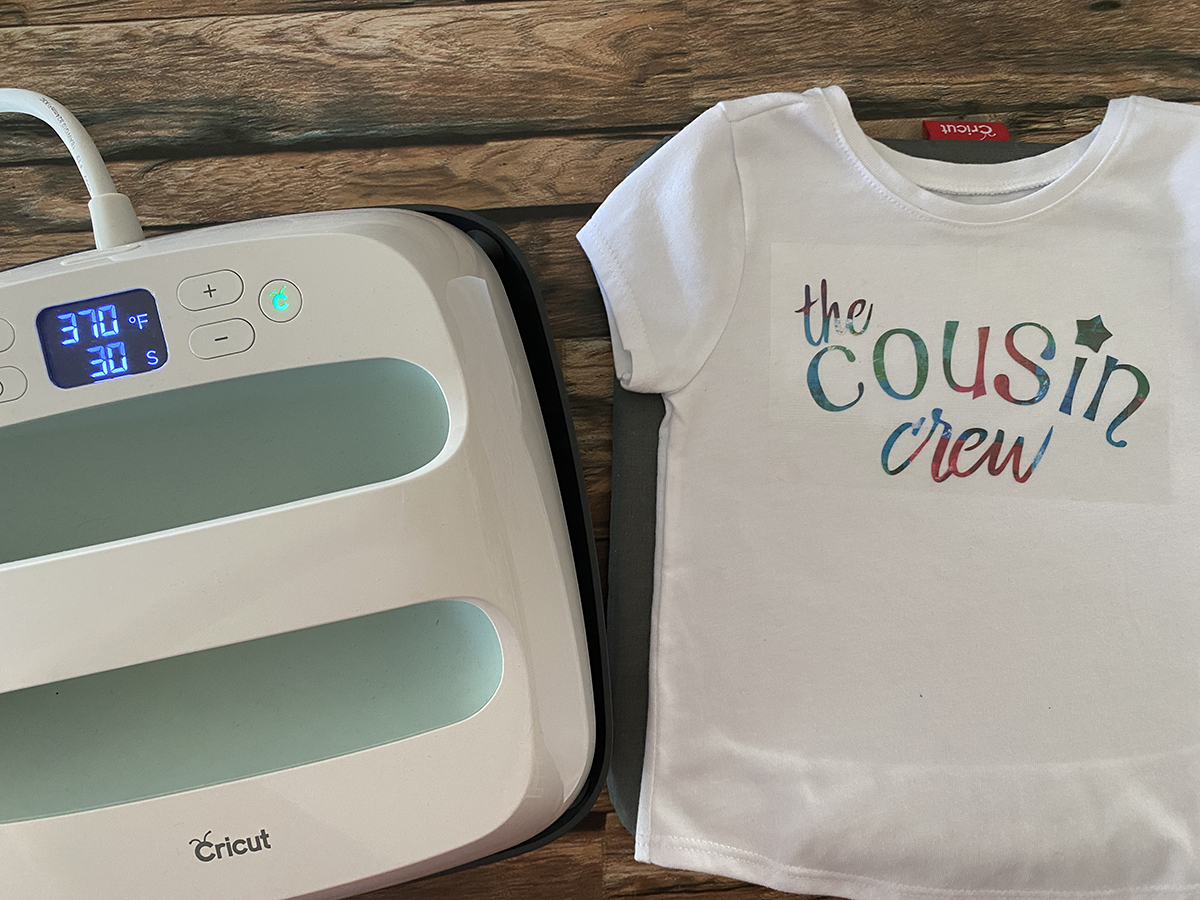
Press according to the manufacturer’s recommended time and temp and remove the heat mask as soon as the time is up.
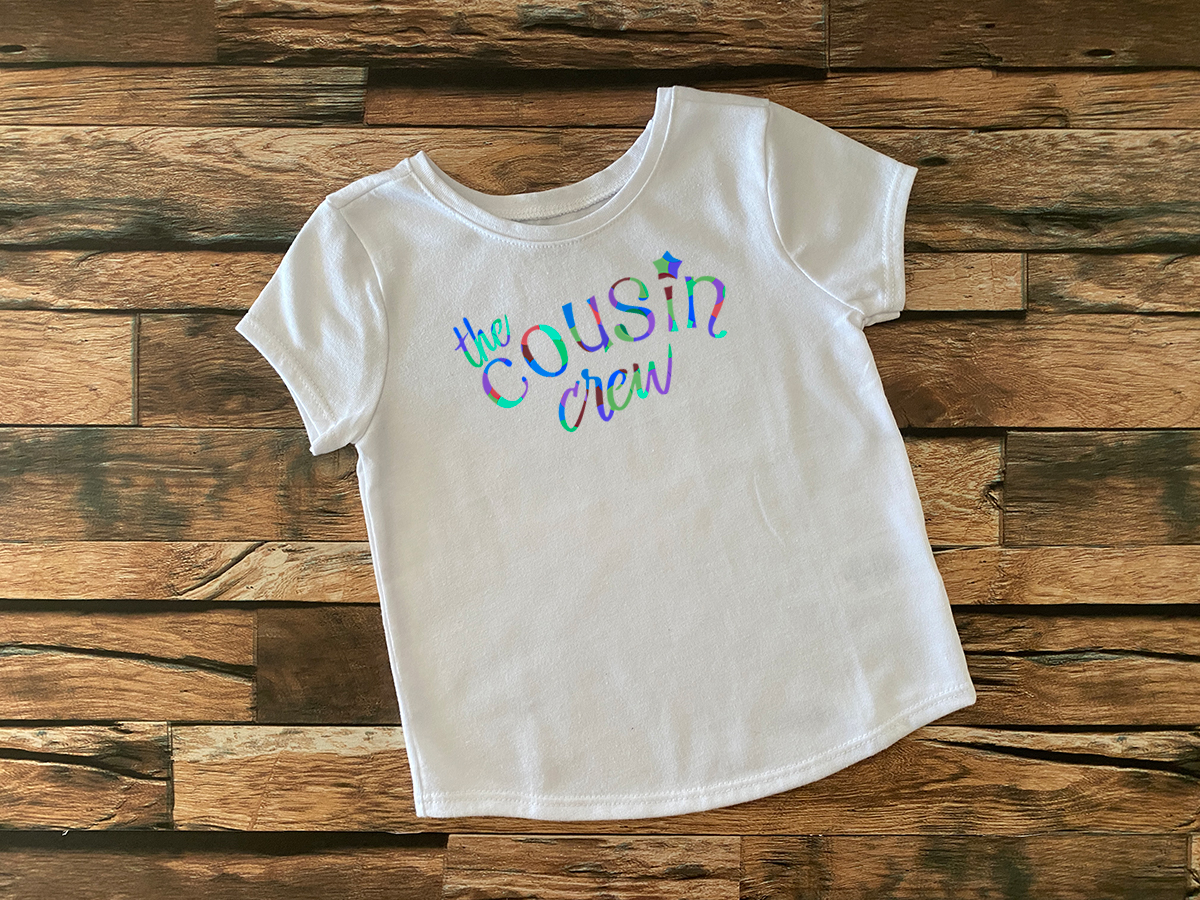
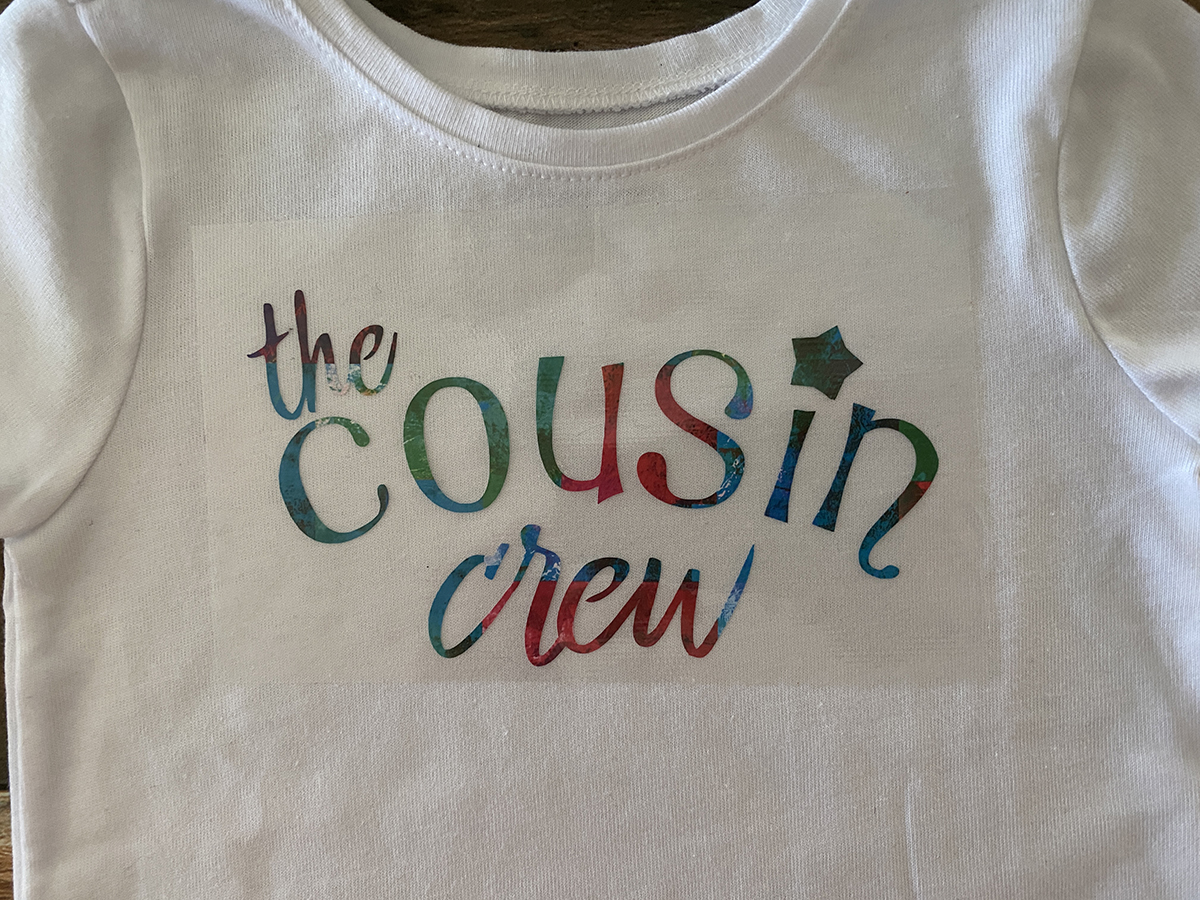
Here is the finished one from the step outs.
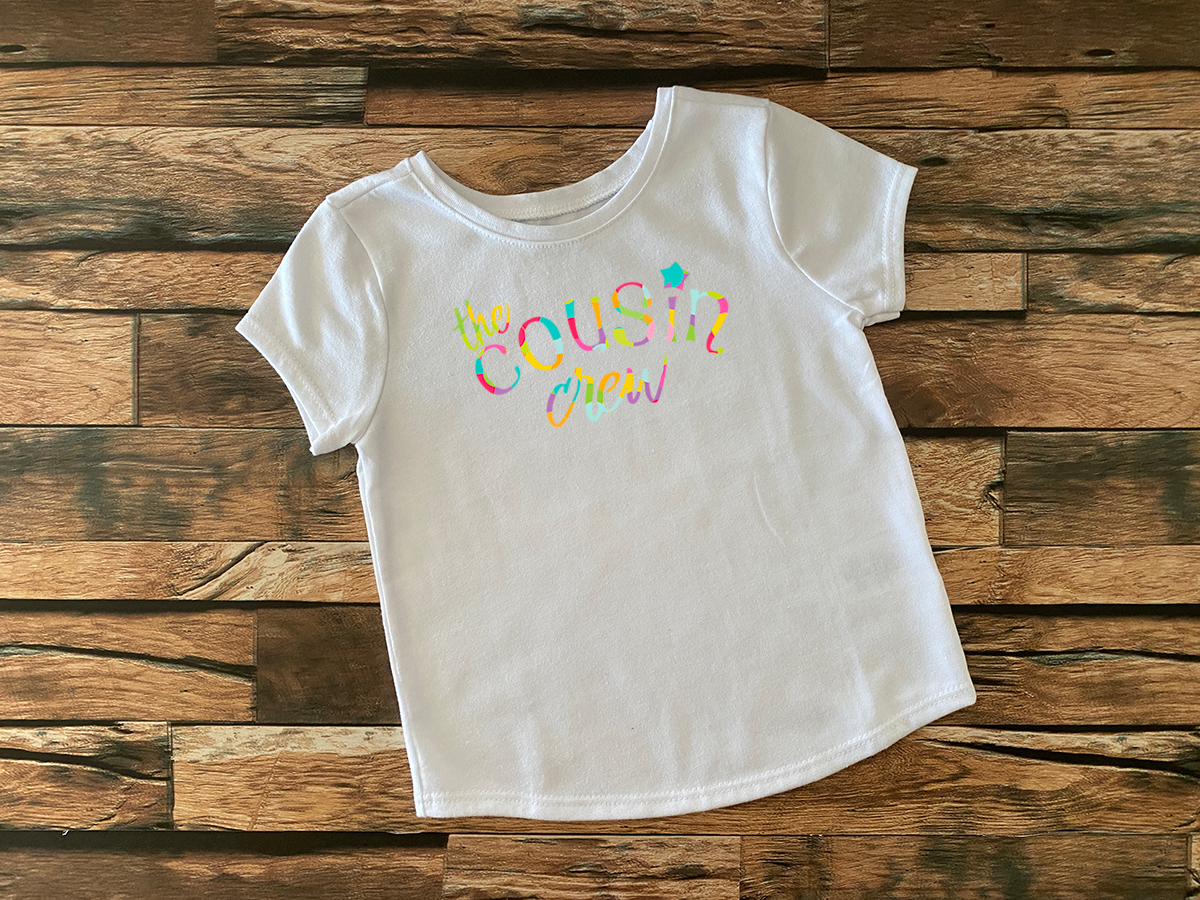
Here is another option…all are fun!
Supplies for creating the Print and Cut T-shirt
- Siser EasyColor DTV
- Siser Heat Mask
- Cricut Maker
- Weeding Tools
- Easy Press
- Teflon Sheet
- Brayer
- The Cousin Crew PNG
- Kids T-Shirt
- InkJet Printer
If your looking for more Crafty Projects the Summer 2023 issue of Bella Crafts is available to download FREE…to grab your copy sign up here! Then you will recieve each future issue right to your inbox when they are release
Don’t forget to join us every Wednesday on our Bella Crafts Publishing’s Facebook Page at 12:00 pm CST and again at 2:00 pm CST for two brand new crafty videos and a new giveaway. Hope to see you there!