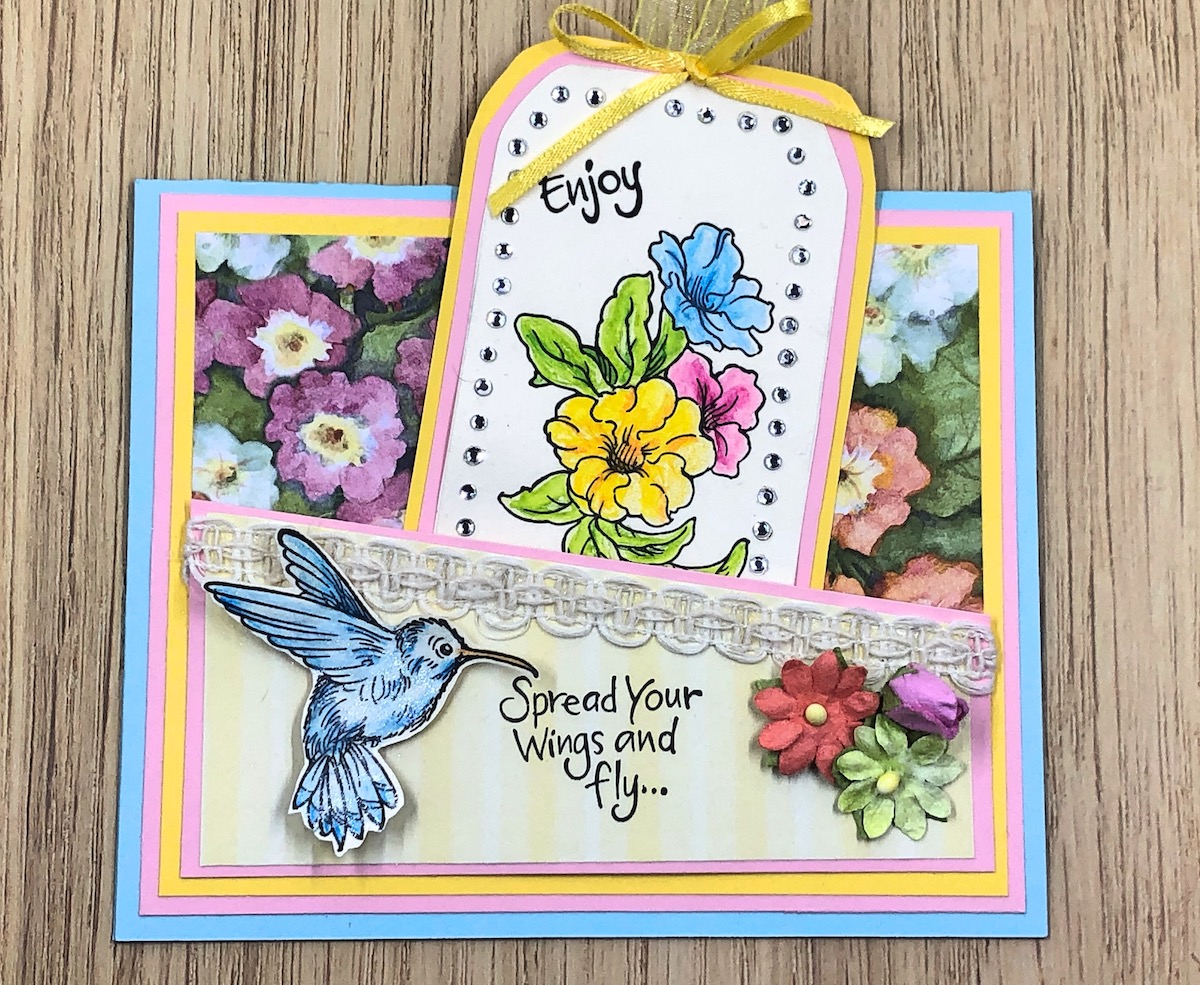
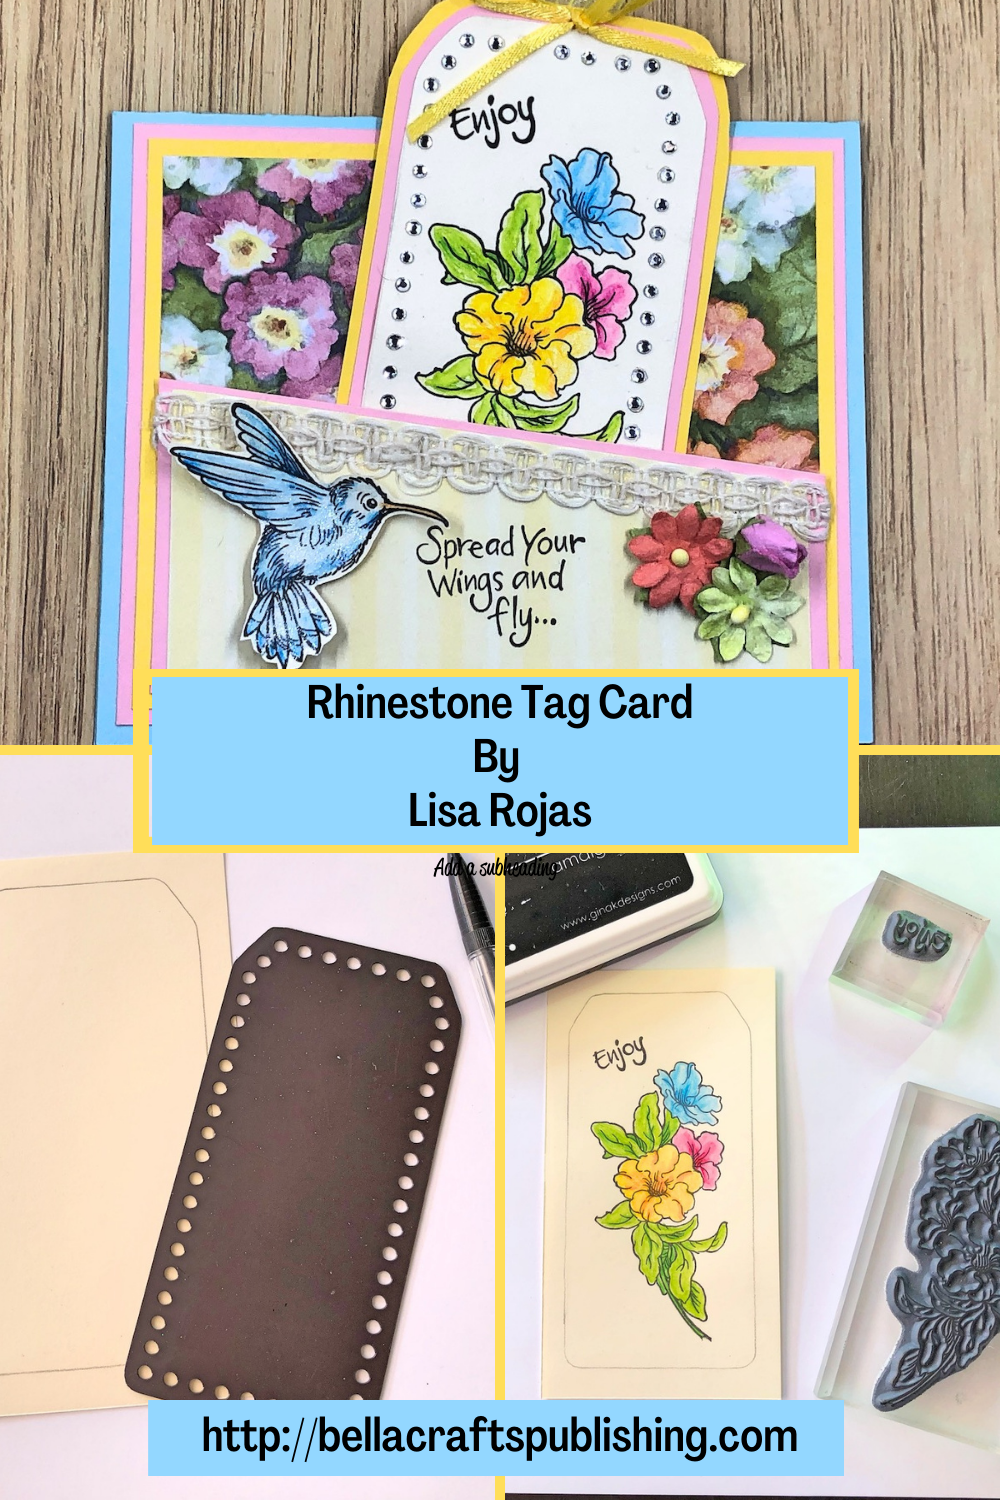
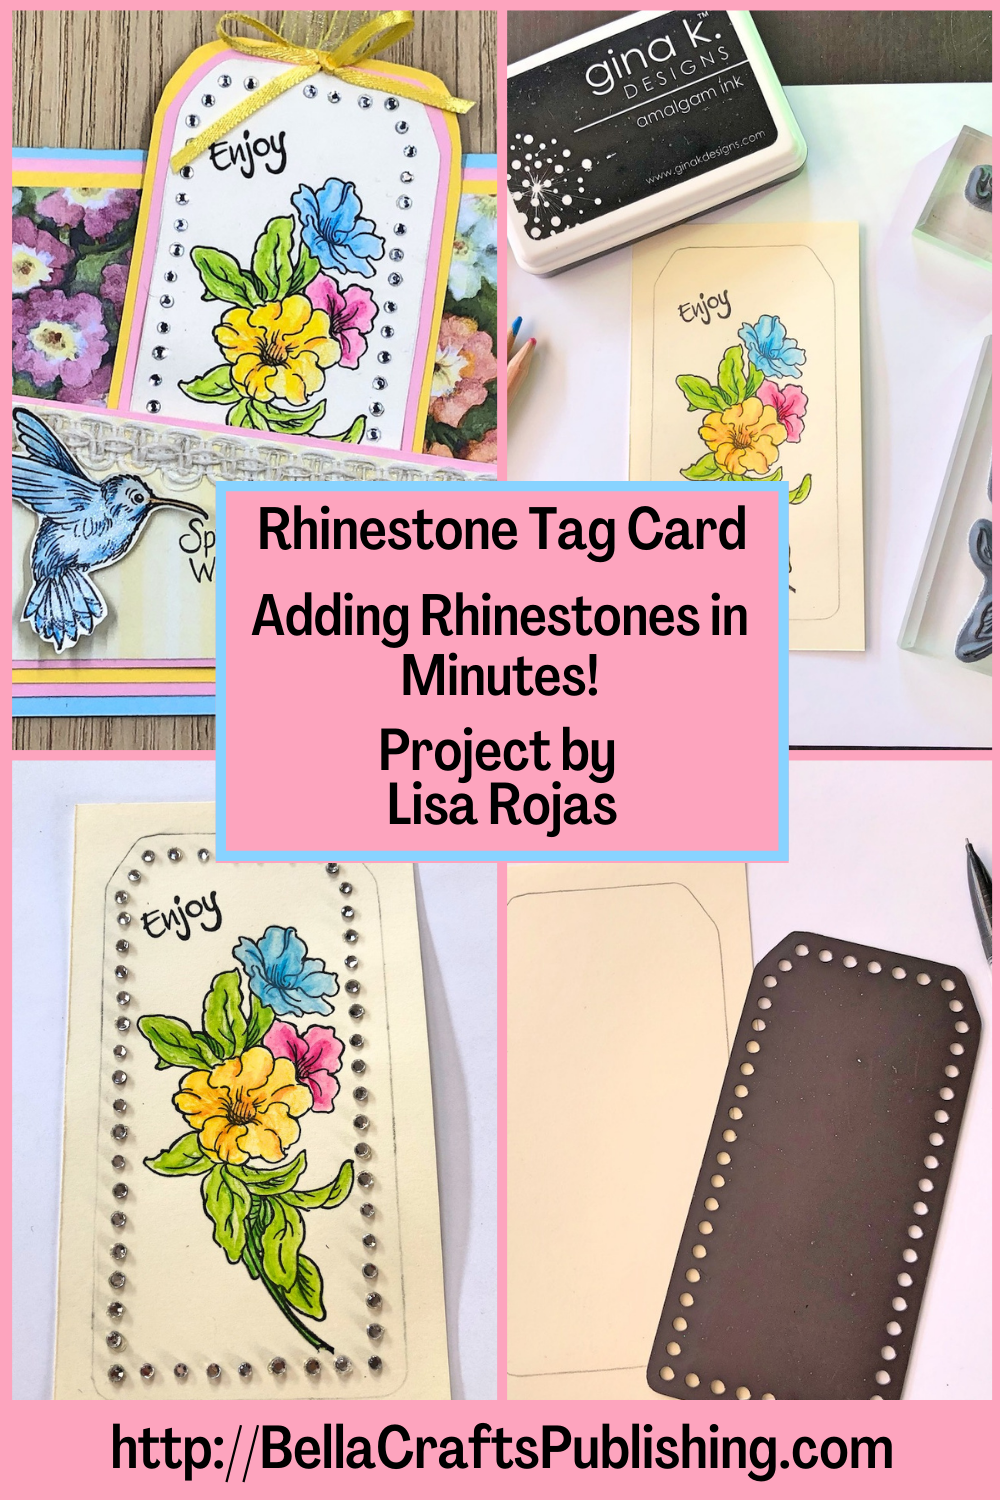
Find out how you can add bling to your projects in minutes with this Rhinestone Tag Card!
Please note: This post contains affiliate links. If you use these links and make a purchase, we earn a commission at no extra cost to you…
I love adding bling to my projects but I hated having to do it one rhinestone at a time. So, when I first saw these templates designed by my friend, Ann Butler for Rhinestone Genie, I was blown away! The templates, in all kinds of shapes and sizes, can add many rhinestones in a matter of minutes to all different types of surfaces like paper, fabric, glass, wood, etc. If you love shiny things like me, you’ll love these templates. Have fun! Lisa~
Check out the full list of supplies at the end of this post.
Step One:
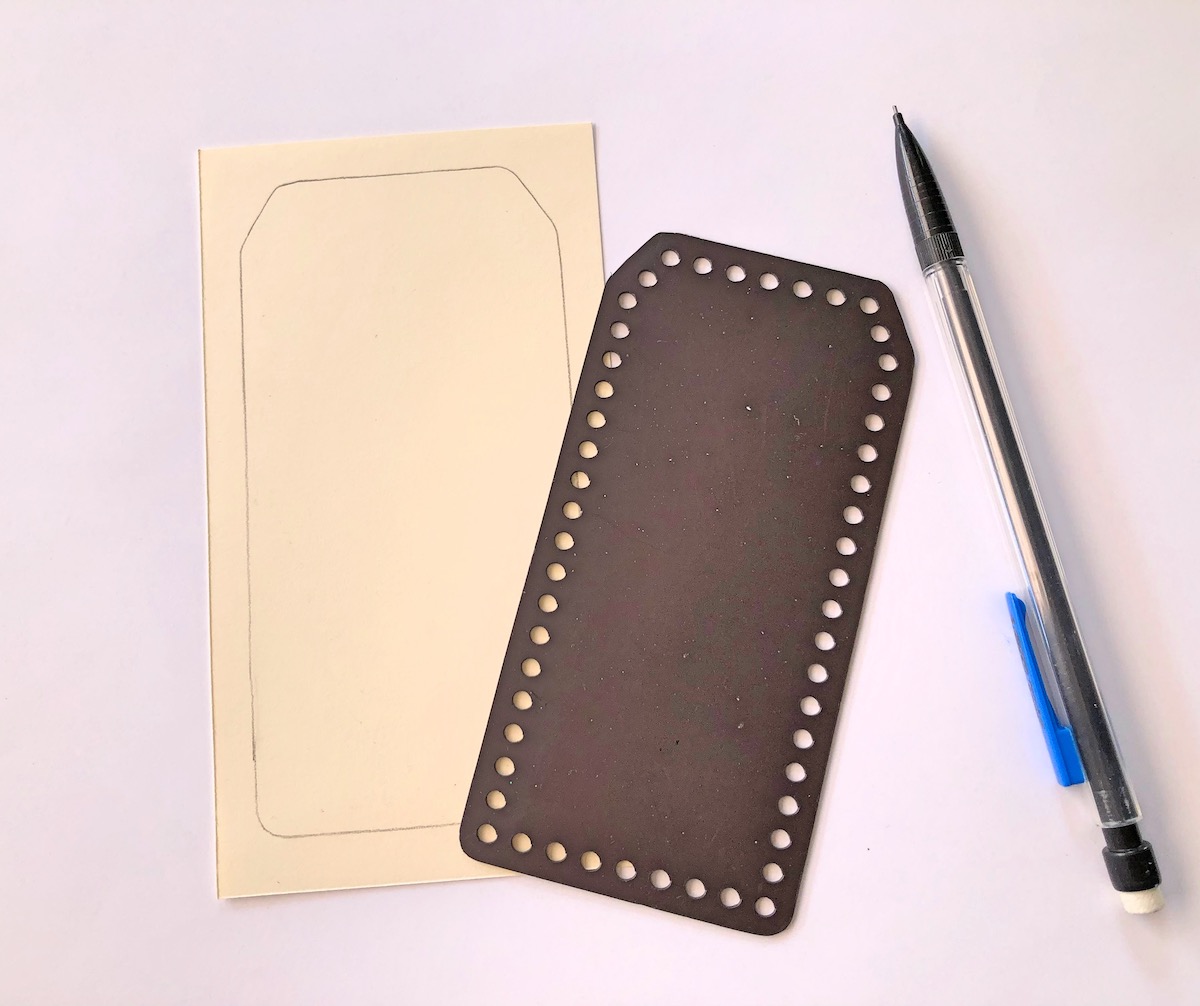
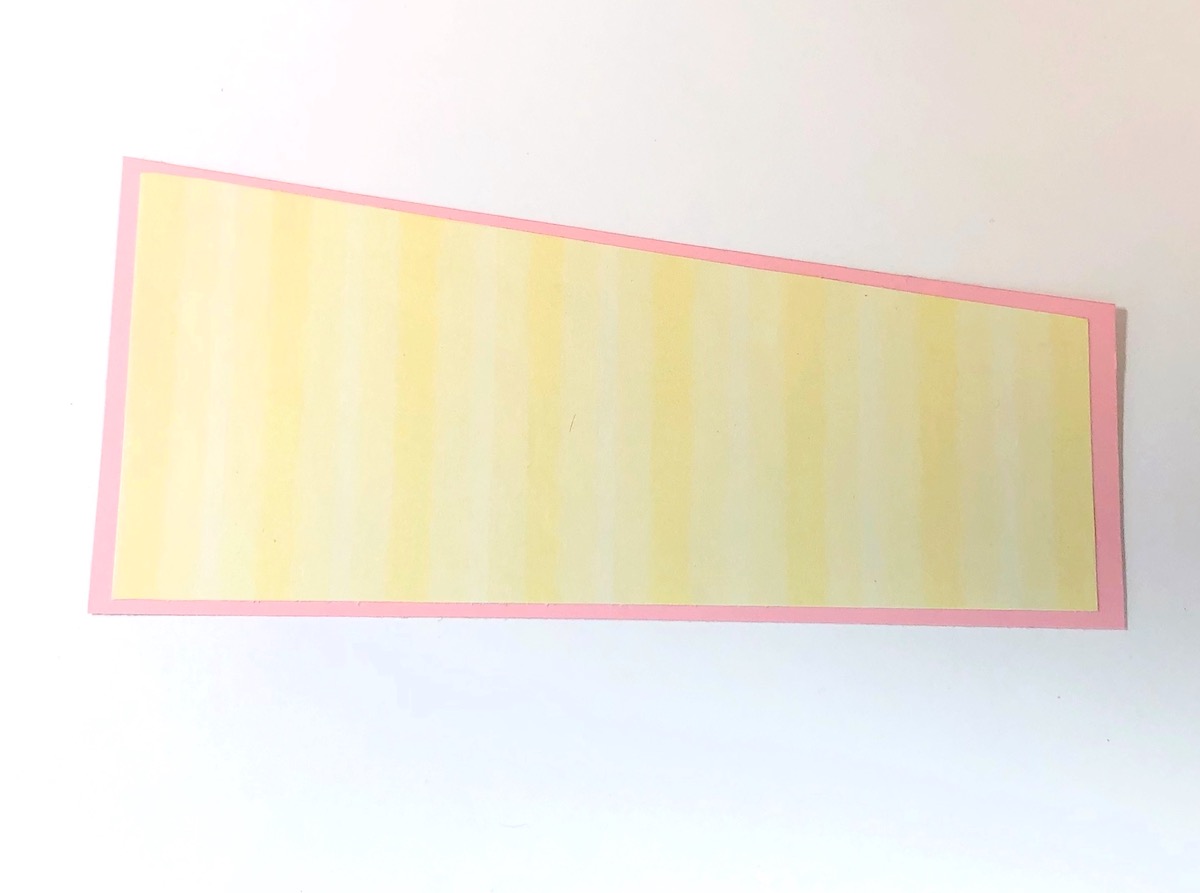
Cut the cardstock as follows- Blue for card base 6″ x 5″, Pink 5 3/4″ x 4 3/4″, Light Orange 5 1/2″x 4 1/2″, and floral patterned paper 5 1/4″ x 4 1/4″. Layer and adhere the papers together. Cut the Cream paper for the tag 3″ x 5 1/2″.

Step Two:
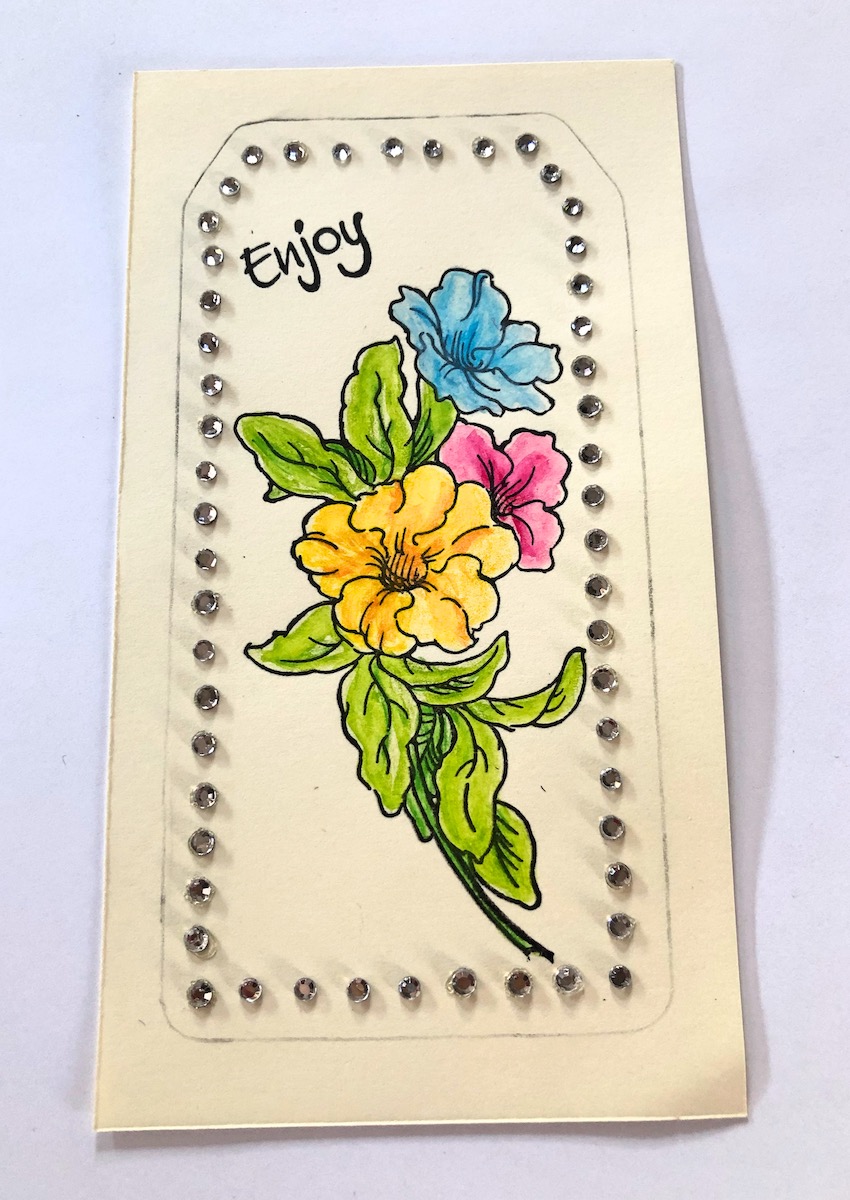
Trace the template onto the Cream cardstock with a pencil.
Step Three:
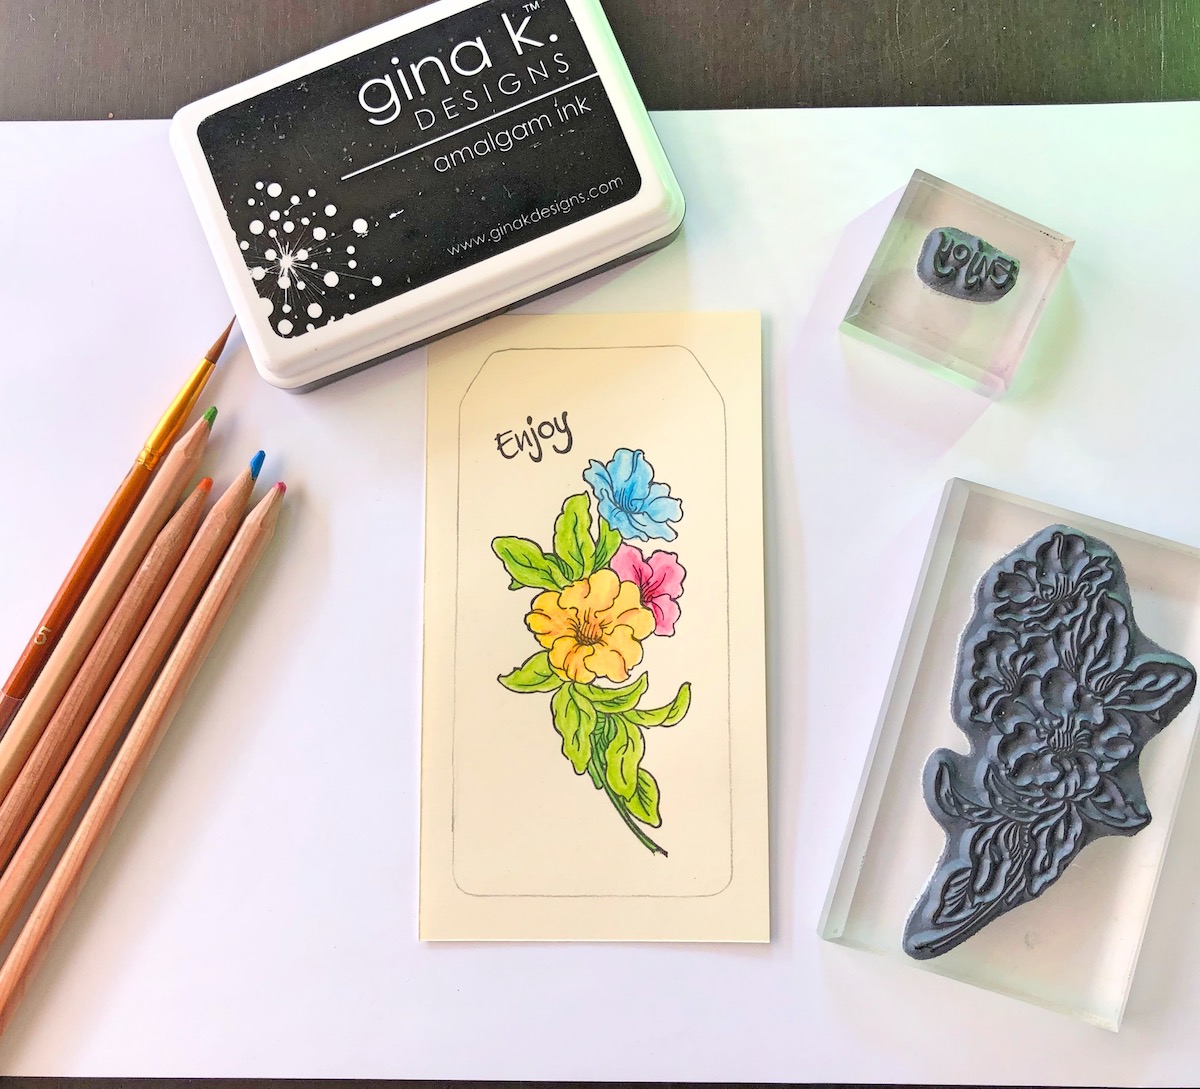
Stamp the floral image and the word image onto the cream cardstock with a black inkpad. Color the image with watercolor pencils.
Step Four:
Place the template onto a cooking sheet. Pour rhinestones over the template and move them around with the brush, filling the holes with rhinestones. Brush the excess rhinestones out of the way. Lay the adhesive sheet over the template and gently pull the adhesive off the template. Lay the adhesive sheet onto the cream cardstock. Heat set the rhinestones with a dry, hot iron for about 15 seconds, covering a section at a time. Gently pull the adhesive sheet off the cardstock and cut the tag shape out with scissors. Add some ribbons to the top of the tag.
Here is a quick 45 second video Ann has created showing the process~
Step Five:
For the pocket, cut the patterned paper 2 1/4″ x 5″ and the Pink cardstock 2 1/2″ x 5 1/4″. Adhere the paper together and then cut them at an angle.
Step Six:
Adhere the trim as shown. Stamp the hummingbird on Cream cardstock with black inkpad and color with watercolor pencils. Cut the image out and apply a glitter pen over the image. Stamp the word image and adhere some mini flowers. Attach the hummingbird with foam tape. Add double-sided tape around the sides and bottom and attach to the card front forming the pocket. Place the tag inside the pocket.

Rhinestone Tag Card
Here’s Another PIN For You To Share!
Supplies for Rhinestone Tag Card
- Cardstock: Blue, Pink, Light Orange, Cream
- Floral Patterned Paper
- Rhinestone Starter Kit by Ann Butler Designs
- Hummingbird Vine Stamp Set by Stampendous
- Black inkpad by Gina K. Designs
- Watercolor Pencils by Royal Talens
- Spectrum Noir Sparkle Pen
- Ribbon
- Mini Flowers
- Zip Dry Paper Glue by Beacon Adhesives
- Double-Sided Tape
- Foam Tape
- Scissors
- Paper Trimmer
Trackbacks/Pingbacks