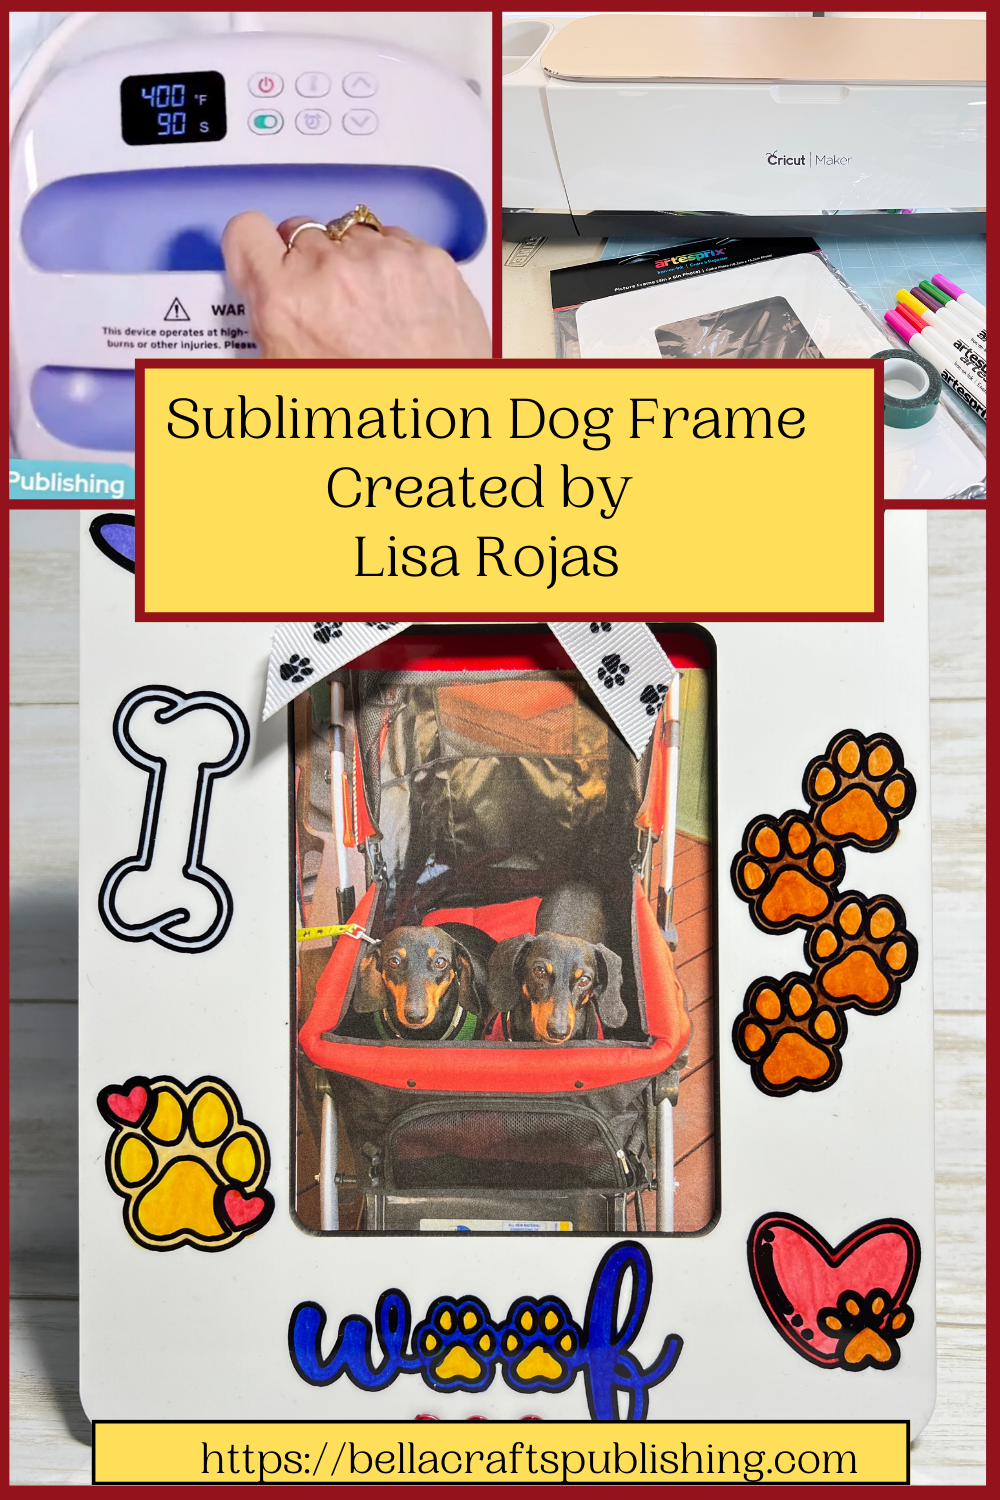
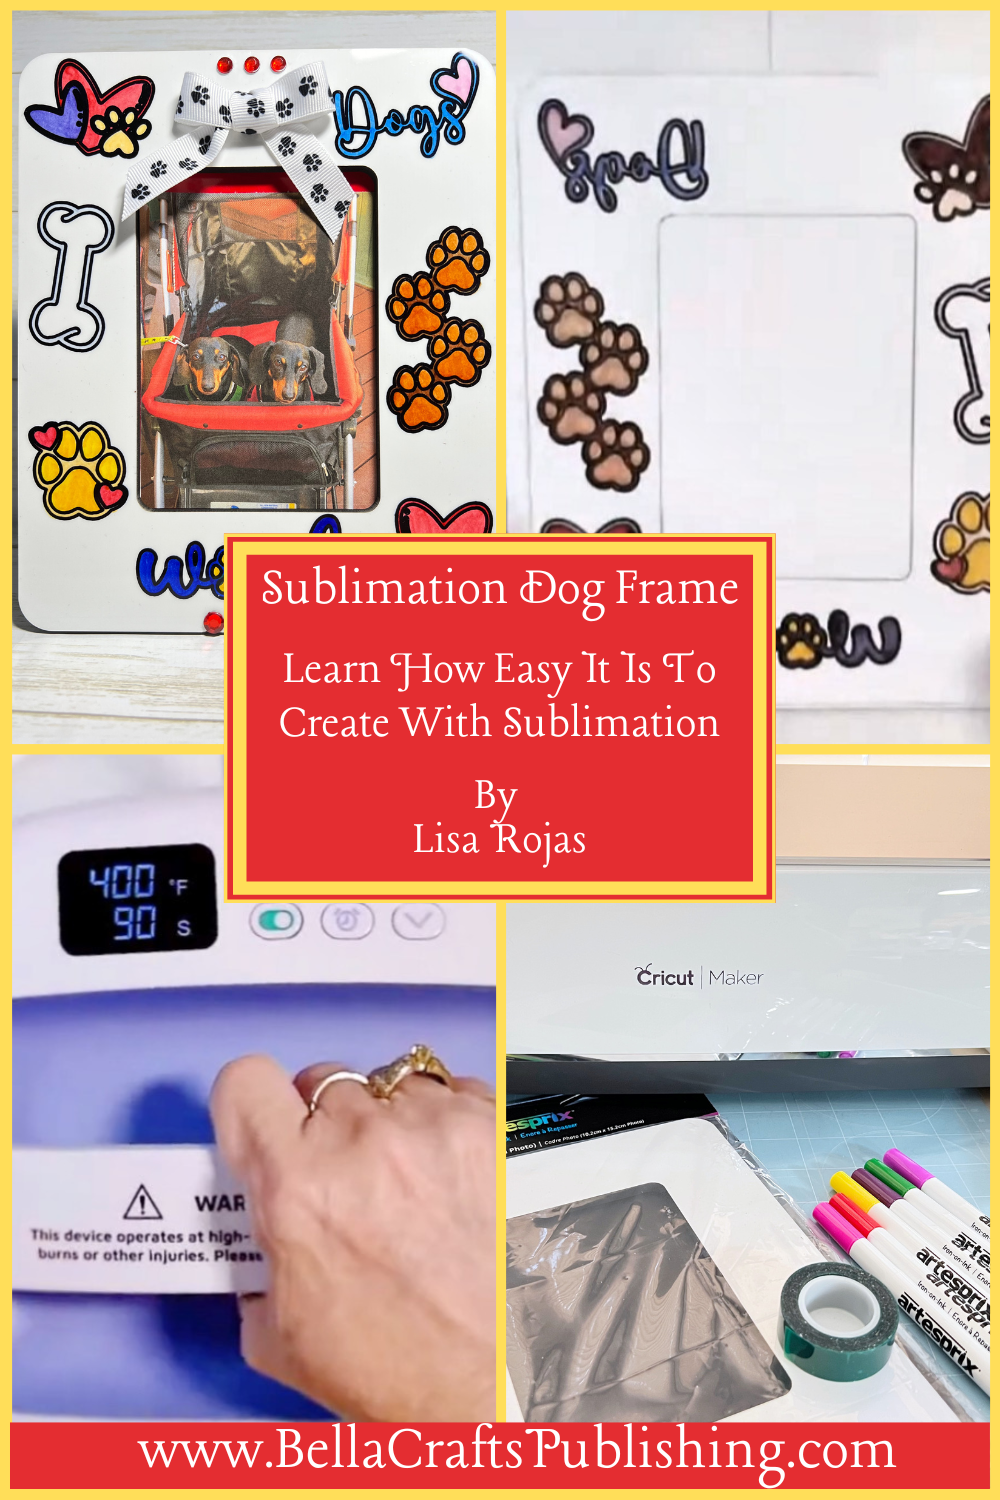
Capture pawsitively perfect memories with our Sublimation Dog Frame. Cherish the special moments you have with your furkids with our adorable frame~
Please note: This post contains affiliate links. If you use these links and make a purchase, we earn a commission at no extra cost to you…
Every dog lover I know has millions of photos of their dogs, me included! So, with that in mind I decided to create my Sublimation Dog Frame with sublimation products from Artesprix. Their products are perfect for all levels of crafting. You can find the products on the Artesprix website. They are also in the Hobby Lobby stores or their website https://www.hobbylobby.com/. Type Artesprix in the search box and it’ll take you right to their products! I hope you give this project a try. Have fun! Lisa~
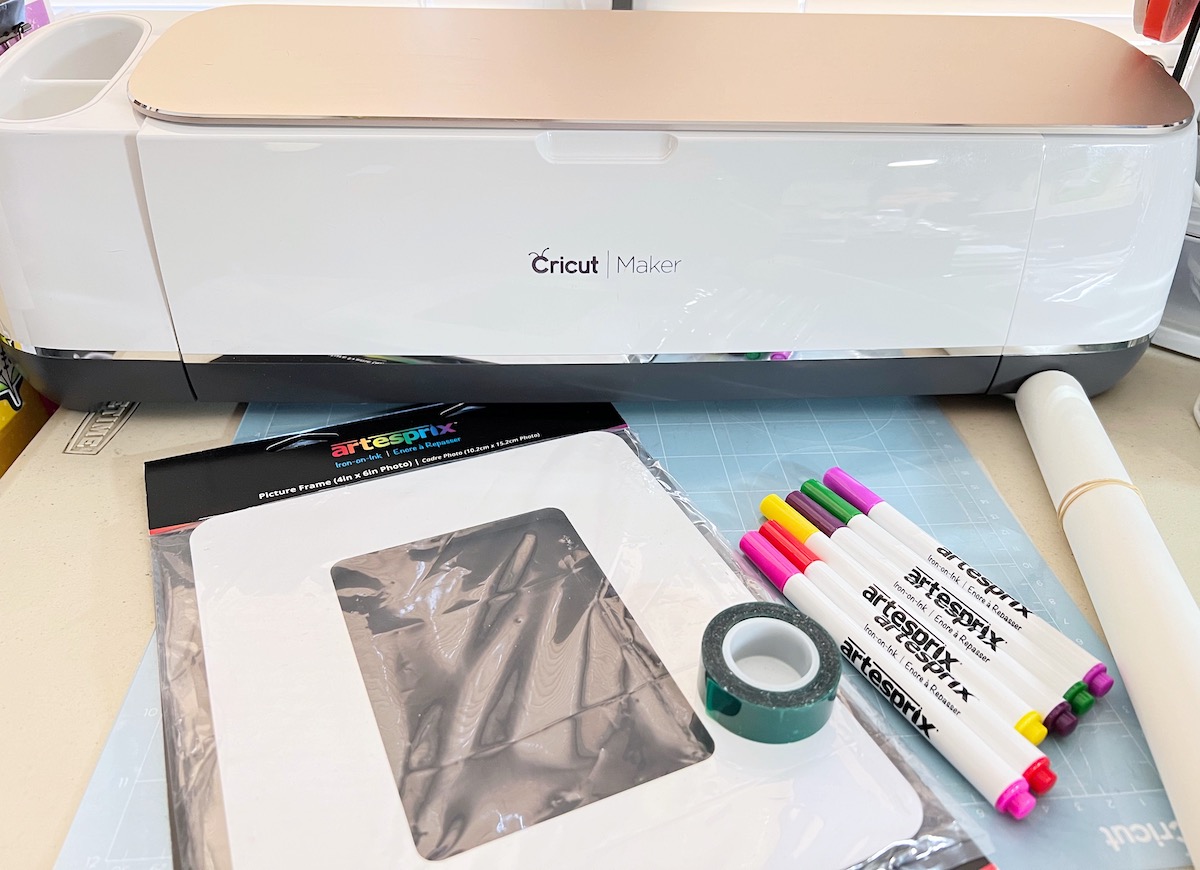
Supplies for Sublimation Dog Frame
See the end of this post for a full supply list
Note: If you don’t have a Cricut machine or Design Studio, you can use your rubber stamps and a black sublimation inkpad to stamp your images and sublimation markers to color them. Click here for a previous video I did using rubber stamps with sublimation inkpads and markers. It’s so easy!!!
Steps One, Two, Three:
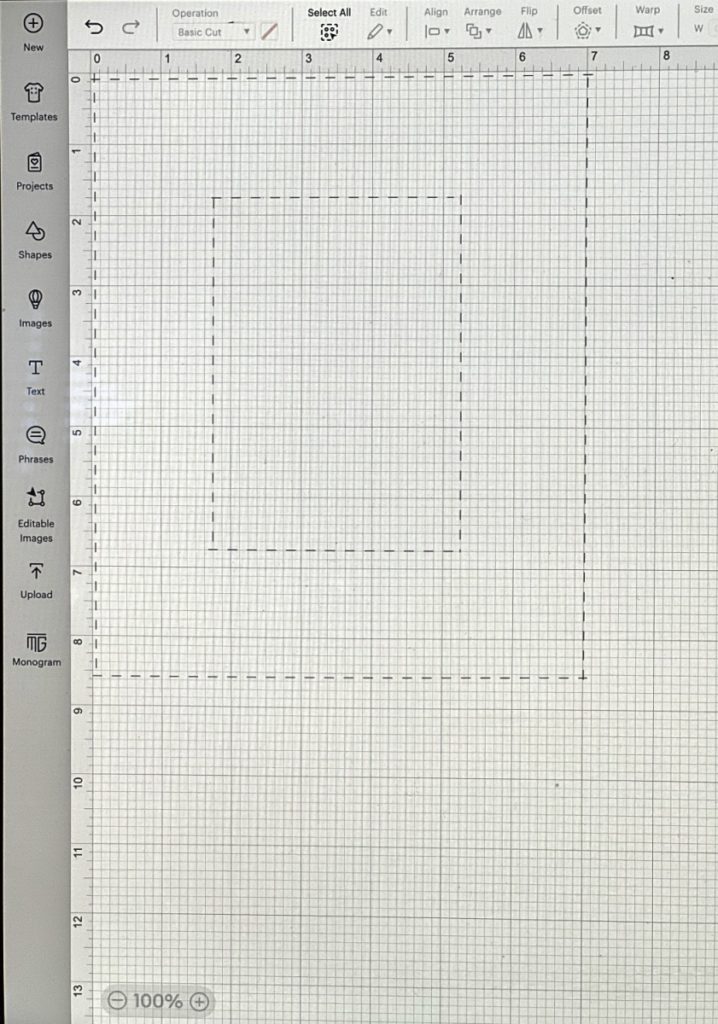
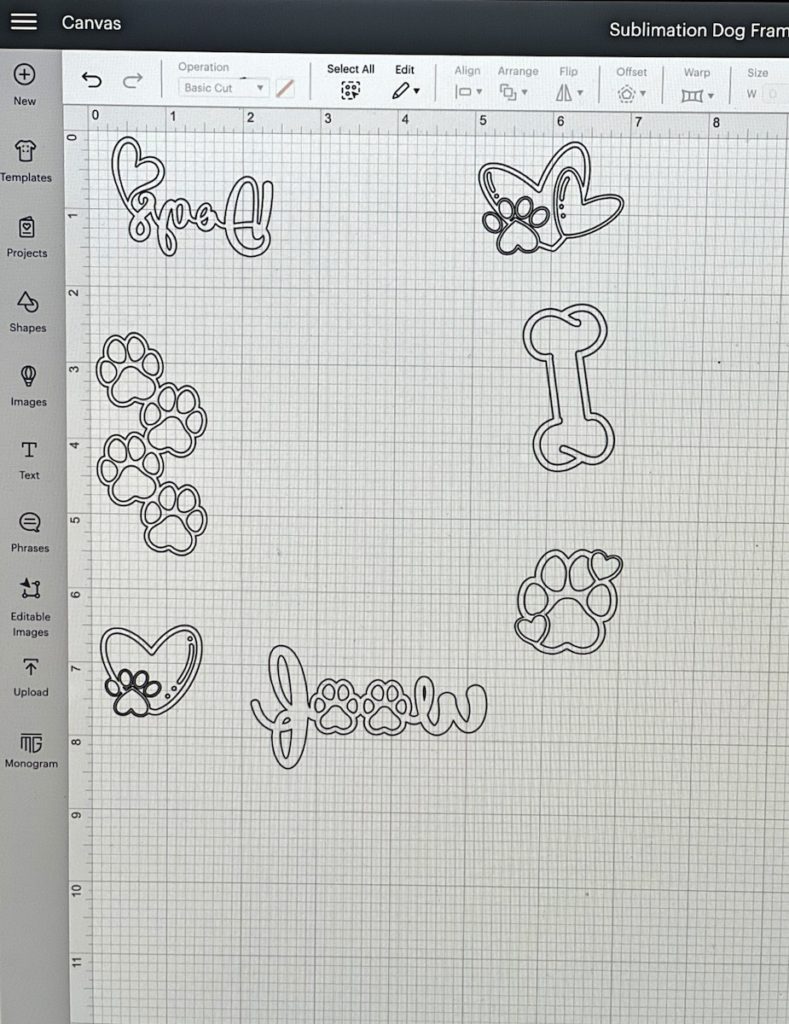
Using Design Studio, create a rectangle the size of the frame. This is only for a guide for the image placement.
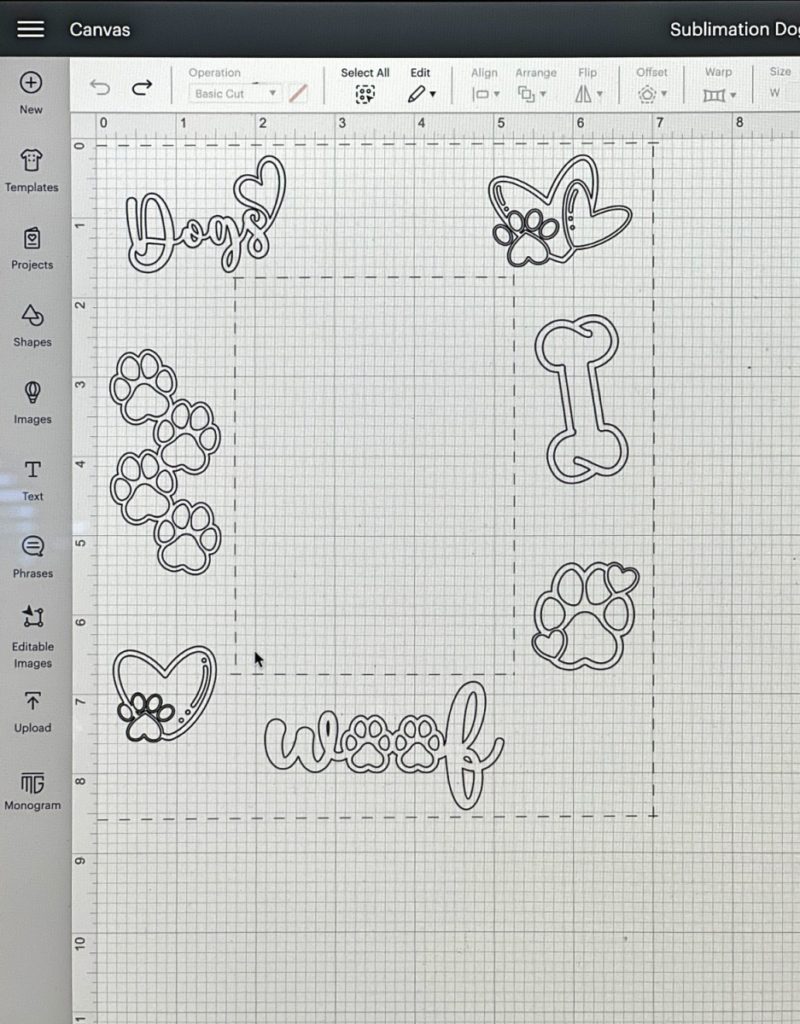
Choose the images you want to use and add them to the frame. On the “Operation Tab”, choose “Draw” for each image.
On each of the word images choose “Flip Horizontal”. Now only the word images are backwards.
Steps Four, Five, Six:
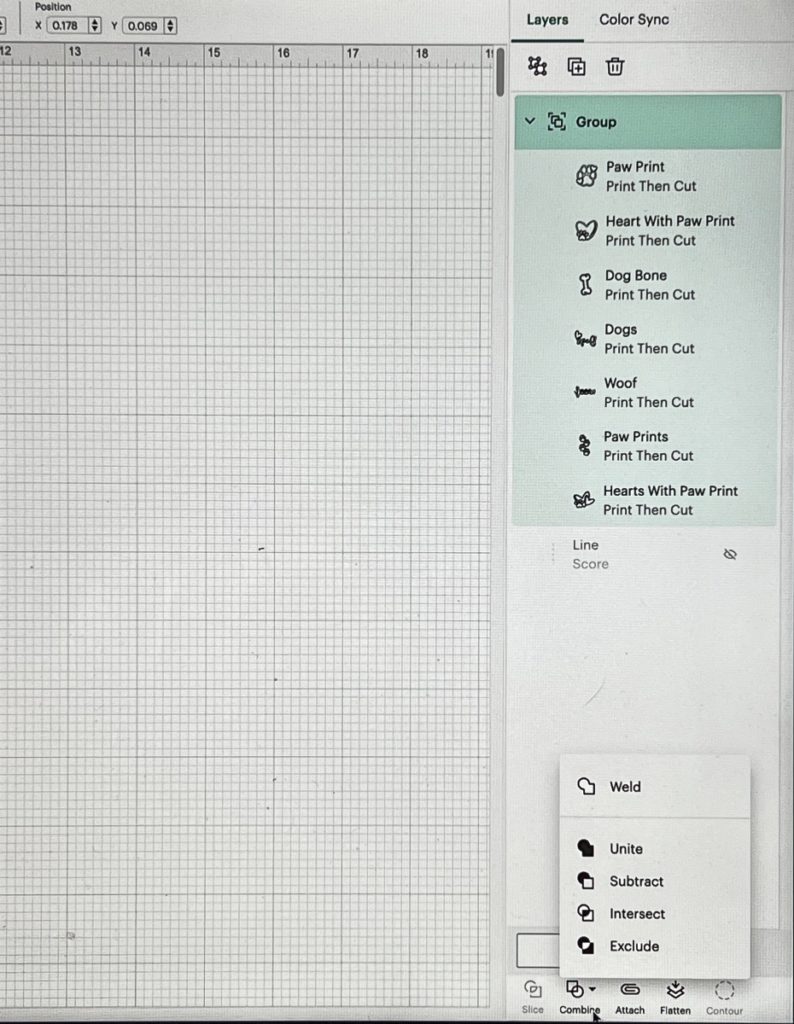
On the right side of the screen click on the “Line Tabs” and delete each line of the rectangle. On the upper left side of the screen click on “Select All”. Go back to the right side, click on the “Group Tab”. Next, at the bottom of the screen click on “Combine” and then “Weld”. Click “Save” and then “Make It”.
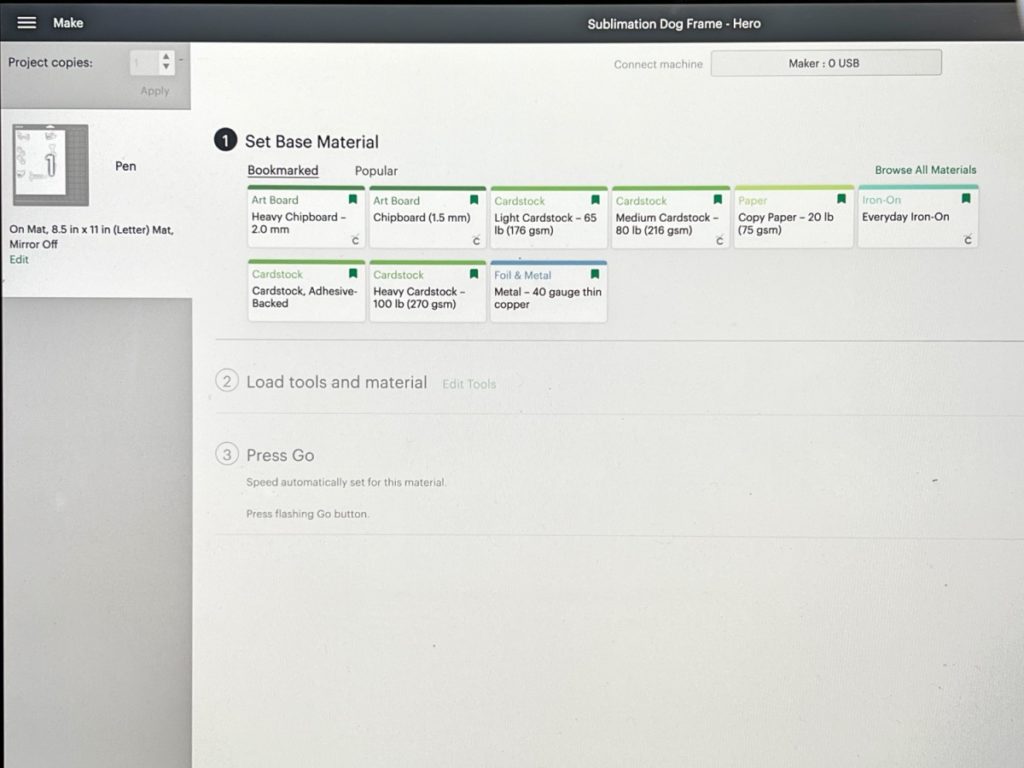
The next screen will ask the material that you’re using. Click on “Material Size”, 8 1/2″ x 11″, then click on “Continue”. Go to the right side of the screen and click on “Copy Paper 20 lbs”.
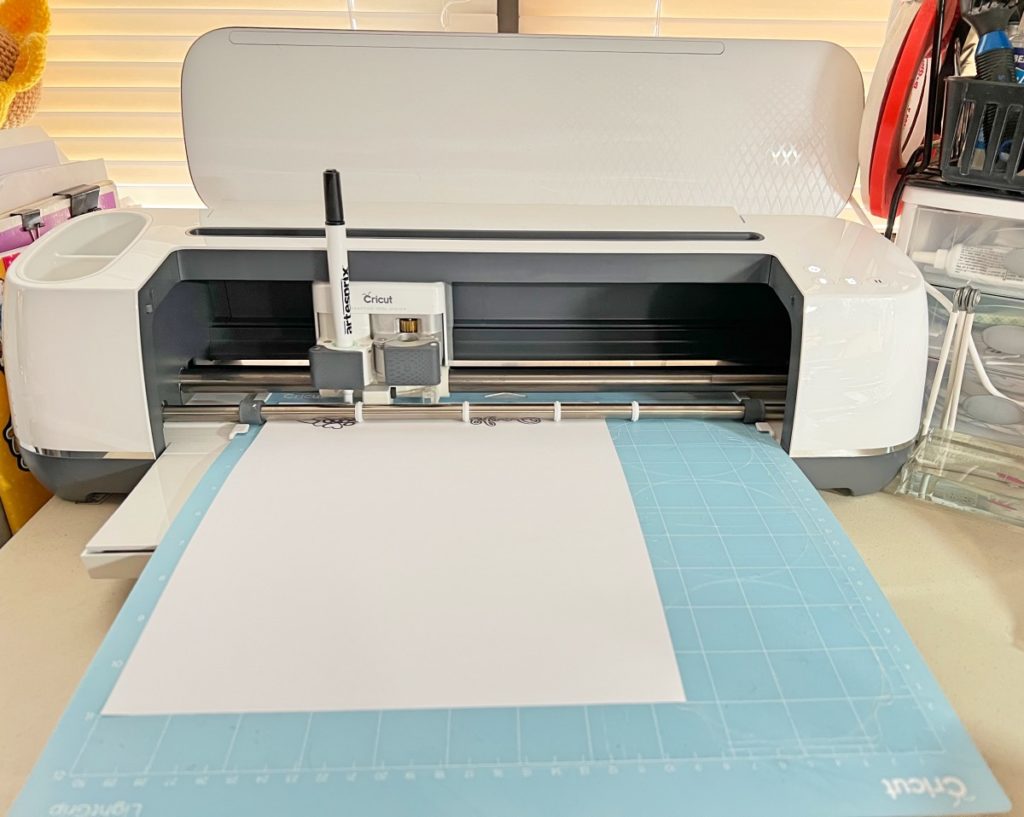
Place an adapter on the black sublimation maker and insert the marker into the slot on the Cricut machine. Attach a piece of copy paper to a Light Grip adhesive mat. Load the mat into the Cricut and click on the Cricut icon to begin printing.
Steps Seven, Eight, Nine, Ten:
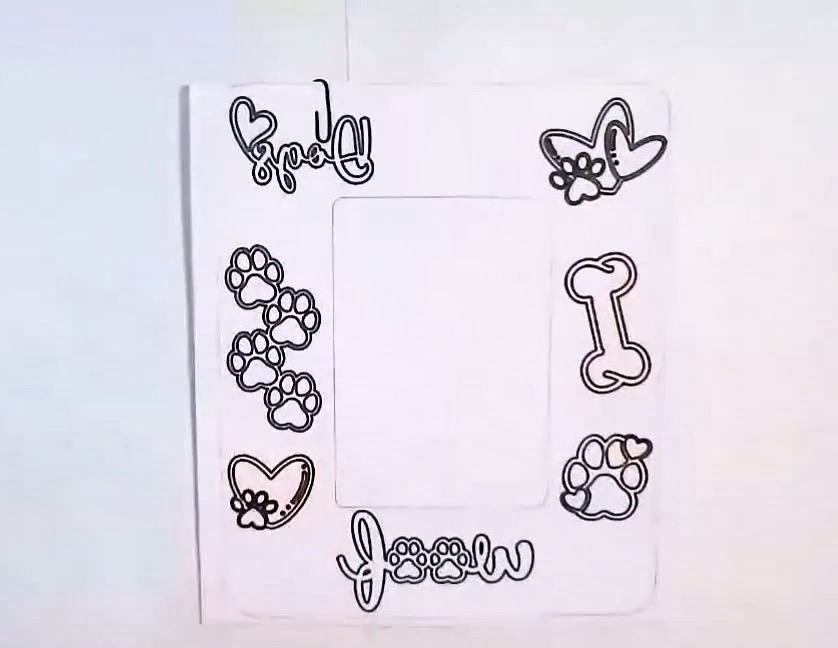
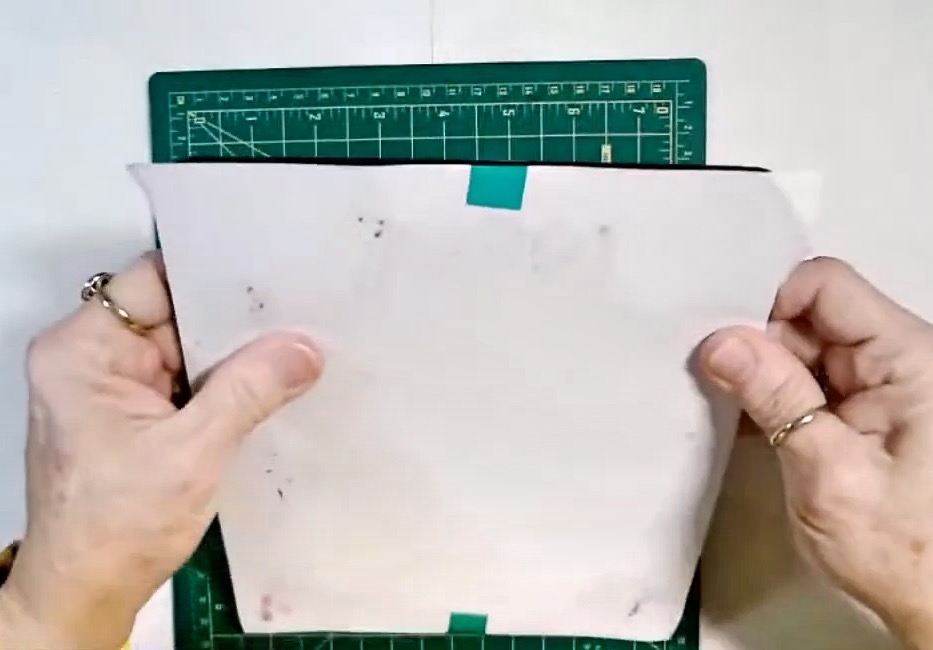
Once the printing is complete remove the copy paper from the adhesive mat. Lay the paper onto the sublimation frame and use a pencil to trace the frame. Don’t worry about pencil marks because they won’t transfer to the frame.
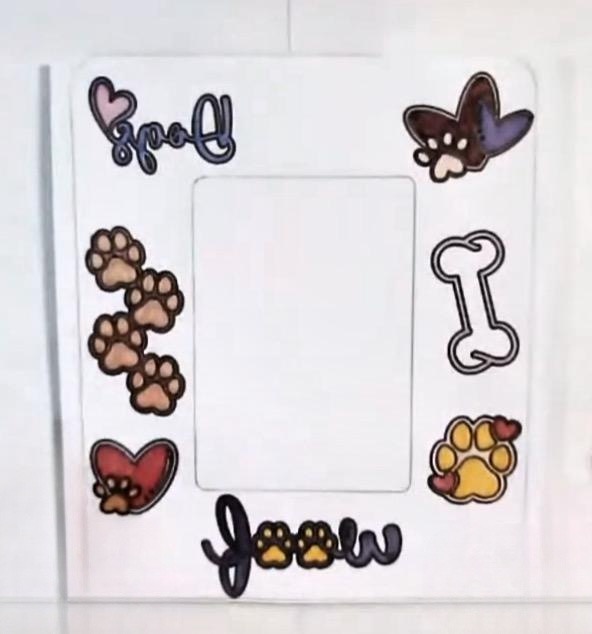
Color the images with sublimation markers. The colors will appear to be muted and that is normal.
Attach the copy paper facedown onto the white side of the frame with heat resistant tape. Make sure the paper is attached firmly. You don’t want it to slide when you put the heat press on it.
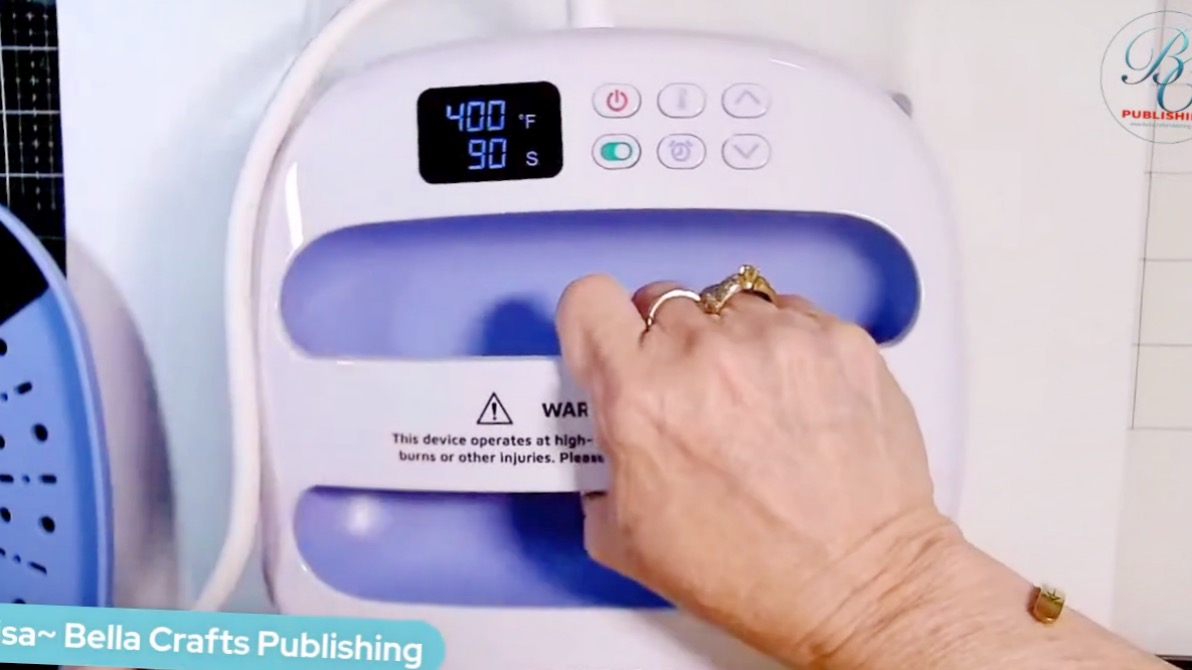
Preheat the heat press to 400 degrees according to manufacturers instructions. Cut two pieces of the Protective Paper Roll slightly larger than the frame. While waiting for the heat press to get ready make a “sublimation sandwich” as follows: Protective Project Mat, one piece of Protective Paper, Sublimation Frame with the copy paper attached as in step 9, and the second piece of Protective Paper. Lay the heat press on top and heat the frame for 90 seconds. Remove the heat press and set aside. Carefully, take the paper and tape off of the frame to review the results. Once the frame is cool, decorate it with some gems and ribbon and it’s done!!!
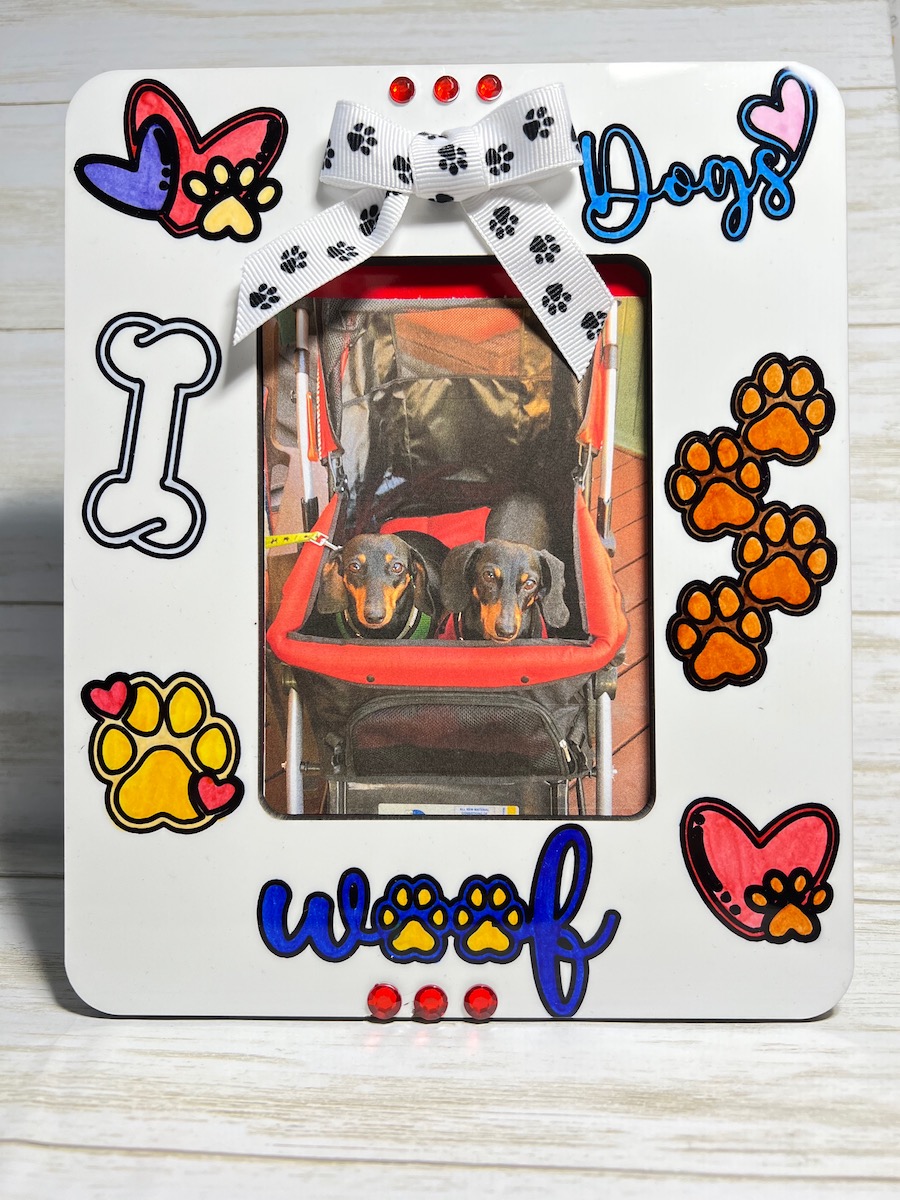
Sublimation Dog Frame with Ruby & Emmy
- Sublimation Frame by Artesprix
- Protective Paper by Artesprix
- Sublimation Markers by Artesprix
- Copy Paper
- Gems
- Ribbon
- Scissors
- Heat Tape by Artesprix
- Protective Project Mat by Artesprix
- Heat Press, 9″ x 9″
- Cricut Maker Machine
- Cricut Design Studio
One more PIN of the Sublimation Dog Frame to share
Trackbacks/Pingbacks