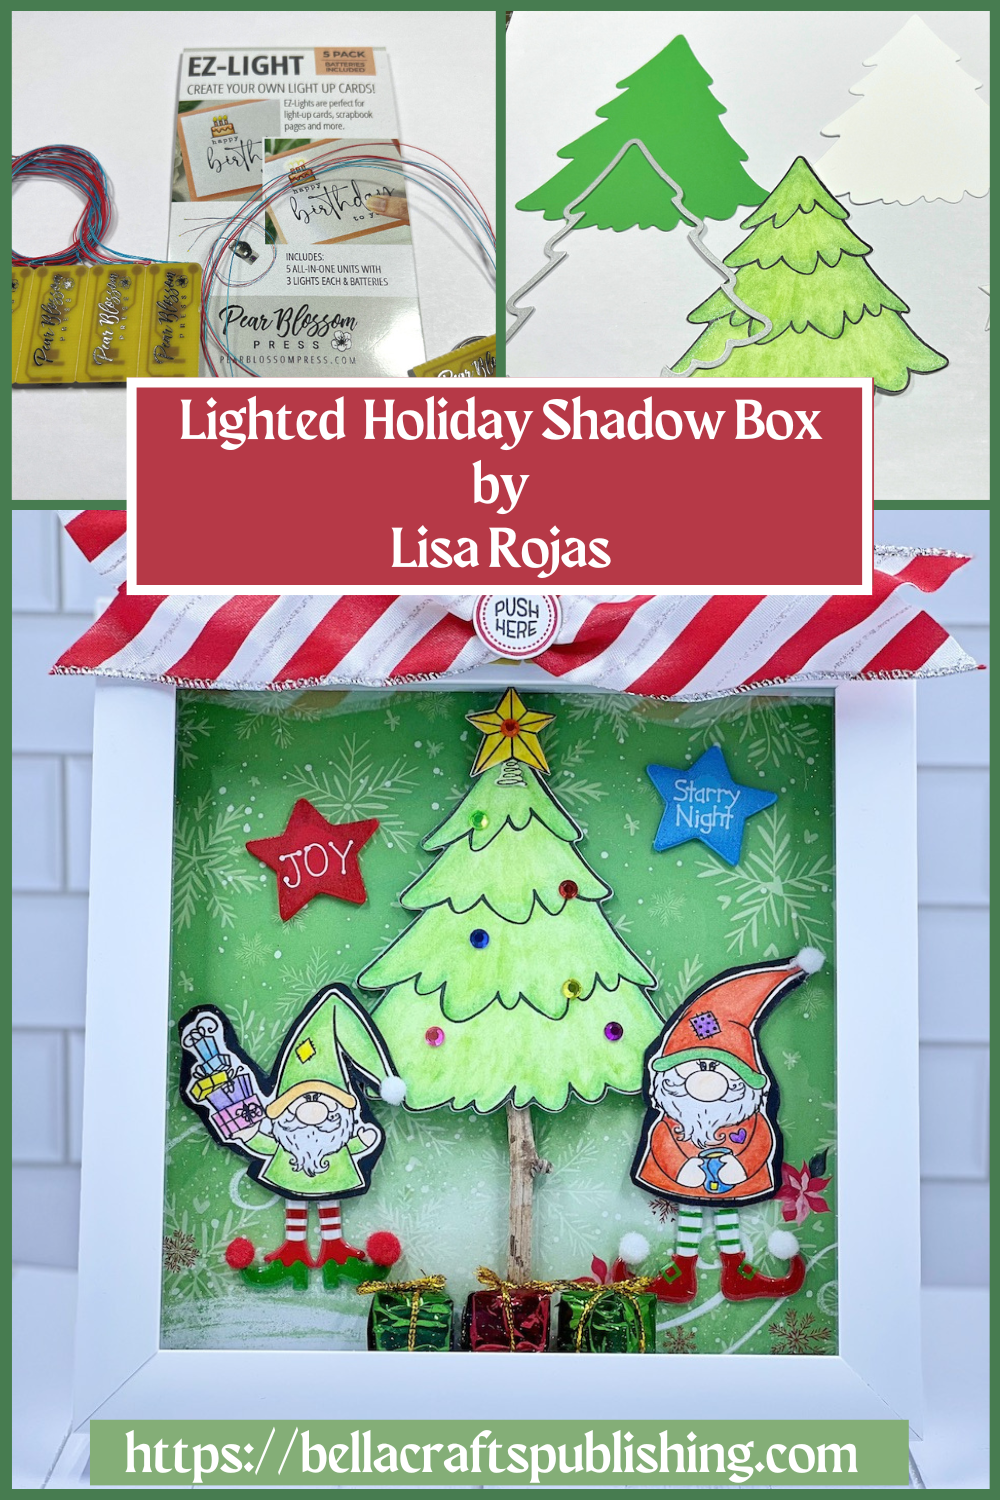
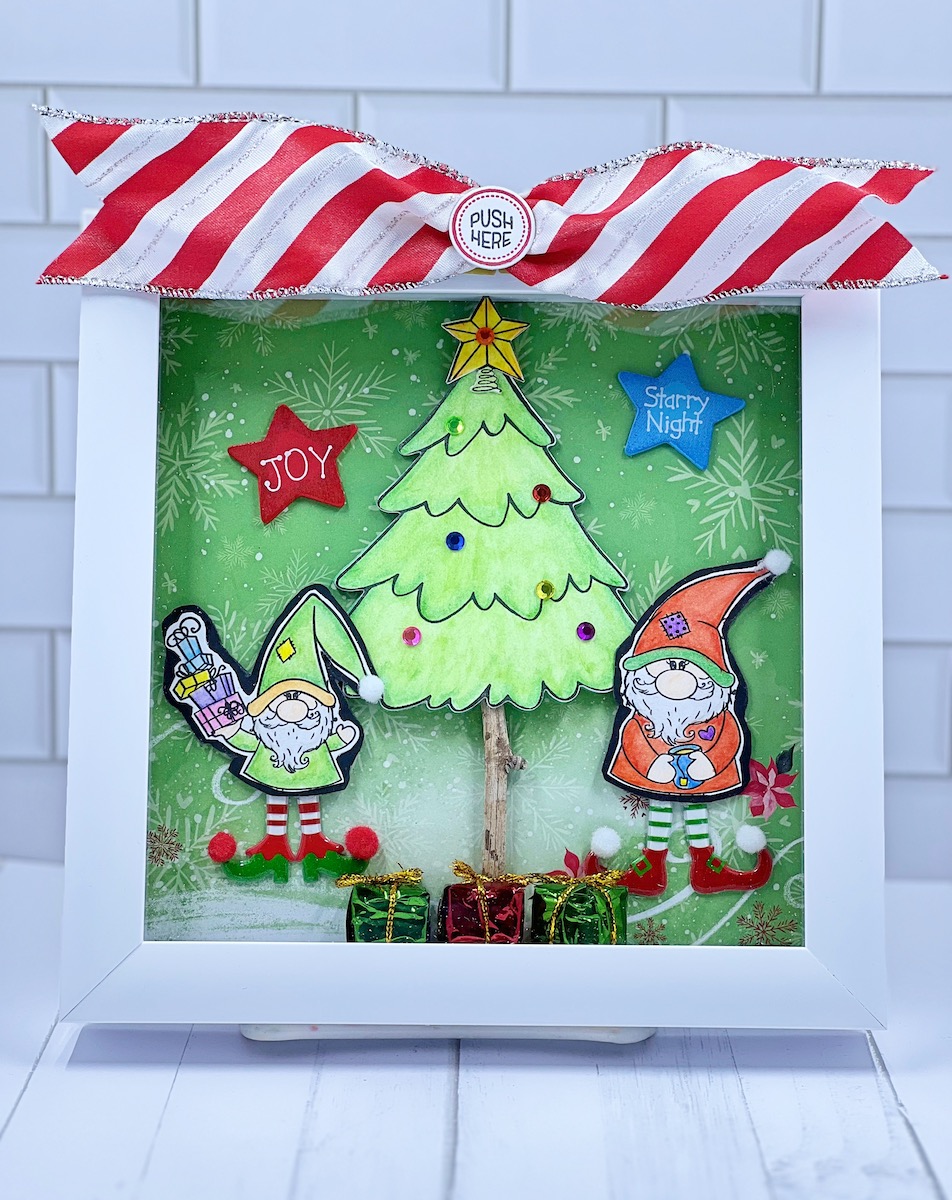
If you’re looking for a little more fun to your holiday projects, add some lights like we did with this Lighted Holiday Shadow Box~
Please note: This post contains affiliate links. If you use these links and make a purchase, we earn a commission at no extra cost to you…
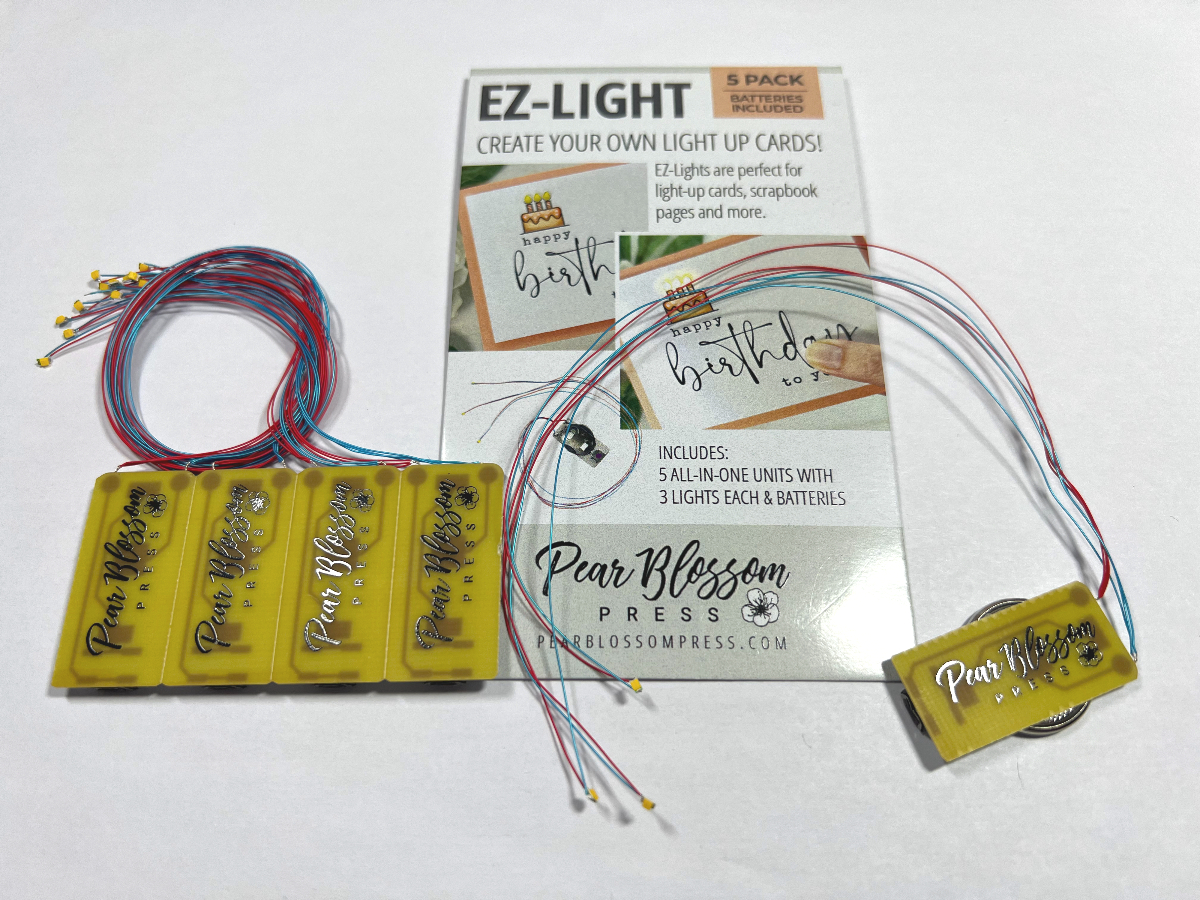
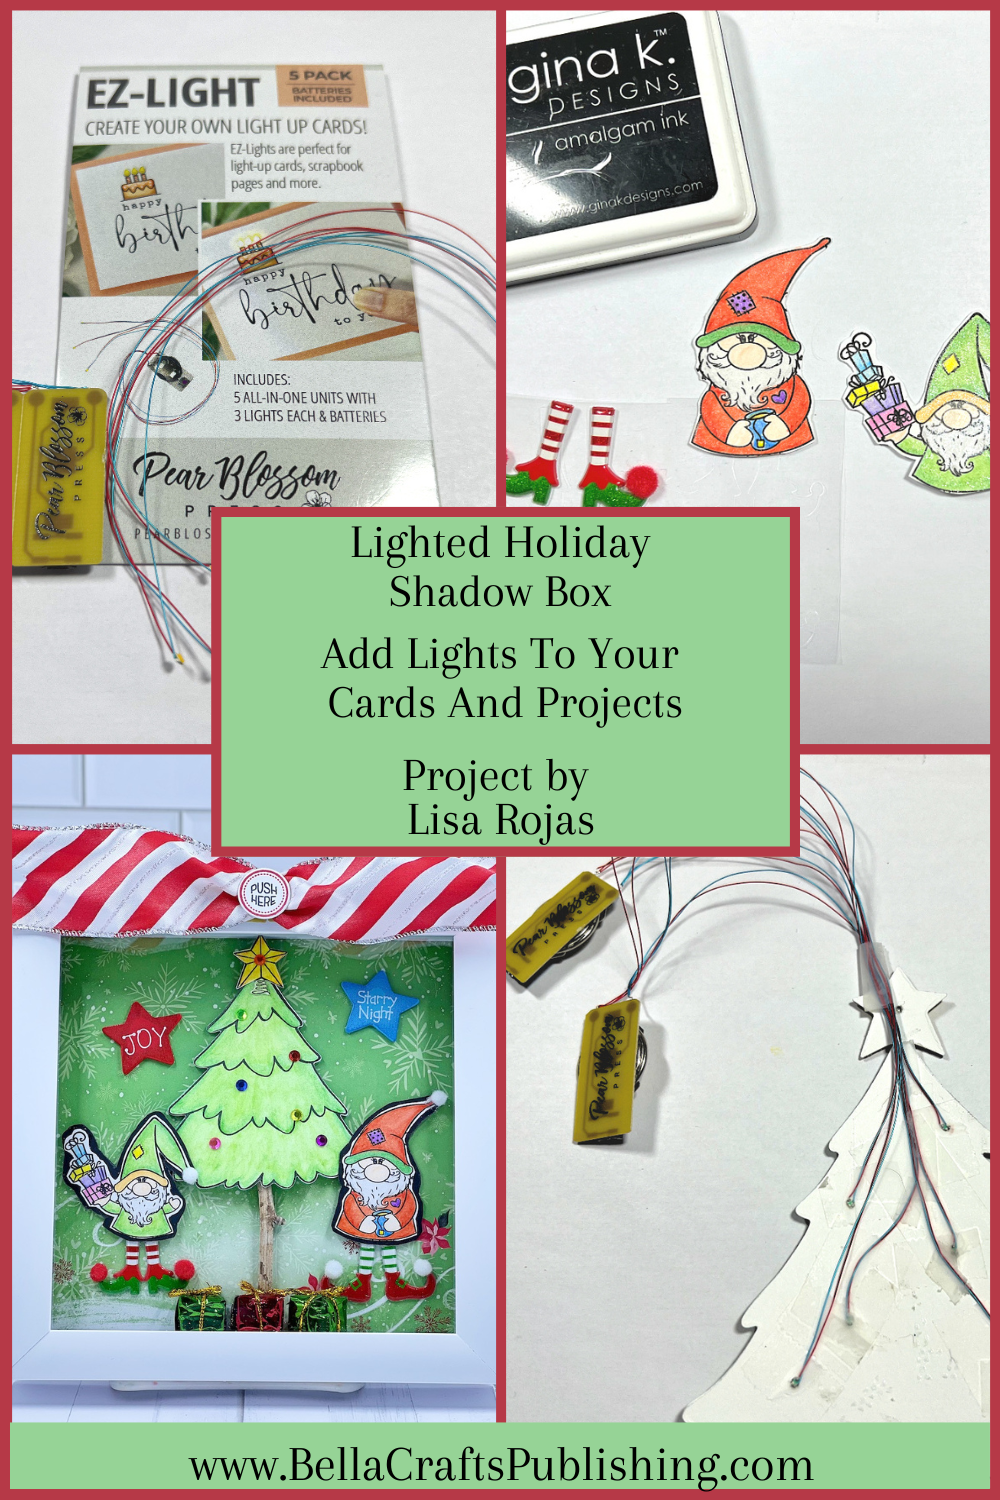
When I first saw these lights from Pear Blossom Press I fell in love and my and my creative mind went crazy with all of the things I knew I could do with them! My first idea was to create a card with them but then I decided to make this fun shadow box. I will make a card in the future but for now let’s make a shadow box. It will make a great addition to your holiday decor. You can see the video of this project here.
Have fun! Lisa~
Supplies for Lighted Holiday Shadow Box
See below for the full supply list
Steps One, Two, Three:
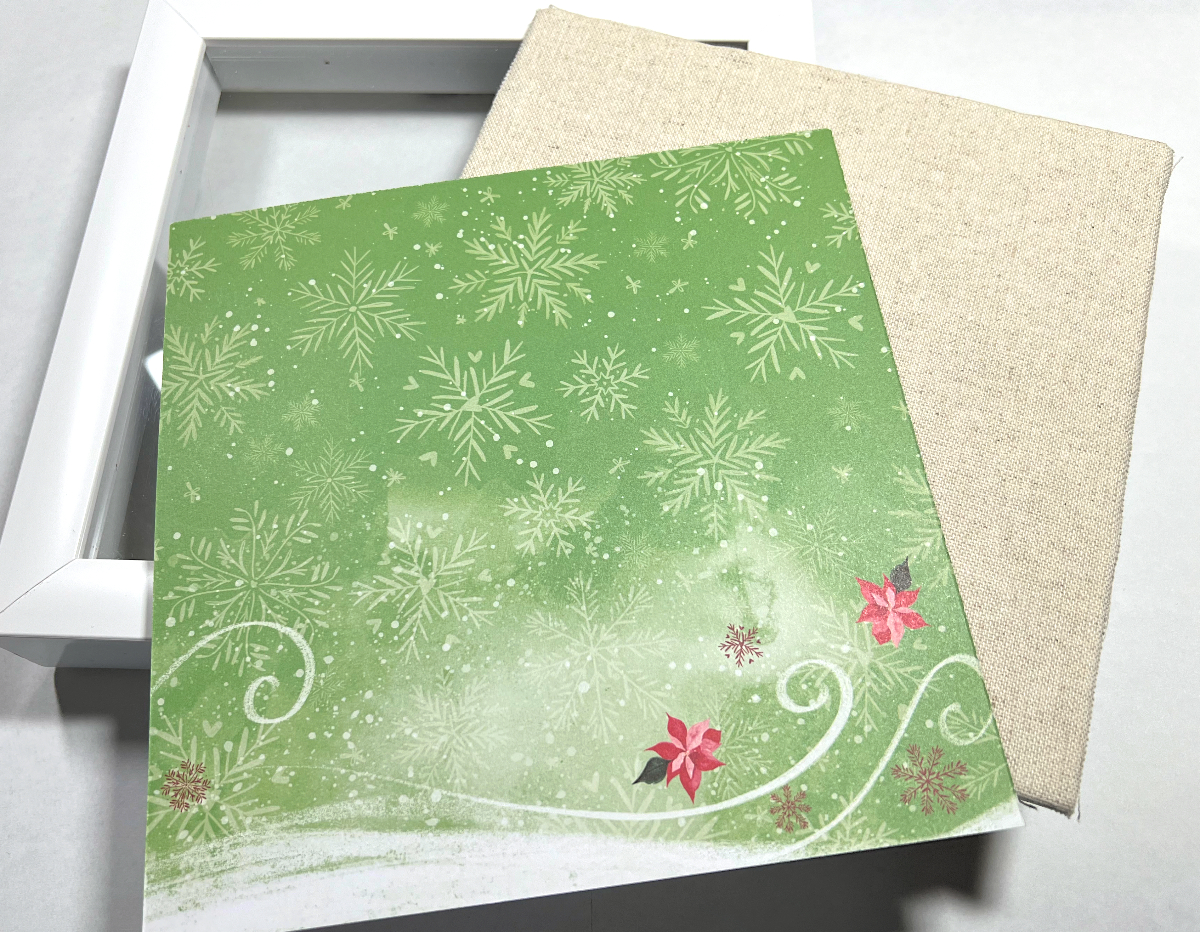


The shadow box is 8″ x 8″. Remove the backing. Cut a piece of patterned paper 7″ x 7″ adhere it to the backing. Stamp the gnomes on white cardstock with a black inkpad and watercolor the images. Cut the images out including the legs. Next, lay the images on a piece of black cardstock and cut out again leaving an edge around them. Adhere the images to the black cardstock. Attach the puffy sticker legs to the backs and add a white mini pom pom.
Steps Four, Five, Six:
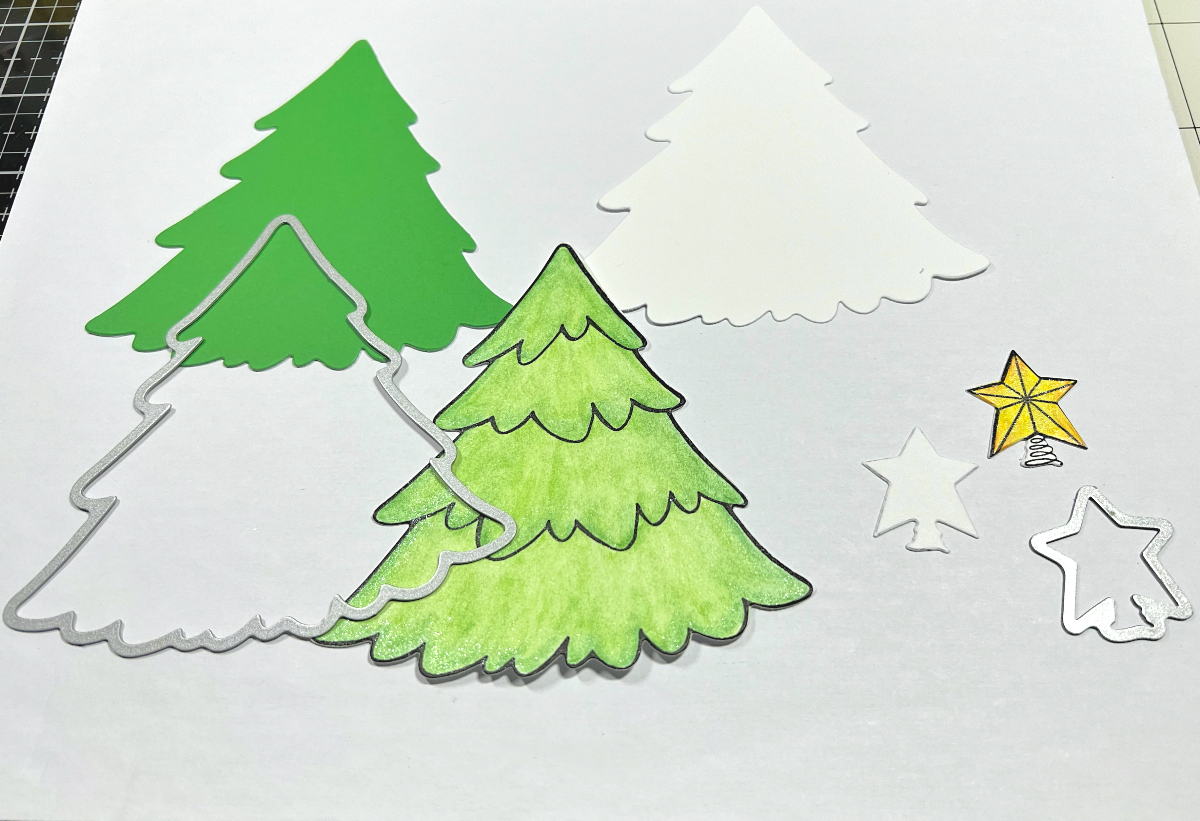
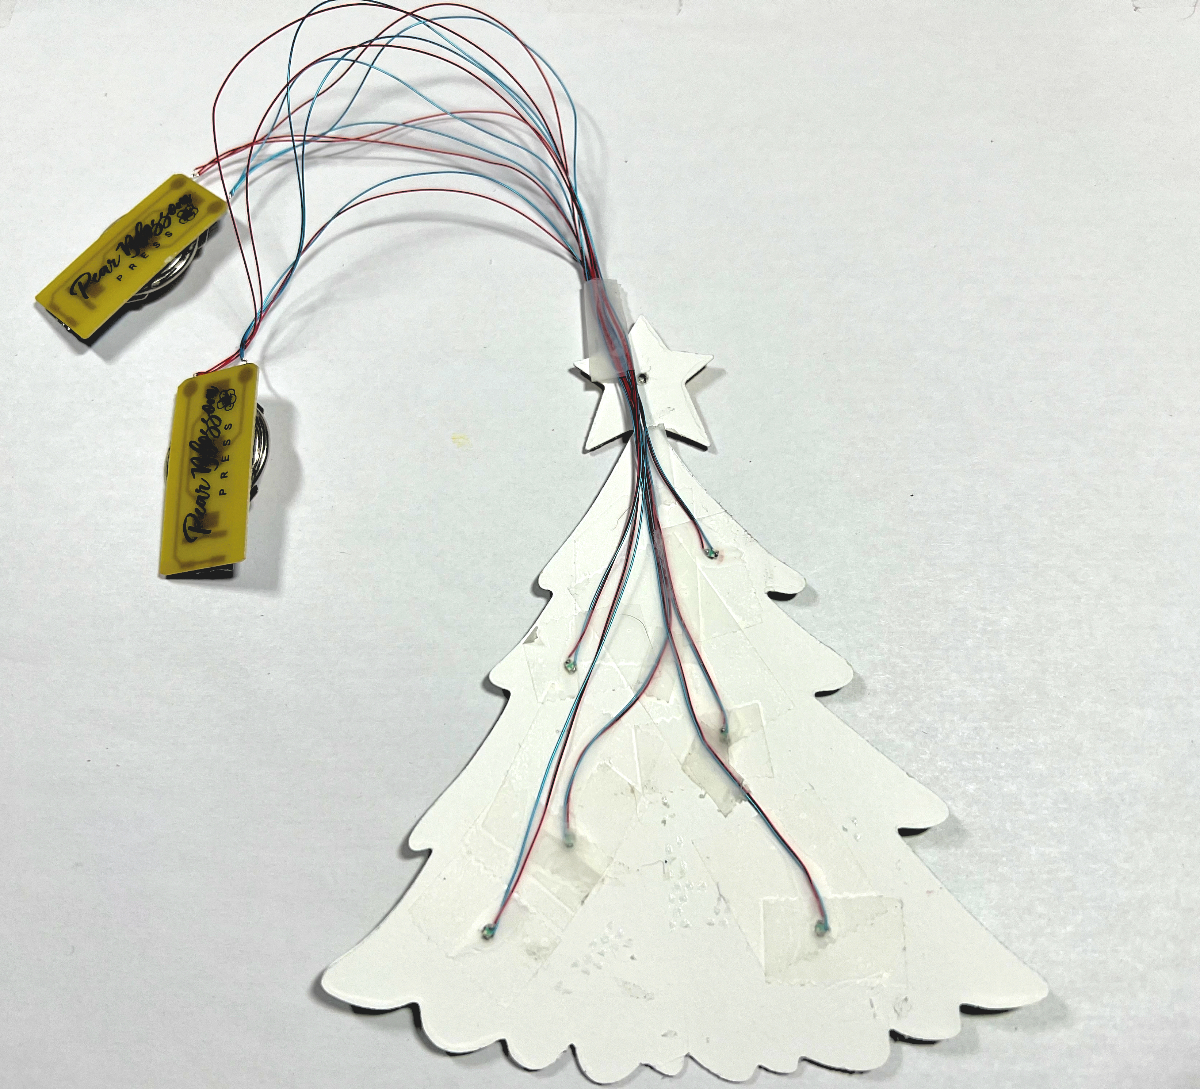
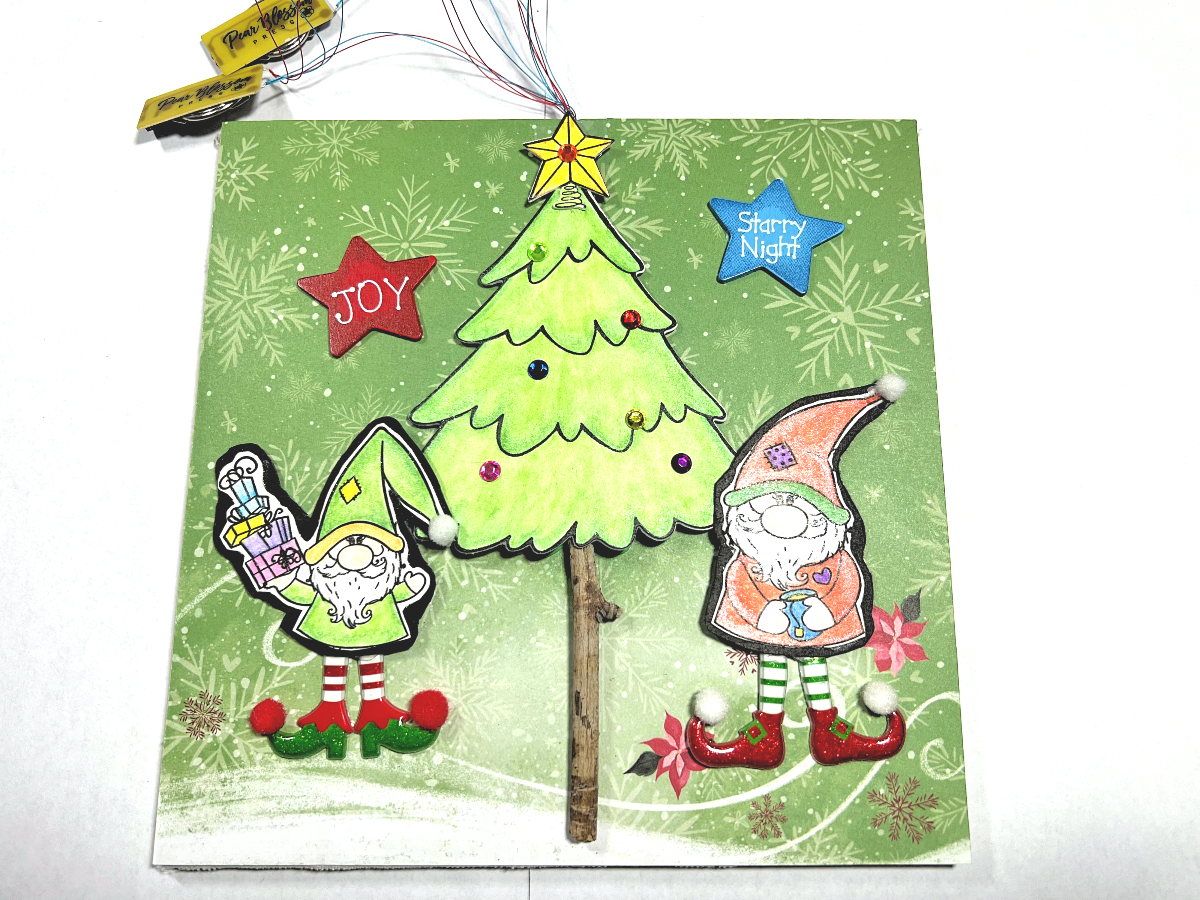
Die cut the tree two times on white cardstock and once on green cardstock. Adhere the two white trees together, making the tree sturdier. Stamp the tree image onto the white tree with a black inkpad and watercolor the tree. Die cut two stars on white cardstock and adhere them together. Stamp and watercolor the star, and them adhere it to the top of the tree. Punch out six holes on the tree and attach each of the lights in the holes with tape, using the photo for placement. Turn the tree over and add adhesive gems over each light. Attach the green tree to the back and add a small stick. Adhere all of the elements to the box backing as seen in the photo above.
NOTE: The tree stamp and die set is from Stampendous and you can find it on Amazon. But, any tree stamp will work.G
Steps Seven, Eight:
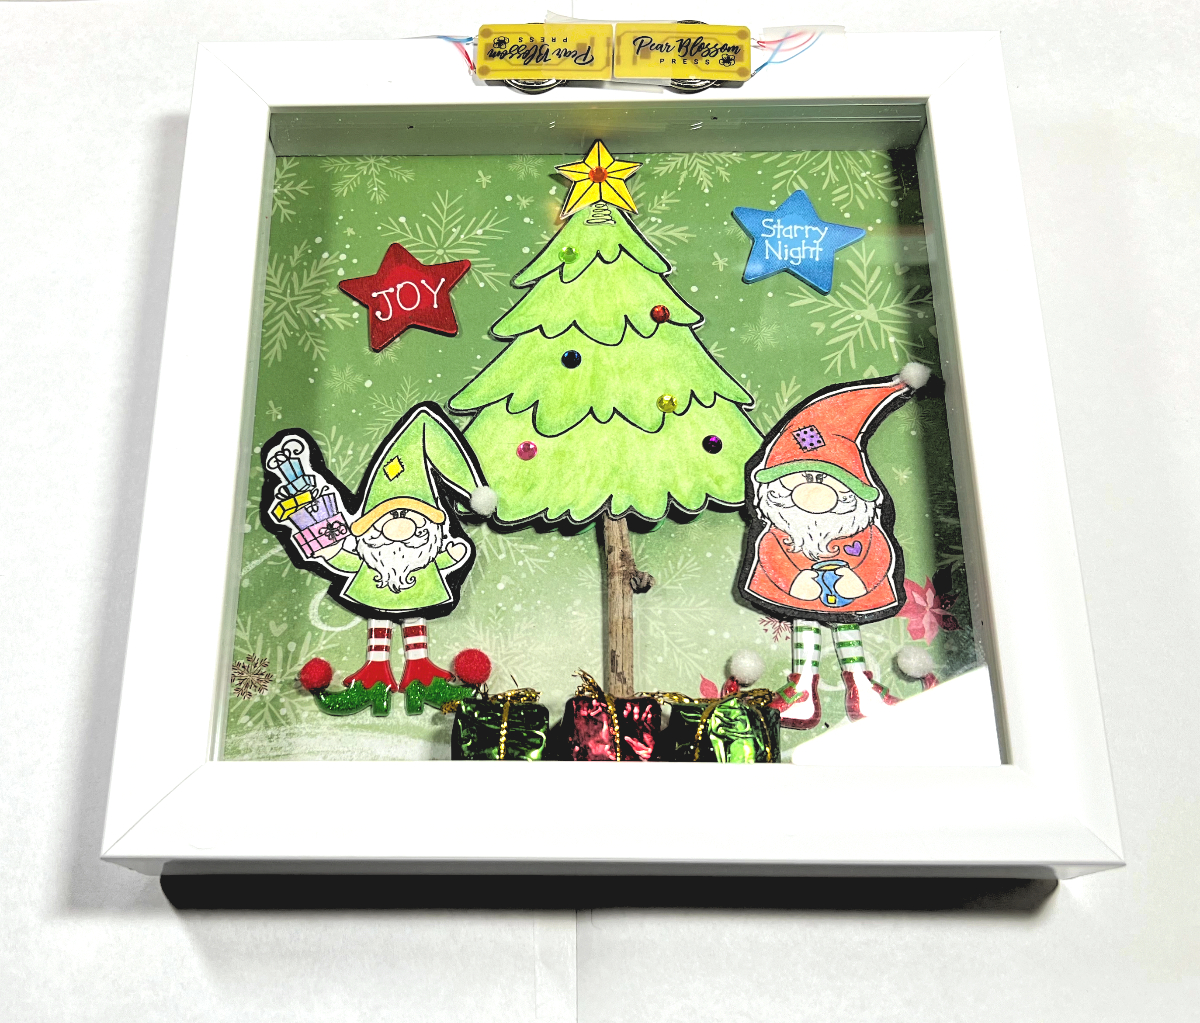
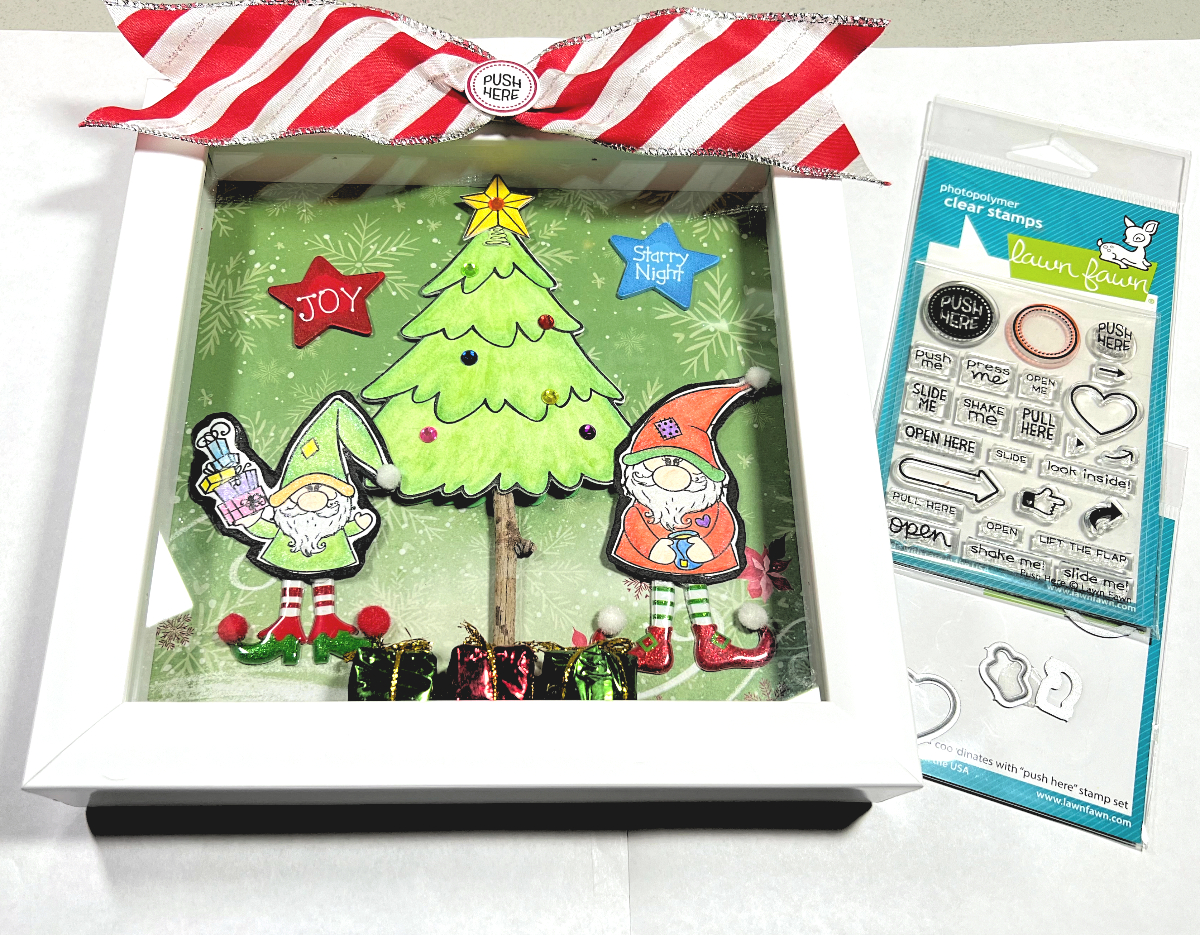
Tape three miniature packages to the lip inside the box. Gently place the backing into the box leaving the wire on the outside. Gather the wires to the top of the box and secure with tape. Place the two lighting elements to the top, front of the box. Tape the together and add some tape to hold the wires. Stamp and die cut the small circle with a red inkpad, and then stamp “Press Here” in the center of the circle with a black inkpad. To finish, cut a piece of wired ribbon, adhere to top of the lighting units and add the circle to the center.
NOTE: Each lighting unit has three lights. I wanted to have six lights for my tree but I wanted them to light at the same time. By butting them up and taping them together, all six will light up at once.
Lighted Holiday Shadow Box
- E-Z Light by Pear Blossom Press
- Shadow Box, White 8″ x 8″
- Holiday Patterned Paper
- Cardstock: White, Black, Green
- Create Christmas Stamp and Die Cuts by Stampendous
- Gnome Stamp Set by The Cat’s Pajamas
- Push Here Stamp and Die Sets by Lawn Fawn
- Watercolor Pencils by Royal Talens
- Adhesive Gems, (6)
- Mini Pom Poms, White, (2)
- Wood Stars, (2)
- Miniature Packages, (3)
- Tree Branch or Wood Stick
- Scotch Tape
- Double-Sided Tape
- Zip Dry Paper Glue by Beacon Adhesives
- Scissors
- Die Cutting Machine
One more PIN of the Lighted Holiday Shadow Box to share
Trackbacks/Pingbacks