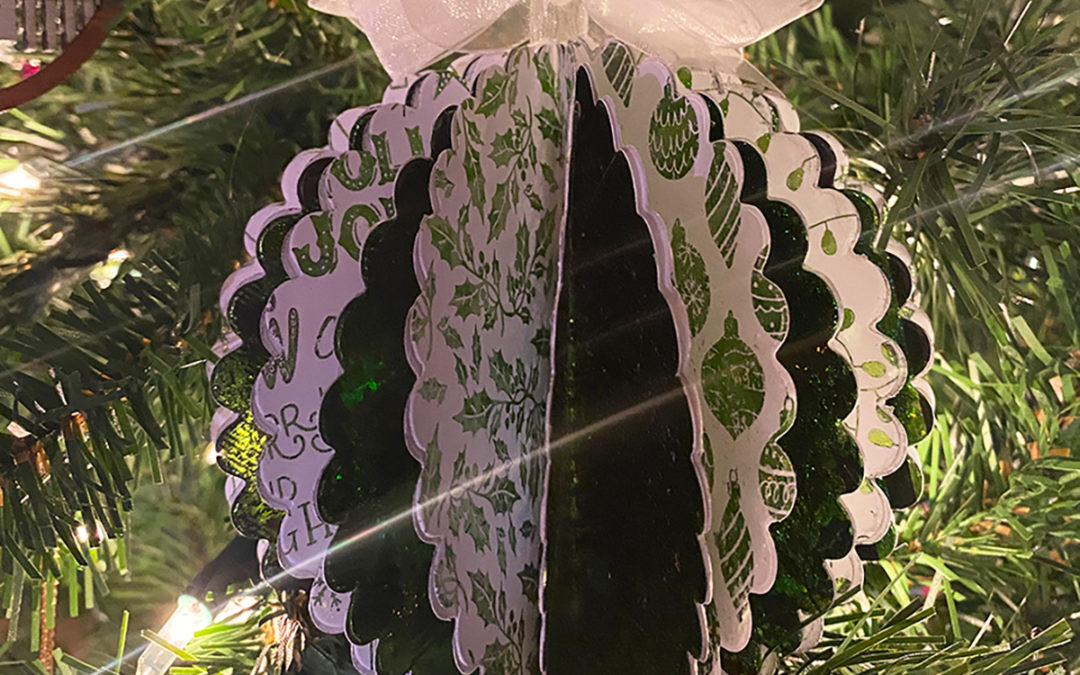
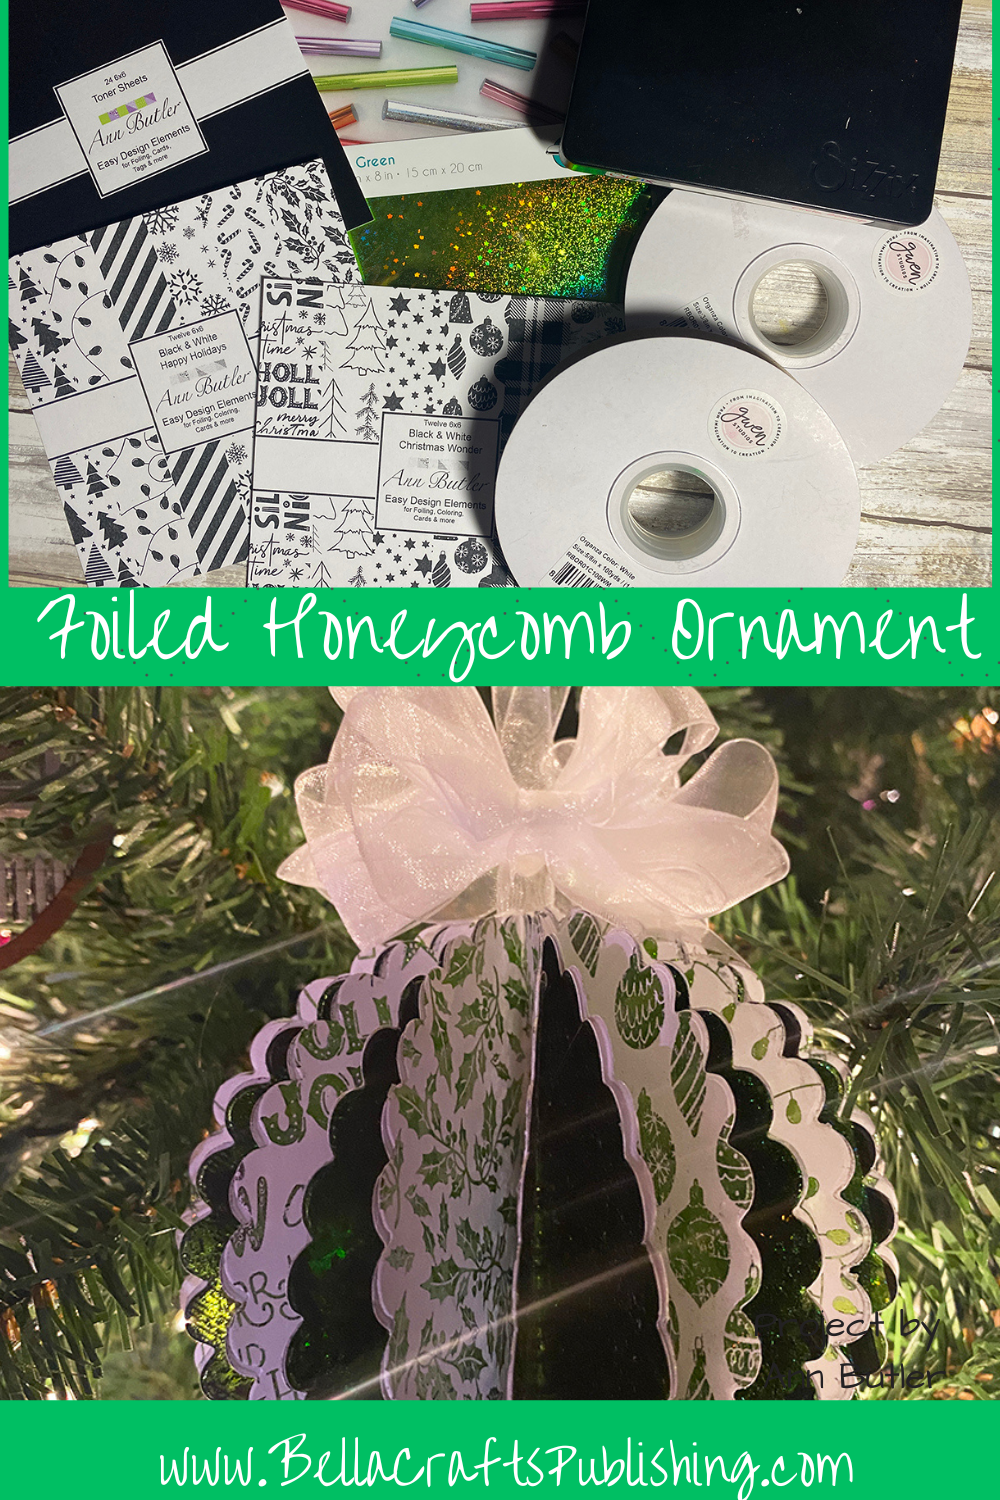
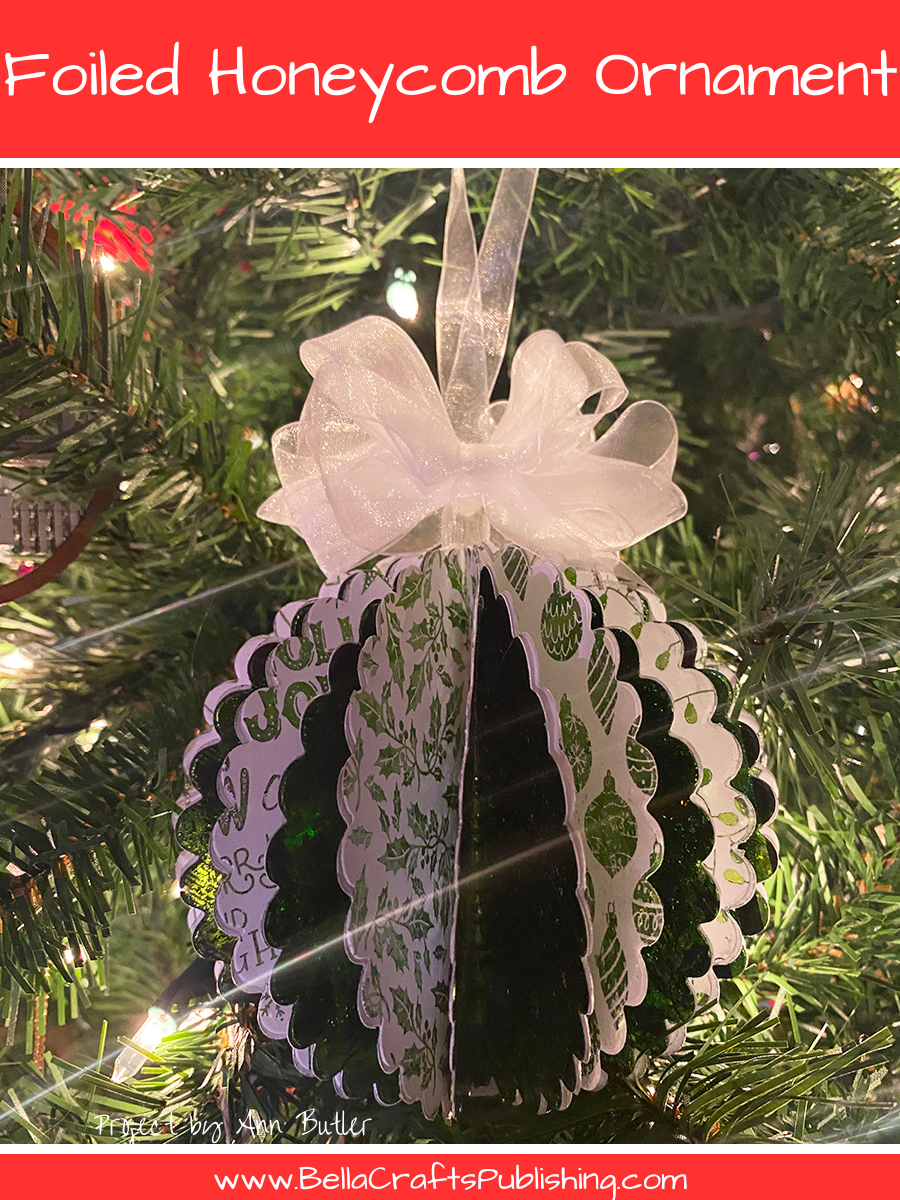
Honeycomb Ornaments are HOT right now…and easy to make. Because I LOVE to Foil, I thought a Foiled Honeycomb Ornament would be fun to try.
Please note: This post contains affiliate links. If you use these links and make a purchase, we earn a commission at no extra cost to you…
This Foiled Honeycomb Ornament was recently created during a Facebook Live. You can check it out below to see how easy it is.
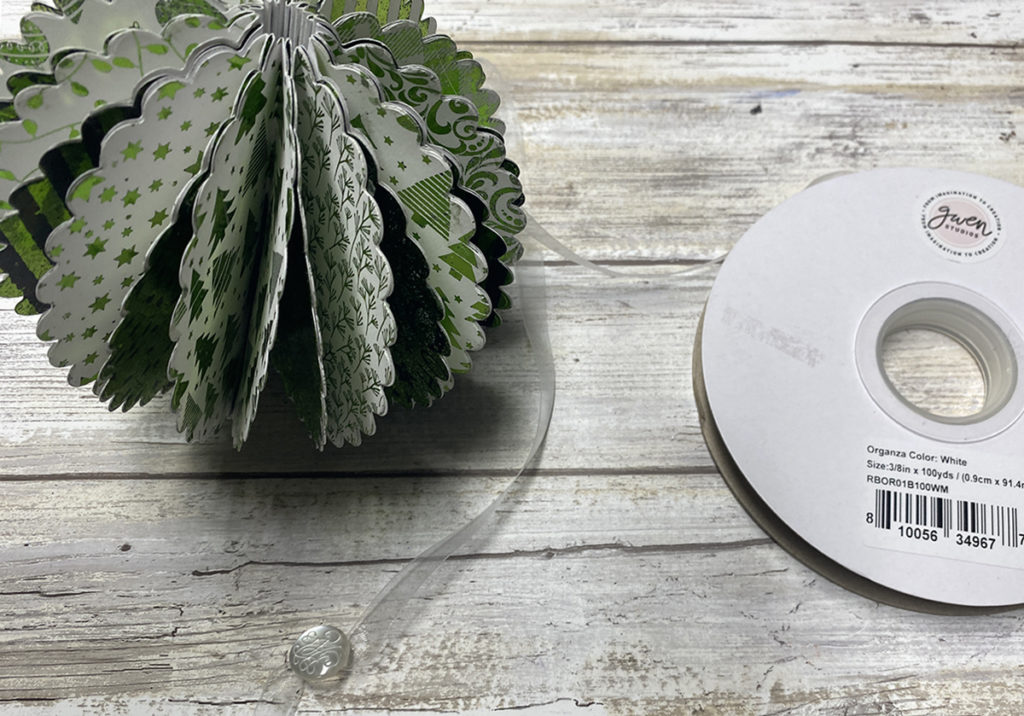
Once you have created your Foiled Honeycomb Ornament you will want make a hanger for it. I made a ribbon hanger follow along with the step-by-step instructions below.
Steps One, Two, Three:
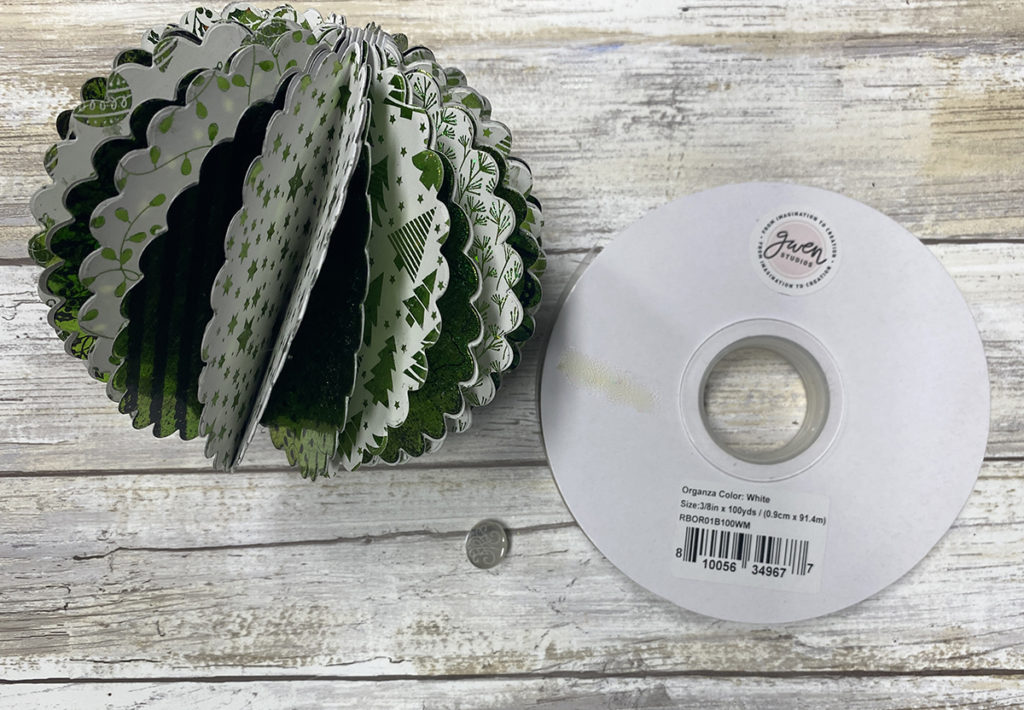
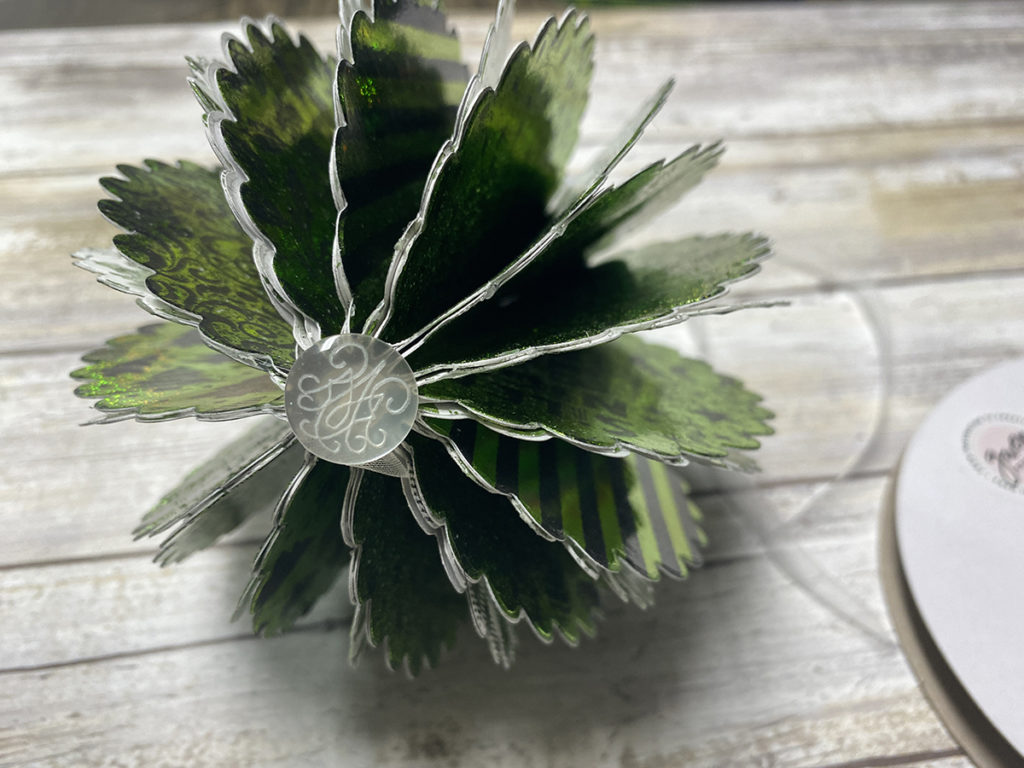
Pick out a button to place at the bottom of your ornament.
Thread 3/8″ ribbon throught the button.
Feed the ribbon up through the center of the ornament. If needed place a small amount of glue on the button to hold it in place.
Steps Four, Five, Six:
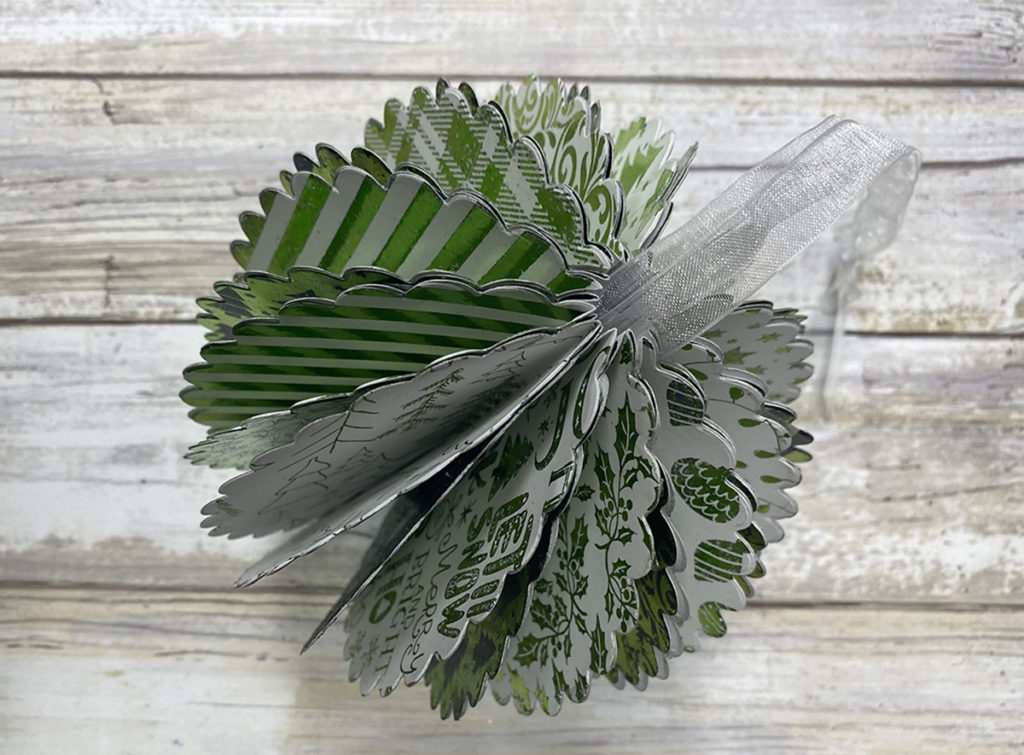
Knot the ends of the ribbon to form a hanger.
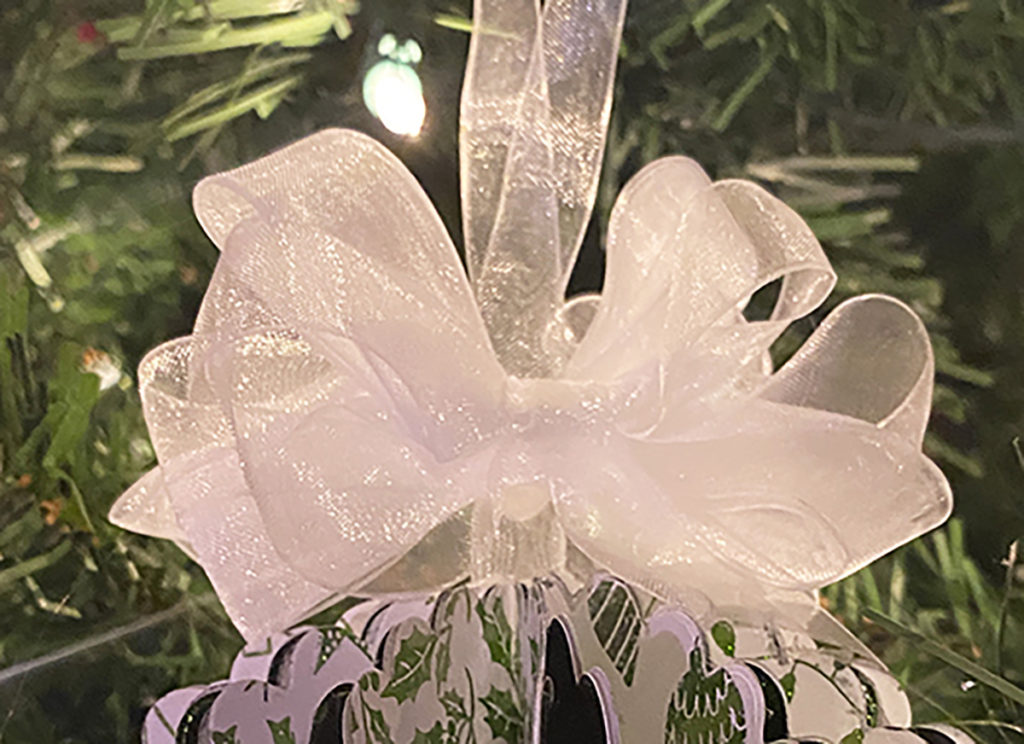
Make two bows with 5/8″ ribbon and glue one to the front and the other to the back of the hanger. This way you have a bow on both sides if the ornament turns.
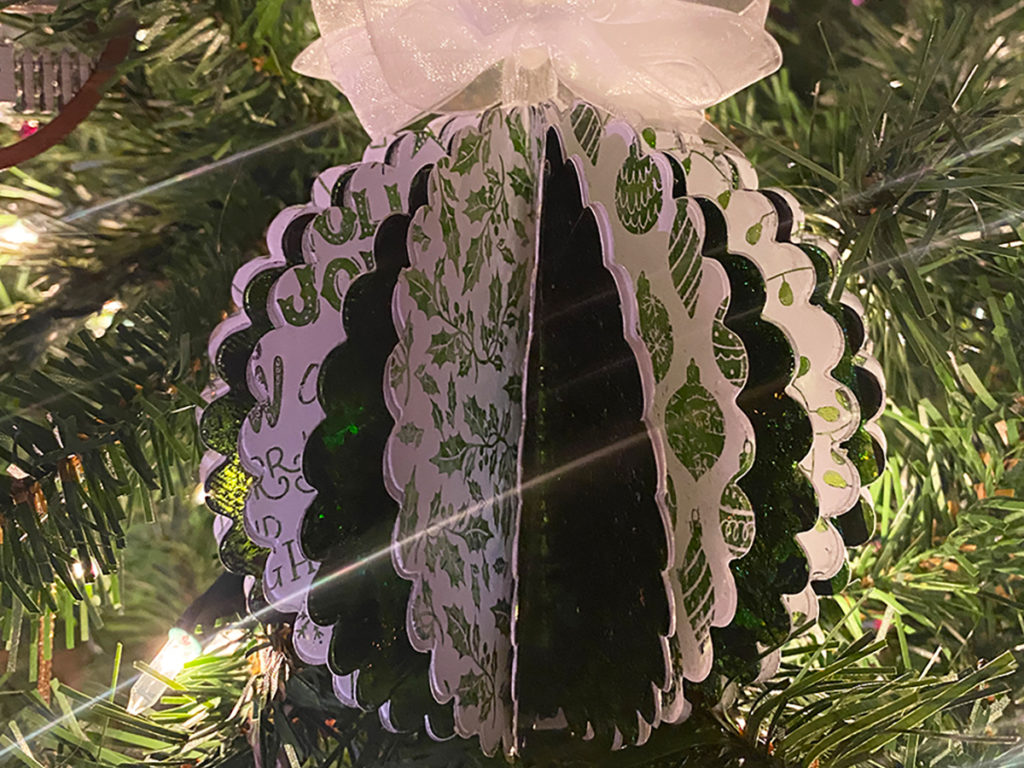
Hang your ornament on a tree, wreath or in a doorway to enjoy!
Here is another PIN for you to share!
Supplies for making your own Foiled Honeycomb Ornament:
- Ann Butler Designs Holiday Toner Papers
- DecoFoil
- Scallop Circle Die
- Gwen Studios Organza Ribbon, White: 3/8″, 5/8″
- Big Shot
- Laminator
- Bone Folder
- Scissors