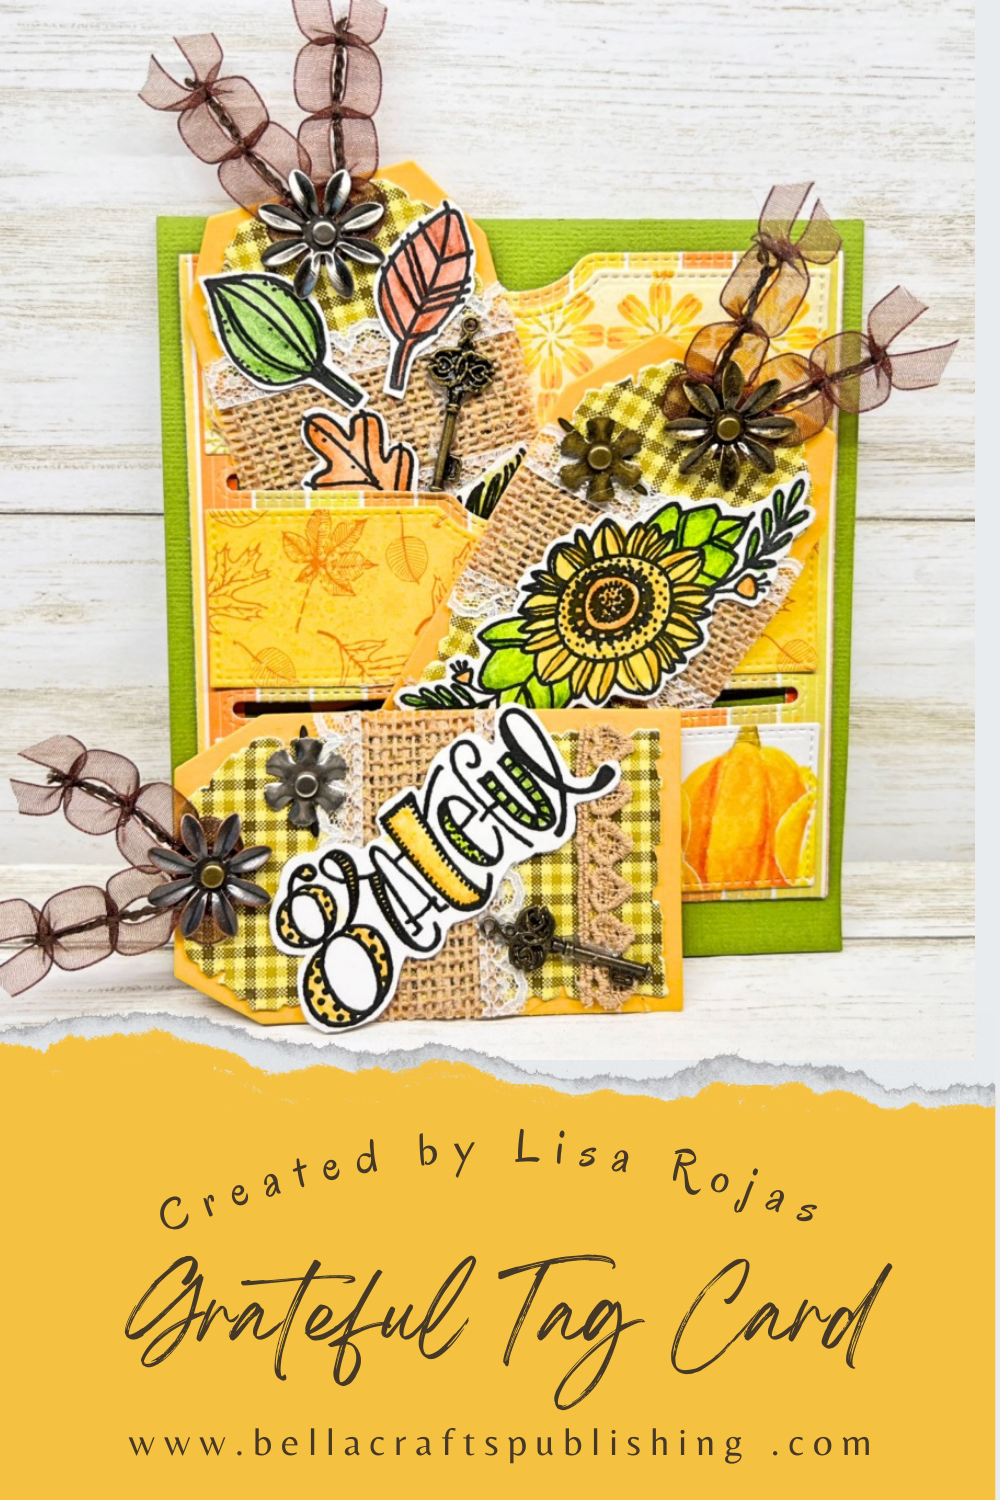
Our Fall Grateful Tag Card captures the warmth of the season and the spirit of gratitude. Share your appreciation with this charming card, perfect for celebrating the blessings of fall.
Please note: This post contains affiliate links. If you use these links and make a purchase, we earn a commission at no extra cost to you…
I loved creating this card! I don’t make a lot of Fall/Autumn cards only because I tend to gravitate to bright and colorful tones. When I saw these fabulous stamps and the beautiful patterned papers from Impression Obsession, I was hooked! But, the best part of this card is being able to show someone I love how grateful I am for having them in my life. Hugs, Lisa~
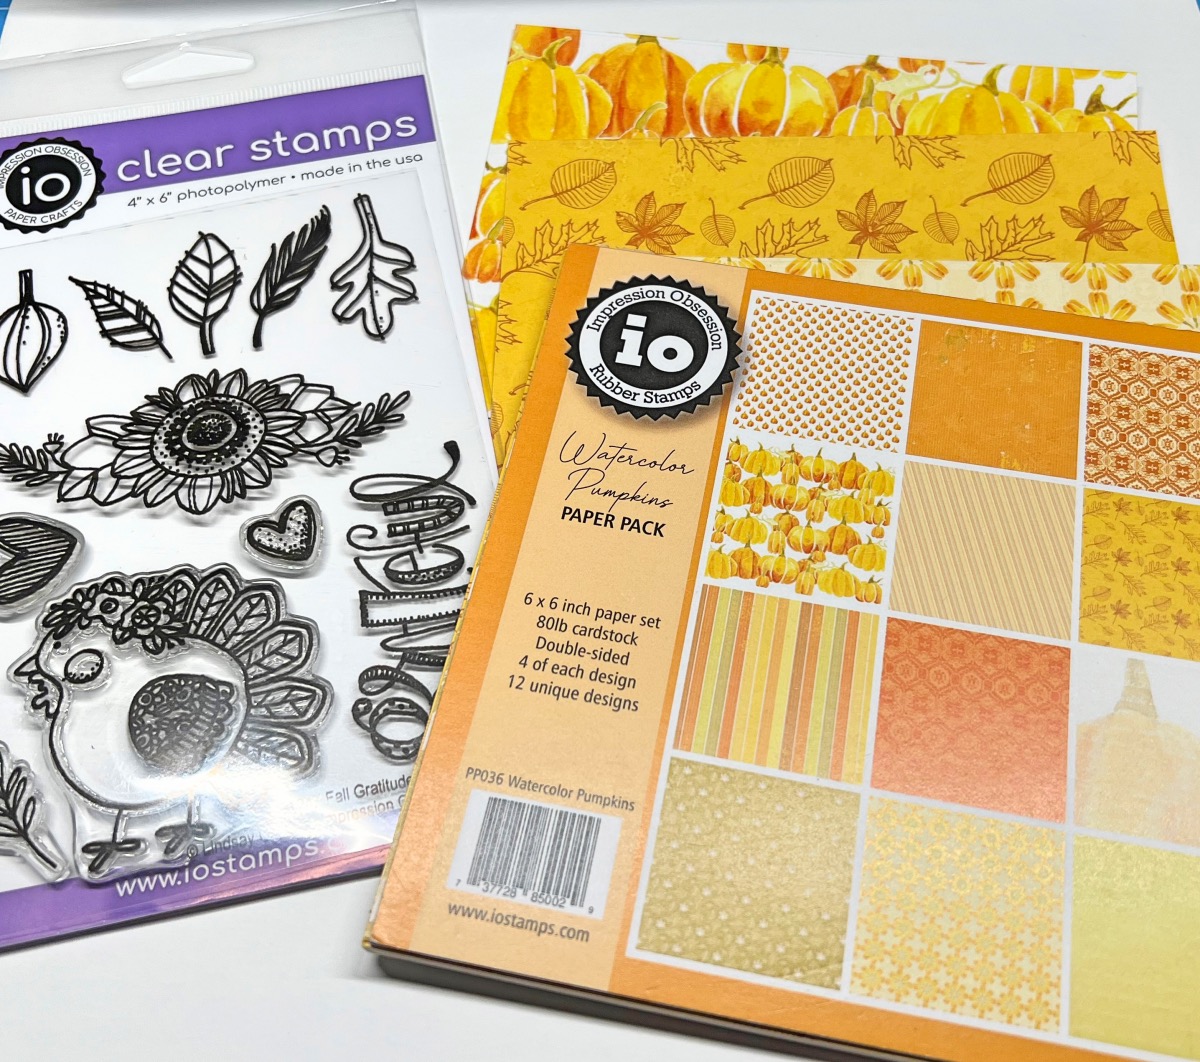
Supplies for Grateful Tag Card
Check out the full list of supplies at the end of this post.
Step One:
To begin, stamp the images onto white cardstock with the black inkpad. Color the images with watercolor pencils. Lightly spray a clear sealer over the images and then, cut them out.

Step Two:
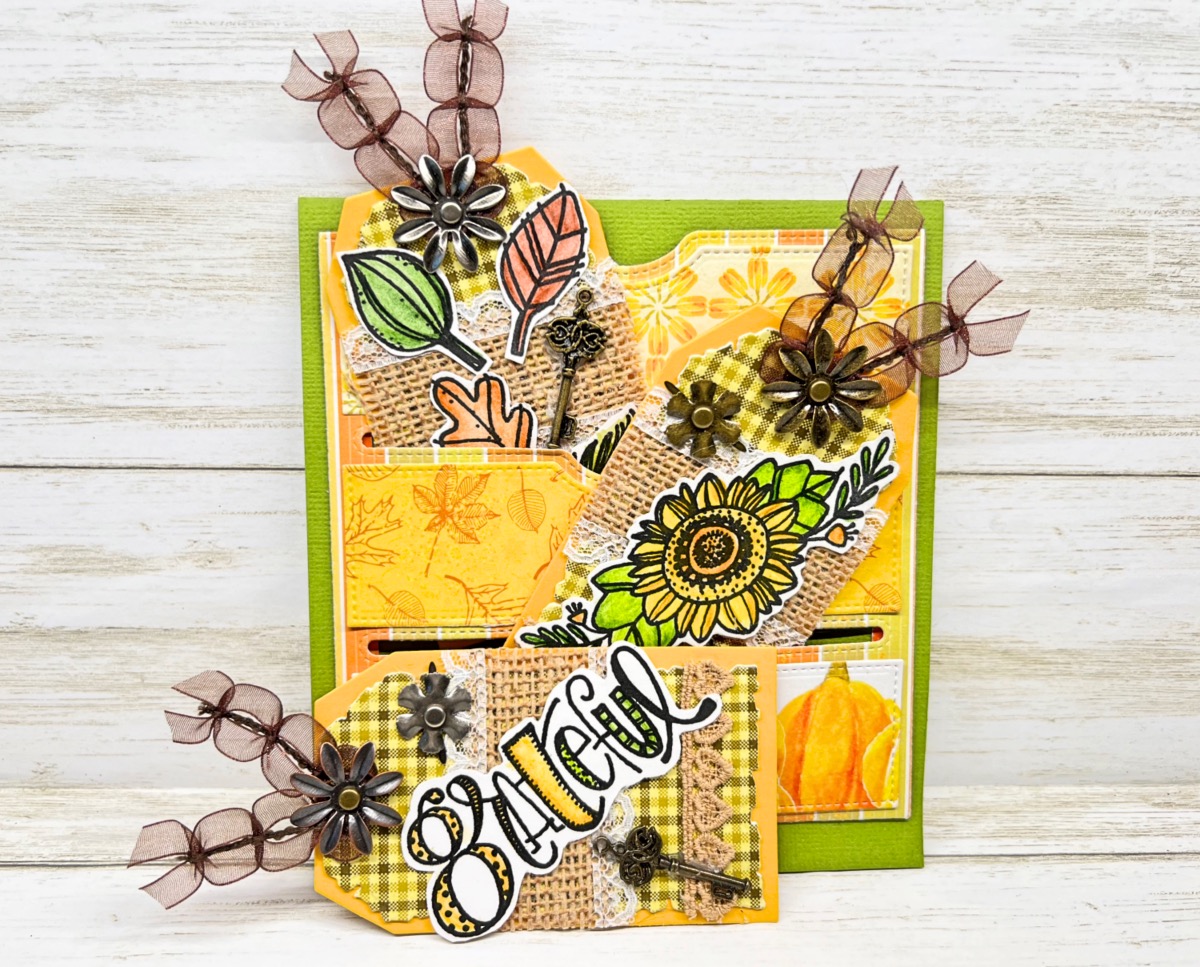
Using a die cutting machine, cut out the slotted die out of the patterned paper. Die cut the smaller die three times with different patterned papers. Cut a piece of green cardstock 11 3/4″ x 5 1/4″ and fold it with the fold on the top of the card. Add double-sided tape to the sides and bottom of the slotted paper and adhere it to the green cardstock. Adhere the three layers of the patterned papers to the slotted card. See photo for placement if needed.

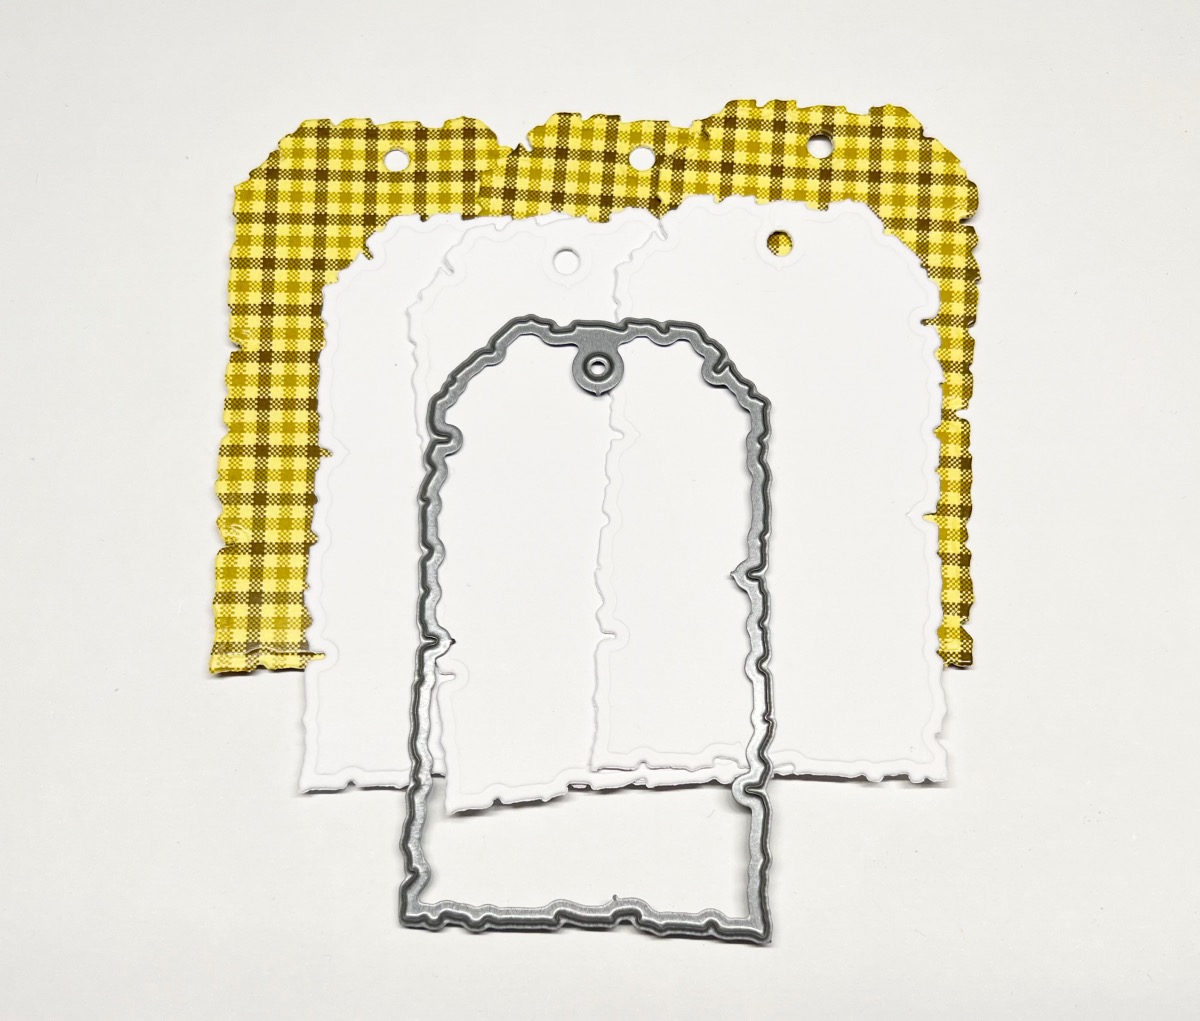
Step Three:
For the tags, die cut three pieces of white cardstock and three pieces of patterned paper. Adhere them together to make three tags. Create another tag shape slightly larger, and then cut out three pieces from orange cardstock and adhere those to the backs of the tags.
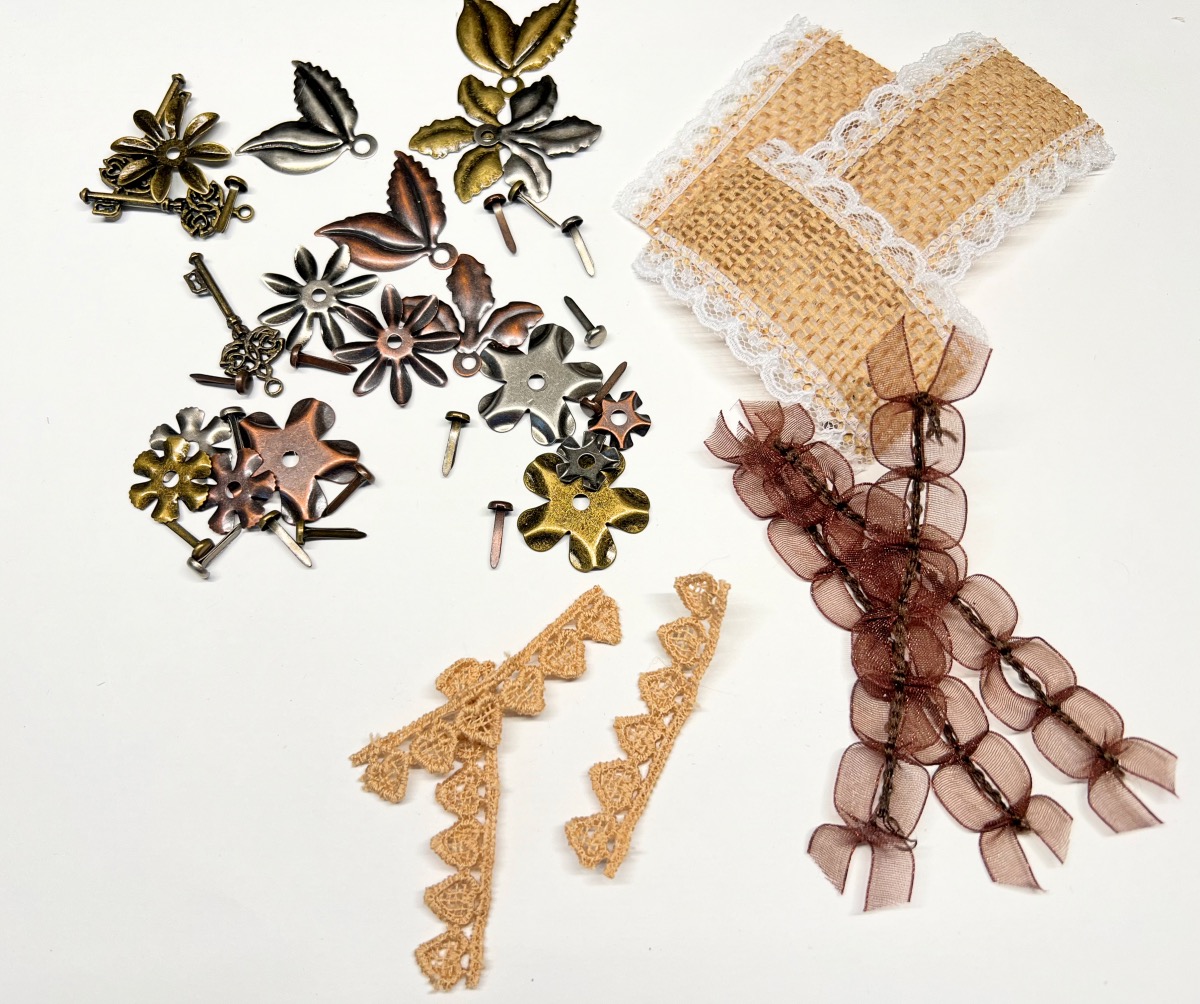
Step Four:
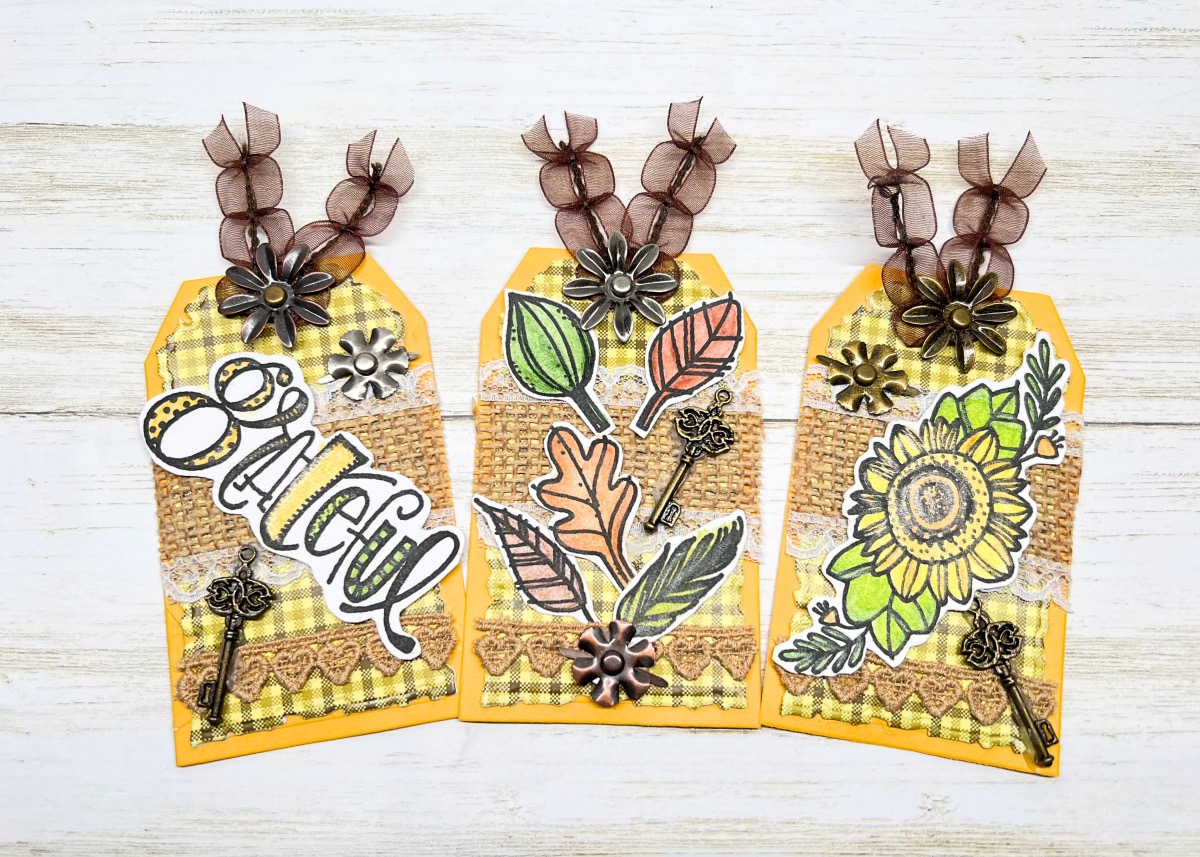
To decorate the tags, cut three pieces of burlap lace trim, heart fabric trim, and the brown ribbon. Adhere the burlap trim and the heart trim to the tags. Fold the ribbon in a “V” shape and add it to the tags. Adhere the stamped images (with tape or glue) to the tags and attach the metal embellishments with a glue gun.
Step Five:
When the tags are all done they will look something like these or you can embellish them any way you would like. I do suggest that you don’t use really bulky items because they won’t fit in the slots of the card base. Also, I made the tags with three layers of papers to give them more stability. You can skip that step if you’re not adding a lot of embellishments. Slide the tags into the slots of the card base and it’s done!
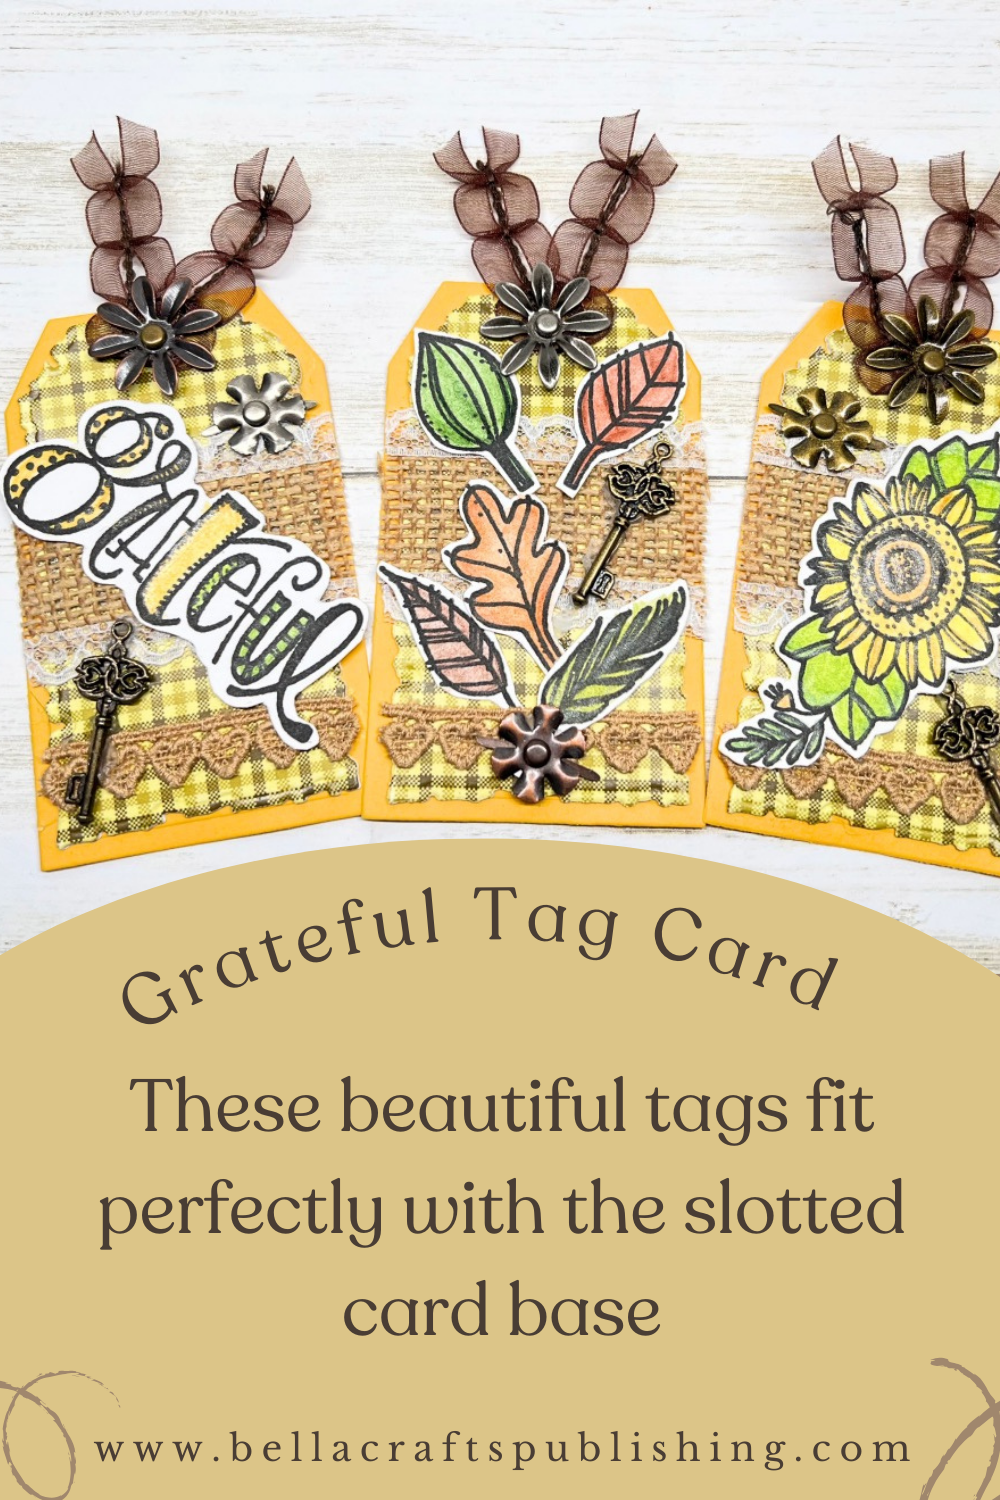
Grateful Tag Card
Here’s Another PIN For You To Share!
Supplies for Grateful Tag Card
- Cardstock: White, Green, Orange
- Patterned Paper Packs: Watercolor Pumpkins and Fall Plaids by Impression Obsession
- Rubber Stamp Set, Fall Gratitude by Impression Obsession
- Amalgam Inkpad, Obsidian by Gina K. Designs
- Watercolor Pencils
- Metal Embellishments
- Trims
- Ribbon
- Double-Sided Tape
- Deckle Tag Die by Impression Obsession
- Stitched Slots Pocket Die Set by Matty’s Crafting Joy
- Paintbrush
- Spray Sealer
- Scissors
- Paper Trimmer
- Big Shot Die Cutting Machine
Trackbacks/Pingbacks