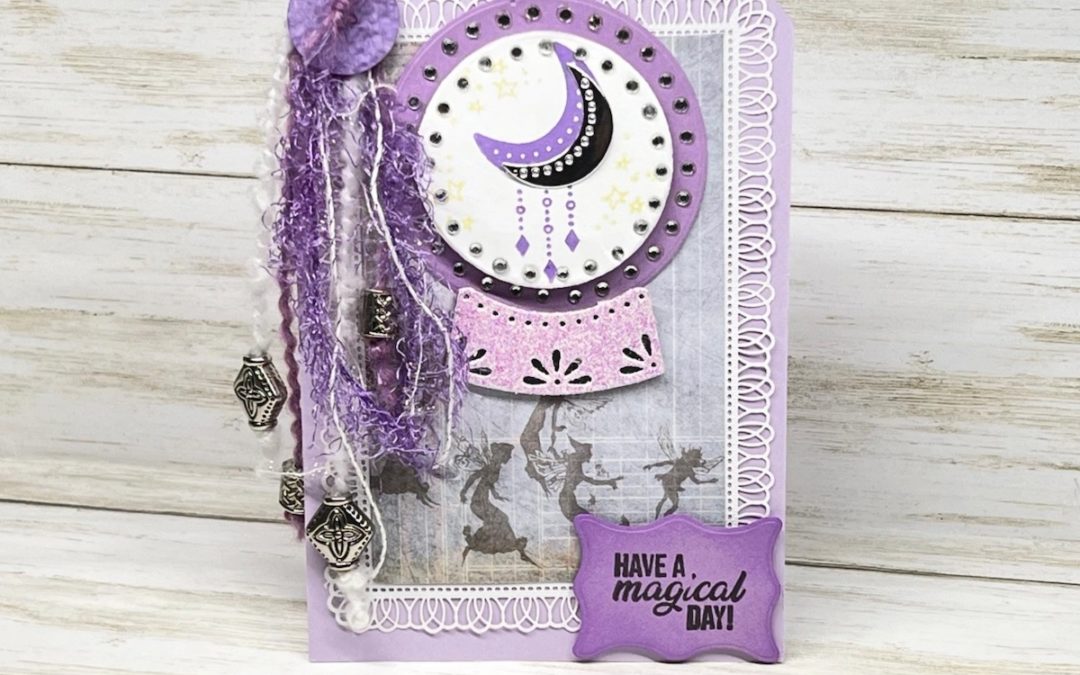
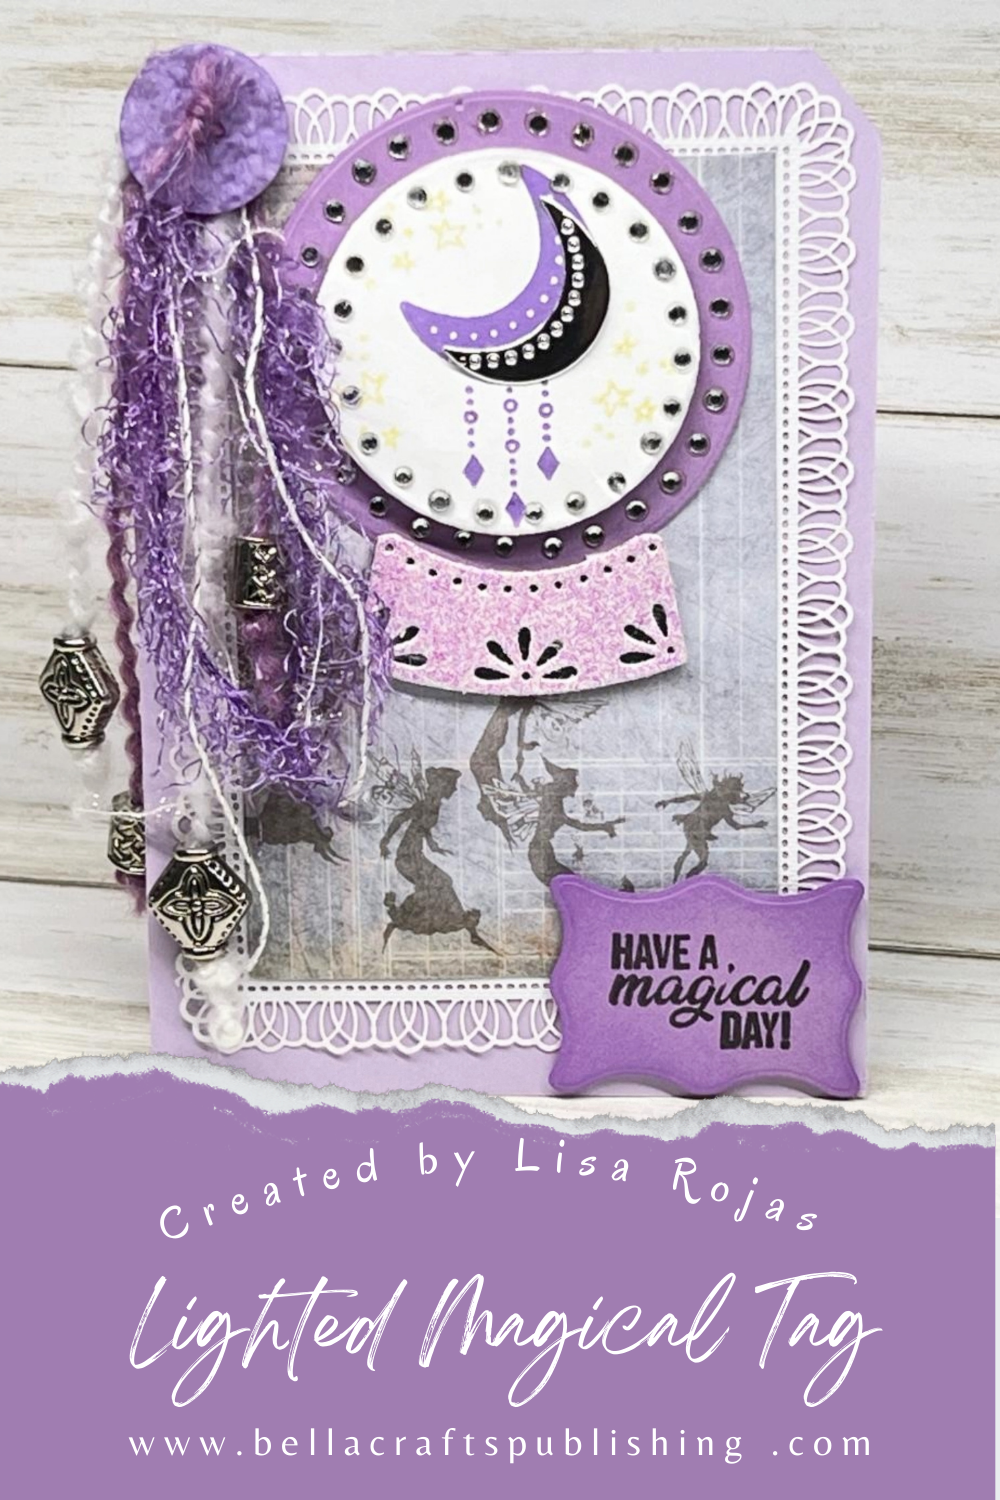
This Enchanting Lighted Magical Tag brings your heartfelt messages to life with a touch of magic, from an LED light and multiple rhinestones you can add in minutes!
Please note: This post contains affiliate links. If you use these links and make a purchase, we earn a commission at no extra cost to you…
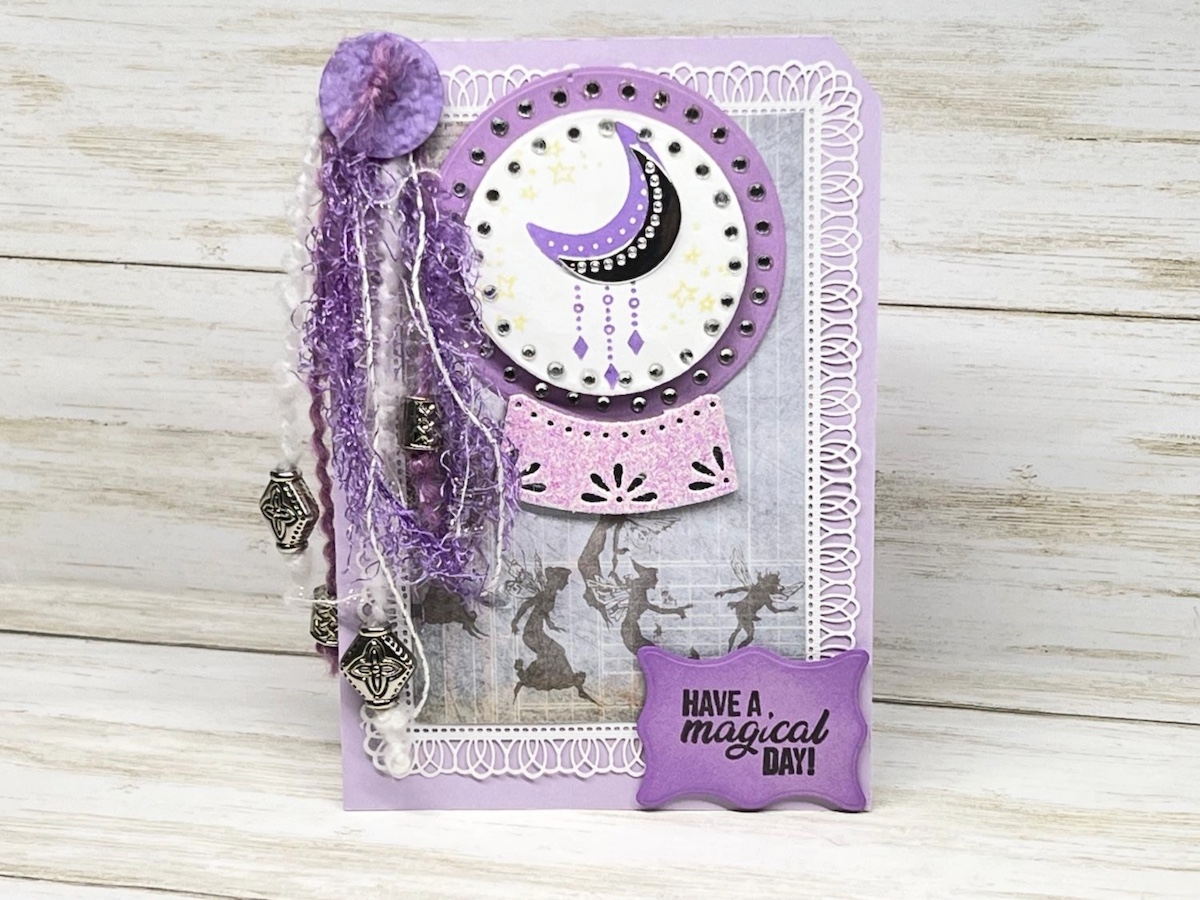
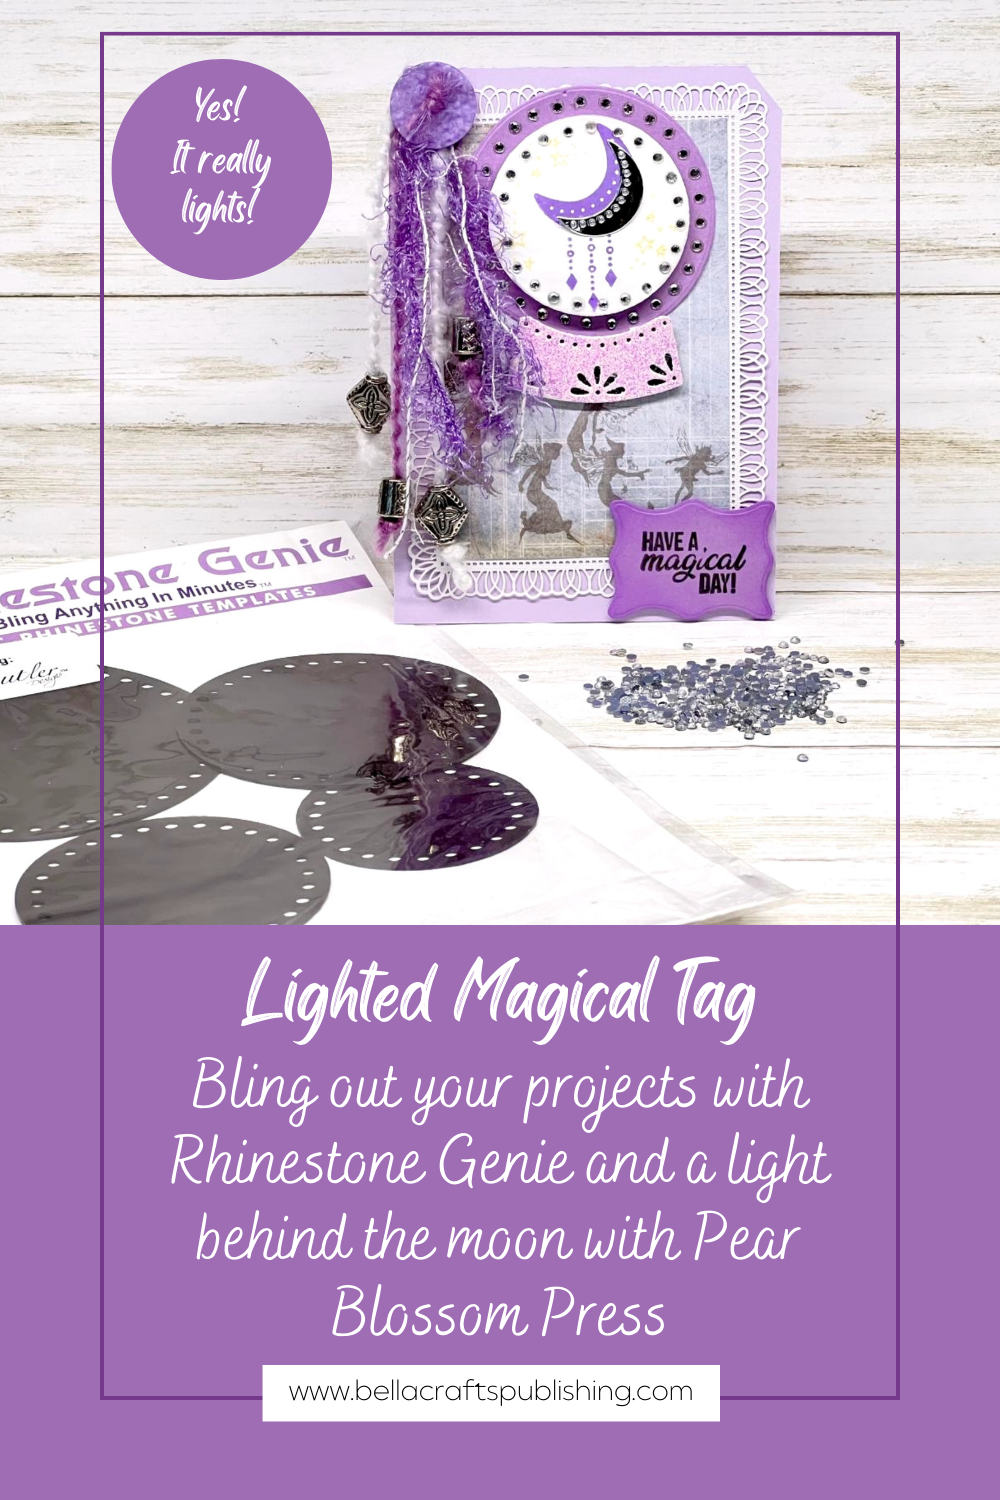
This lighted tag is a quick and easy project that you will love to create. Not only can you add multiple rhinestones in minutes, but the is a small light underneath the white cardstock circle and when you press on the white circle it will light up the moon! I hope you give it a try. Crafty hugs, Lisa~
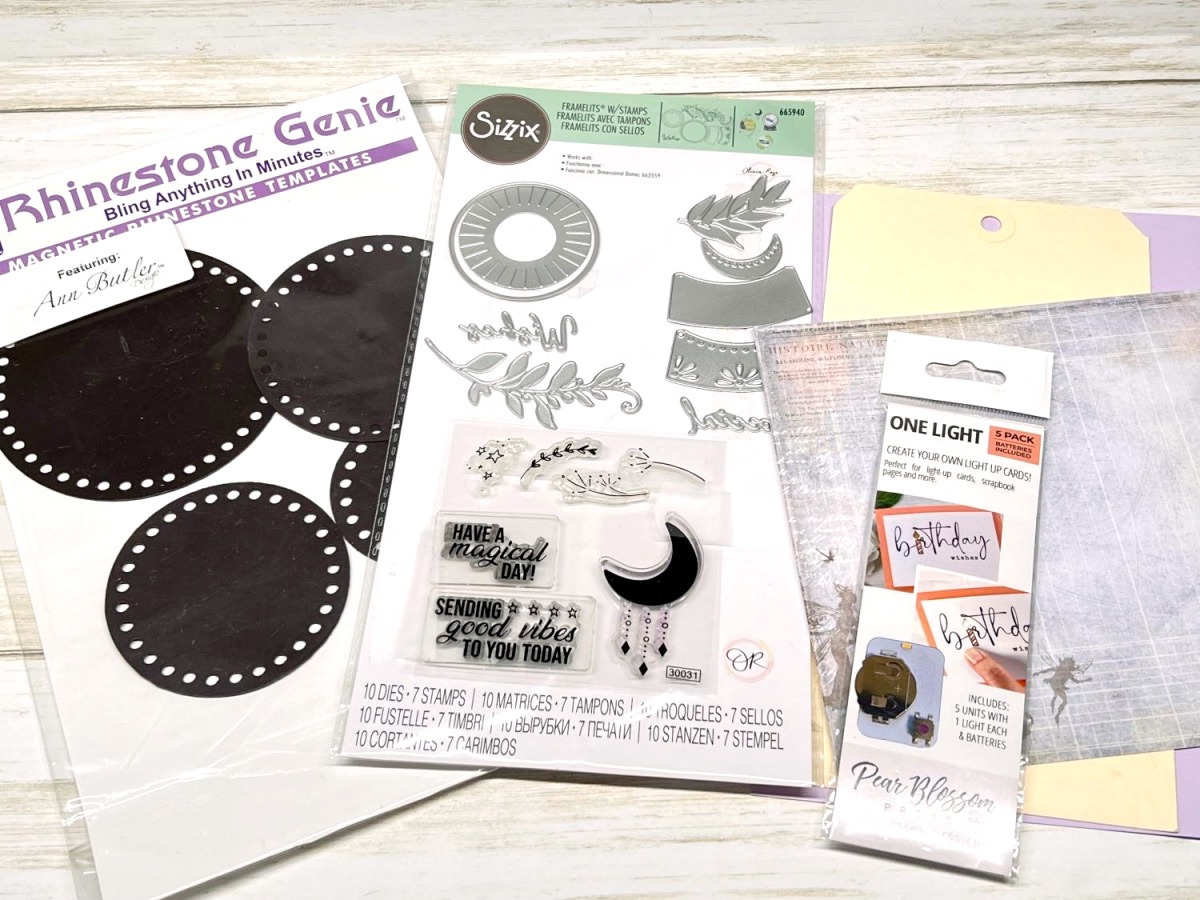
Supplies for Lighted Magical Tag
Check out the full list of supplies at the end of this post.
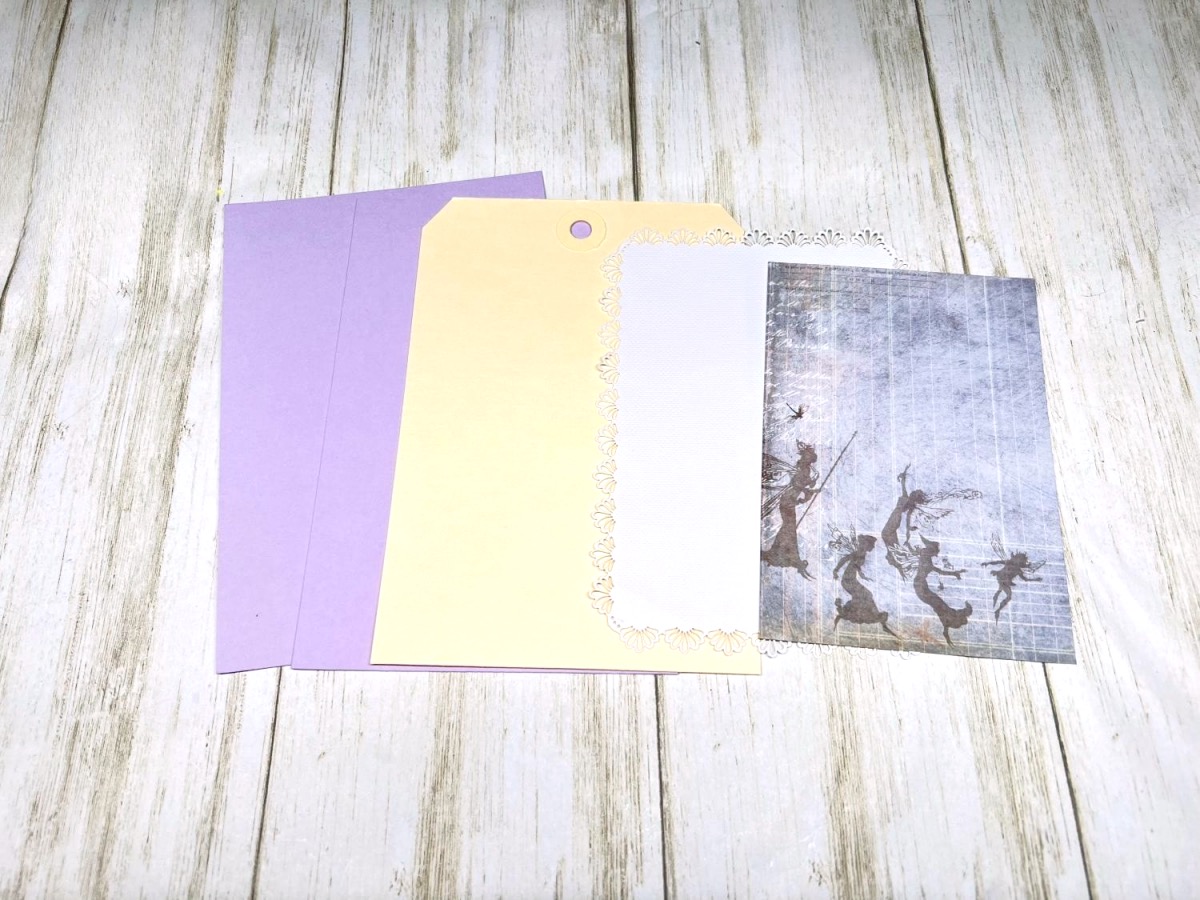
Step One:
Cut a large tag 4 1/4″ x 6″ and two pieces of lavender cardstock. Next, cut a piece of patterned paper 3 1/8″ x 4 3/4″. Adhere the lavender cardstock to both side of the tag and trim the top sides. Adhere the patterned paper to the vintage lace paper, and then to the tag.
Designer Note: By adding the cardstock to the tag it makes it sturdier to add other embellishments.
Step Two:
Die cut the smaller circle from white cardstock and the larger one with purple. For the base of the circles die cut the plain piece with silver cardstock and the decorative piece with pink glitter paper. Die cut the moon with the silver.
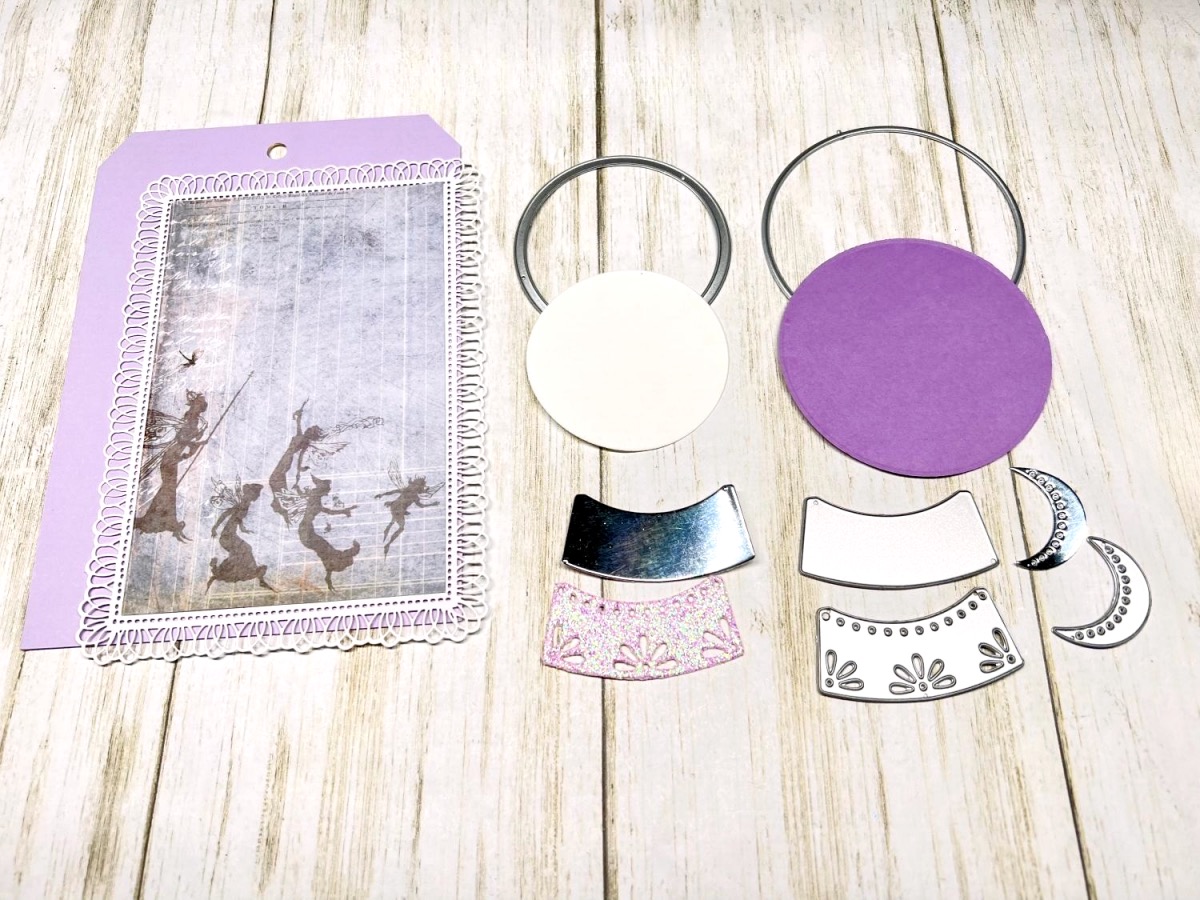
Step Three:
Stamp the moon and stars onto the white circle with Gina K. Designs inkpads, Wild Lilac and Lemon Drop.

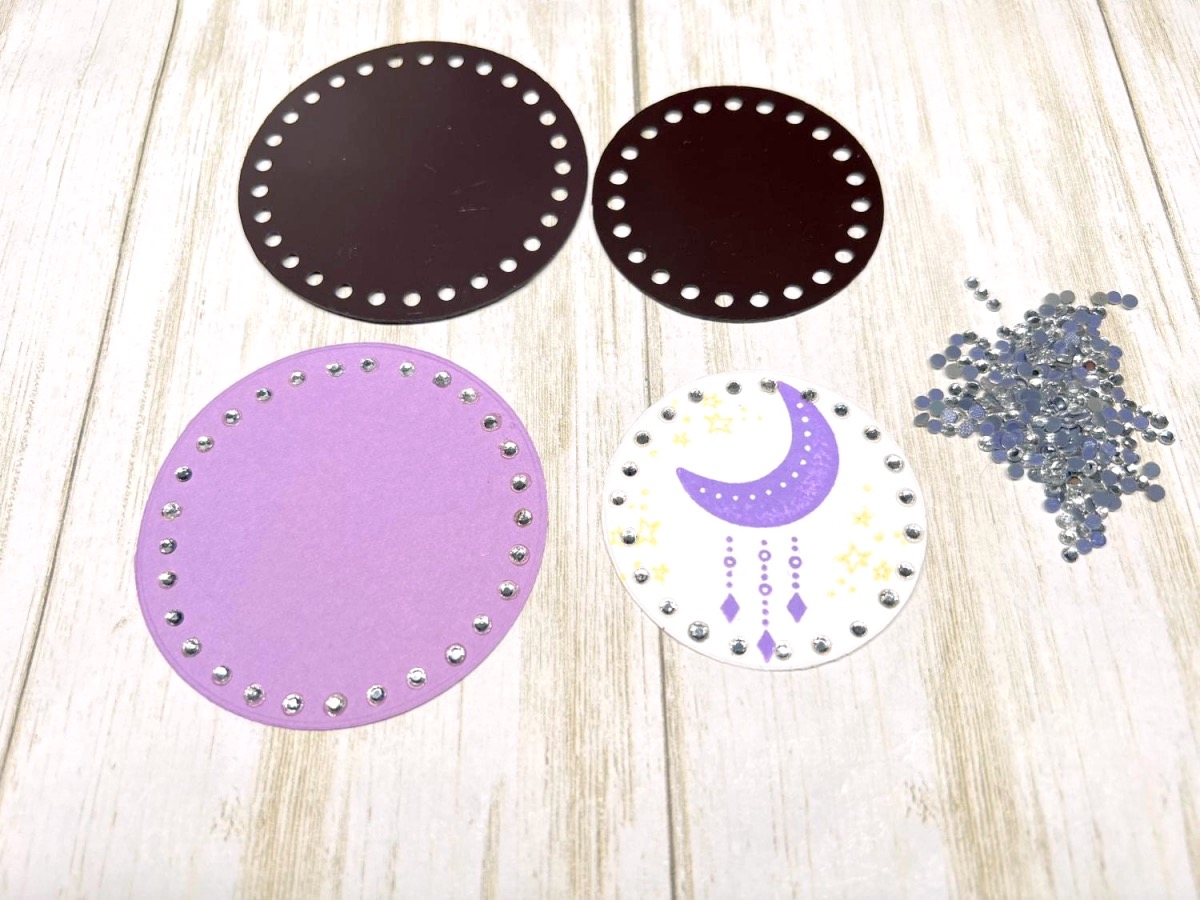
Step Four:
To add the rhinestones to the cardstock circles, you’ll need a metal cookie sheet, an iron, a special brush, adhesive sheets and the circular magnetic templates. You can purchase the supplies from Rhinestone Genie and watch my video on how to use the templates here.
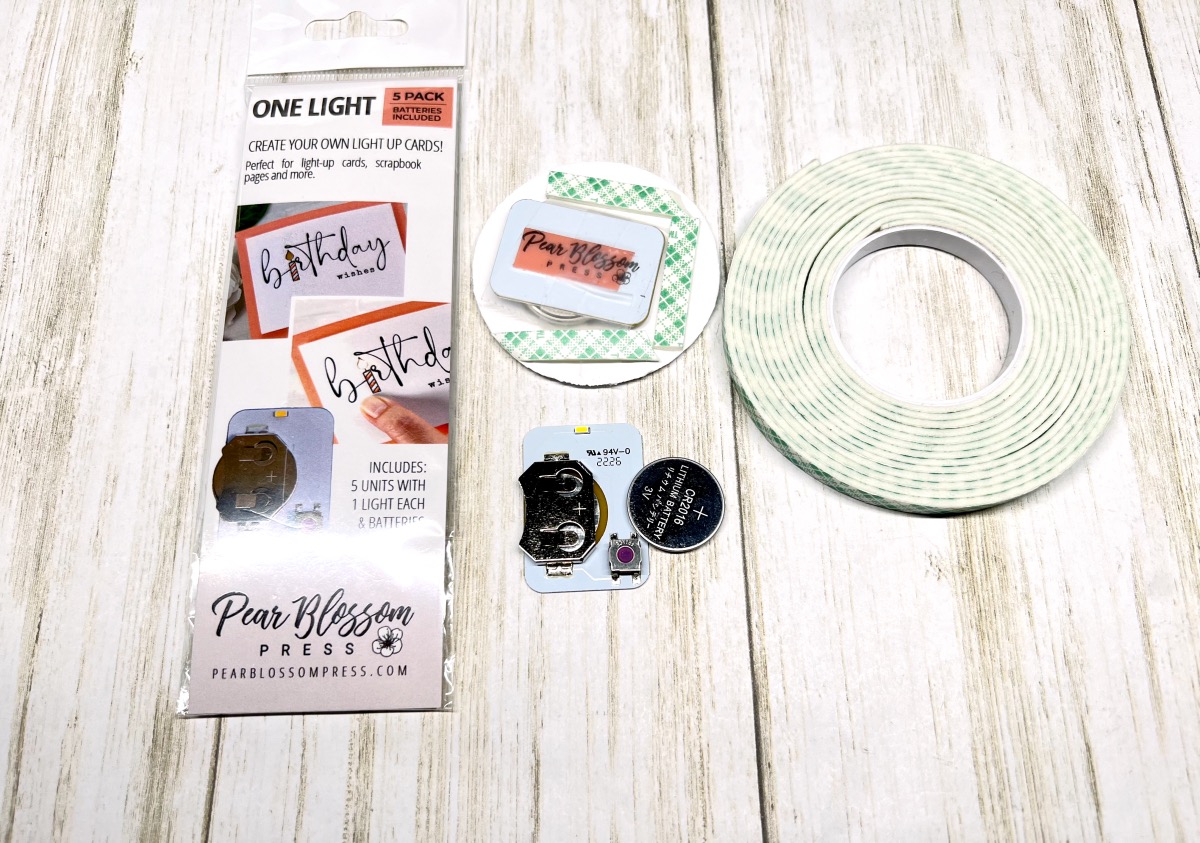
Step Five:
To add the light, place the battery in the lighting unit and put the unit behind the stamped circle as shown. Tape the unit down once you decide where you want it. Add some strips of foam tape to the circle and adhere it to the purple circle. To finish the tag, adhere the paper elements to the tag as shown in the finished photo below. Add some silver beads to various fibers (yarns). Adhere the fibers to the corner of the card with a glue gun and glue a button on top.
Lighted Magical Tag
Here’s Another PIN For You To Share!
Supplies for Lighted Magical Tag
- Cardstock: White, Lavender, Purple, Silver
- Patterned Paper
- Glitter Cardstock, Pink
- Manilla Tag
- Vintage Lace Paper
- Premium Dye Inkpads: Obsidian, Wild Lilac, Lemon Drop by Gina K. Designs
- Zip Dry Paper Glue by Beacon Adhesives
- Rhinestone Genie Starter Kit and Circle Templates by Rhinestone Genie
- Metal Cookie Sheet
- One Light by Pear Blossom Press
- Various Fibers
- Button, Purple
- Various Beads, Silver
- Framelits with Stamps Set, Special Wishes by Sizzix
- Iron, to apply rhinestones
- Glue Gun
- Scissors
- Big Shot Die Cutting Machine by Sizzix