Elevate your home décor effortlessly with our stunning Deco Foil Paper Frame. These papers and foils will add beauty to any space.
Please note: This post contains affiliate links. If you use these links and make a purchase, we earn a commission at no extra cost to you…
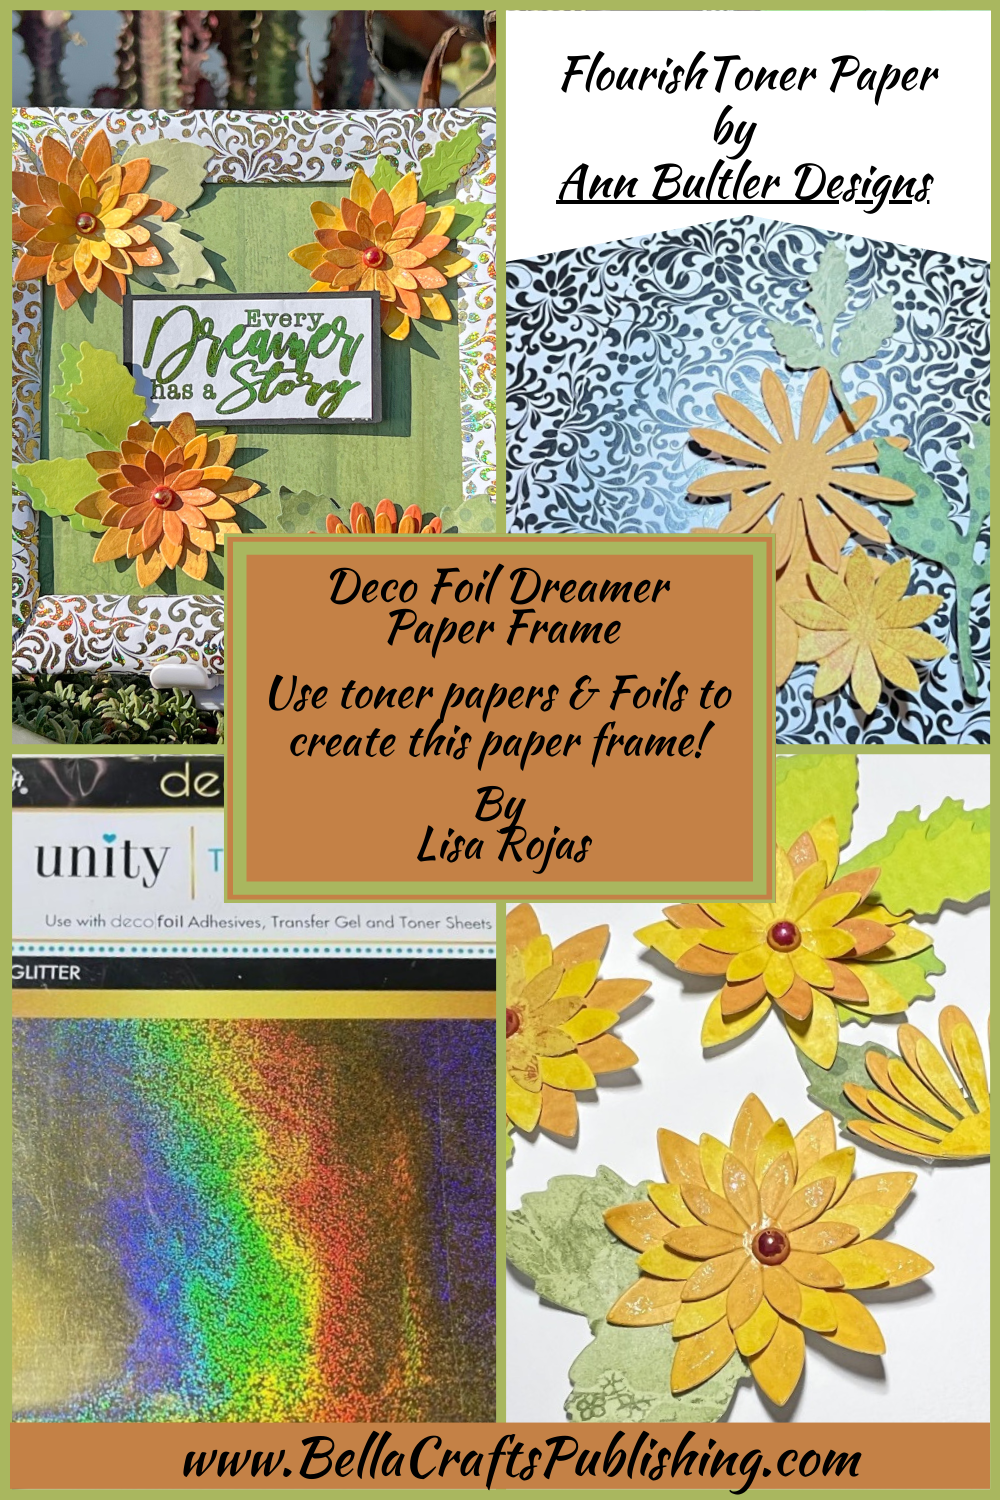
When I first saw this new frame die set from Sizzix, I knew that Ann’s toner papers with some Deco Foil from Therm-O-Web would be perfect. This is a very simple project and the frame can be used in a variety of different ways. What would you create with these products? You can join our Facebook Group titled Do You Love To Craft and show us what you’re making. Have fun! Lisa~

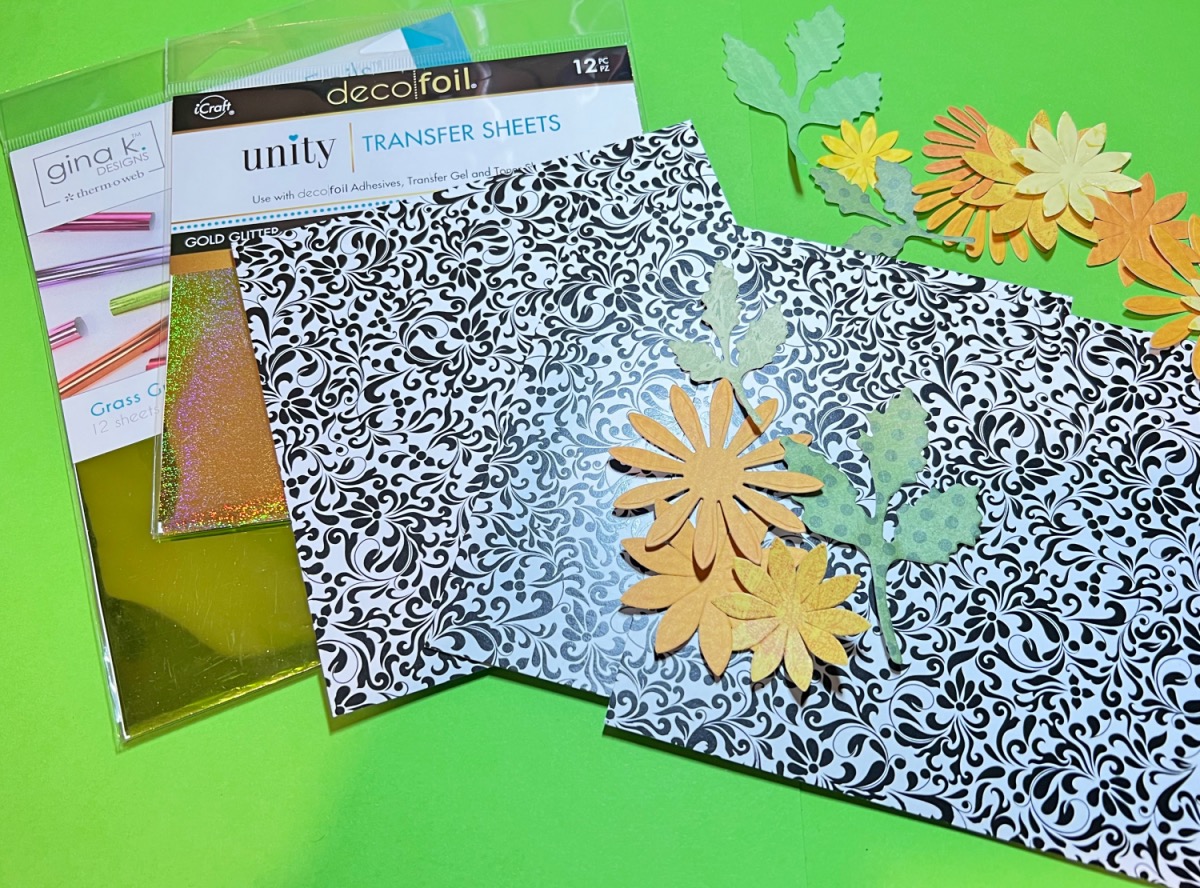
Supplies for Deco Foil Dreamer Paper Frame
See the end of this post for a full supply list~
Steps One, Two:
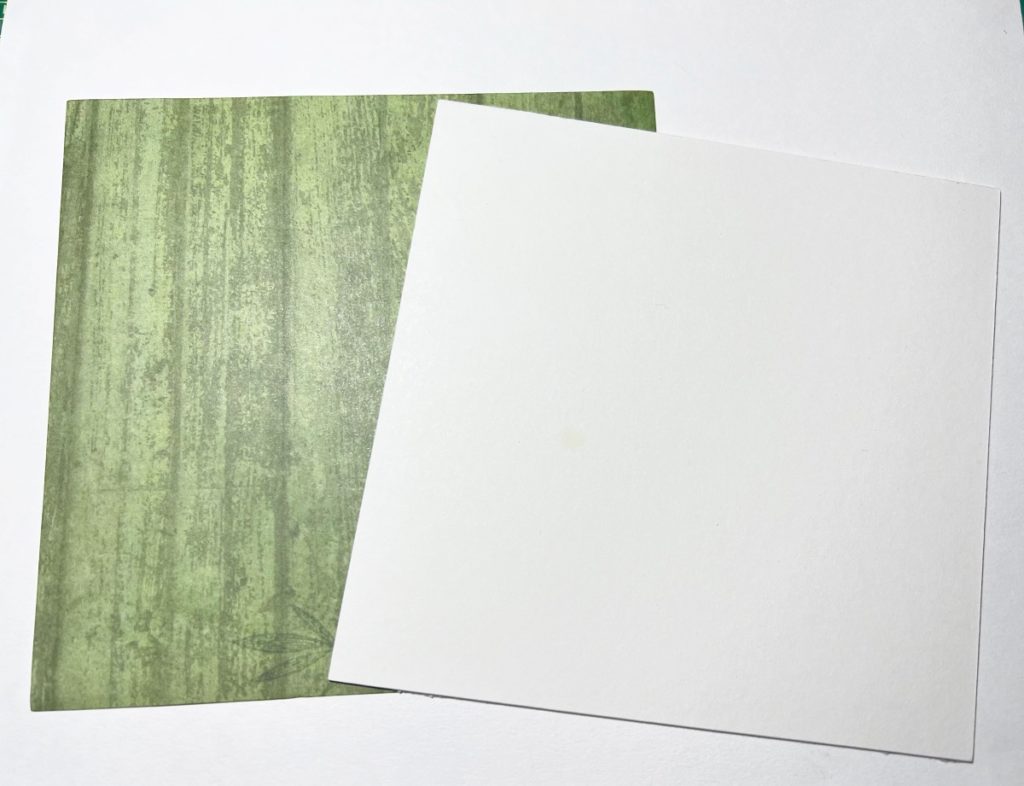
Cut a piece of mat board and patterned paper 6″ x 6″ and adhere together with a tape runner. Set aside.
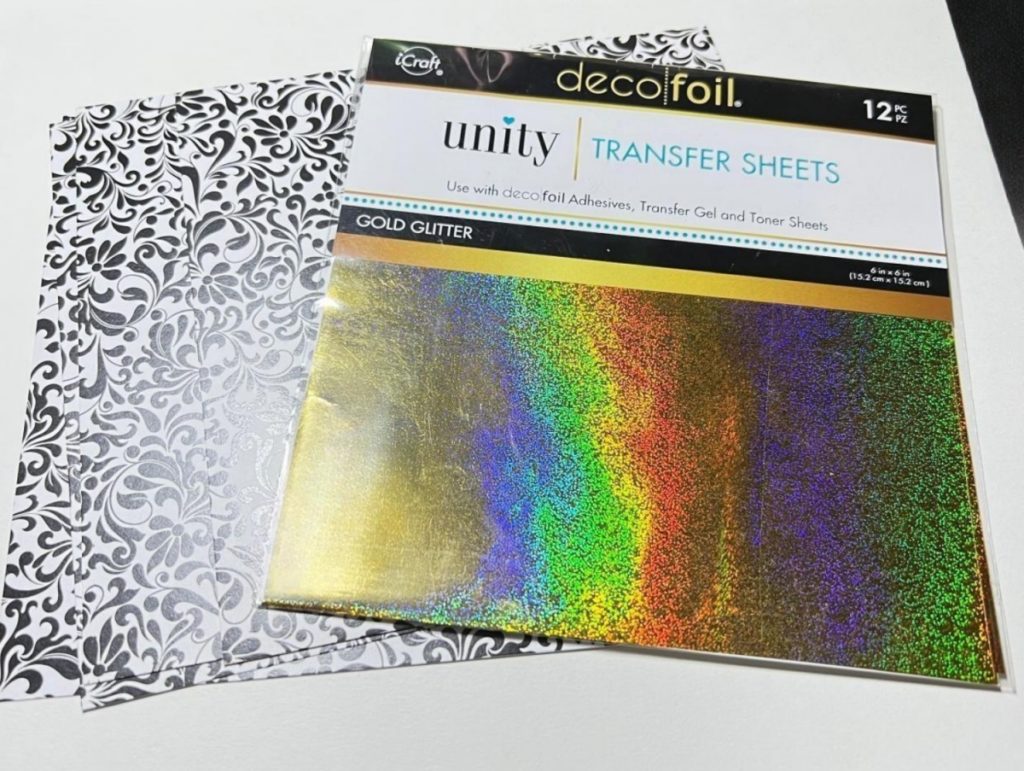
Add a piece of Gold Deco Foil on a 6″ x 6″ Flourish toner paper and place them into a carrier sheet of either regular copy paper or parchment paper. Run the papers through a hot laminator. Repeat three more times. Using the 6 1/2″ die from the die set, cut it out from the four pieces of the toner papers. Set aside.
Steps Three, Four:

Place a small piece of Green Deco Foil to cover the toner paper saying and place them into a carrier sheet (as in step two). Run the paper through a hot laminator. Use a small piece of black cardstock to adhere to the back of the saying.
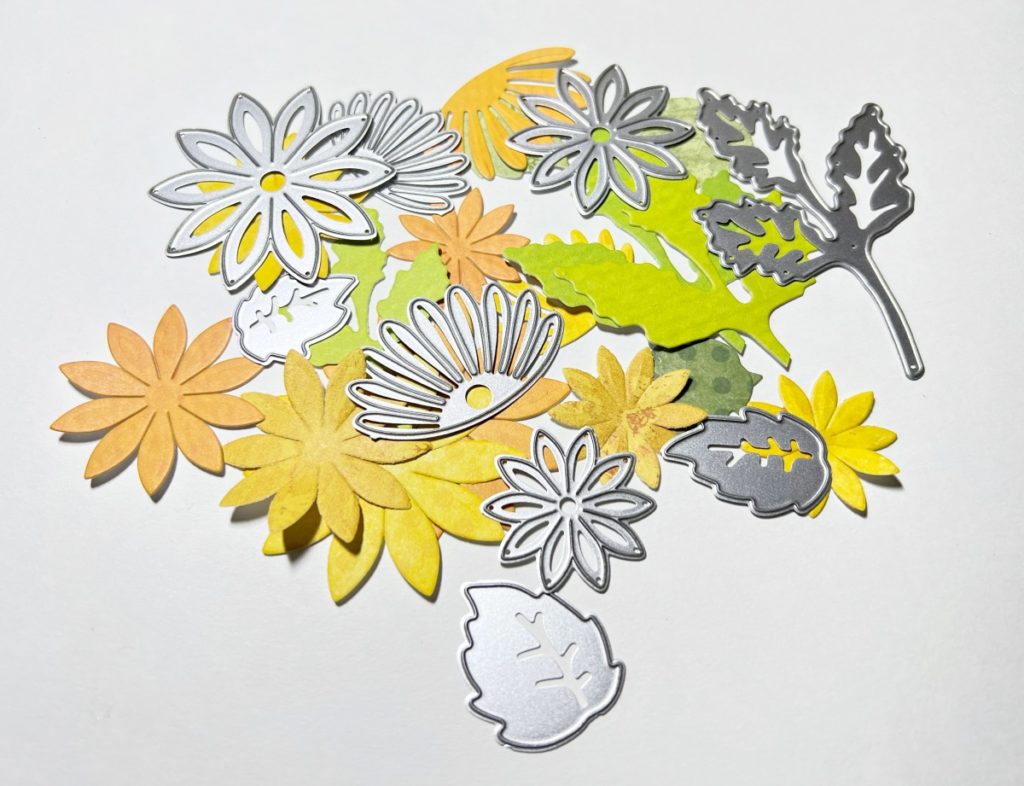
Die cut a variety of florals and multiple patterned papers to create the flowers for the frame.
Steps Five, Six:
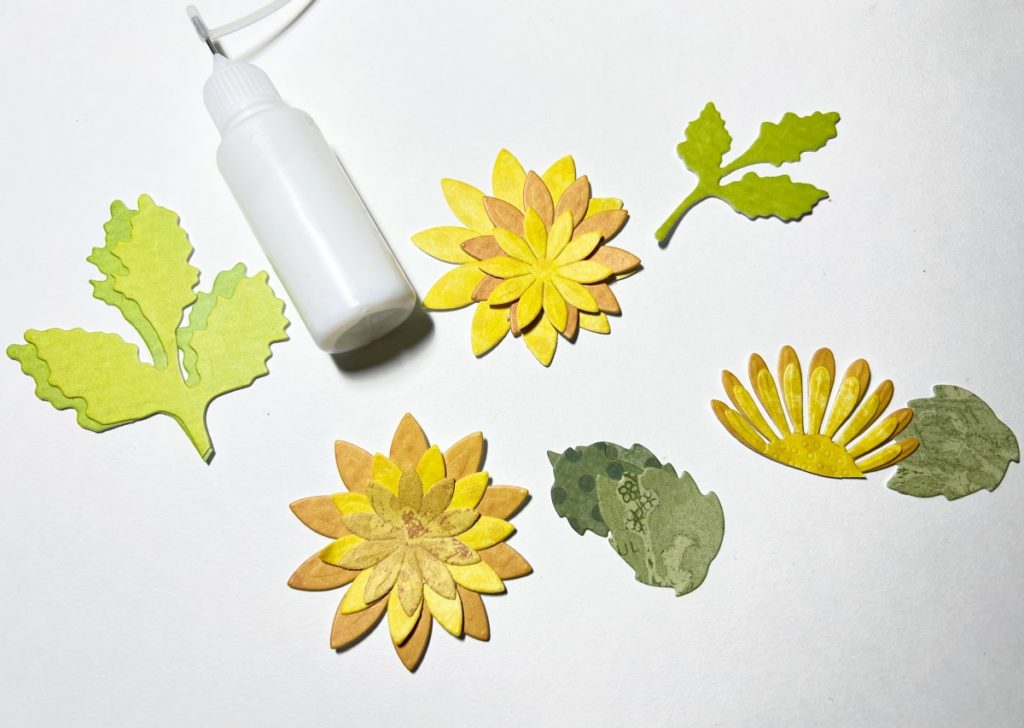

Assemble and adhere the floral pieces together with glue as seen in photo.
Once the flowers are adhered together, add a small gem to the center of the flowers and lightly brush over them with a glitter pen.
Steps Seven, Eight:
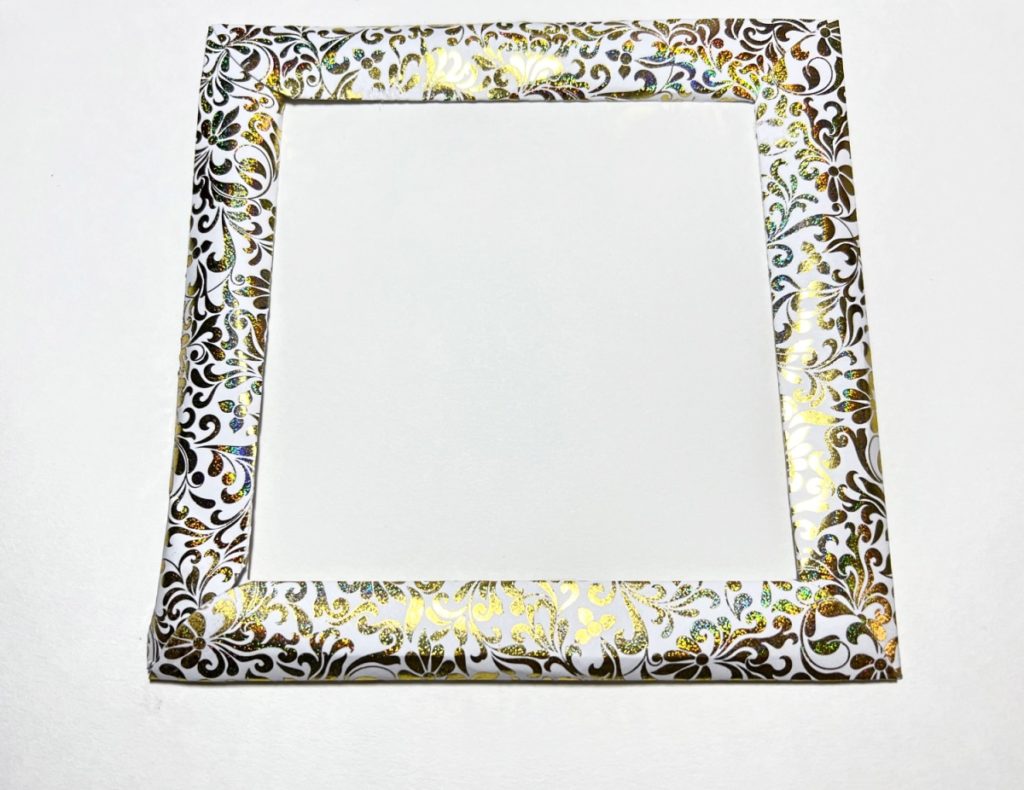
Assemble the foiled pieces to make the frame following the instructions from the die set.
Adhere the matboard to the backside of the frame with tape runner or glue. Attach the flowers to the front of the frame with glue. Apply two layers of foam tape to the back of the saying. See finished photo for placement if needed.
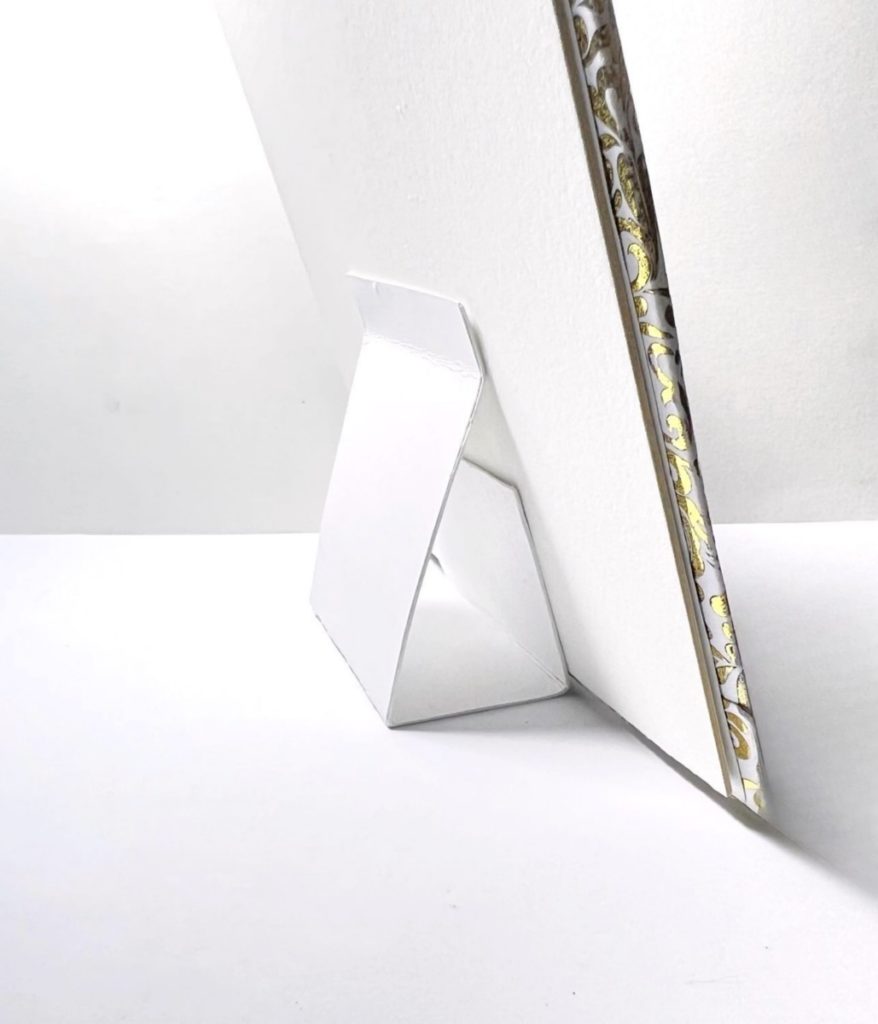
To finish the frame, create an easel as follows: cut two pieces of heavy white cardstock, 2 1/2″ x 6″ and adhere them together. Score the piece from the top at 1/2″, 3″ & 4 1/2″. Adhere to the back of the frame as seen in the photo above.
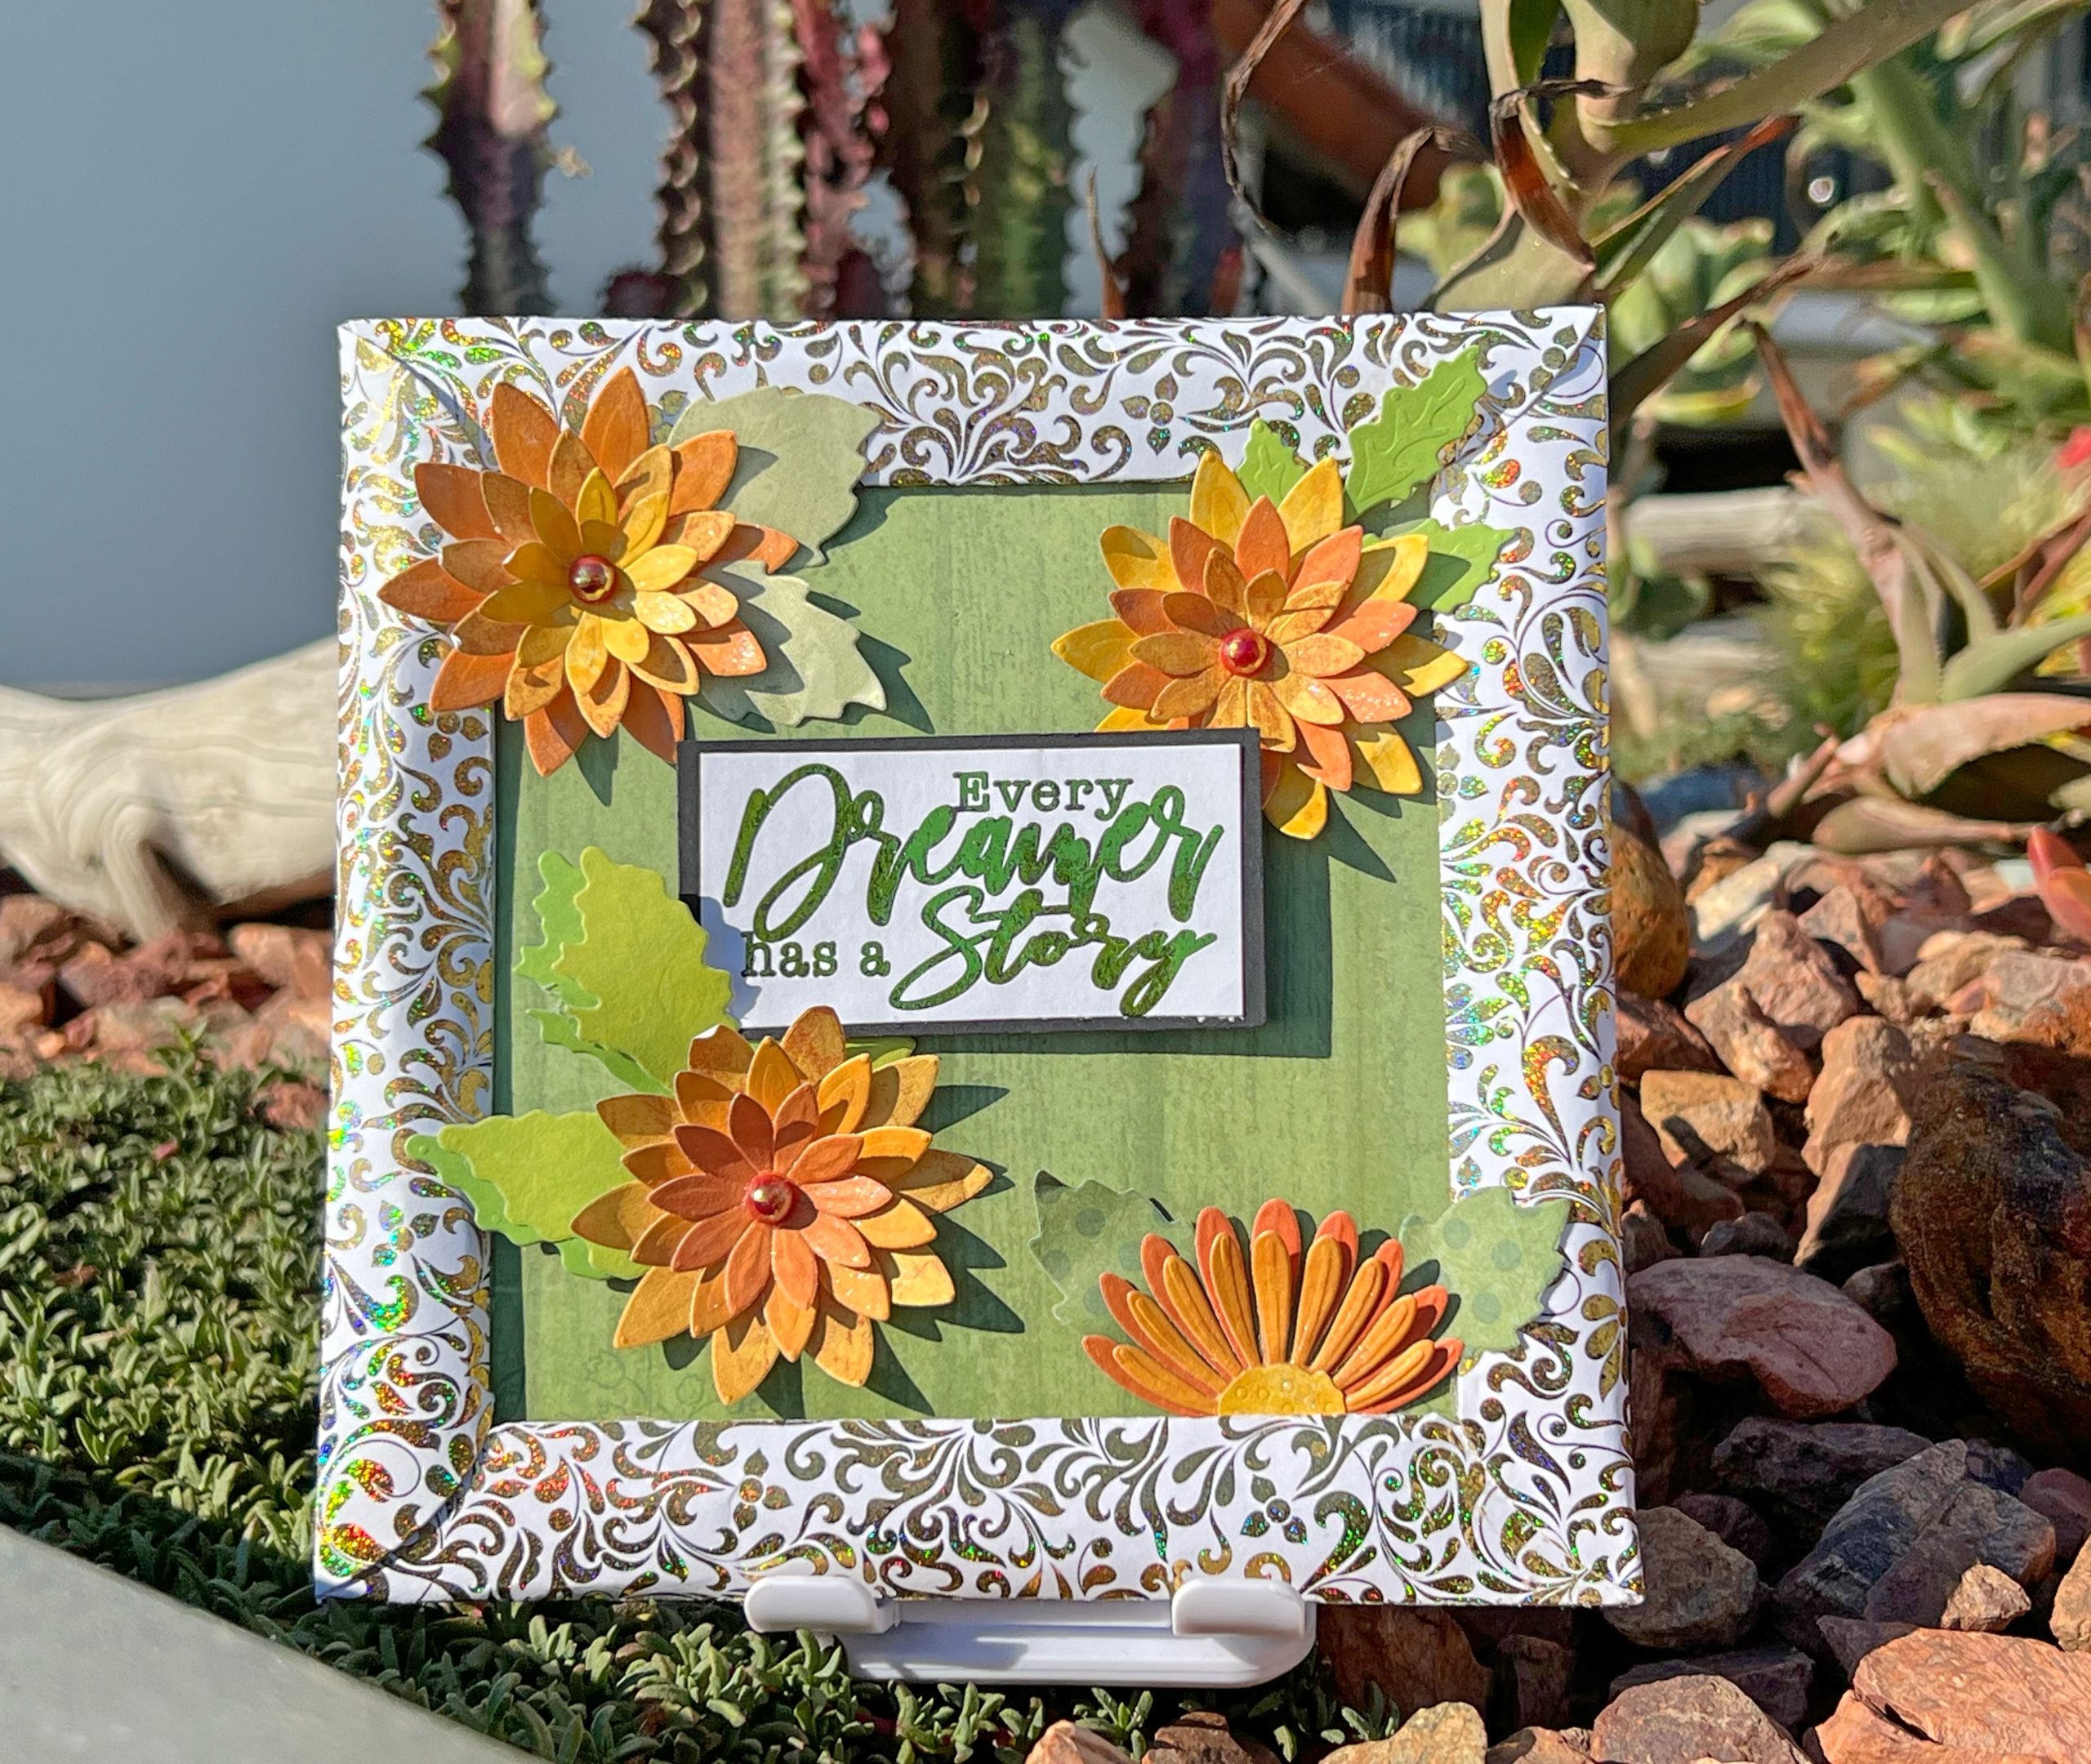
Deco Foil Dreamer Paper Frame
- Matboard
- Patterned Papers, Multiple
- Cardstock: White, Black
- Black & White Florals Toner Papers by Ann Butler Designs
- Deco Foils: Gold Glitter, Grass Green by Therm-O-Web
- Die Cut Sentiments by Ann Butler Designs
- Spectrum Noir Sparkle Pen
- Gems, 3
- Foam Tape
- Glue
- Tape Runner
- Flower Dies, Variety
- Frame Die Set by Sizzix
- Big Shot Die Cutting Machine by Sizzix
- Hot Laminator
One more PIN of the Deco Foil Paper Frame to share
This is so beautiful! The papers with foil are gorgeous and that die set is clever! Thanks for sharing this nice project!
Aw, thank you so much for the nice comment…we appreciate it so very much. Glad you liked the project!