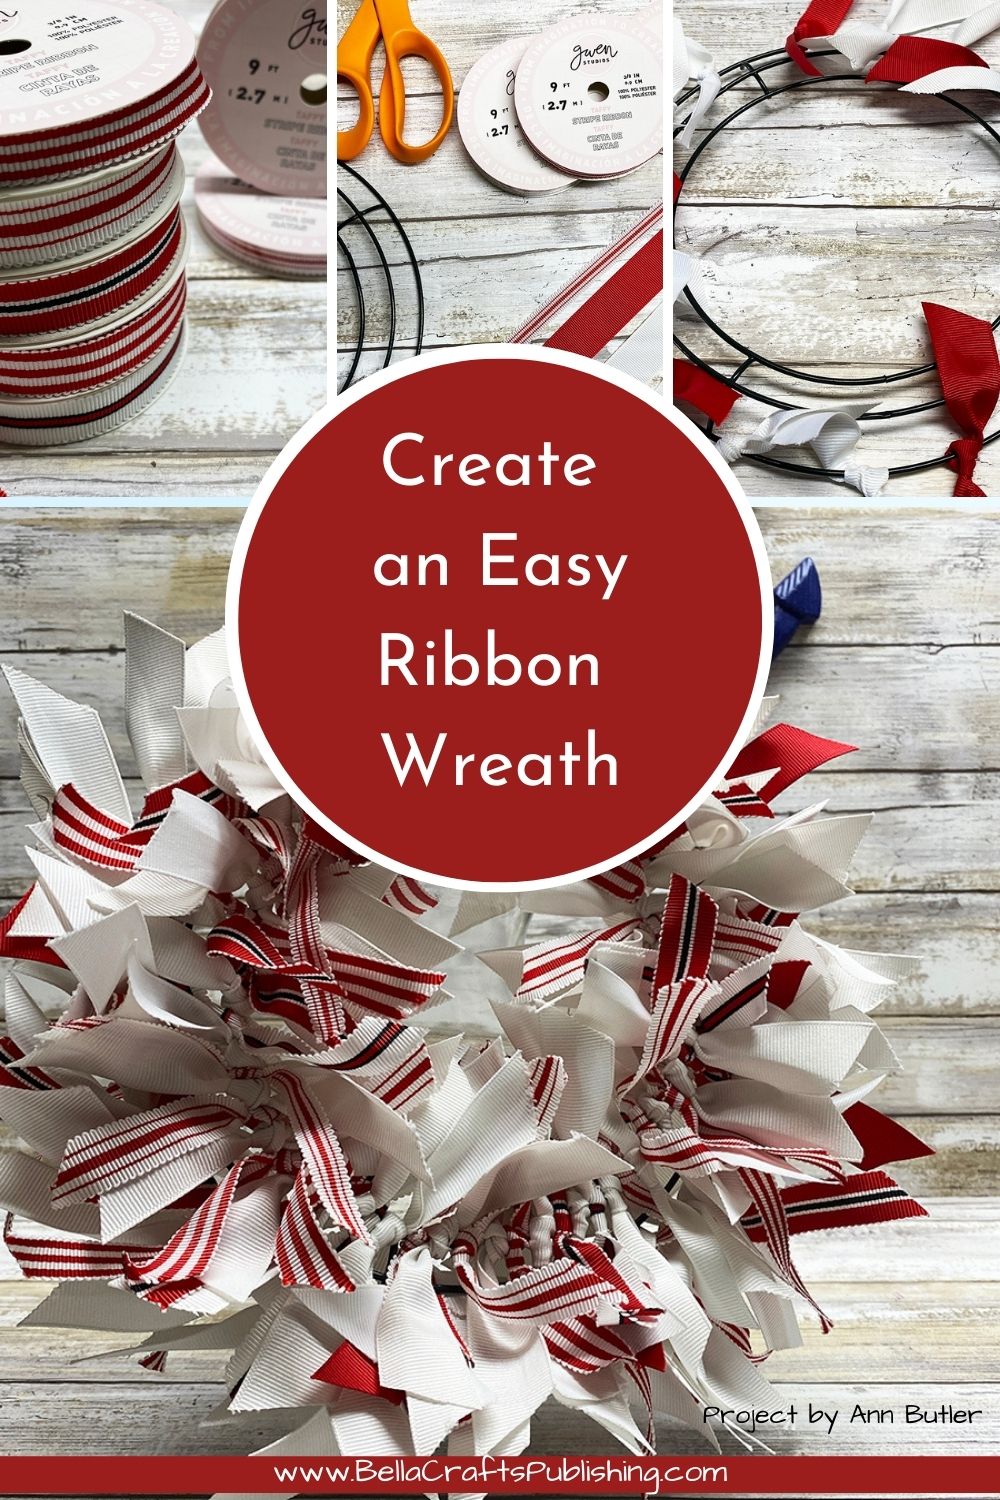
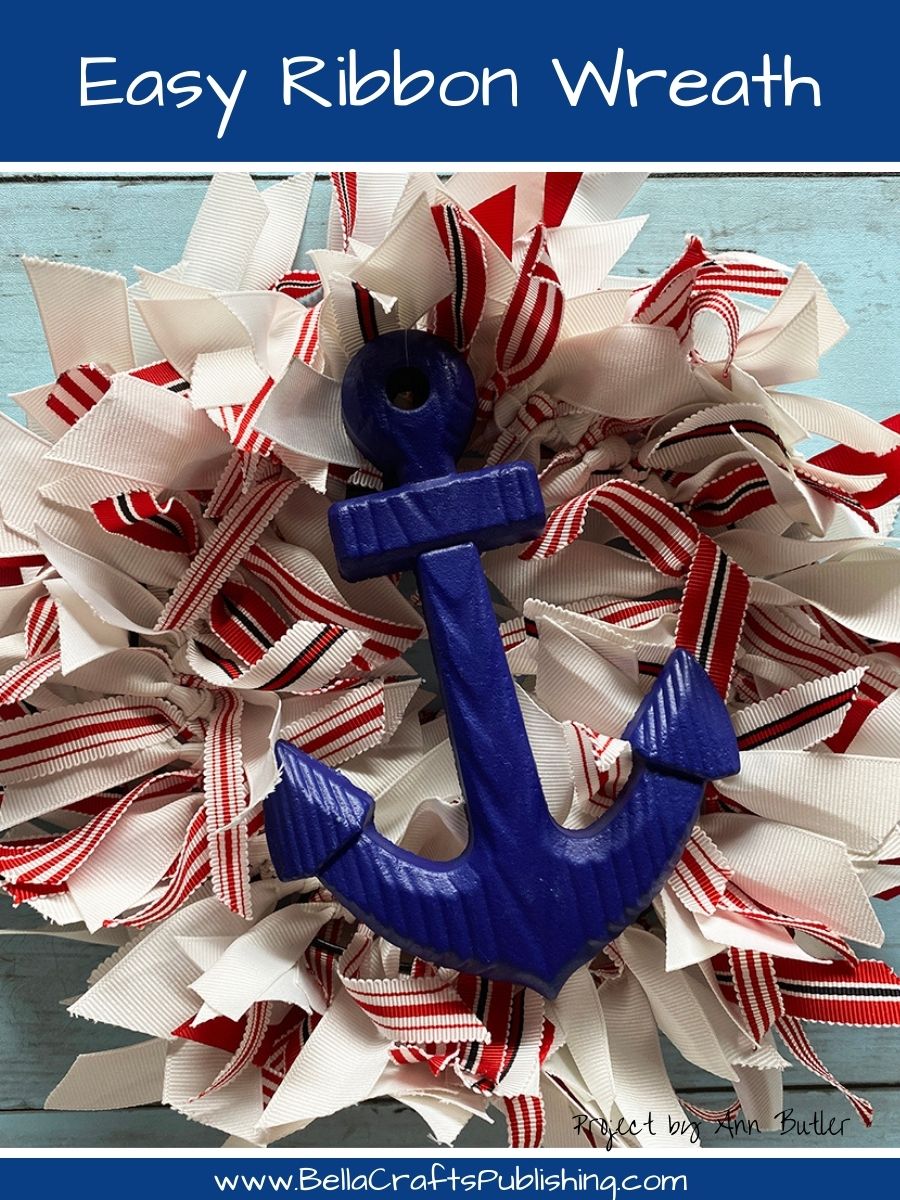
Create an Easy Ribbon Wreath and make decorating a breeze.
Please note: This post contains affiliate links. If you use these links and make a purchase, we earn a commission at no extra cost to you…
Steps One, Two, Three:

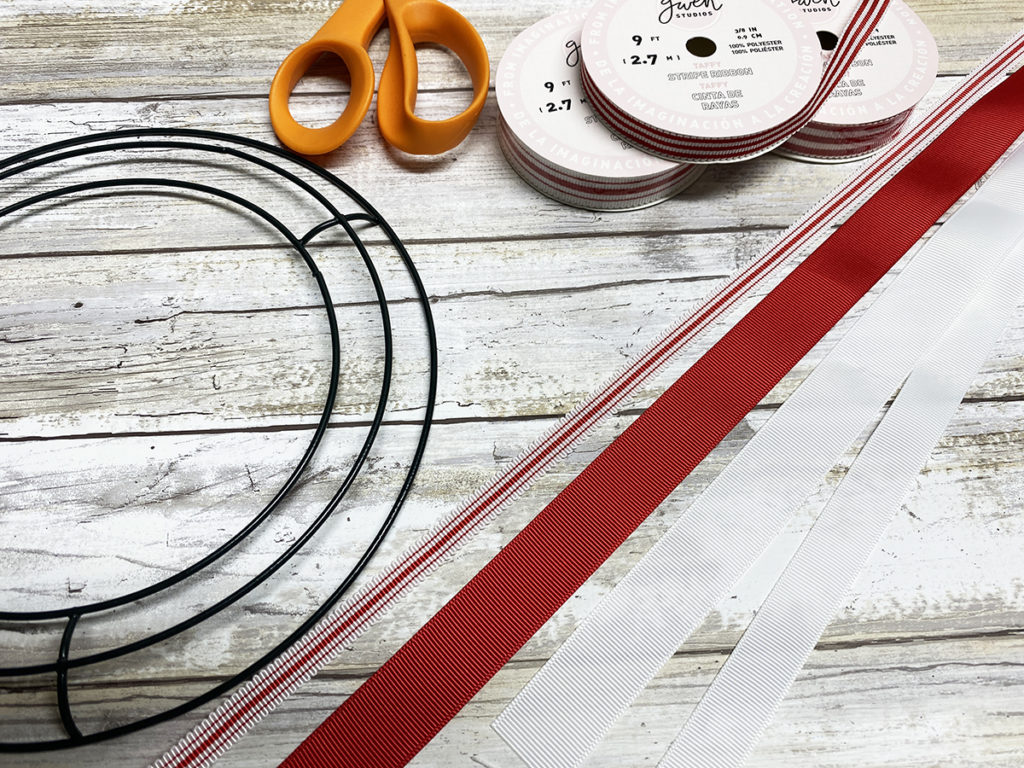

Grab your desired ribbon, be sure to vary the widths and patterns. I love that so many of the Gwen Studios Ribbons come in such a wide variety.
Grab the rest of your supplies.
Cut ribbon in seven inch lengths.
Steps Four, Five, Six:

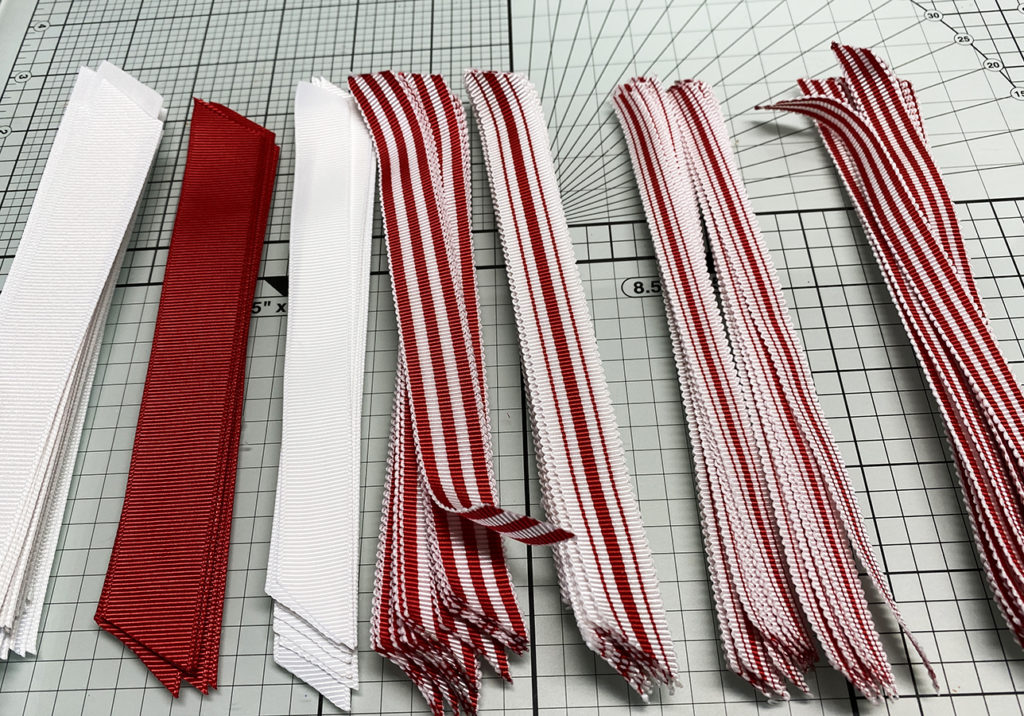
Cut both ends of the ribbon pieces at an angle, as shown in the photo.
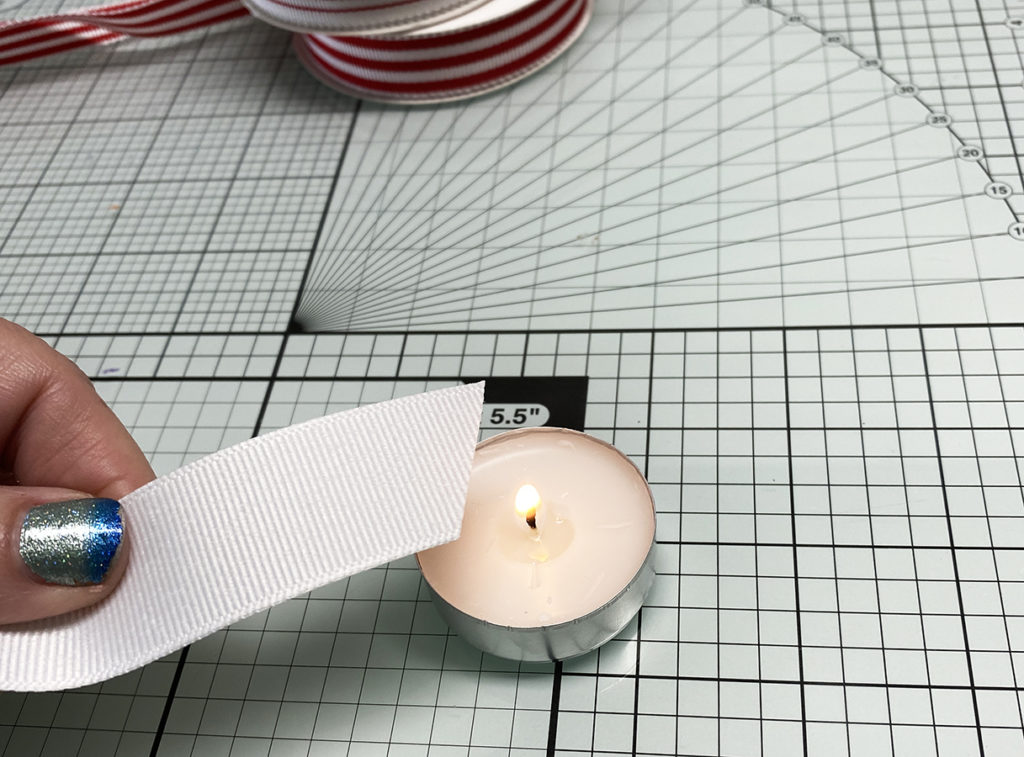
To prevent fraying of the ends, place near a flame to singe the ends. PLEASE NOTE: Do this only with adult supervision. Alternatively a bit of Fray Check or dab of glue on the ends will work also.
Repeat steps 3 – 5 for all ribbons.
Steps Seven, Eight, Nine:
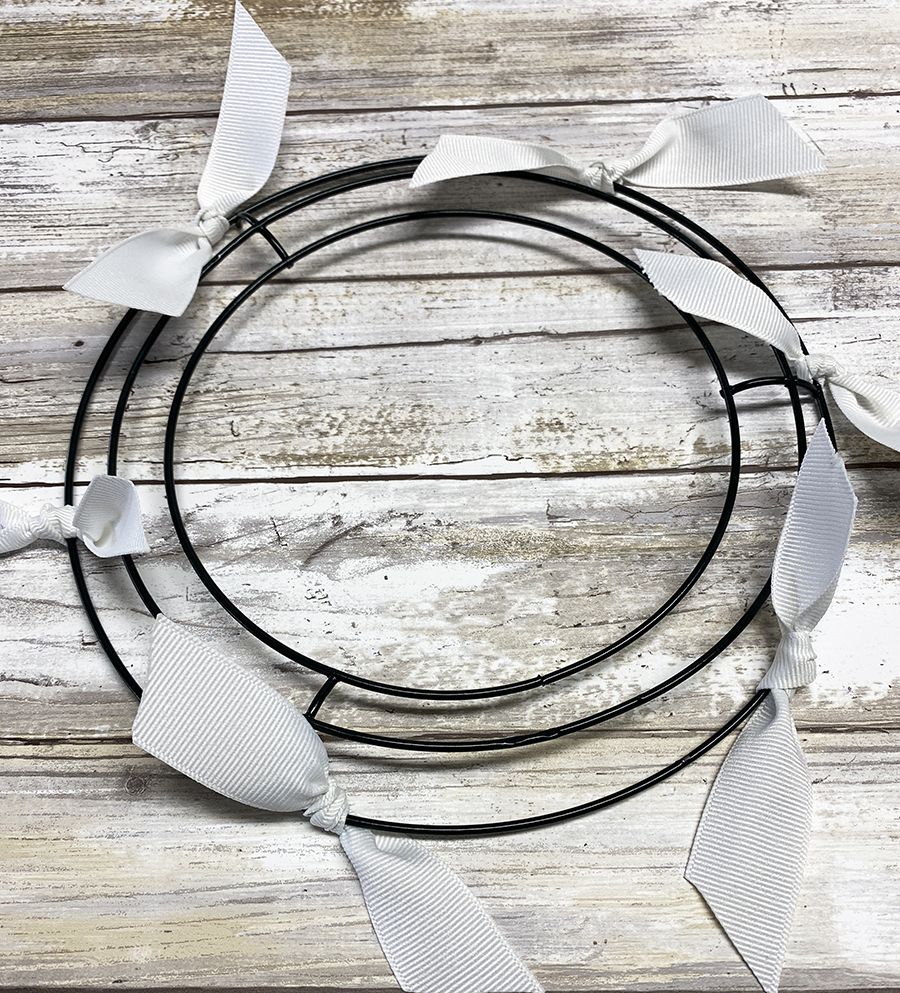


Begin by tying one white ribbon around the outer ring six times.
Tie a red ribbon inbetween the white ribbons.
Continue adding patterned ribbons around the outer edge until full. You can tell it is full when the ribbons do not have any place to move.
StepsTen, Eleven, Twelve:
Cotinue tying ribbons onto the inside ring, alternating the patterns and colors.
Be sure to fill the ring so that it is full.
Leave the middle ring blank as I did or for more fullness add ribbons, if desired.
Tjis Easy Ribbon Wreath is perfect for your home decor` or to give as a gift!

For another look simply add an embellishment to the center. This Wood Anchor is the perfect addition to this Easy Ribbon Wreath!
Easy Ribbon Wreath Supplies:
- Gwen Studios Grosgrain Ribbon, Red Striped, 3/8″ (2)
- Gwen Studios Grosgrain Ribbon, Small Red Striped, 3/8″ (2)
- Assortment of Gwen Studios Grosgrain Ribbons, 7/8″. 1/2″ from Michael’s
- Metal Wreath Base
- Scissors
- Ruler
- Candle, with adult supervision
- Matches, with adult supervision
- Anchor, optional
Another great project for my to-do list!