
I created this Blended Clay Technique to make Postcards nearly 15 years ago for a trade show workshop using Makin’s Clay®, a No Bake Polymer Clay! I love these Blended Clay Postcards just as much today as when I came up with the technique.
Please note: This post contains affiliate links. If you use these links and make a purchase, we earn a commission at no extra cost to you…
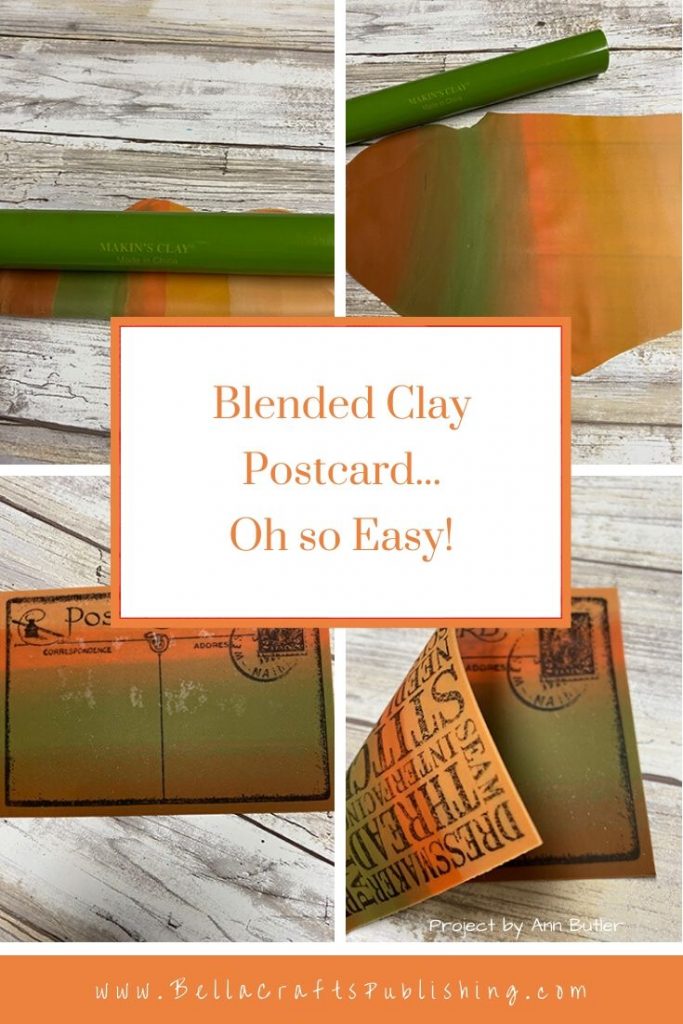
The Blended Clay Technique is so easy to do, the hardest part is waiting for the clay to dry to finish your project…So gather all of your supplies and follow along.
Step One:
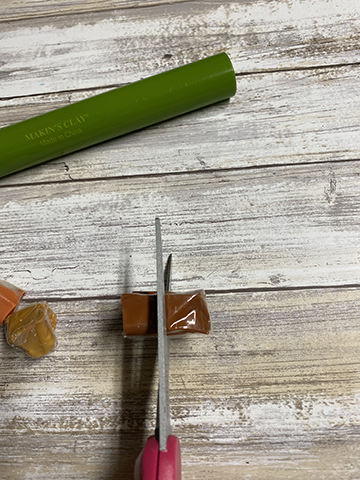
Makin’s Clay® comes double packaged to keep it from drying out. Open the factory sealed outer package to get at the smaller individually packed colors. With the wrapping on the clay, cut about 1/4 to 1/3 from the clay in the colors of your choice. I prefer to use between 3 – 5 colors, for a nice blended effect. Place remaining clay into a Ziploc plastic bag with a baby wipe to prevent it from drying out.
Step Two:
Unwrap the clay and arrange it in the order of your choice. Press the clay together into a log shape.

Step Three:
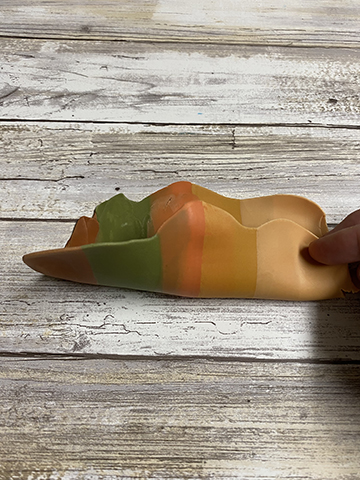
Using the clay roller begin to roll out the clay. Fold the rolled out clay in half. Optional: This can be done with a clay machine, if you have one.

Step Four:
Continue rolling out the clay and folding it in half to blend it together, pushing the clay in and over as needed.
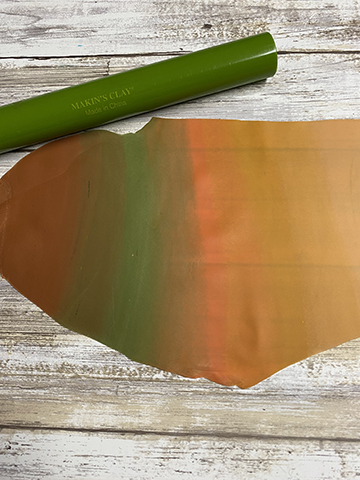
Step Five:
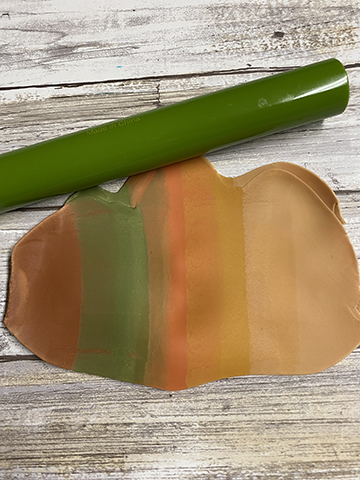
Then, continue rolling and folding until the clay is about the thickness of a playing card and blended nicely.

Step Six:
Let the clay dry 8 – 12 hours, the length of time will depend upon where you live and the humidity, turning over every few hours as needed. If for some reason the clay begins to curl, place a book on top of it to help flatten it out, this will not hurt the clay. There is some shrinkage that occurs during the drying of the clay which is why it is best to cut it after it is completely dried if a specific size is needed.
Once the clay is completely dried it is time to make a Blended Clay Postcard.
Step Seven:
Stamp onto the blended clay with the postcard stamp. Then, trim around the stamp to create your postcard. You can either cut close to the edge of the design or add about 1/4″ all the way around.
Step Eight:
On the front of the blended clay postcard stamp the Word Stamp, or stamps of your choice. Address your postcard, place a stamp on it and mail it to someone special!
Check out the post on Ann Butler’s Blog (here) to see photos of how flexible this clay is…
Supplies for the Blended Clay Postcard
- Makin’s Clay®, Earth Tones
- Makin’s Clay® Roller
- Makin’s Clay® Machine, optional
- Darkroom Door Frame Stamp, Postcard
- Darkroom Door Word Block Stamp
- GinaK Almalgam Ink, Obisdian
- Westcott Scissors
- Paper Trimmer, optional
- Nonstick Craft Sheet

Trackbacks/Pingbacks