Have some fun creating this shabby chic beach sign with a Gel Press~
Please note: This post contains affiliate links. If you use these links and make a purchase, we earn a commission at no extra cost to you…
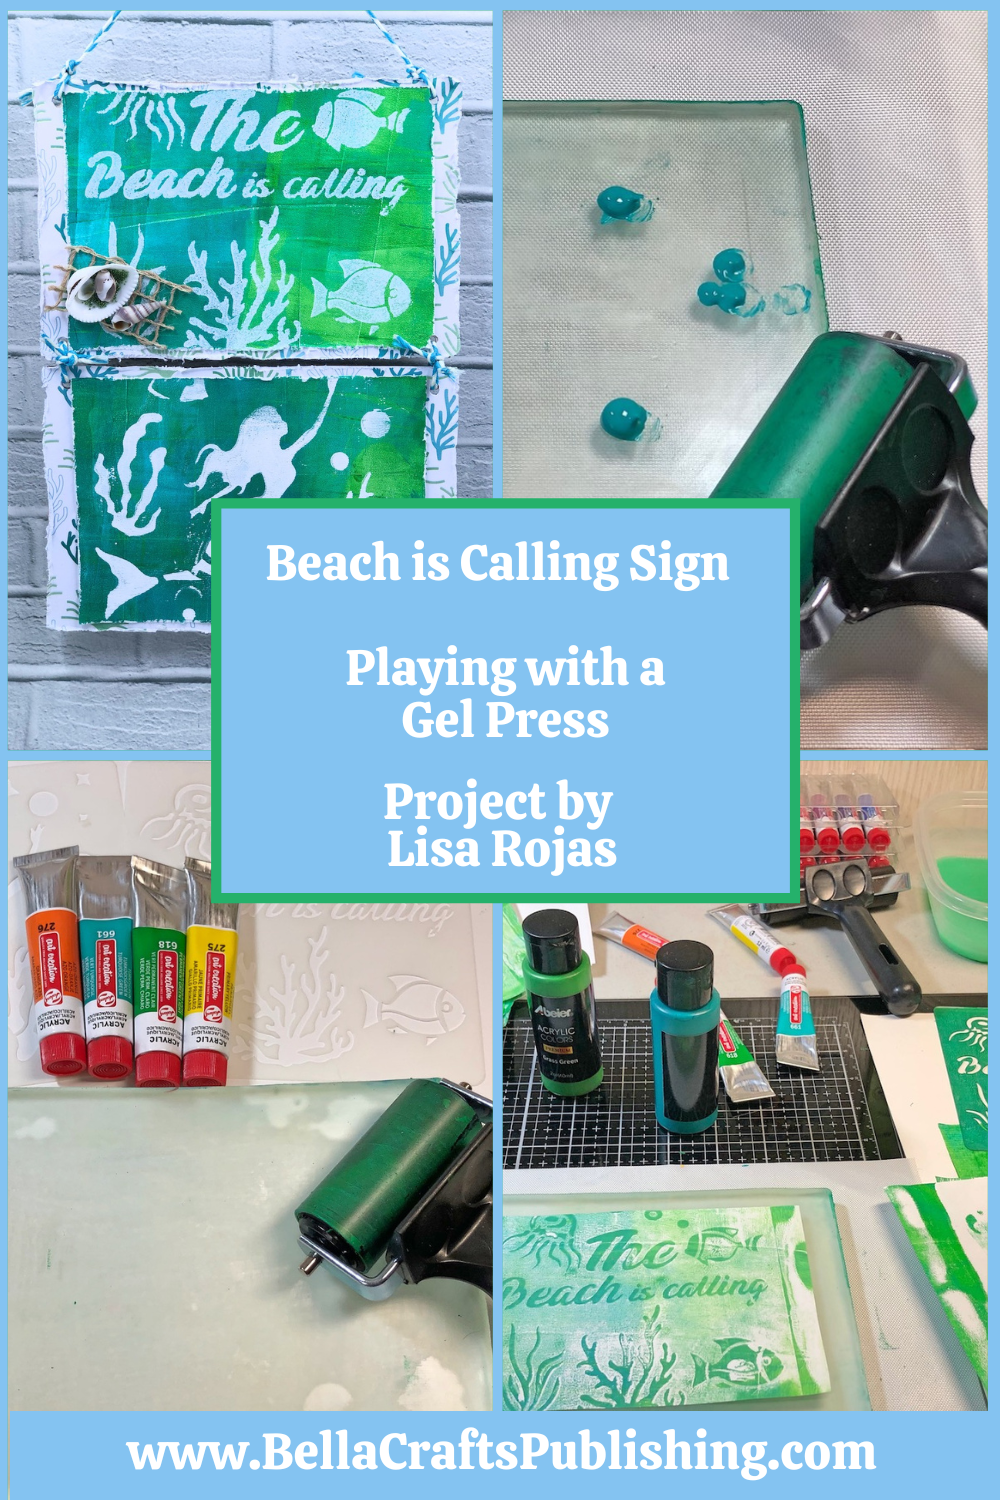
Anytime I get the chance to create a project with a beach theme, I’m in heaven. This project was no different, with one exception…I’ve never used a Gel Press! I have to say I was a little intimidated at first but the more I played with it, the more fun I had! It really is a very cool product. Since I am a newbie I’m going to share some tips that I learned with this project.
You can create so many backgrounds for your cards and other projects and you’ll never get the same results twice. If you don’t have one you will definitely want to get one! Warning: It’s addicting!!! Have fun! Lisa~
Supplies for The Beach Is Calling Sign
Check out the full list of supplies at the end of this post.
Step One:
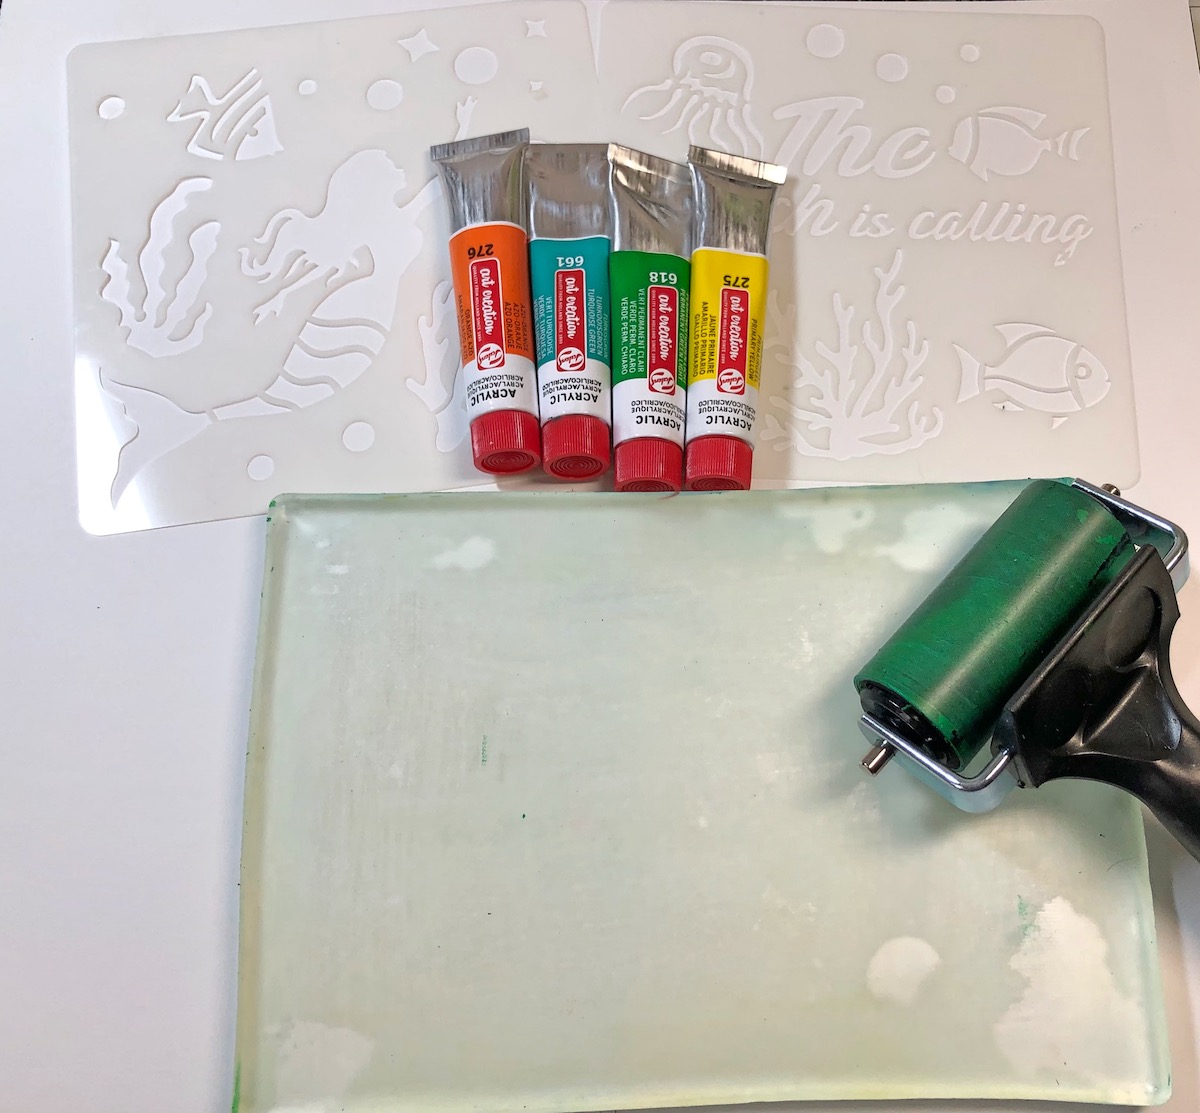
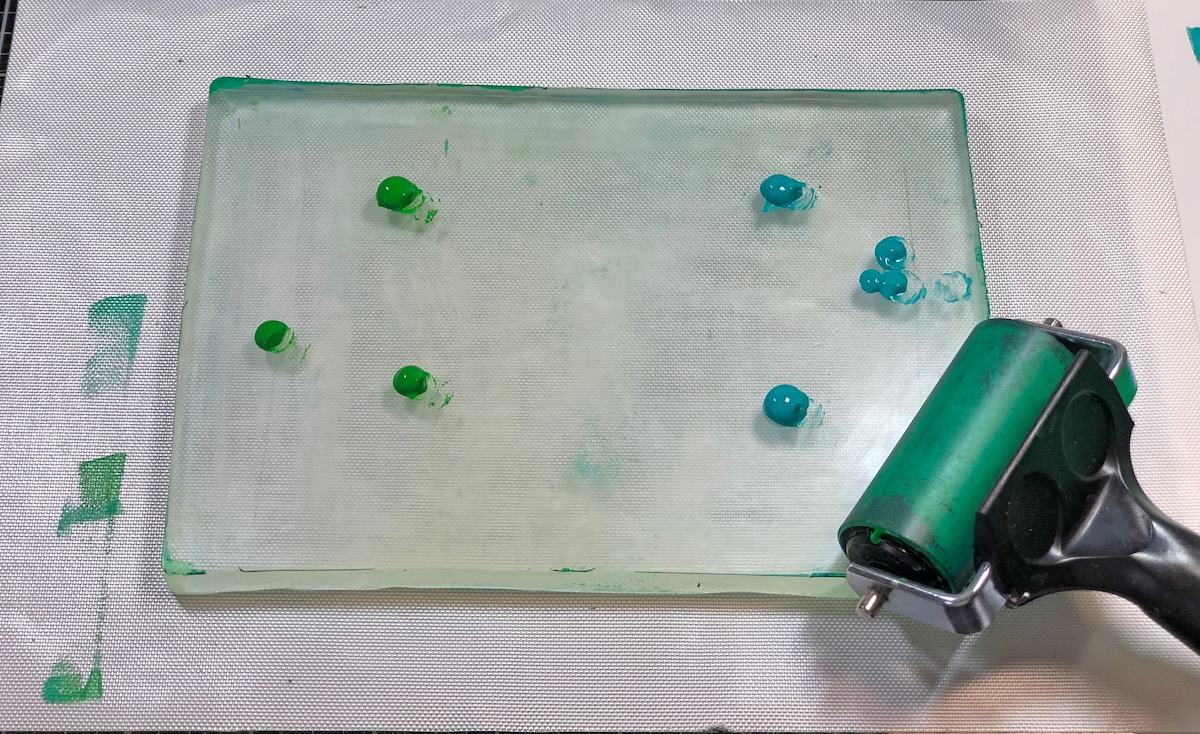
Apply some acrylic paint to the Gel Press. Begin moving the paint around with a brayer. The more you play with one the more you’ll be comfortable with how much paint to add. TIP: If you add too much, roll the excess off on some scrap paper.
Step Two:
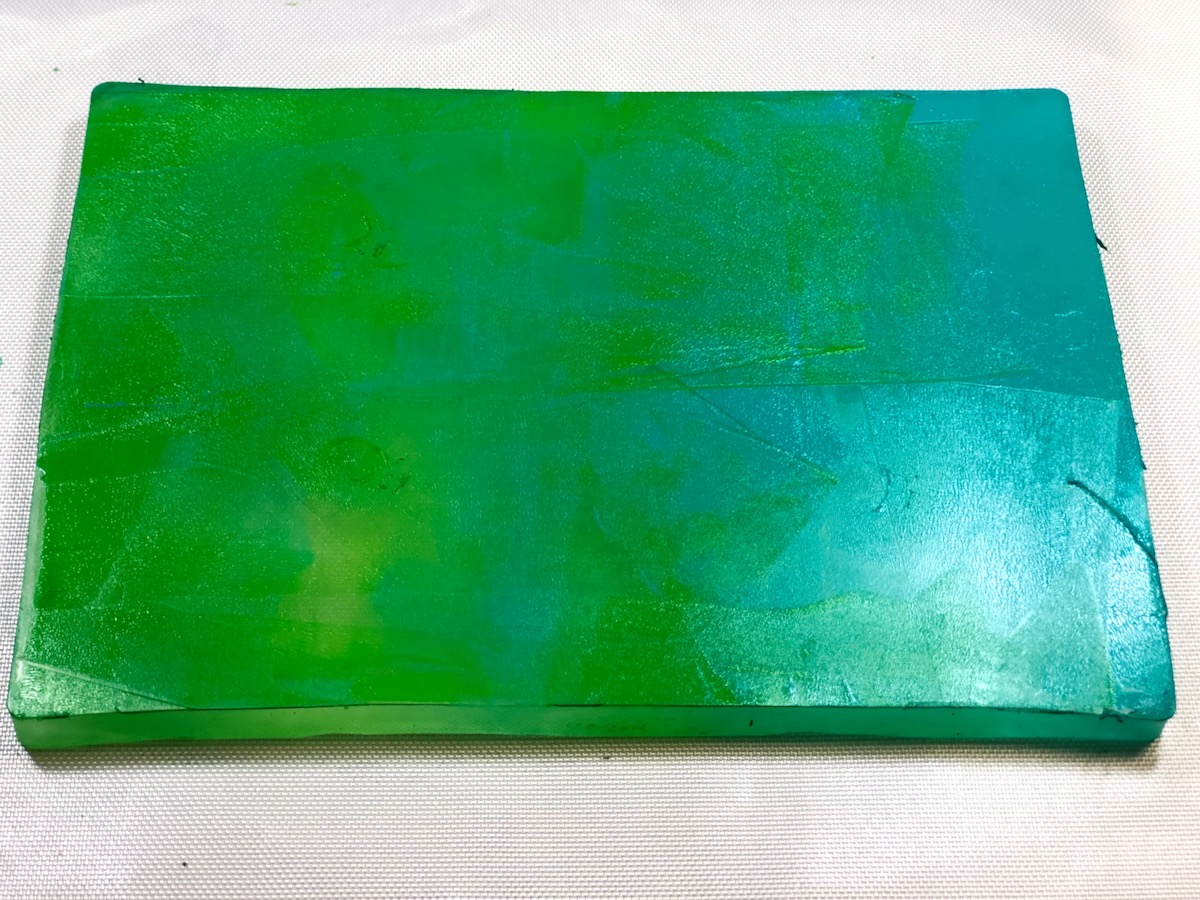
Continue spreading and blending the paint around with a brayer until you like the results. TIP: Start with two colors first. If you start with three colors you might have a harder time blending them and they might get muddy.
Step Three:
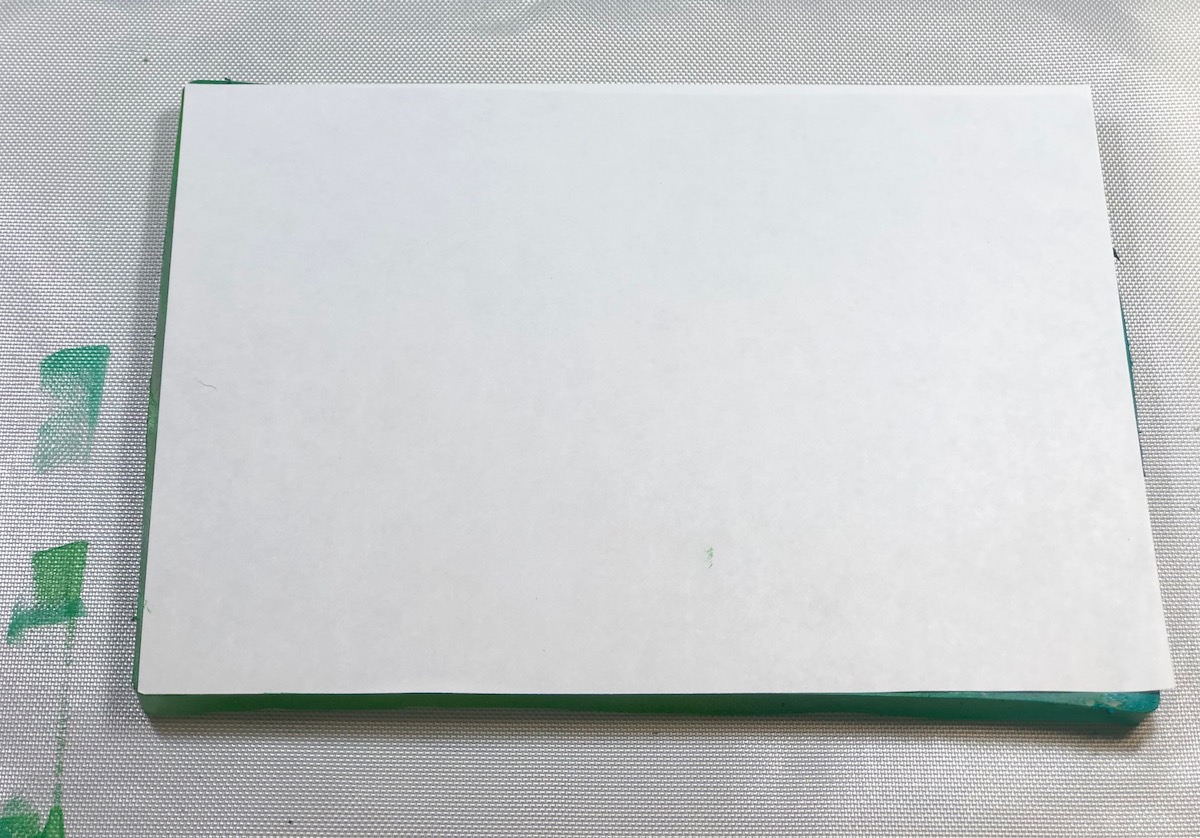
Cut a piece of copy/printer paper 5″ x 7″ and lay it on top of the Gel Press. Rub the paper with your hand. This will transfer the paint onto the paper. TIP: If you don’t get a good print, add more paint to the Gel Press, lay paper down again and rub. Don’t throw the paper away. You can always redo it.
Step Four:
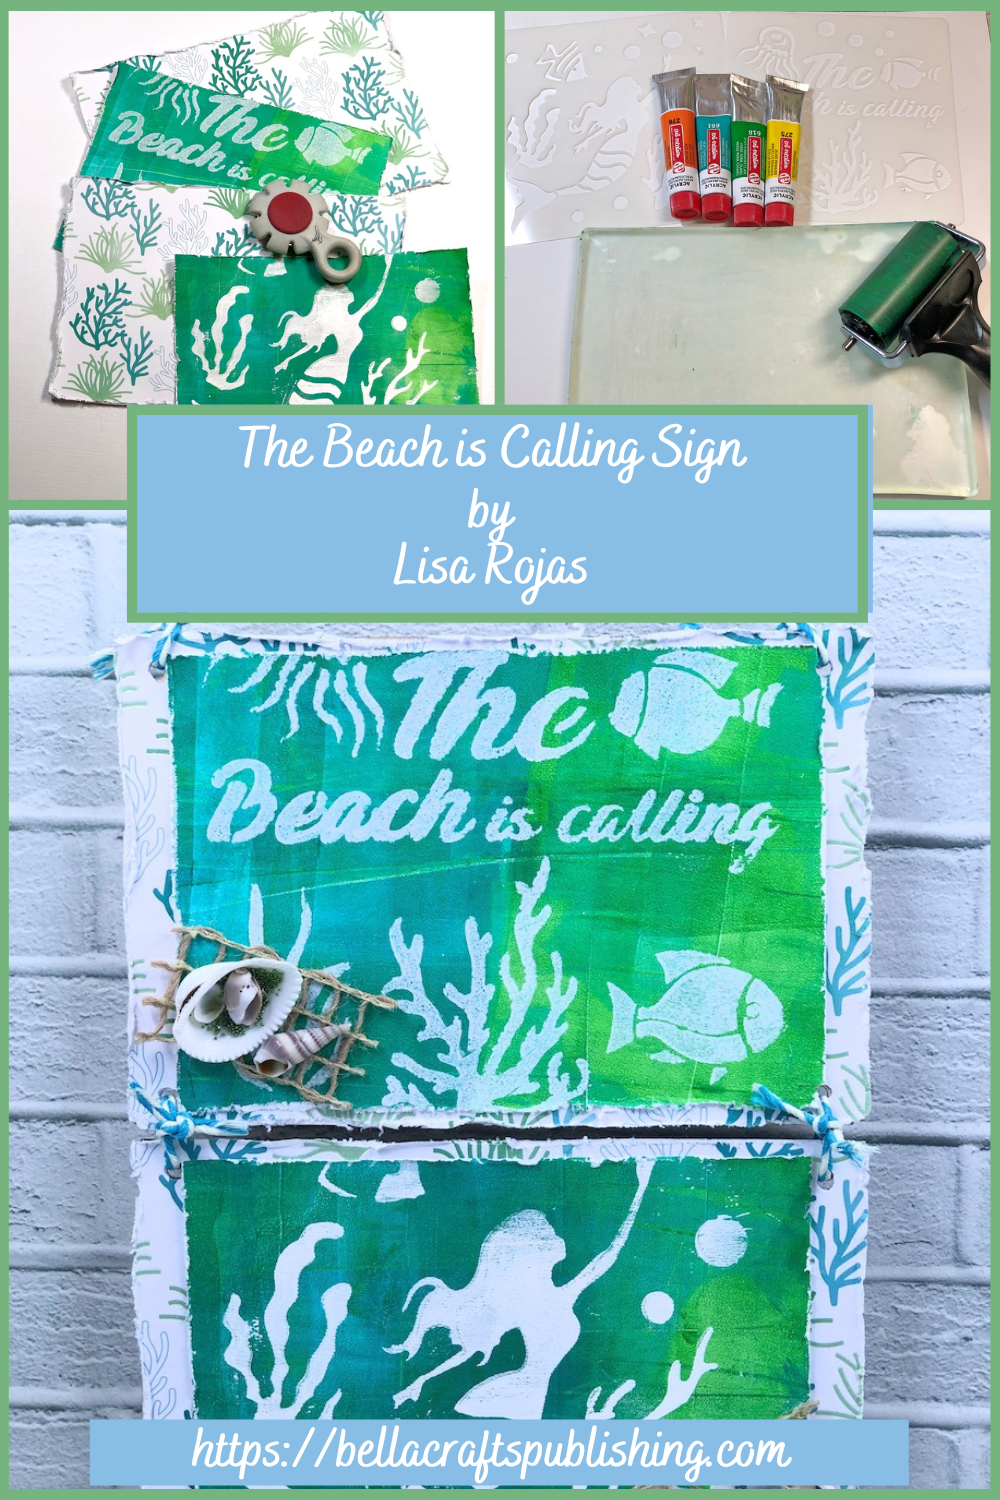
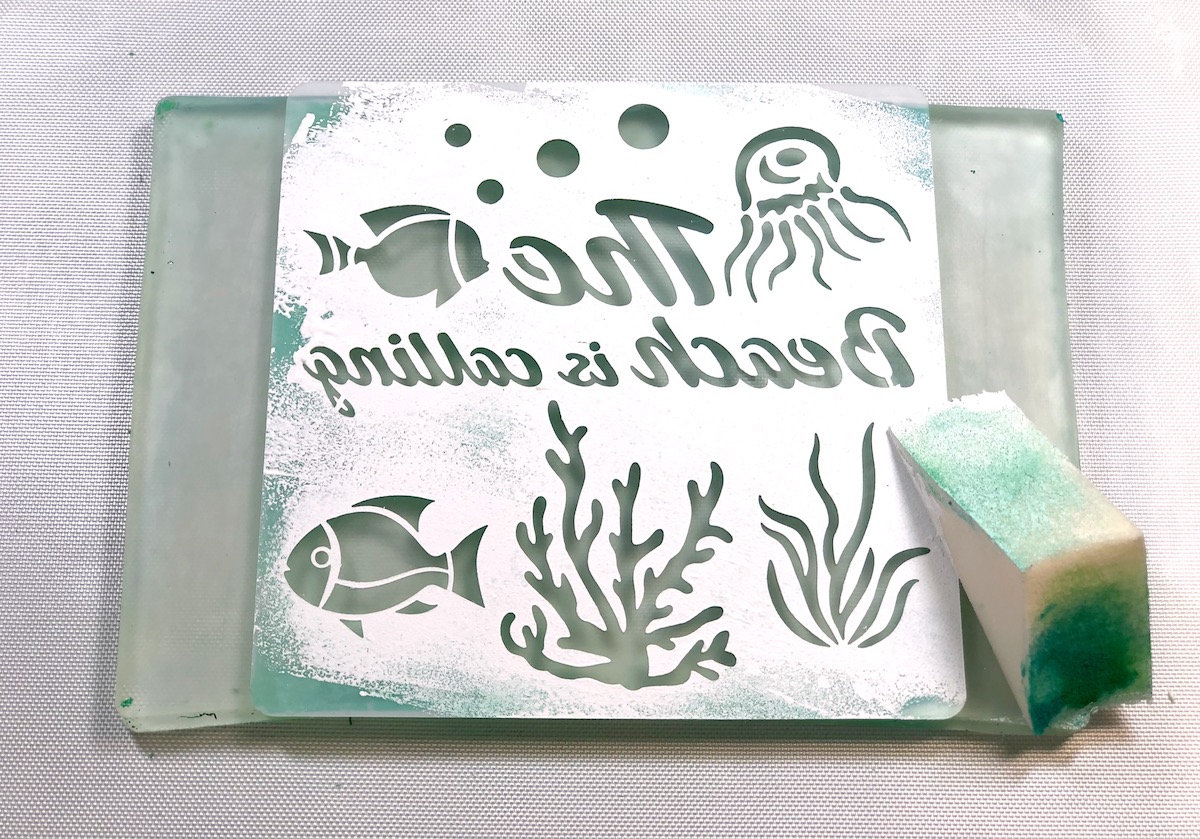
Clean the Gel Press with a baby wipe or water and a paper towel. Lay the stencil down. Use a make-up sponge to dab white paint on the stencil. Lift the stencil and lay the paper (created in step 3) on top of the Gel Press with the color side facing down. Rub the paper with your hand and lift it off. Repeat steps 1-4 with another stencil. TIP: If your stencil has wording make sure you lay it on the Gel Press backwards.
Step Five:
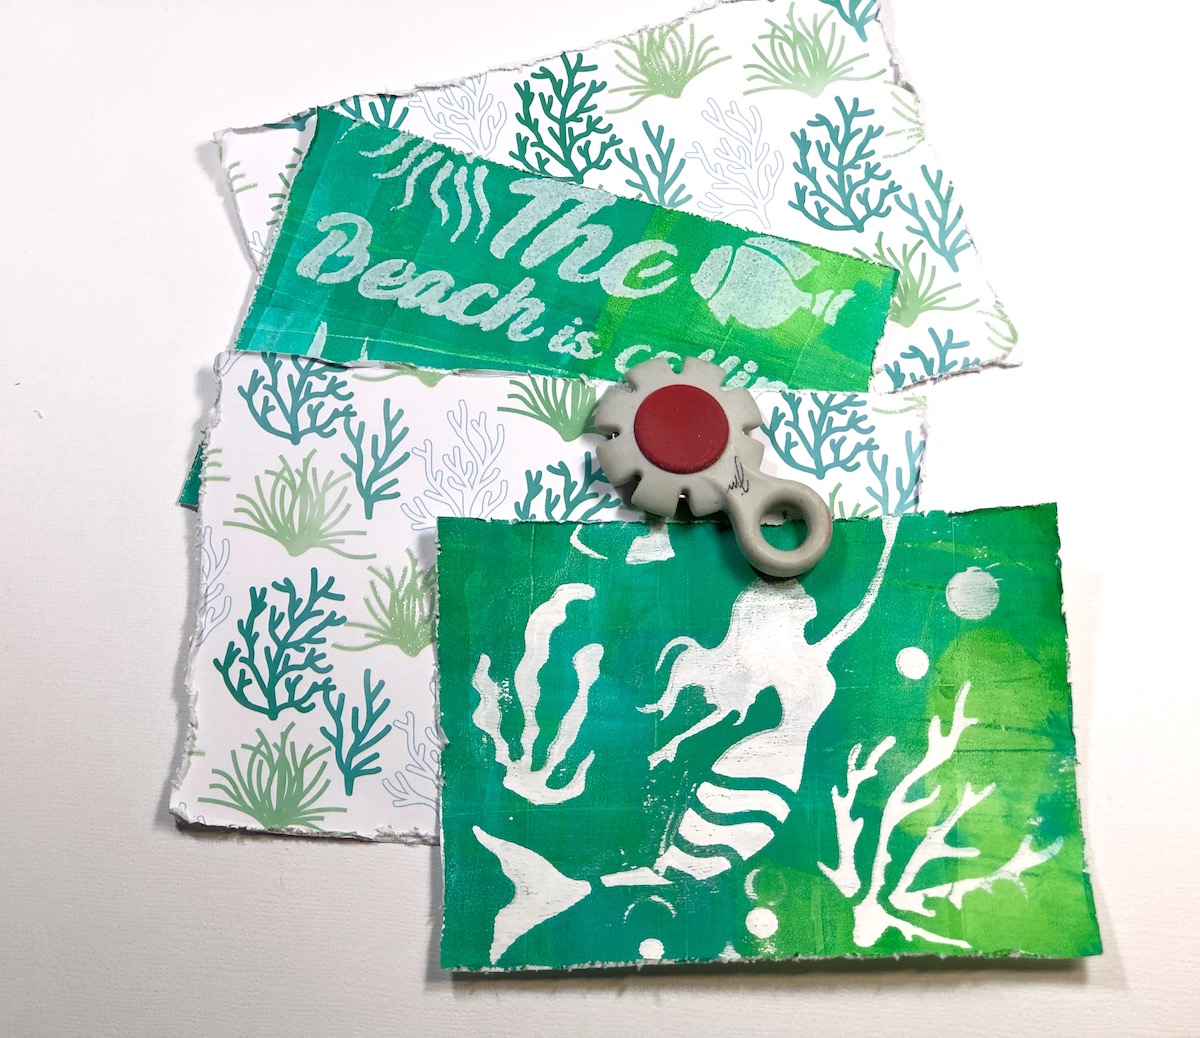
I used a pre-made wood sign (with holes) as my base. You can use two pieces of wood 4″H x 6″W and make the holes for hanging. Cut two pieces of patterned paper 4″H x 6″W. Next, cut the stenciled papers 3 3/4″H x 5″W. Distress the edges of the papers and adhere them together. To finish, adhere the papers to the wood and punch the holes. Attach the two pieces together with colored twine and cut another piece 12″ long for the hanger. Adhere shells, micro beads and raffia trim with a glue gun. TIP: For more inspiration and products check out~ https://gelpress.com/ and video tutorials~ https://www.youtube.com/c/GelPress
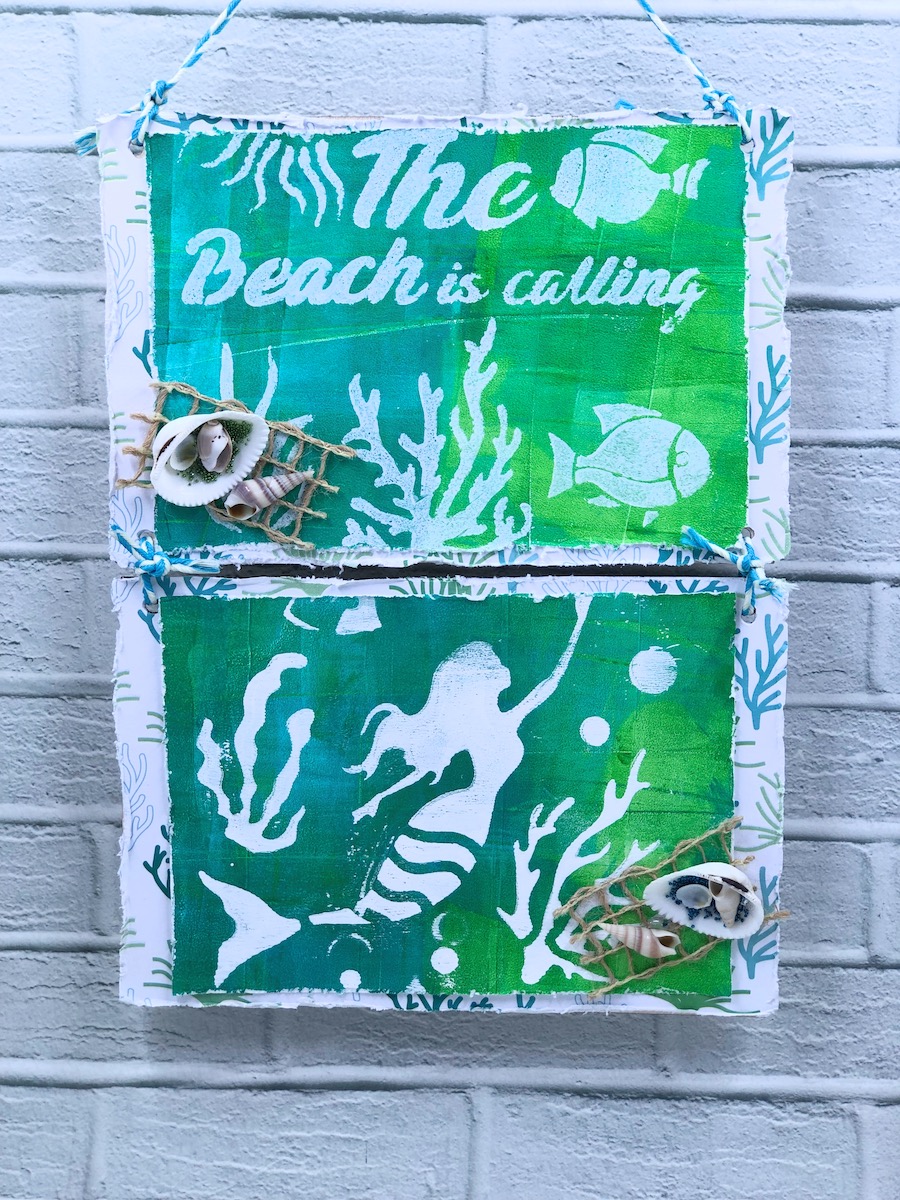
The Beach Is Calling Sign
Here’s Another PIN For You To Share
Supplies for The Beach Is Calling Sign
- Gel Press
- Copy/Printer Paper
- Patterned Paper
- Wood Plaques, 4″H x 6″W
- Acrylic Paints: Blue, Green, White
- Baker’s Twine, Blue & White
- Raffia Trim
- Small Seashells
- Micro Beads: Blue, Green
- Zip Dry Paper Glue
- Brayer
- Stencils
- Paper Distress Tool
- Glue Gun
Trackbacks/Pingbacks