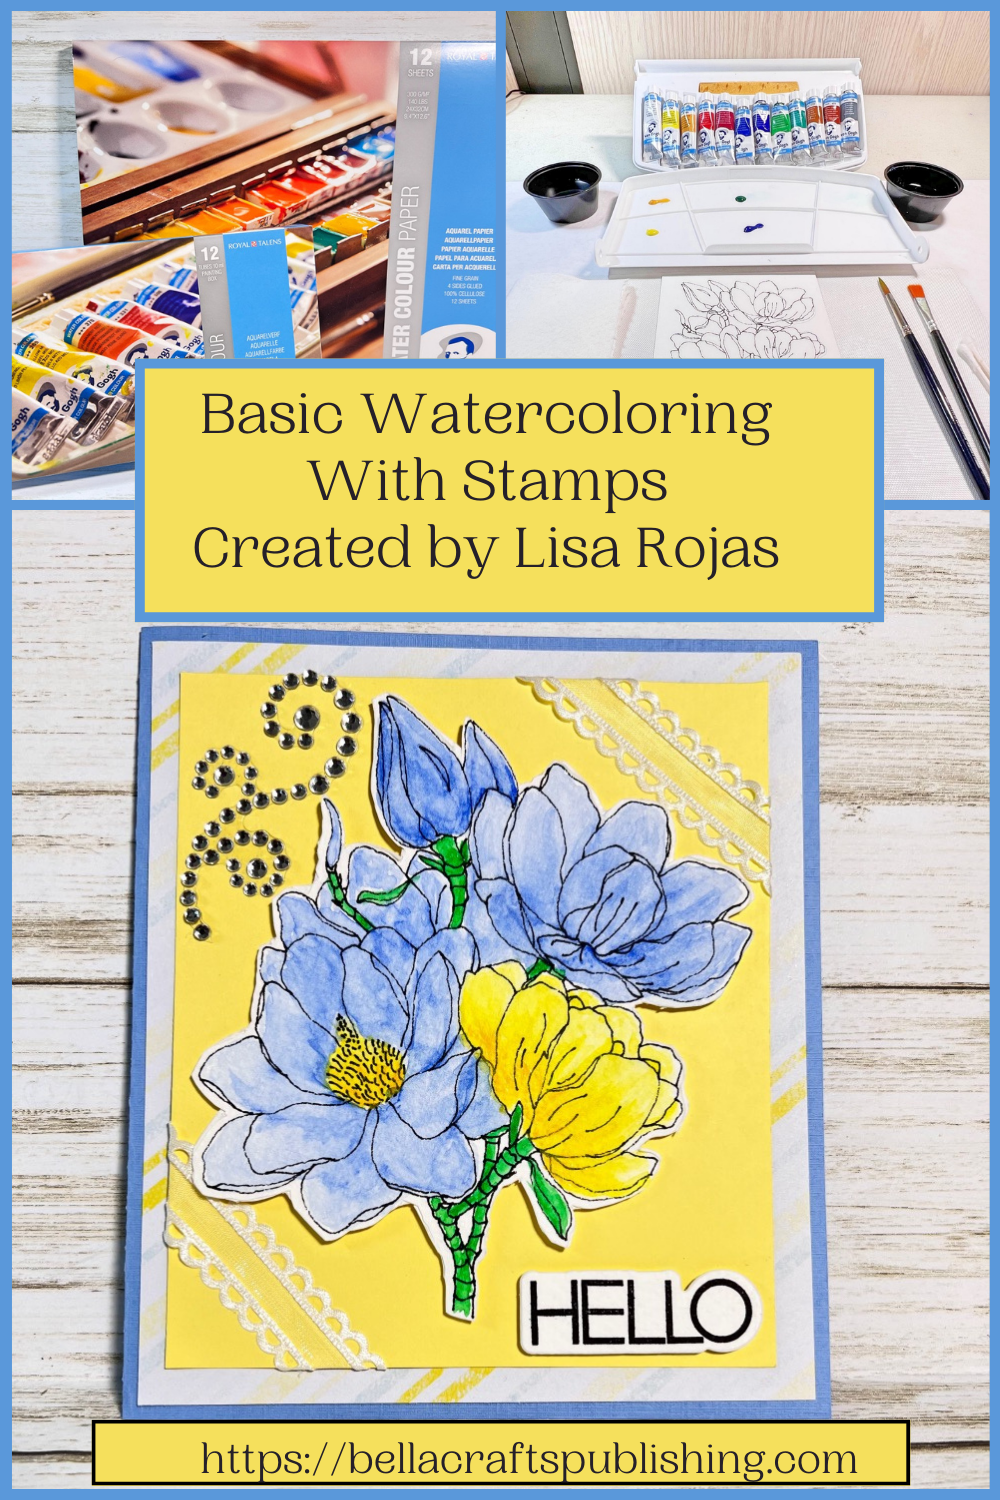
Unlock your inner artist and learn basic watercoloring techniques to use with your stamps!
Please note: This post contains affiliate links. If you use these links and make a purchase, we earn a commission at no extra cost to you…
There are a number of ways to add color to your stamped images. Using watercolors paints or pencils has always been a favorite for me. Through the years I have found that you don’t have to be a professional artist to get beautiful results. That’s why I decided to write this blog post on basic watercoloring. You’ll see how simple it can be and I know you’ll want to try it out for yourself. Have fun! Lisa~

Supplies for Basic Watercoloring with Stamps
Check out the full list of supplies at the end of this post.
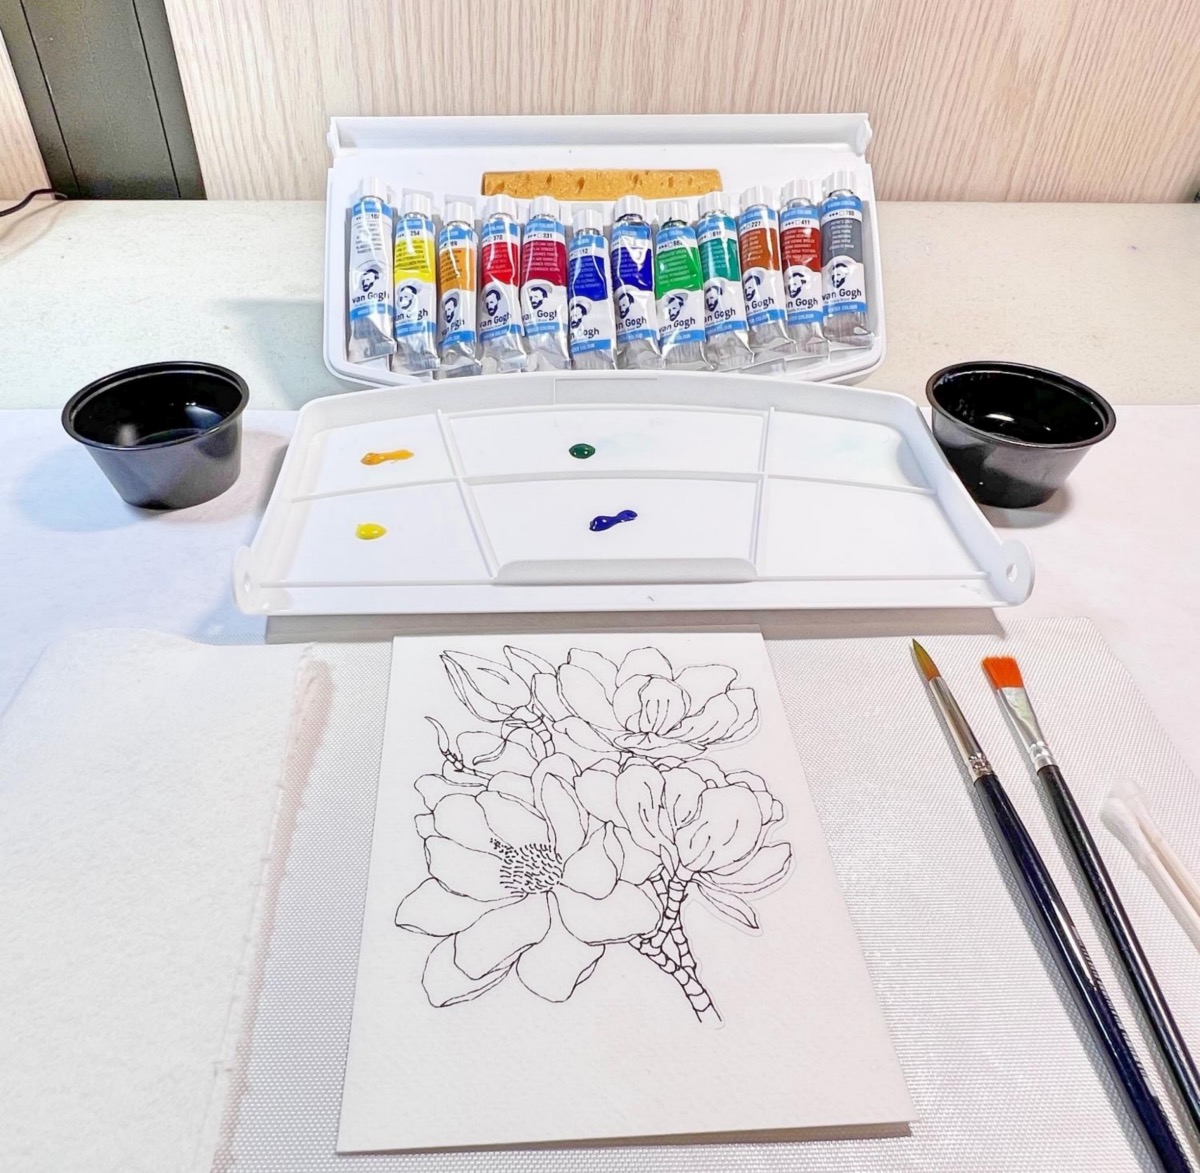
Step One:
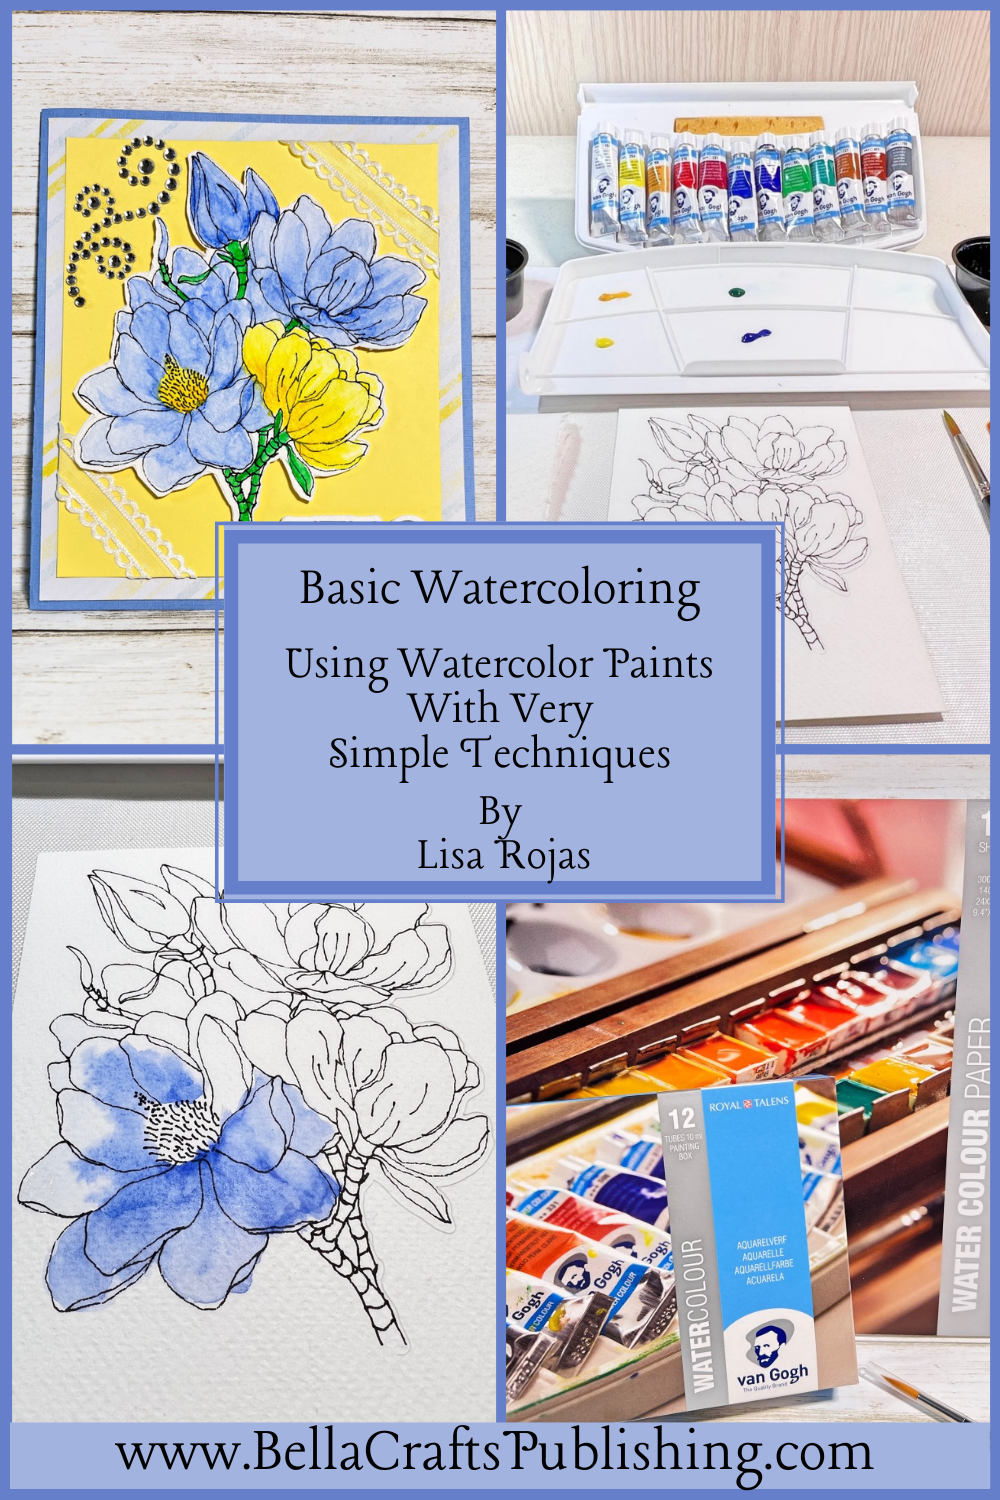
In this post I’ll show you how to use watercolor paints. To begin gather your supplies- watercolor paints, two containers for water, paintbrushes, cotton swabs, and paper towels. Cut a piece of watercolor paper 4 1/4″ x 5″. I printed this image out with my Cricut. You can also stamp a floral image with a permanent black inkpad. Add a small amount of paints on the pallet.
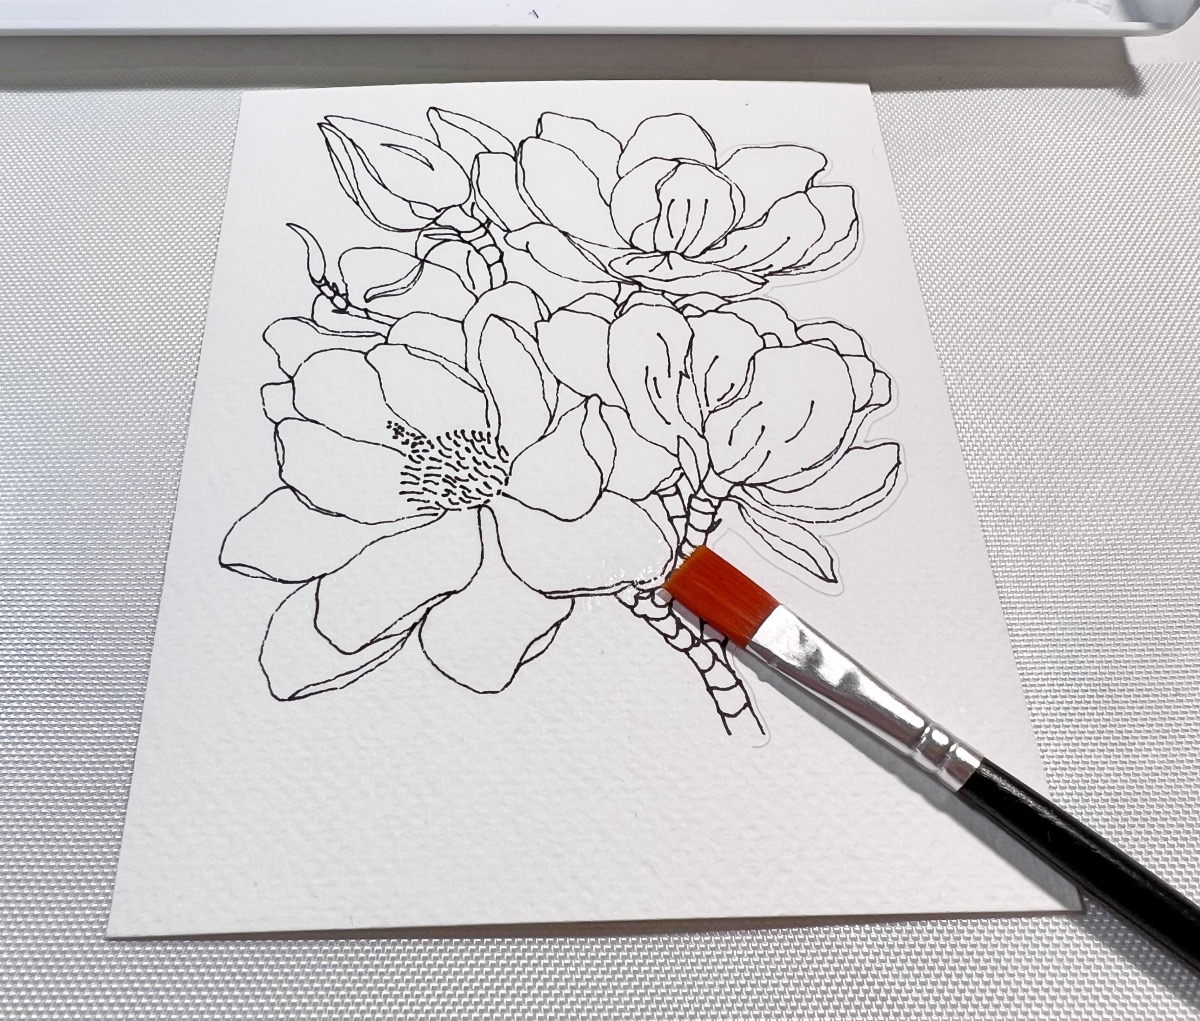
Step Two:
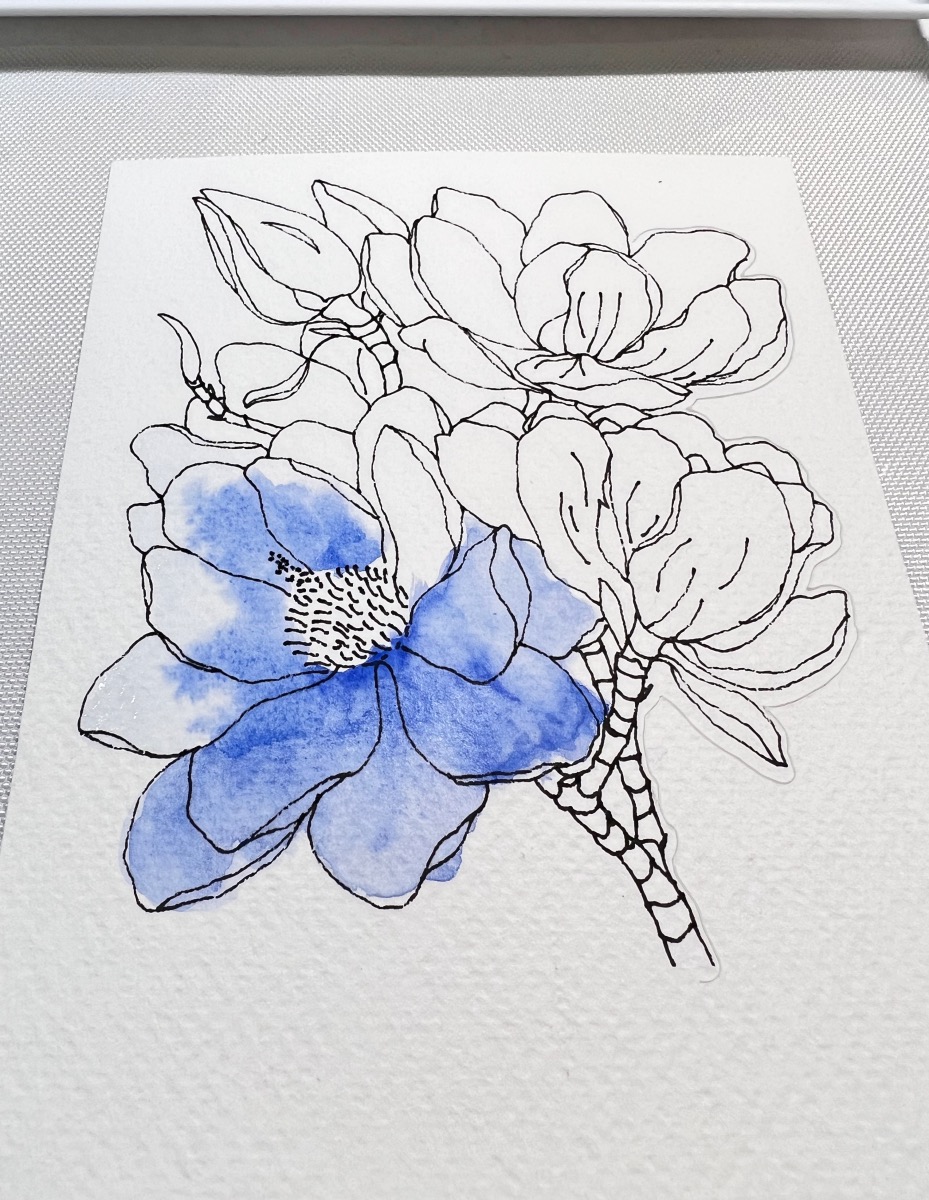
When you start adding color, keep one paintbrush and one water container for clear water only. Working in small sections of the image, add some water with a paintbrush.
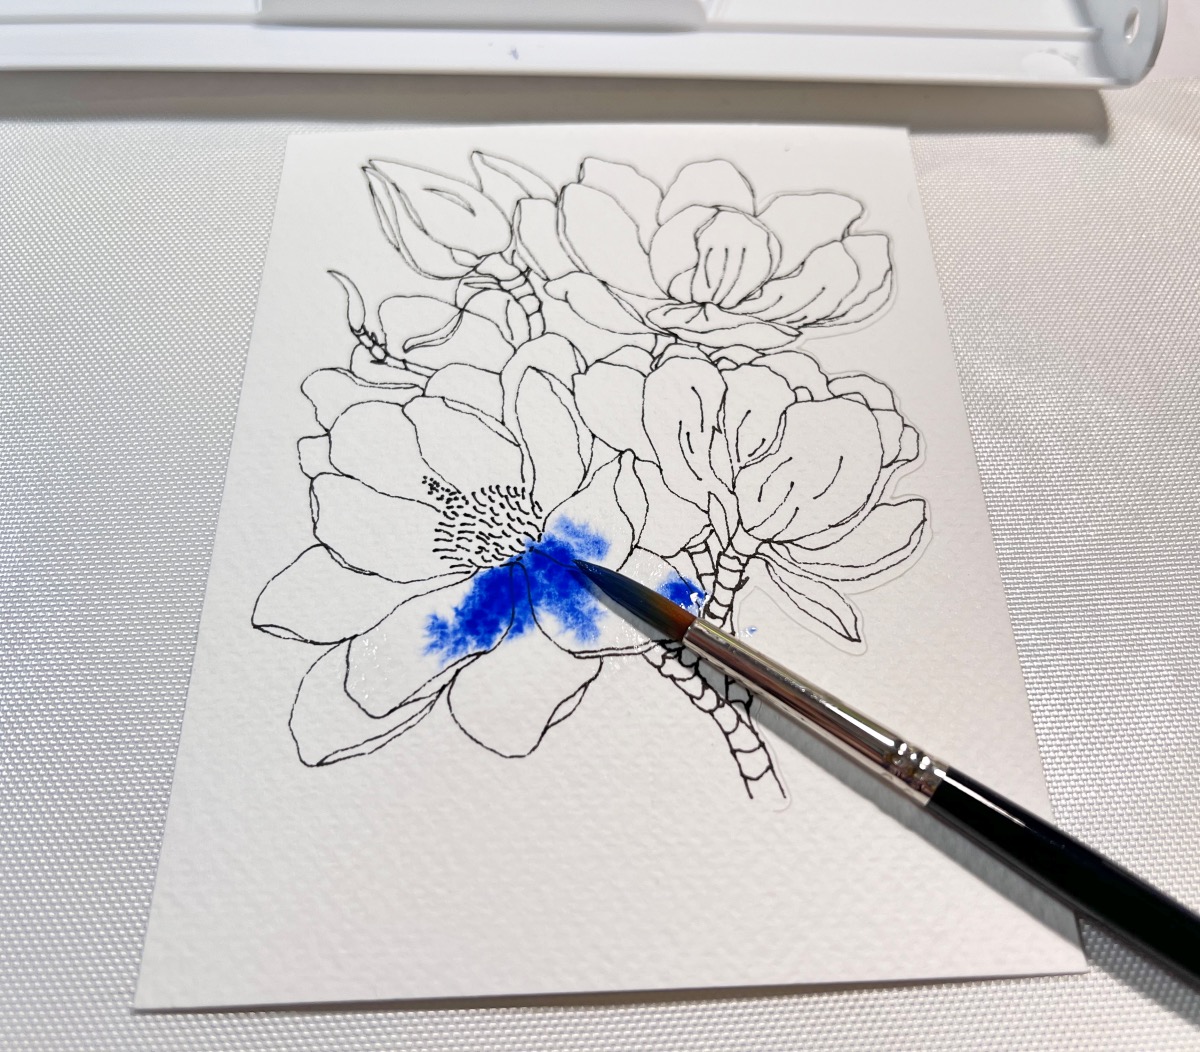
Step Three:
Use the second paintbrush to add color. Start in the middle of the flower to add the blue paint. Once the color is on the image begin pulling the paint to the edge of the flower by adding more water to the paintbrush.
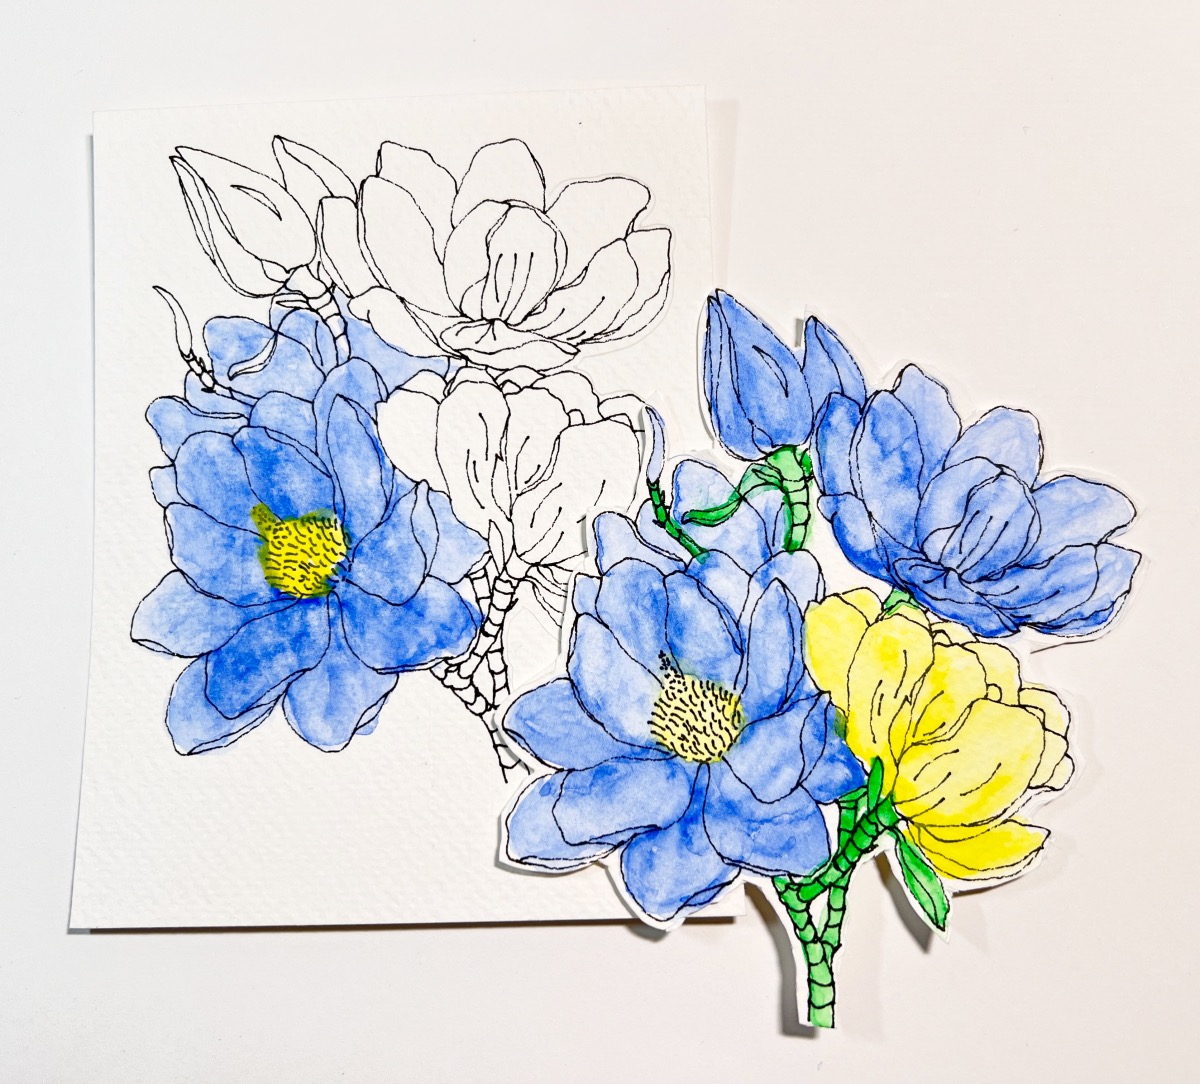
Step Four:
Repeat steps two and three to continue adding color to the image until it is done. Keep in mind that it is easier to add more color to the image than removing it. Also, if you have too much water on your paper, use paper towels or cotton swabs to remove it.
Step Five:
When the coloring is complete add a light coat of spray sealer and then cut the image out.
Step Six:
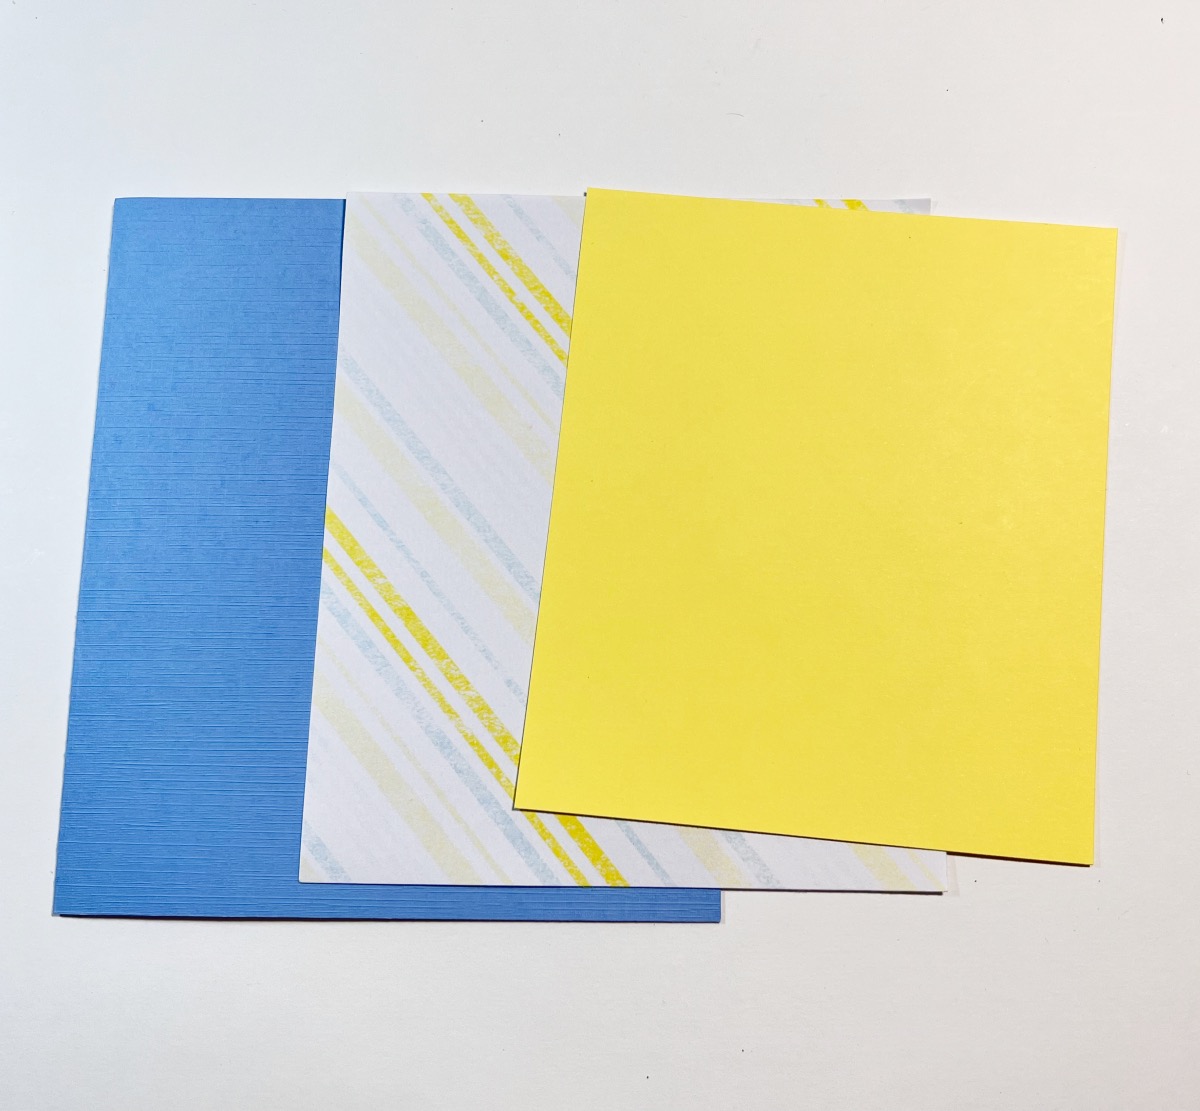
Cut the papers as follows- Blue cardstock 5 1/4″ x 6″, Patterned paper 5″ x 5 3/4″, and Yellow cardstock 4 1/2″ x 5 1/4″. Adhere the patterned paper to the blue cardstock. Cut two pieces of white ribbon 3 1/2″ long. Adhere them to the corners of the yellow cardstock and attach the yellow cardstock to the card. Next, attach the rhinestone sticker. Apply foam tape to the image and adhere it to the card.
Step Seven:
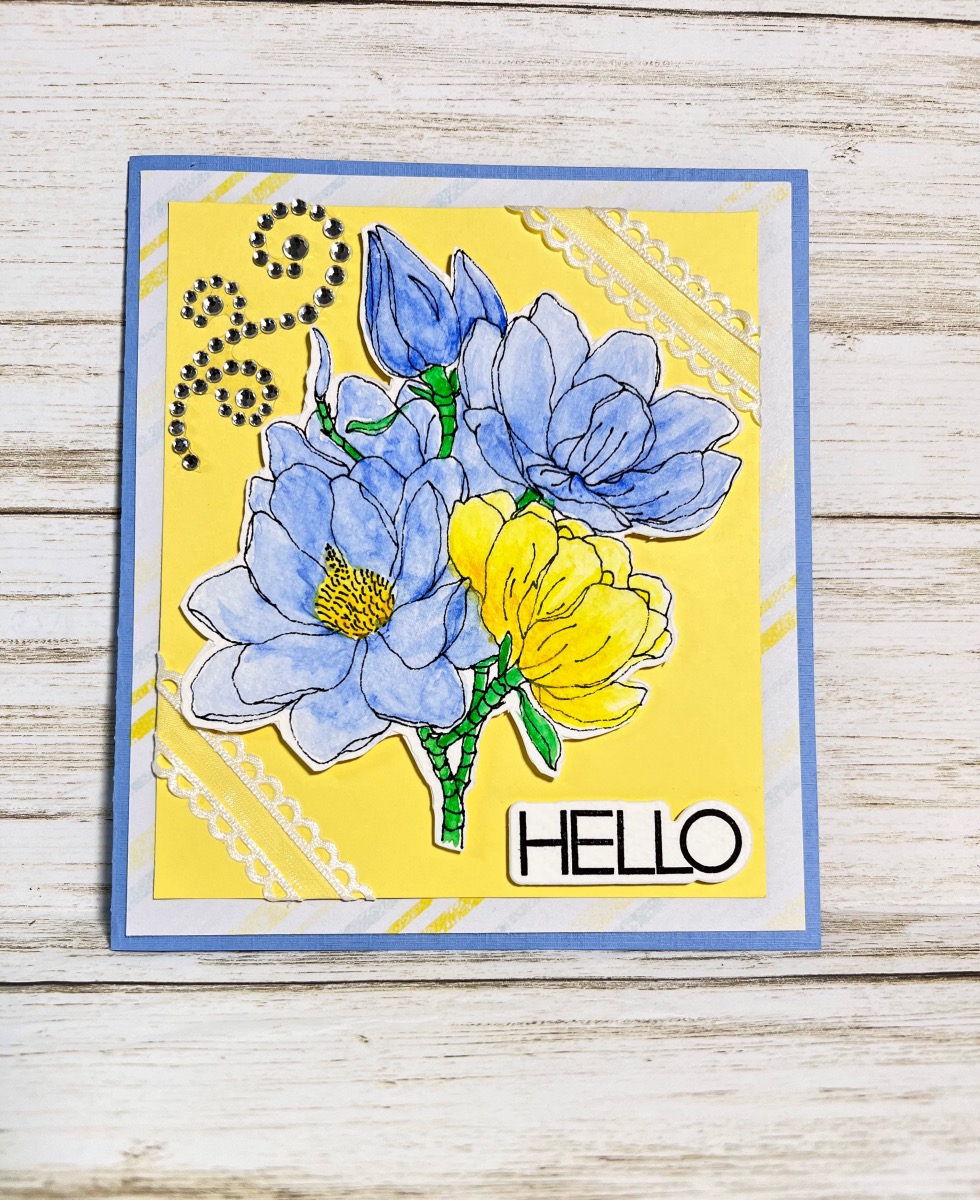
To finish, stamp the small “hello” image with the black inkpad and die cut it out. Apply a piece of foam tape and add it to the card.

Basic Watercoloring Floral Card
Here’s Another PIN For You To Share!
- Cardstock: Blue, Yellow
- Patterned Paper
- Water Colour Paper, 140 lbs by Royal Talens
- van Gogh Watercolour Paints by Royal Talens
- Deco Foil Stamp & Die Set, Oh Hello by Thermoweb
- Amalgam Inkpad, Obsidian by Gina K. Designs
- Floral Image by Cricut Maker
- Rhinestone Sticker
- Ribbon, White
- Zip Dry Paper Glue by Beacon Adhesives
- Foam Tape
- Paintbrushes
- Water Containers
- Paper Towels, Cotton Swabs
- Spray Sealer, Clear
- Big Shot Die Cutting Machine by Sizzix
- Paper Trimmer
- Scissors
#Bellacrafts I like the way you colored this. The blue flowers are beautiful! That’s my favorite color for flowers.