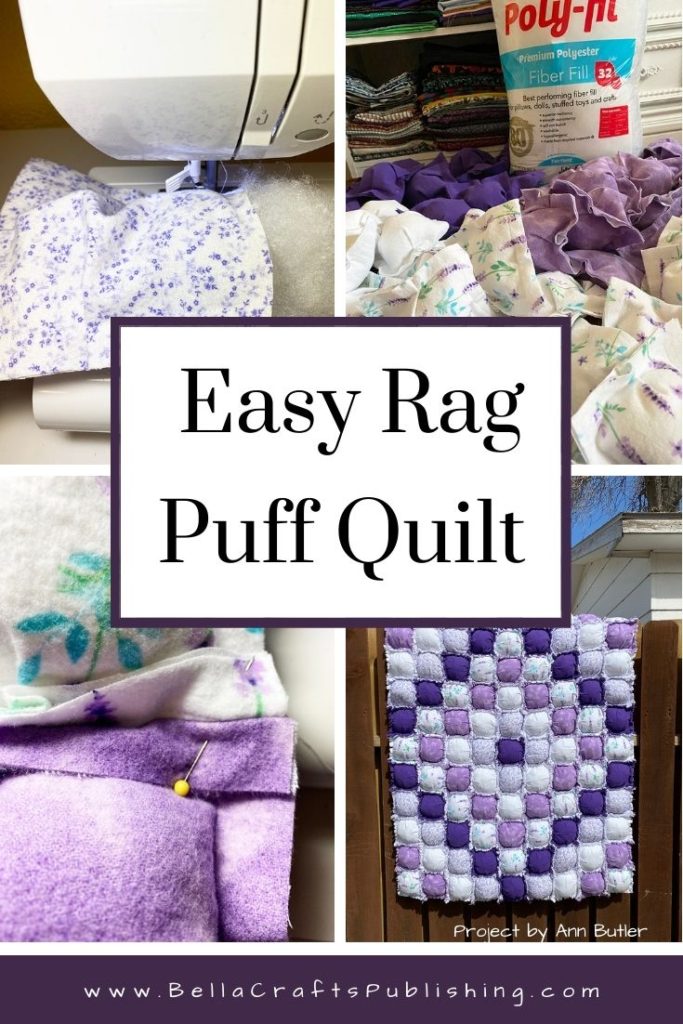
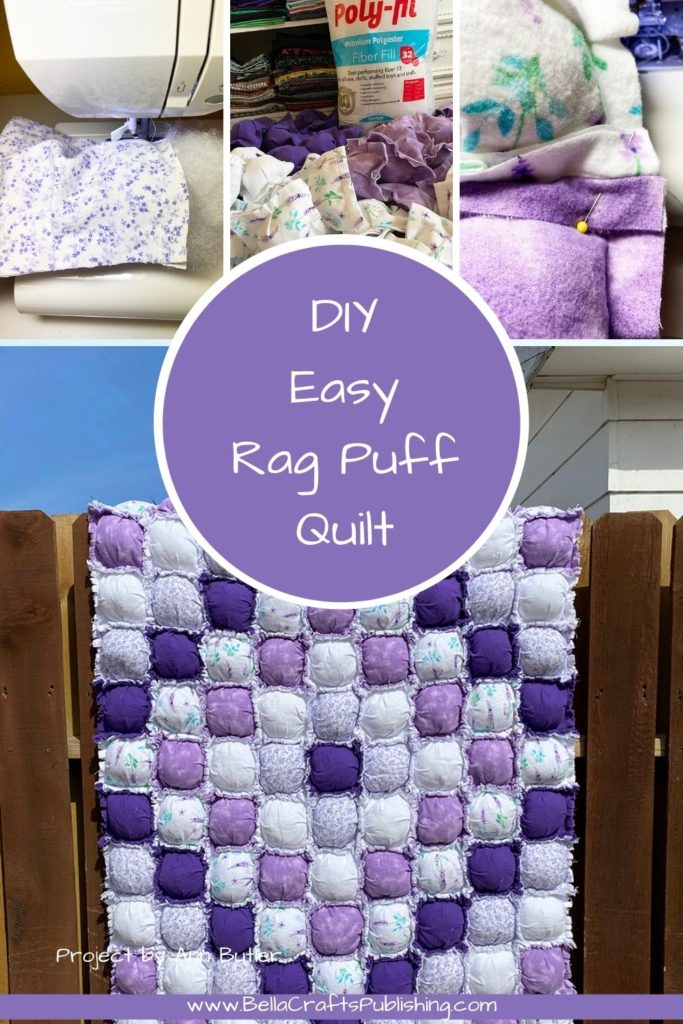
Make this Easy Rag Puff Quilt in a weekend! You create the puffs as you sew making it oh so easy!
Please note: This post contains affiliate links. If you use these links and make a purchase, we earn a commission at no extra cost to you…
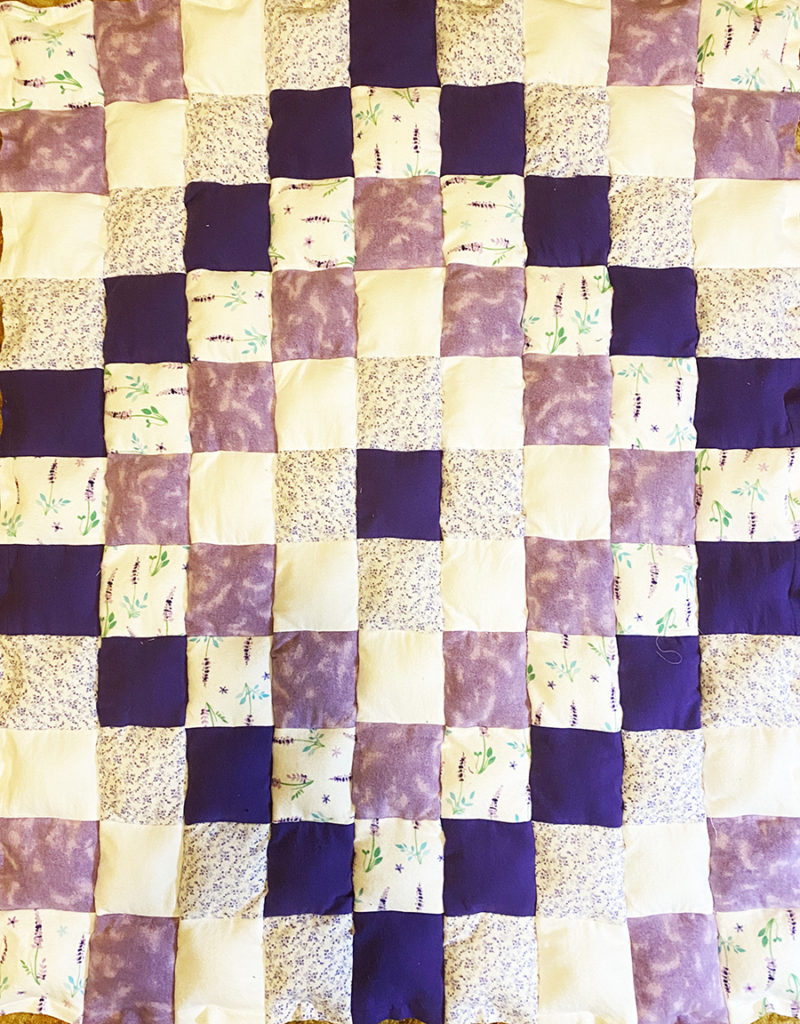
I made a Puff Quilt for my oldest daughter over 30 years ago and loved how it turned out. She still has it and used it for both of her daughters!
I thought it was time to make another one and update it a bit…so, I came up with this Easy Rag Puff Quilt version!

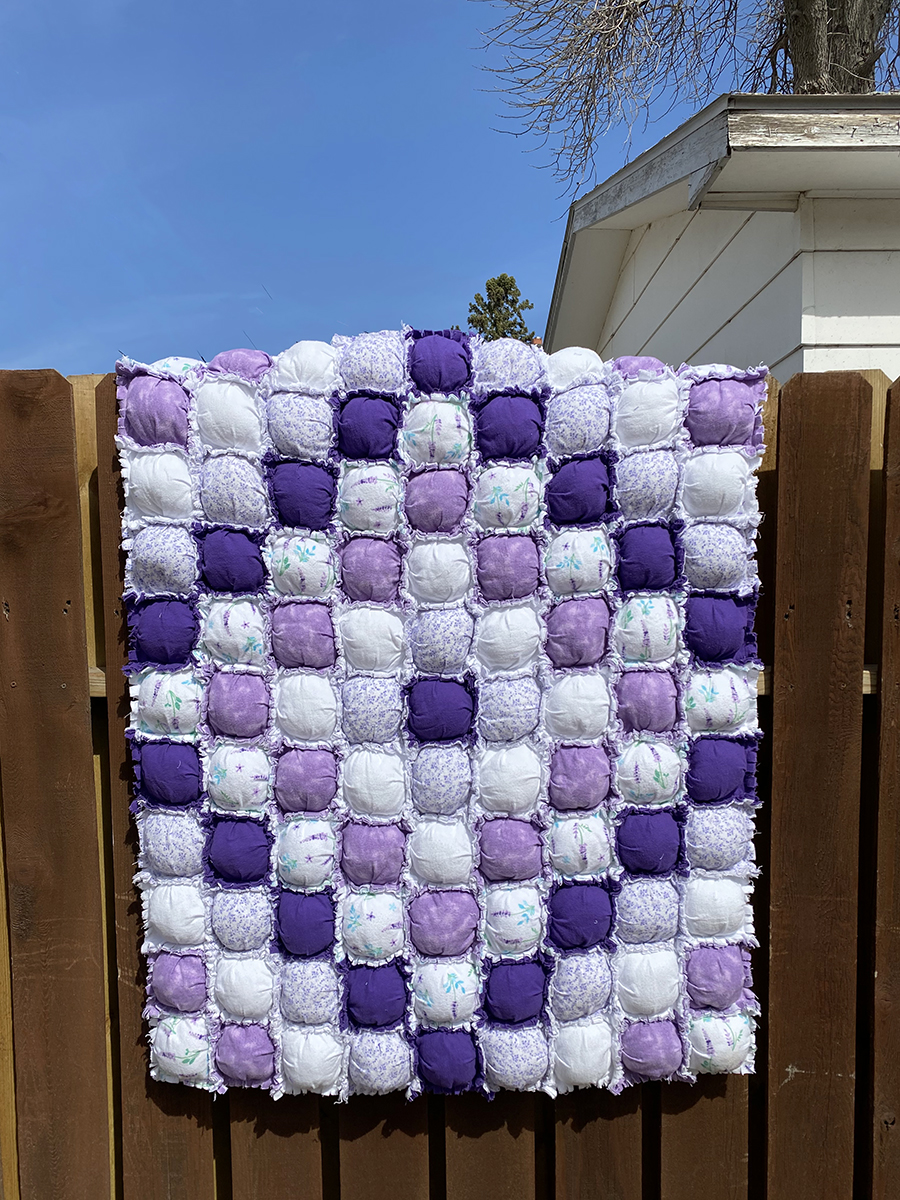
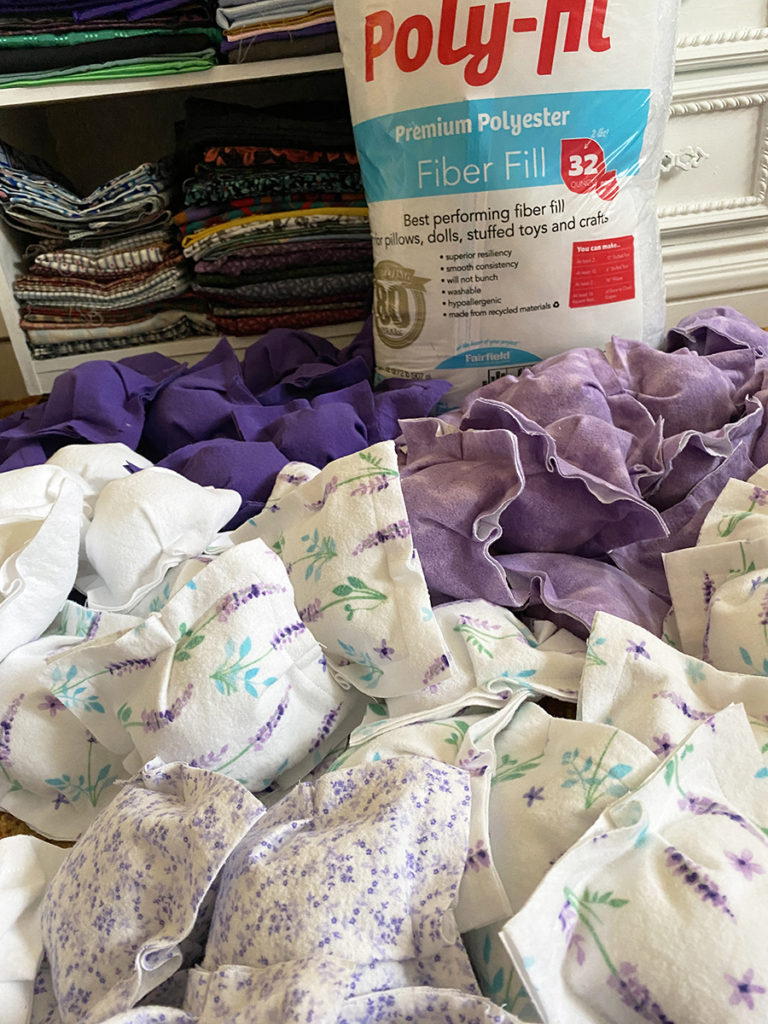
I love how both of them turned out…they are so fun! The pink one has 247 puffs and the purple one has 99 puffs…both filled with Poly-fil while the puffs were sewn together.
The main difference between them, besides the smaller puffs for the pink one, is that the pink one was sewn with right sides together and the purple one was sewn with wrong sides together.
So the pink one had to have a backing and the purple one was finshed on the back side when it was sewn together.
Then, the raw edges on the front are clipped to create this Easy Rag Puff Quilt…oh sew easy! Here’ how to make it…
Steps One, Two, Three:
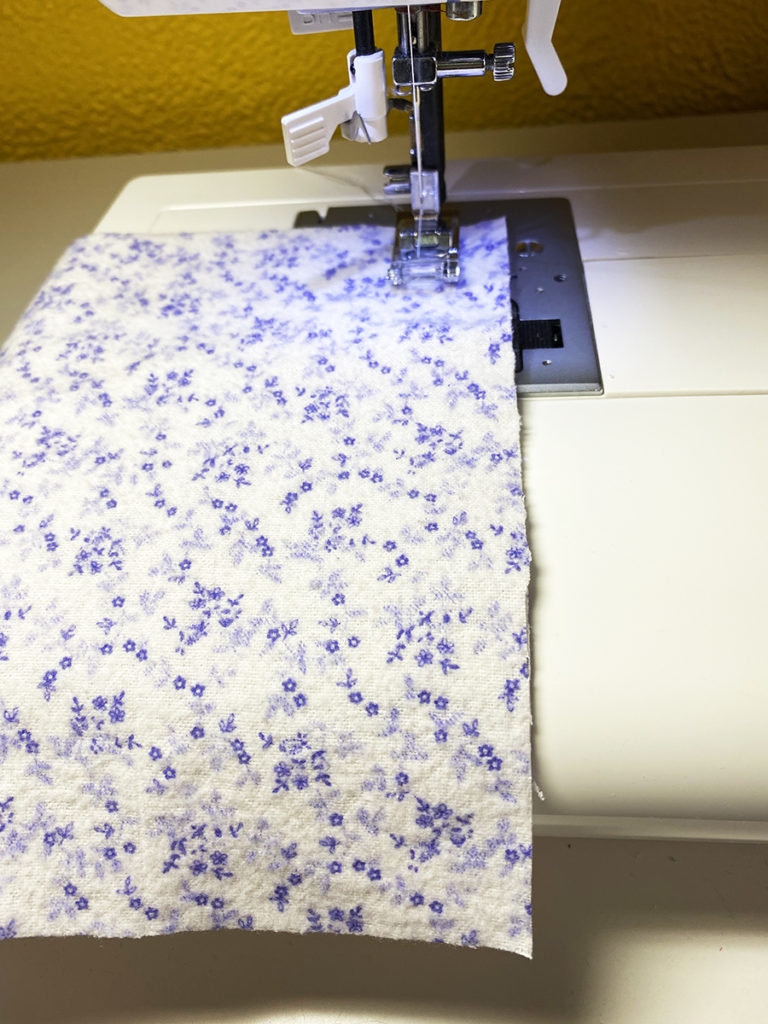
Choose five fabrics in assorted color values, prints and solids. Pre-wash and dry your fabrics and then, iron.
Cut the twenty 6″ squares from the four lightest colored fabrics and nineteen 6″ squares from the darkest fabric.
Cut the twenty 7″ squares from the four lightest colored fabrics and nineteen 7″ squares from the darkest fabric.
Steps Four, Five, Six:
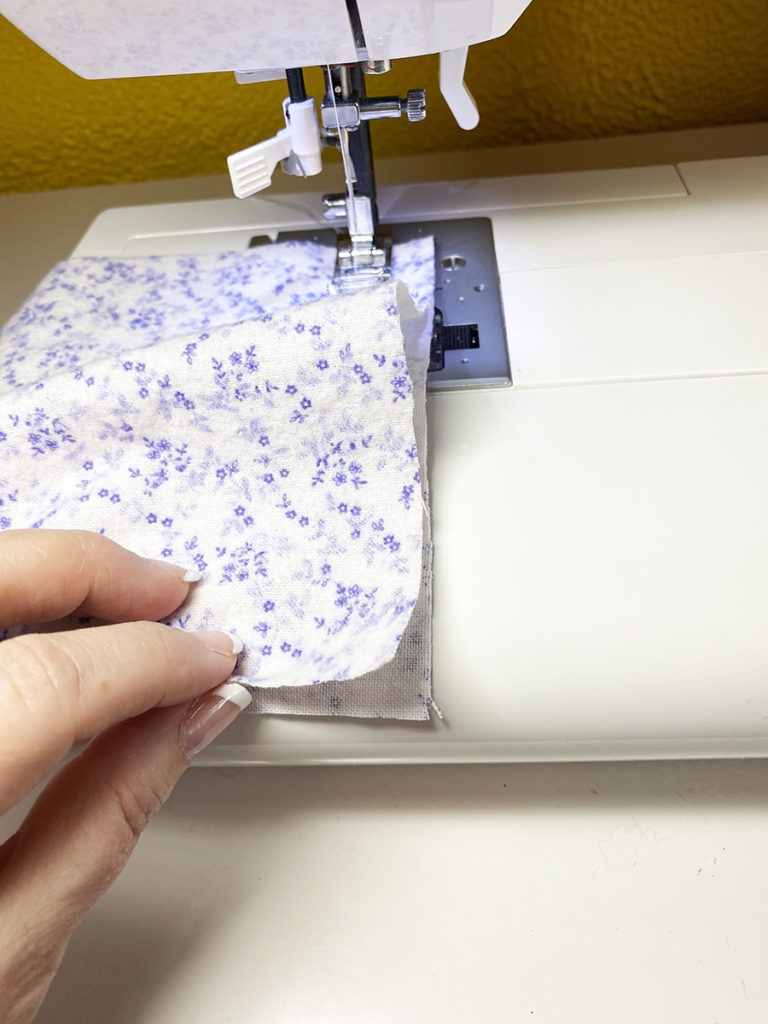
Place the wrong sides together of a 6″ and 7″ square (same pattern) lining up the edges on two sides.
Bring the corner edges together on the bottom edge as shown.
The will be excess fabric.
Steps Seven, Eight, Nine:
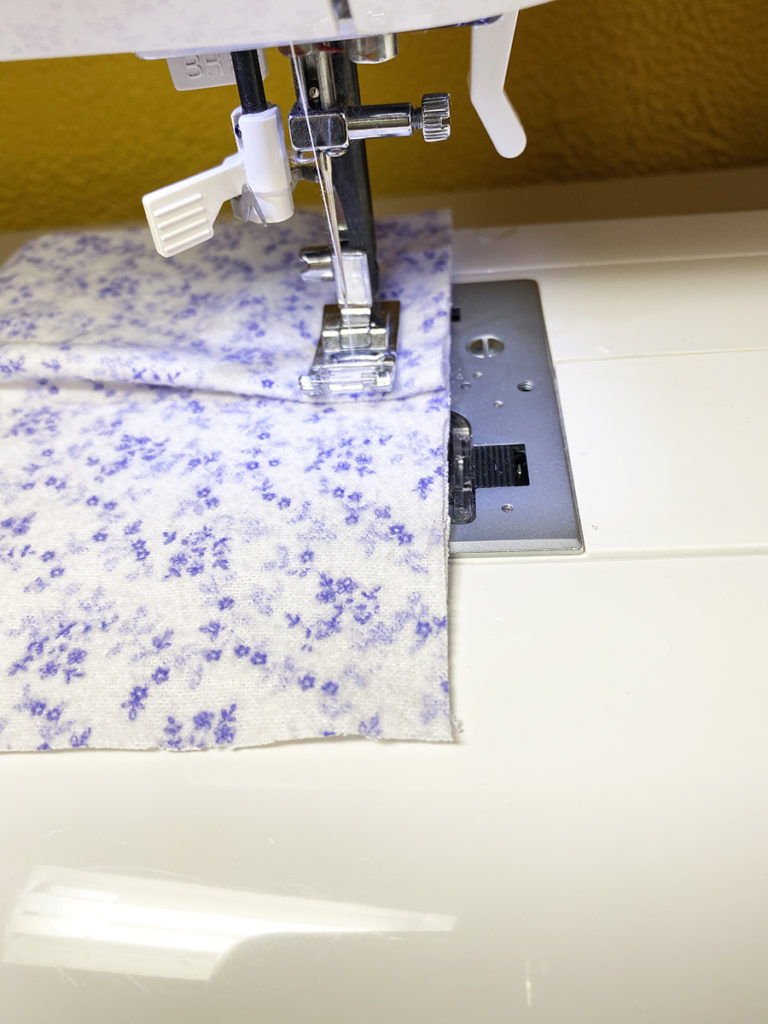
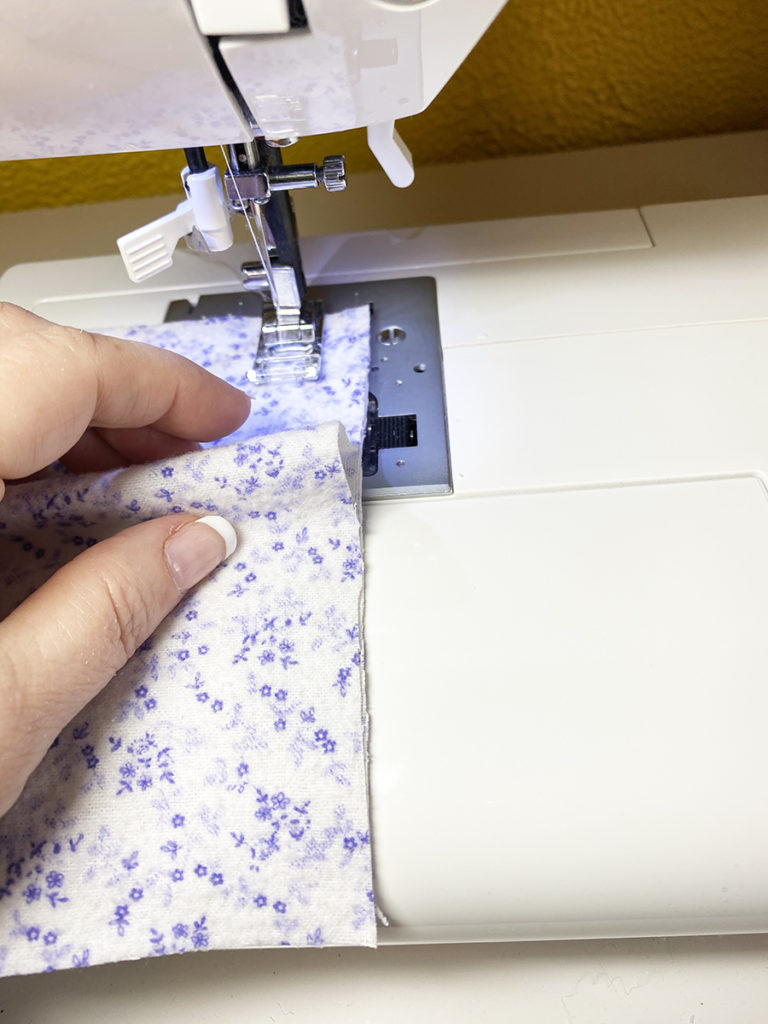
Make a pleat in the middle of the square.
Fold the pleat down.
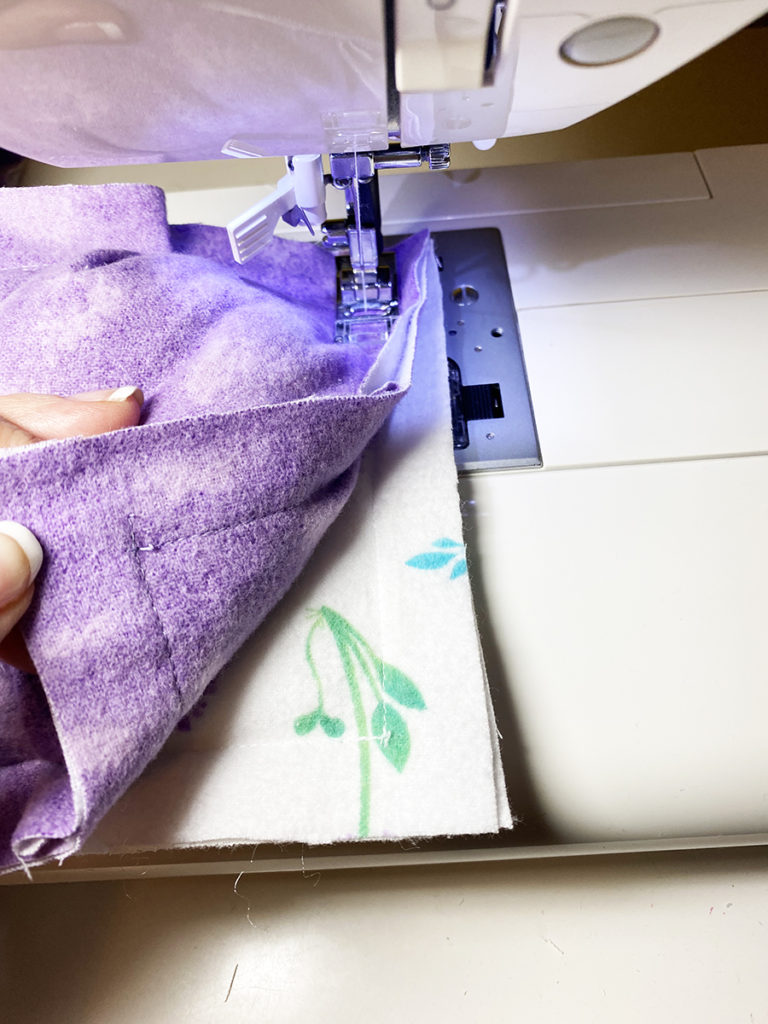
Stitch the edge and over the pleat at a scant 3/4″ to within 3/4″ from the bottom edge.
Steps Ten, Eleven, Twelve, Thirteen:
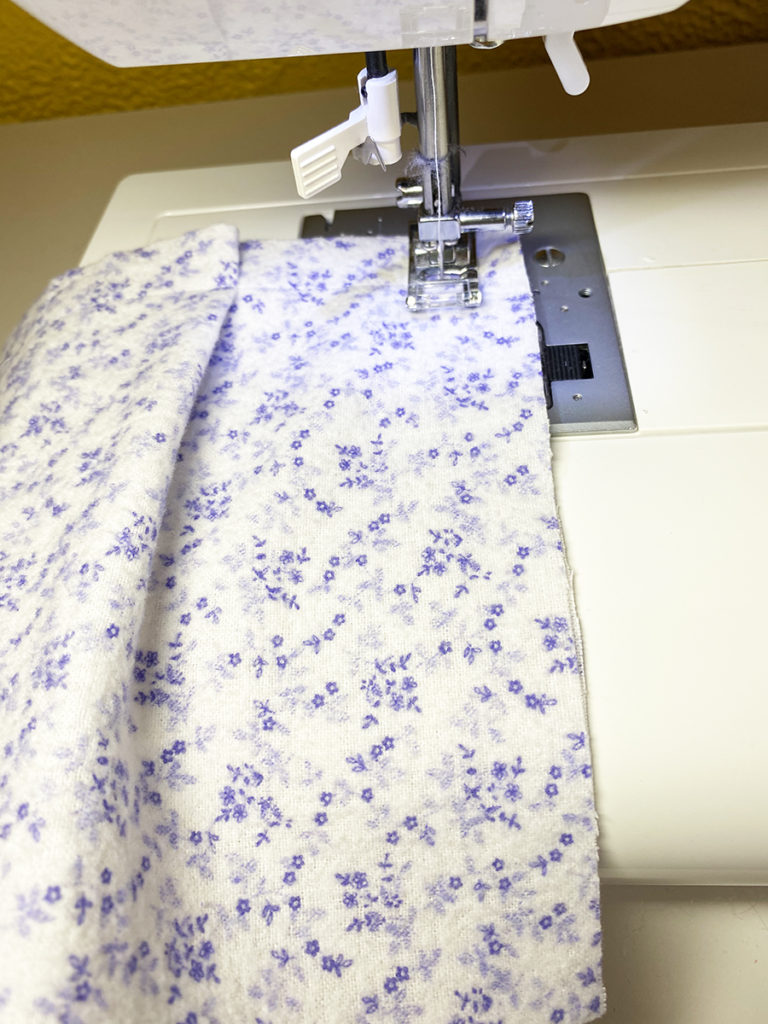
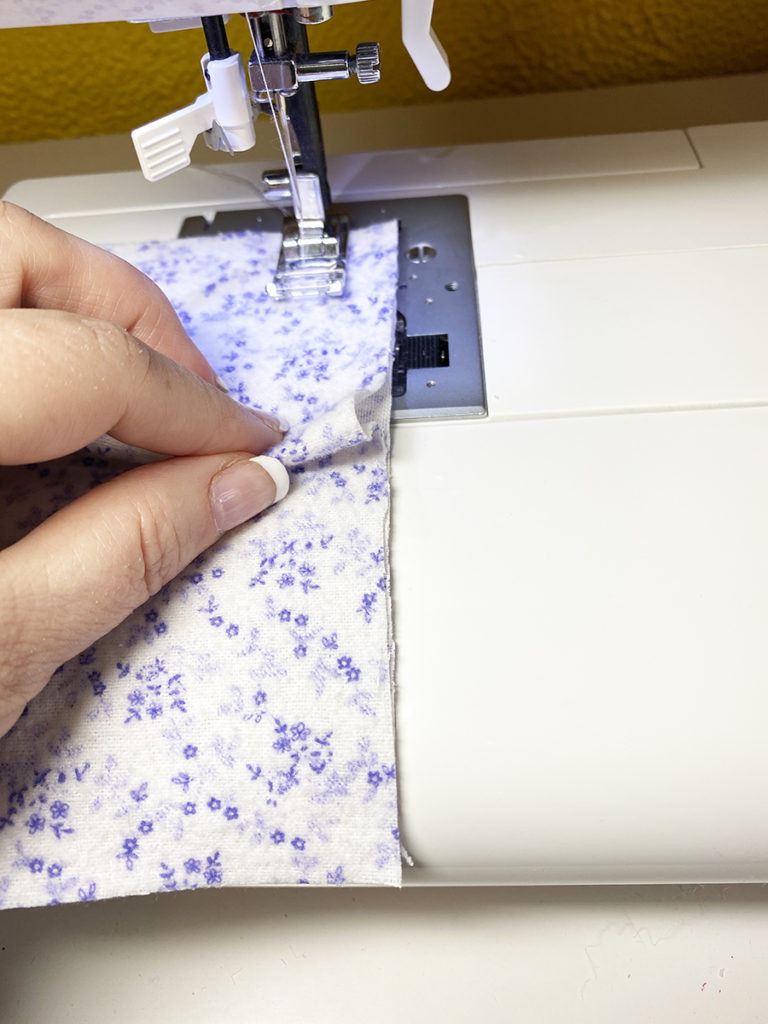
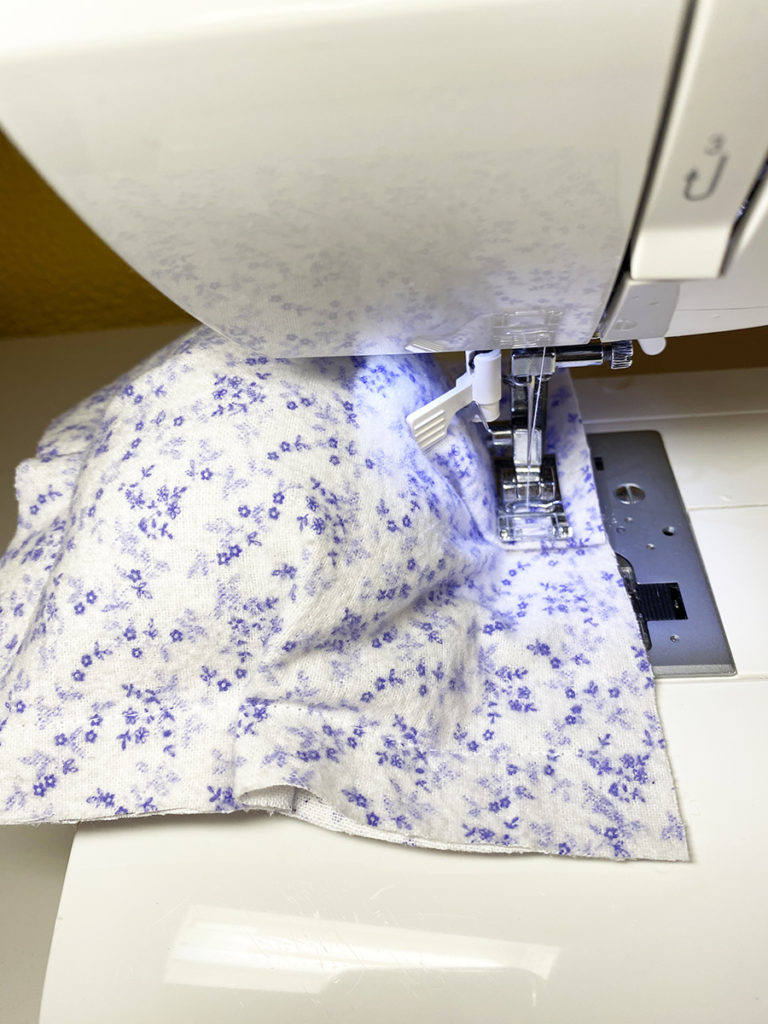
Leave the needle in and turn the squares.
Match the bottom corners.
Form the pleat and stitch, as the previous side.
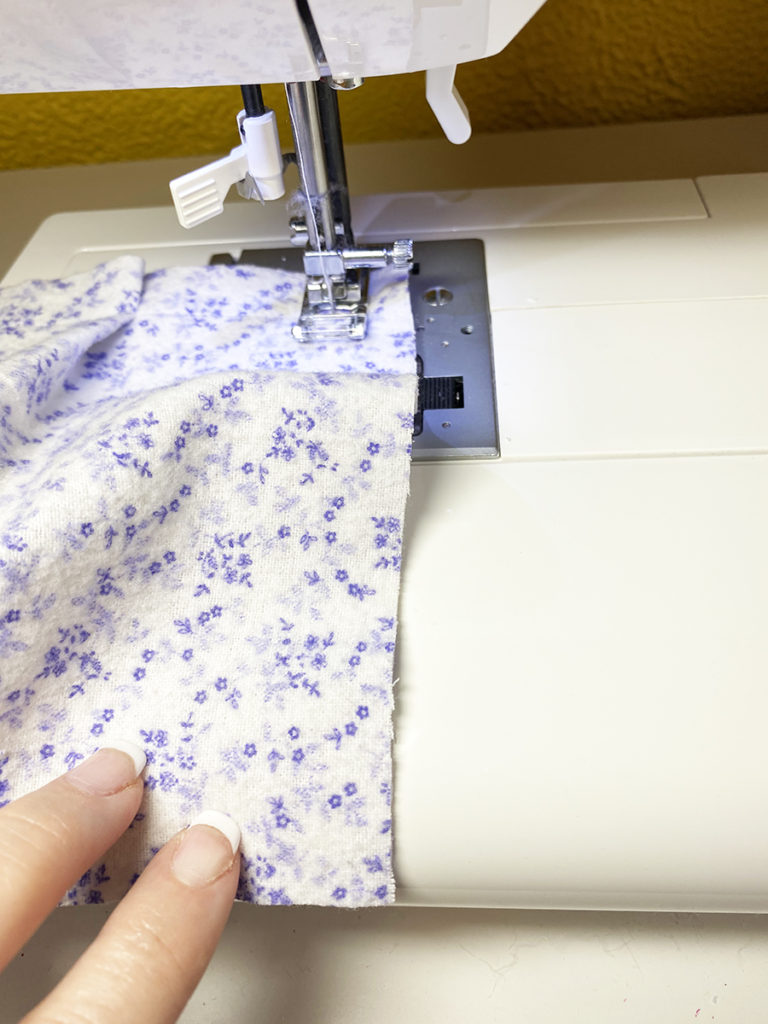
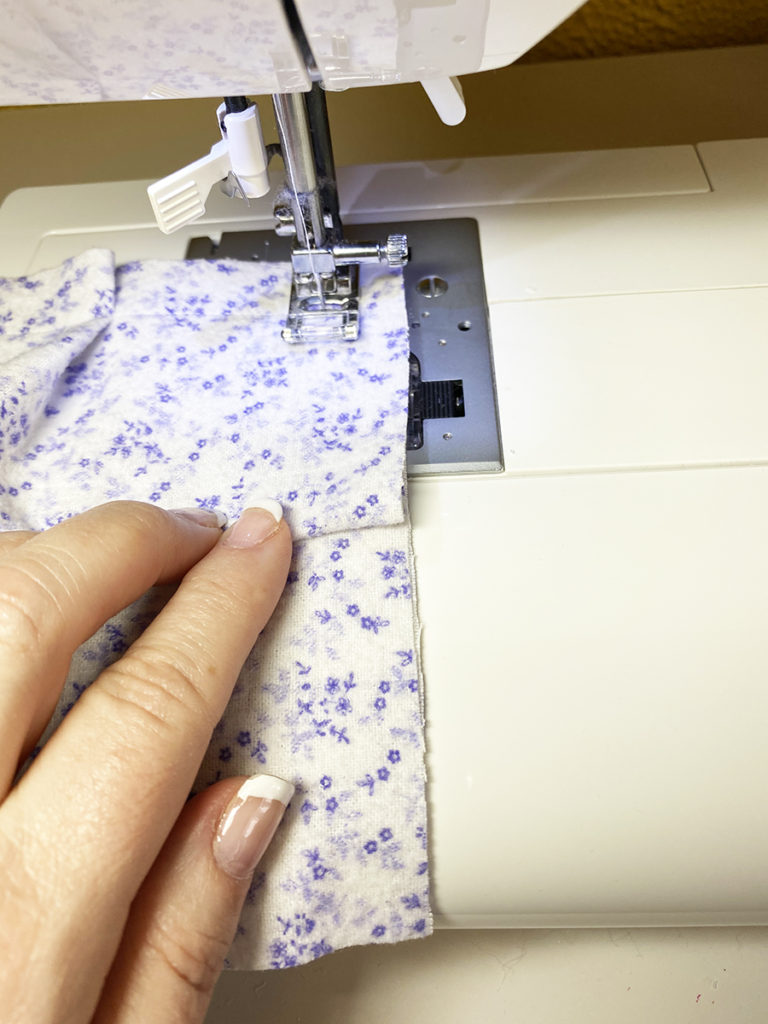
Repeat for the third side. Then, leave the needle in and turn the squares.
Steps Fourteen, Fifteen, Sixteen:
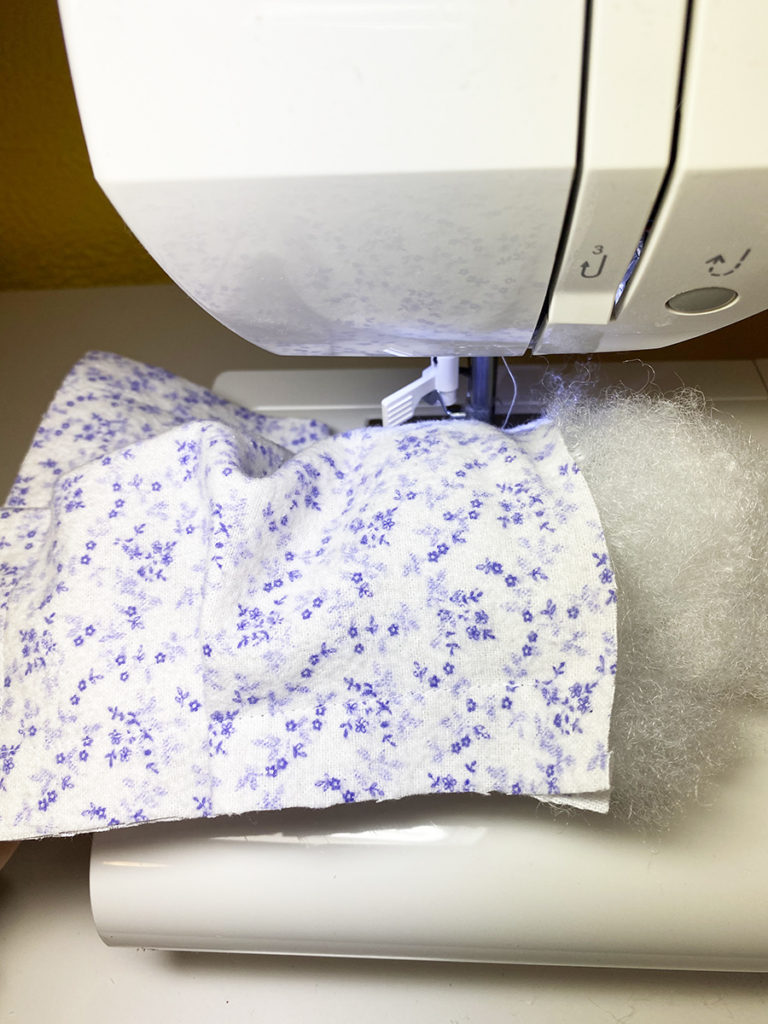
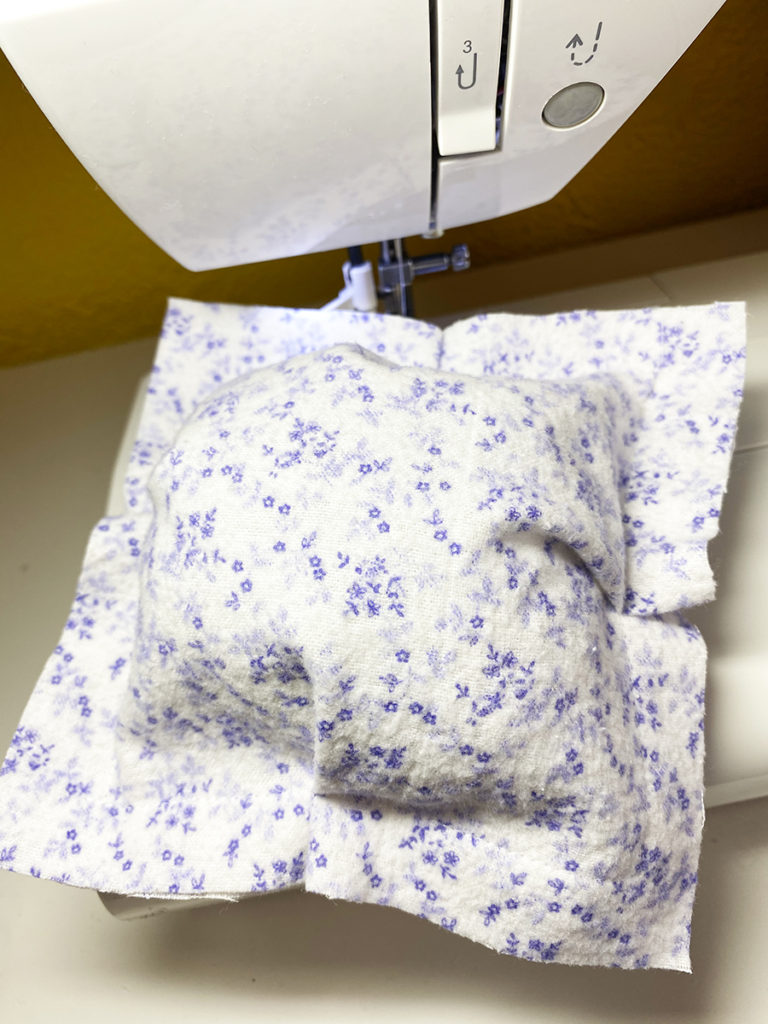
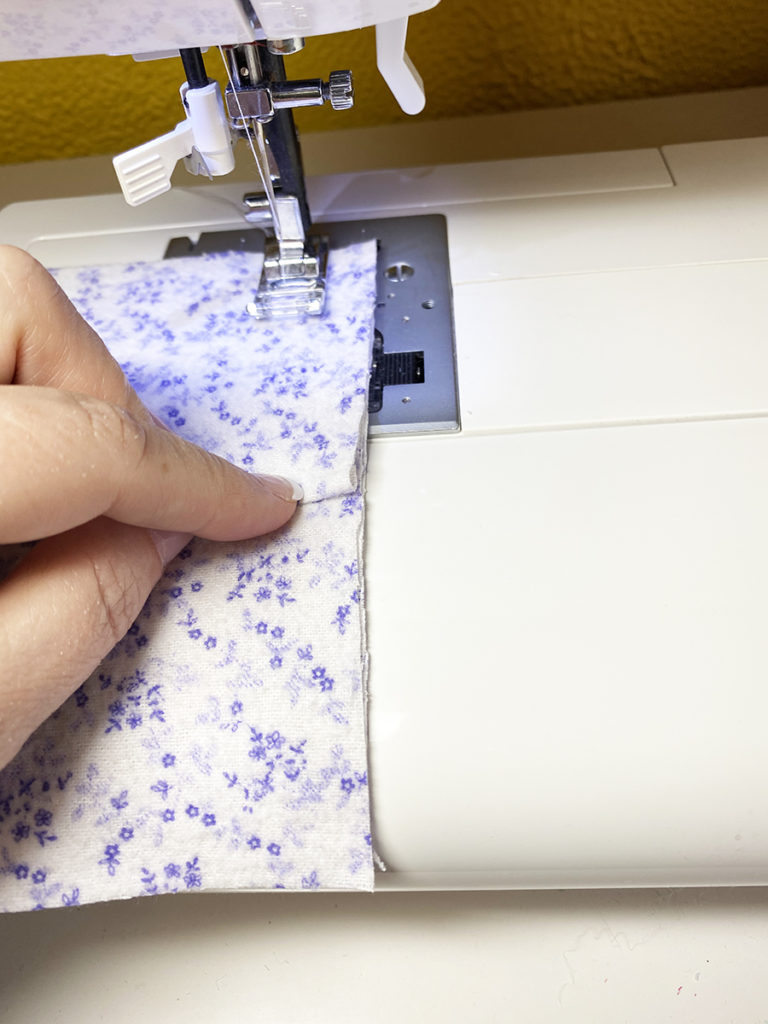
Stuff the opening with Poly-fil, so it is fluffy and light not packed.
Form the pleat and stitch as the previous three sides.
One PUFF is completed.
Repeat for the other ninety-eight sets of squres…
Steps Seventeen, Eighteen, Nineteen, Twenty:
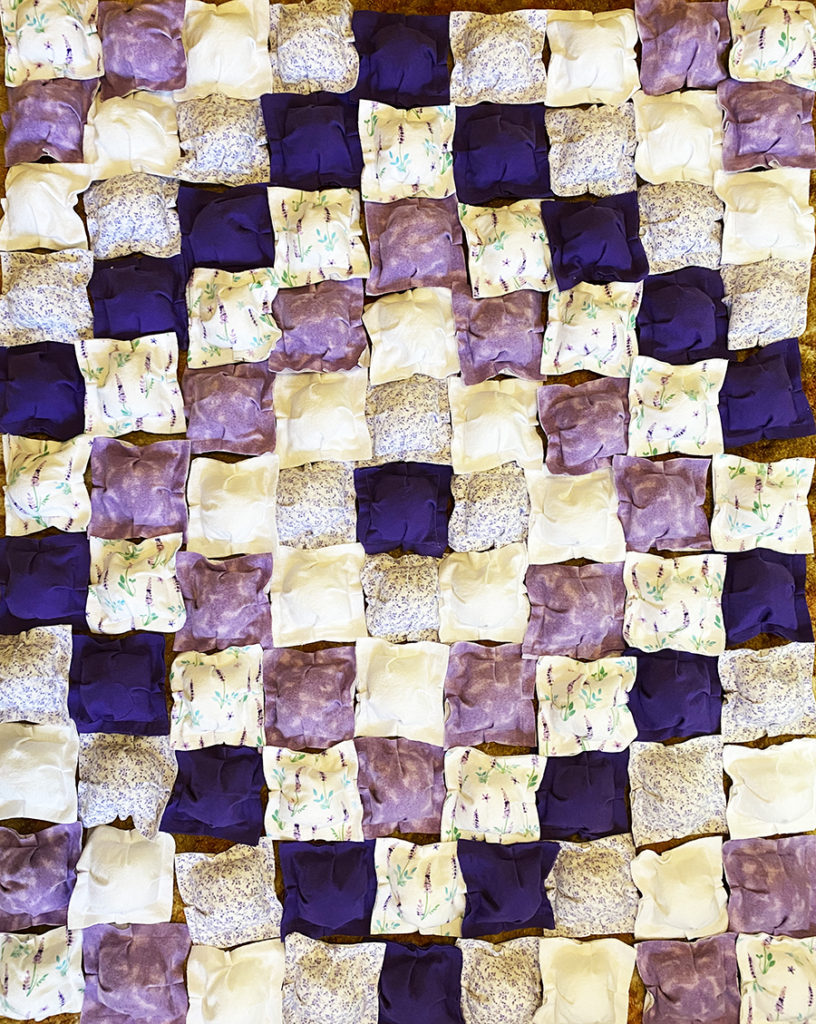
Lay all of the puffs out as shown, or create your own design.
Beginning with the first row, place the puffs wrong sides together and stitch with a generous 3/4″ seam.
Continue until all the puffs are are sewn together in the row. Repeat for the rest of the rows.
Steps Twenty-one, Twenty-two, Twenty-three:
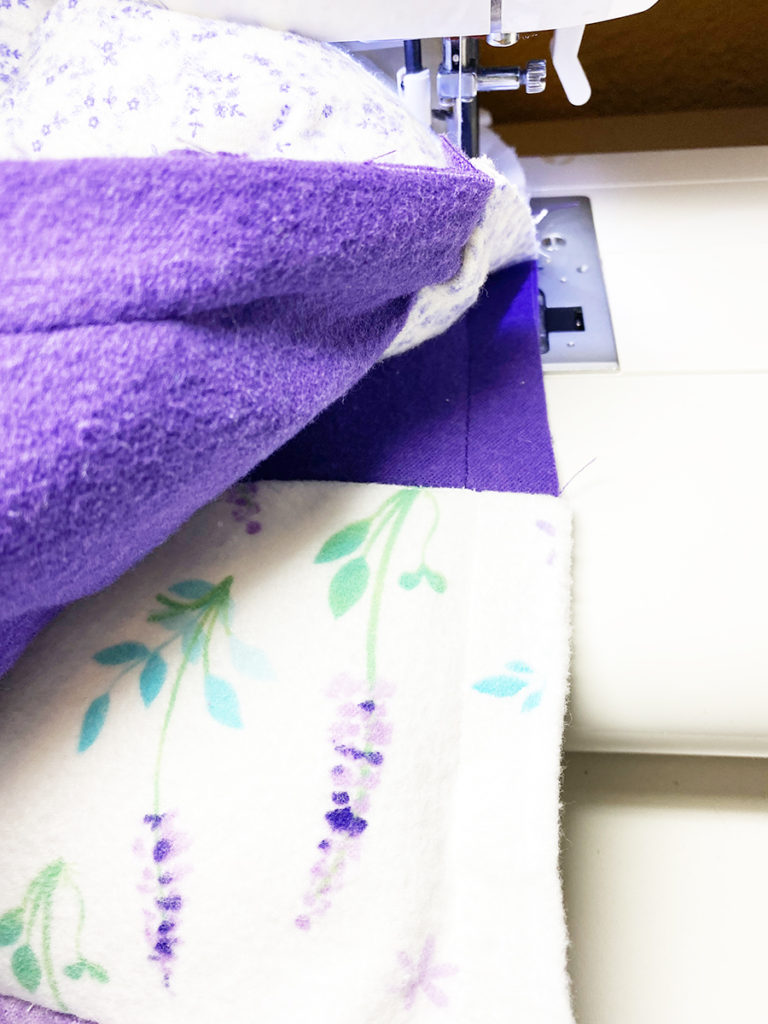
Place the first and second rows wrong sides together, being sure to match up the seams and stitch in place.
Continue stitching rows in order until complete.
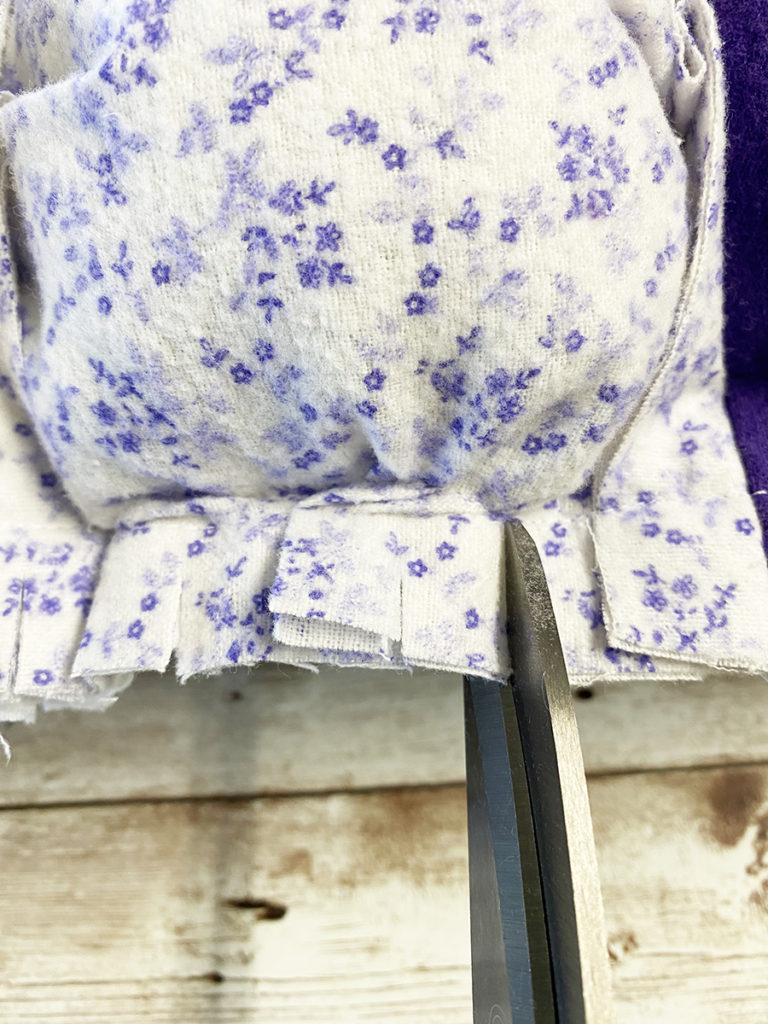
On the front side, clip the raw edges, being sure not to clip through the stitching.
Steps Twentyfour, Twentyfive, Twentysix:
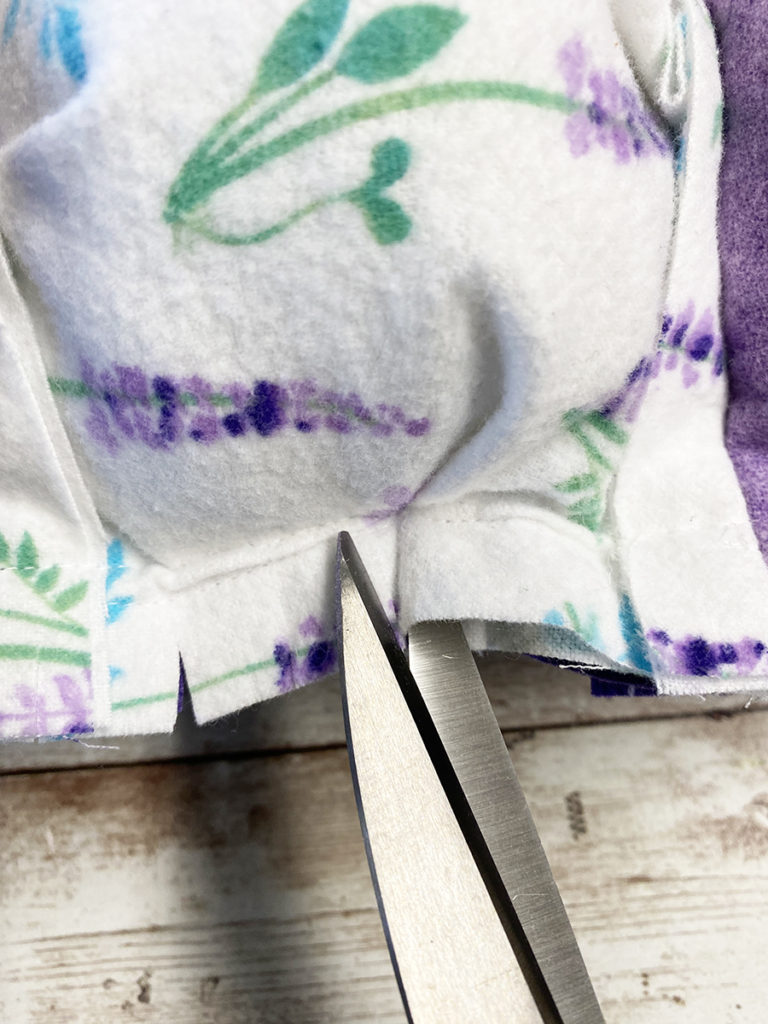
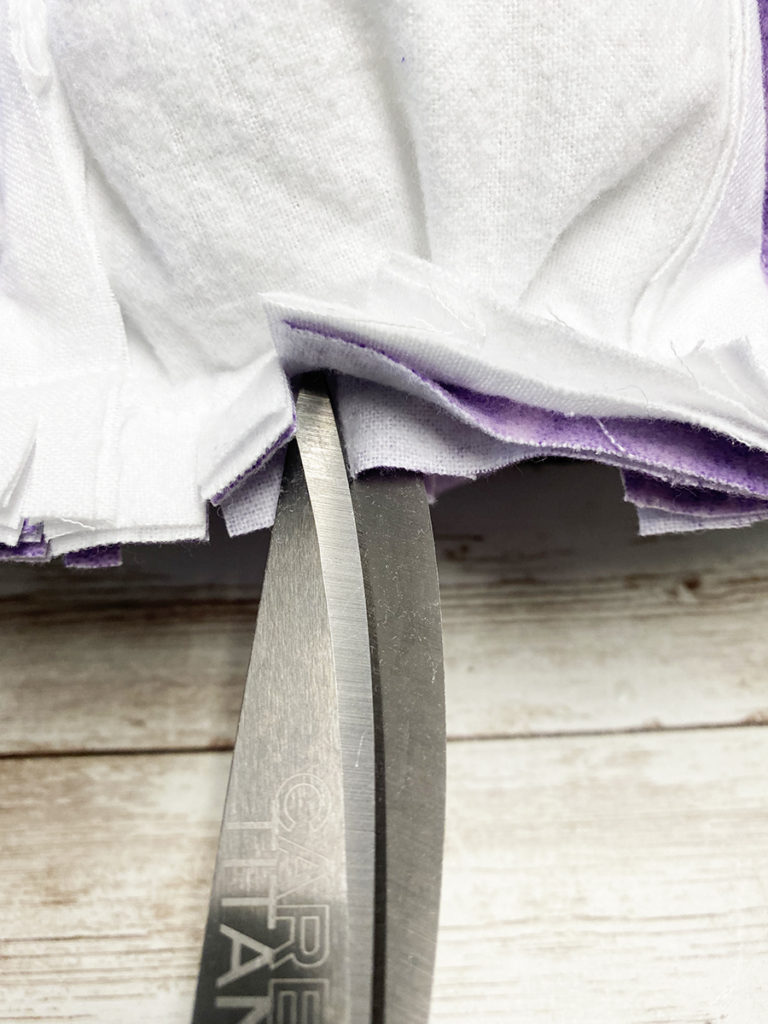
Clip the folded part of the pleats both on the top side and bottom.
Repeat until the raw edges are done, including the outside edge.
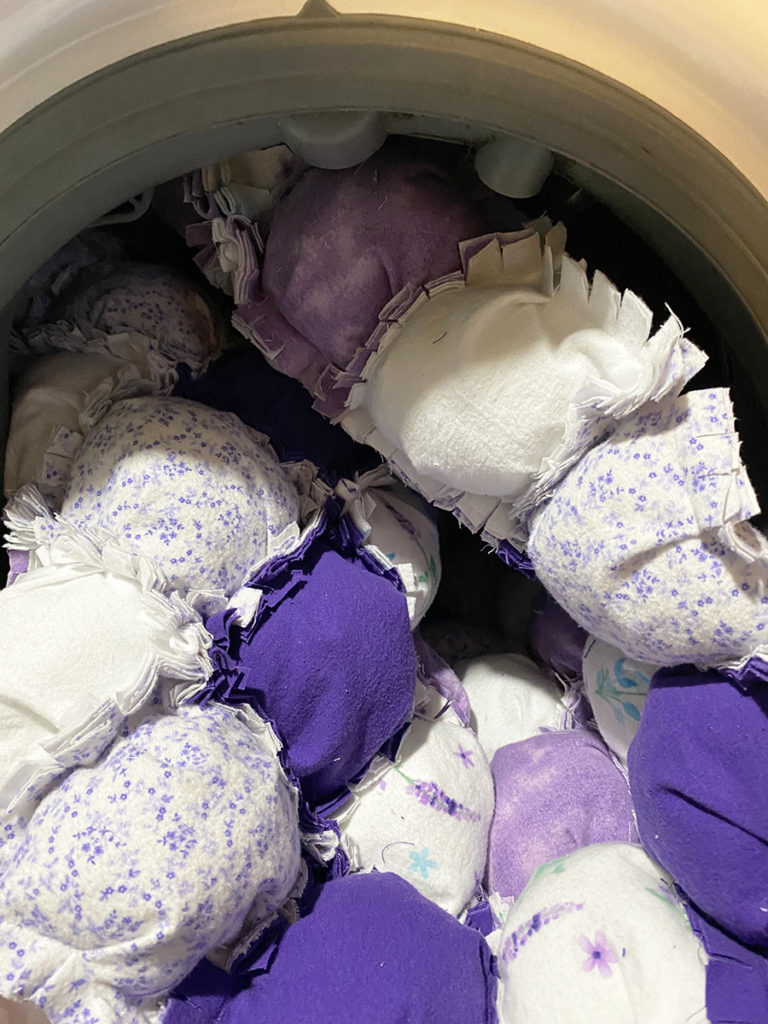
Place into the washing machine, wash and then, dry. This fluffs up the rag seams.

Supplies for the Easy Rag Puff Quilt
- Poly-fil® from Fairfield World, 32 0unces
- Flannel Fabric, 2 yards, 5 assorted shades
- Sewing Machine
- Thread
- Ruler
- Pins
- Iron
- Rotary Cutter (optional)
- Cutting Mat
- Scissors
- Washing Machine
- Dryer
Designer Tips for completing your Easy Rag Puff Quilt:
- Pre-wash all of your fabric.
- Iron all of your fabric before cutting.
- Use 100% cottons instead of flannel.
- For a fuller rag look, take a one inch seam and add an extra layer of backing fabric.
- You can change up the design if you want, experiment and have fun!
- Use more or less colors as desired.
- This would be great with scraps for a scrappy rag puff quilt.
You might also enjoy these other projects using Fairfield World Products:
- Snowflake Rhinestone Pillow
- Easy Buffalo Plaid Pillow
- Velvet Embossed Heart Pillow
- Stenciled Faux Quilted Pin Cushion
- Upcycle a Sweater to a Pillow
- Easy Strip Quilted Mug Rugs
One more PIN of the Easy Rag Puff Quilt to share
That is so darn cute, thank you for the inspiration
Thank you so much!Glad you like it!
Looks like so much fun , I would like to make for my great grand daughters for Christmas. Sooo cute
They are fun to make and your granddaughter will love it!
I thought that this quilt project was very creative!
Thank you so much! Glad you like it!
Love love love it 💕
Perfect for ALL my leftover scraps after making mask.This project is going on my To Make board.
Thanks Again for the Beautiful idea and wonderful direction.
OCD / Obsessive Crafting
Disorder
So glad you like it…and a scrappy one would be beautiful!
I think we have different definitions of “easy”!! 😅 The quilts look fantastic and I hope to one day attempt one for my daughter. I have never seen one before. Thank you for sharing!!
Aw thank you! Just take your time you can do it! ~ Ann
I’m trying to make a puff rag quilt so far so good I want it to look the same on both sides each puff is sewn with the same material on top and on bottom
Very cool!
Wow that sounds cool a lot
of stuffing to do but sounds so cozy!
it truly is…thank you!