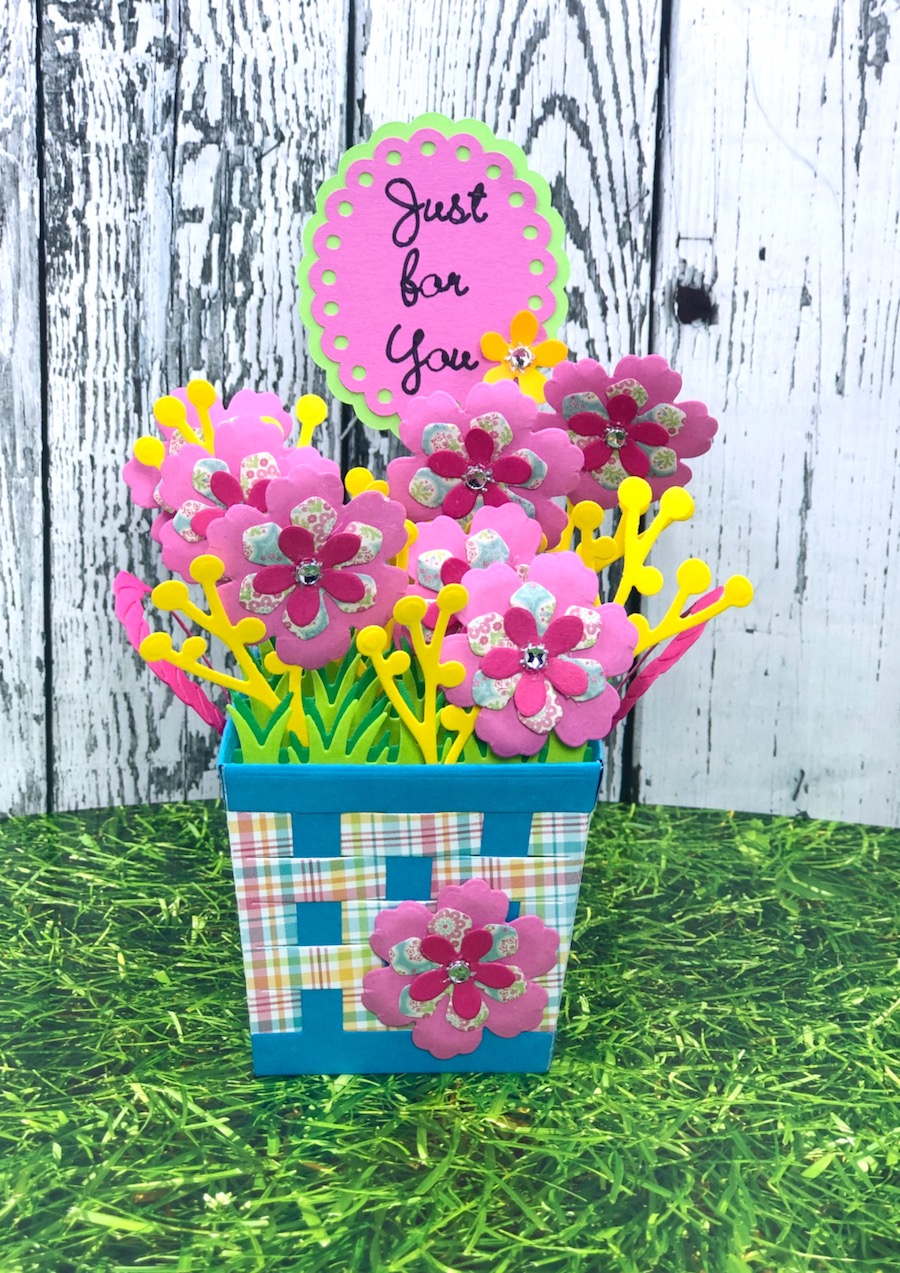
Have some fun creating this Woven Basket Box Card!
Please note: This post contains affiliate links. If you use these links and make a purchase, we earn a commission at no extra cost to you…
When I first saw the Woven Basket Box Card I wondered if the weaving on the die was going to be too complicated for a Facebook Live video. Wow! Was I surprised! This die is not only easy to put together, it’s also a whole lot of fun. I really hope you check this die out for yourself. The possibilities are endless! Have fun~ Lisa
Supplies for Woven Basket Box Card
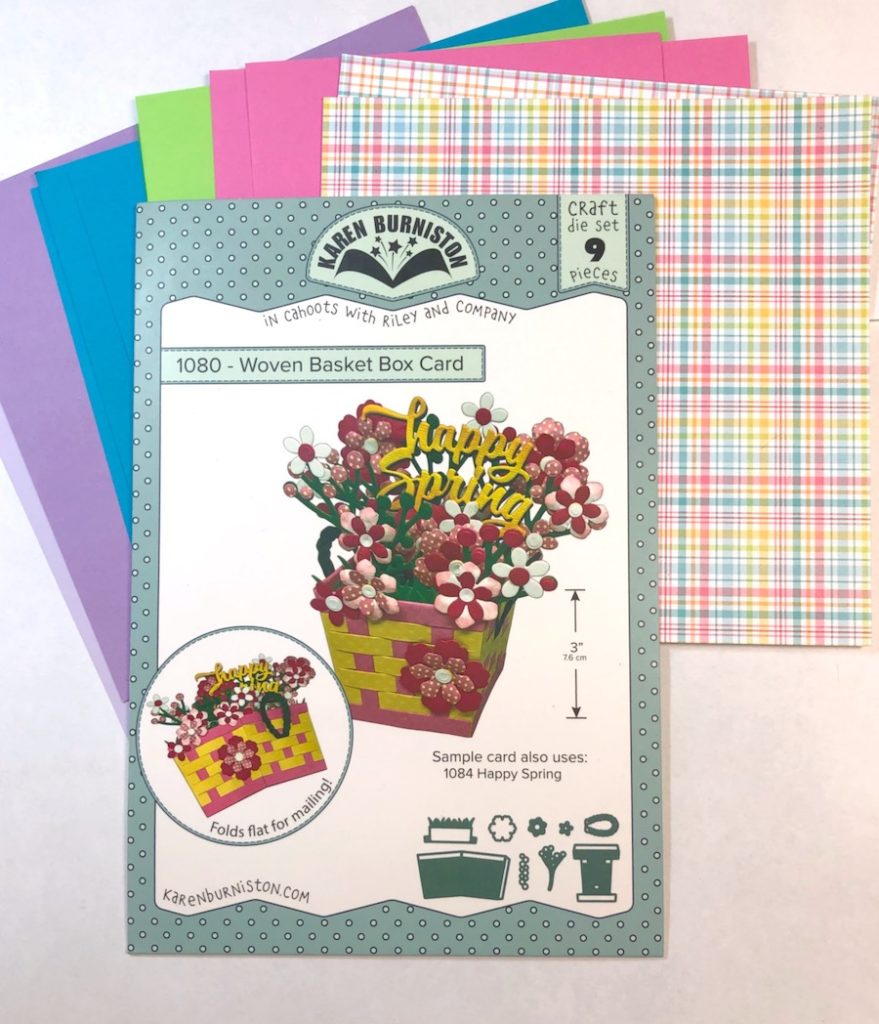
Check out the full list of supplies at the end of this post.
Step One:
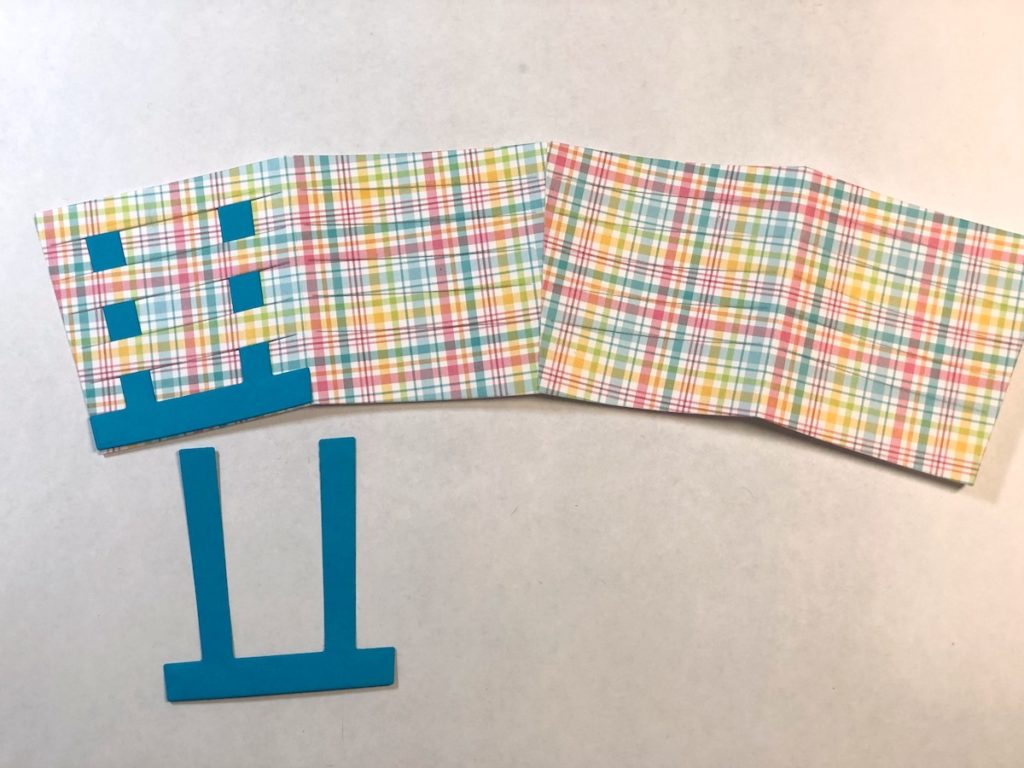
Using a die cutting machine, die cut all the elements. For the basket, cut two pieces of patterned paper, four pieces of blue cardstock for the weaving, two pieces of dark pink cardstock for the handles. For the inside elements, cut eight pieces of each flower die and then four pieces in dark green and four pieces of light green for the grass. Cut off the side pieces of the light green grass. Layer and glue the grass pieces together placing the light green slightly lower for dimension.

Step Two:
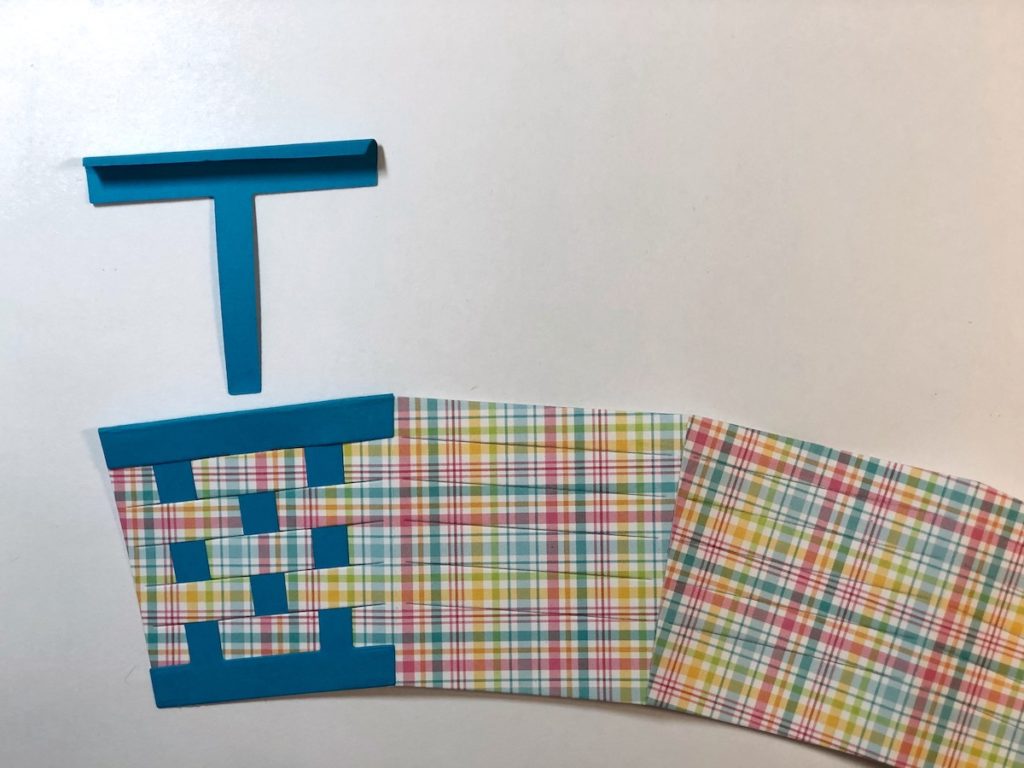
Use a dowel or a toothpick to roll the top portion of the “T” shaped piece.
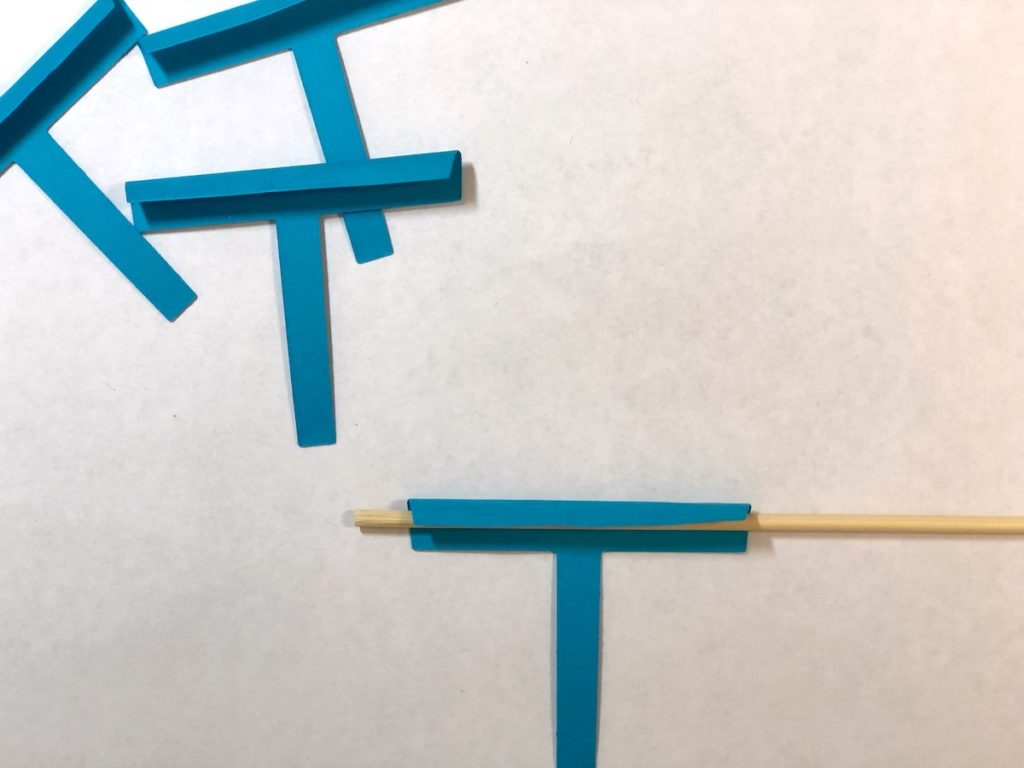
Step Three:
Fold the basket pieces along the score lines and adhered together. Starting from the bottom with the “Double T” piece, weave it in and out of the openings as shown. Apply glue along the bottom to keep in place. Repeat this step on the other three sides of the basket.
Step Four:
Take the “T” shaped piece with the folded edge facing you and weave it in and out of the openings on the basket as shown. Apply glue at the top to hold in place. Repeat this step on the other three sides of the basket. Adhere the basket together.
Step Five:
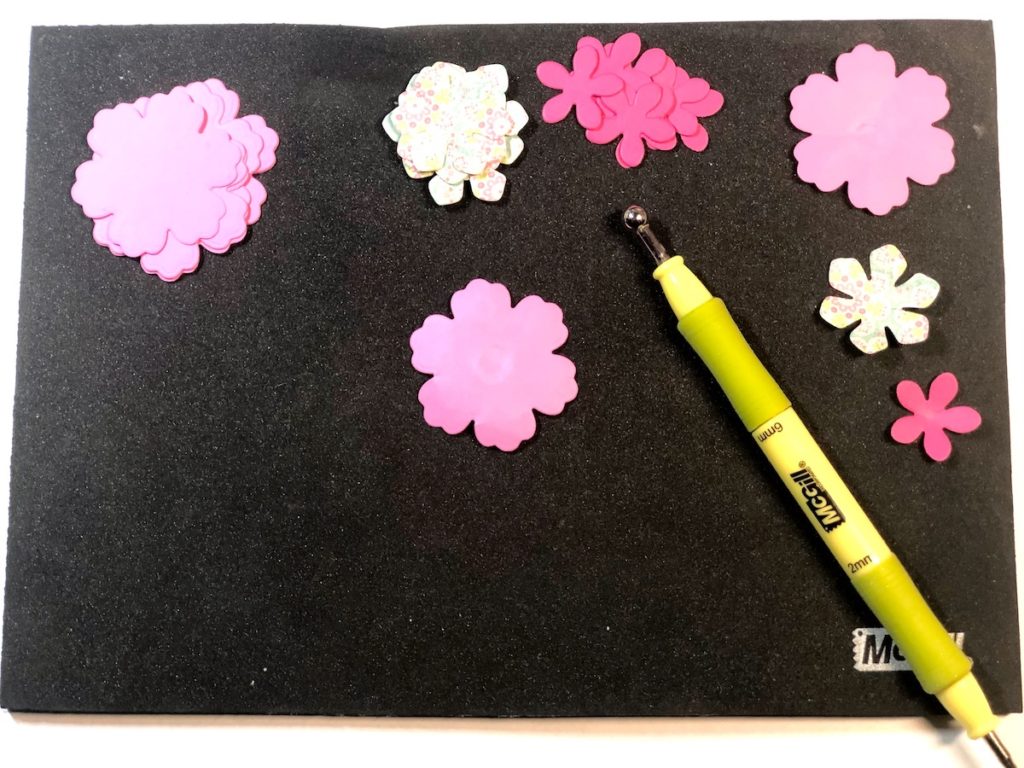
Place the flowers on a foam mat and shape them with a ball stylus. Layer the flowers and glue them together. Add a small rhinestone to the centers. To finish the project, adhere the grass pieces to the inside of the basket first. Adhere the flowers to the grass pieces. Create the label on a Cricut Maker. Attach a toothpick to the back of the label and adhere in the back of the basket.
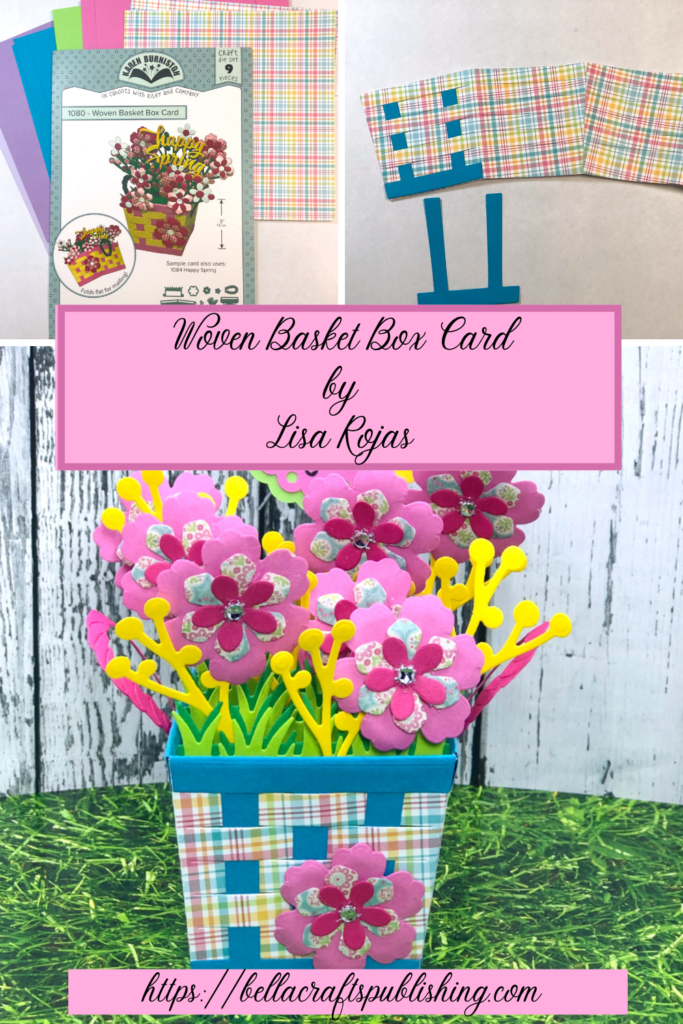
Here’s another PIN for you to share~
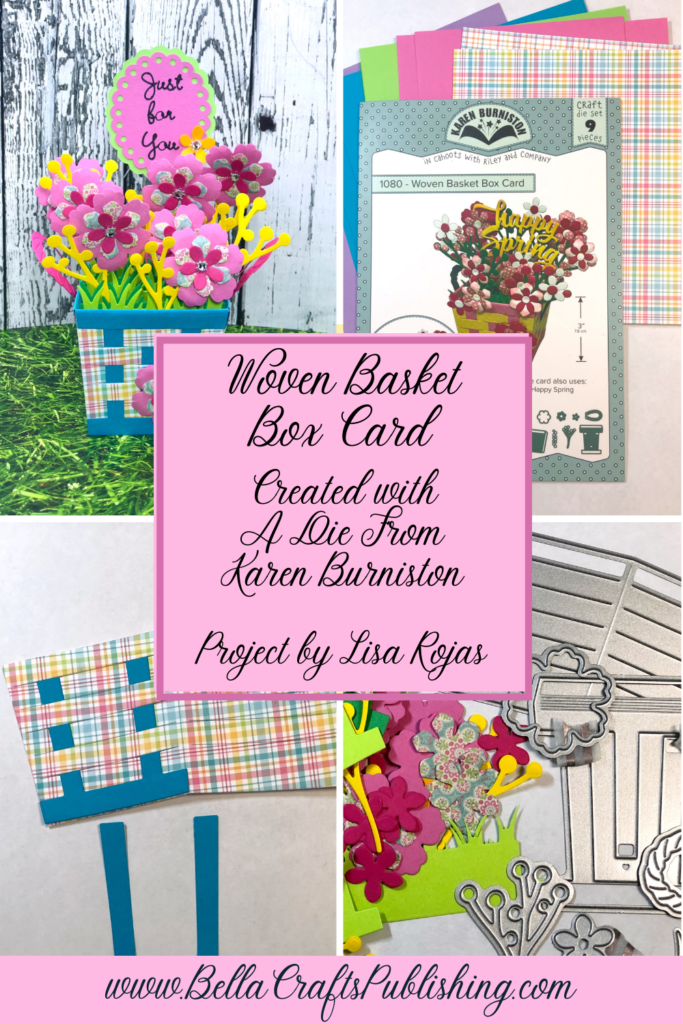
Woven Basket Box Card

- Cardstock: Blue, Yellow, Light Green, Dark Green, Light Pink, Dark Pink
- Patterned Papers
- Rhinestones
- Paper Blossoms Tool Kit by McGill Incorporated
- Woven Basket Box Card Die by Karen Burniston
- Cricut Maker
- Big Shot Die Cutting Machine
Trackbacks/Pingbacks