Use a Cricut to create a photo holder that your kids or grandkids will absolutely love!
Please note: This post contains affiliate links. If you use these links and make a purchase, we earn a commission at no extra cost to you…
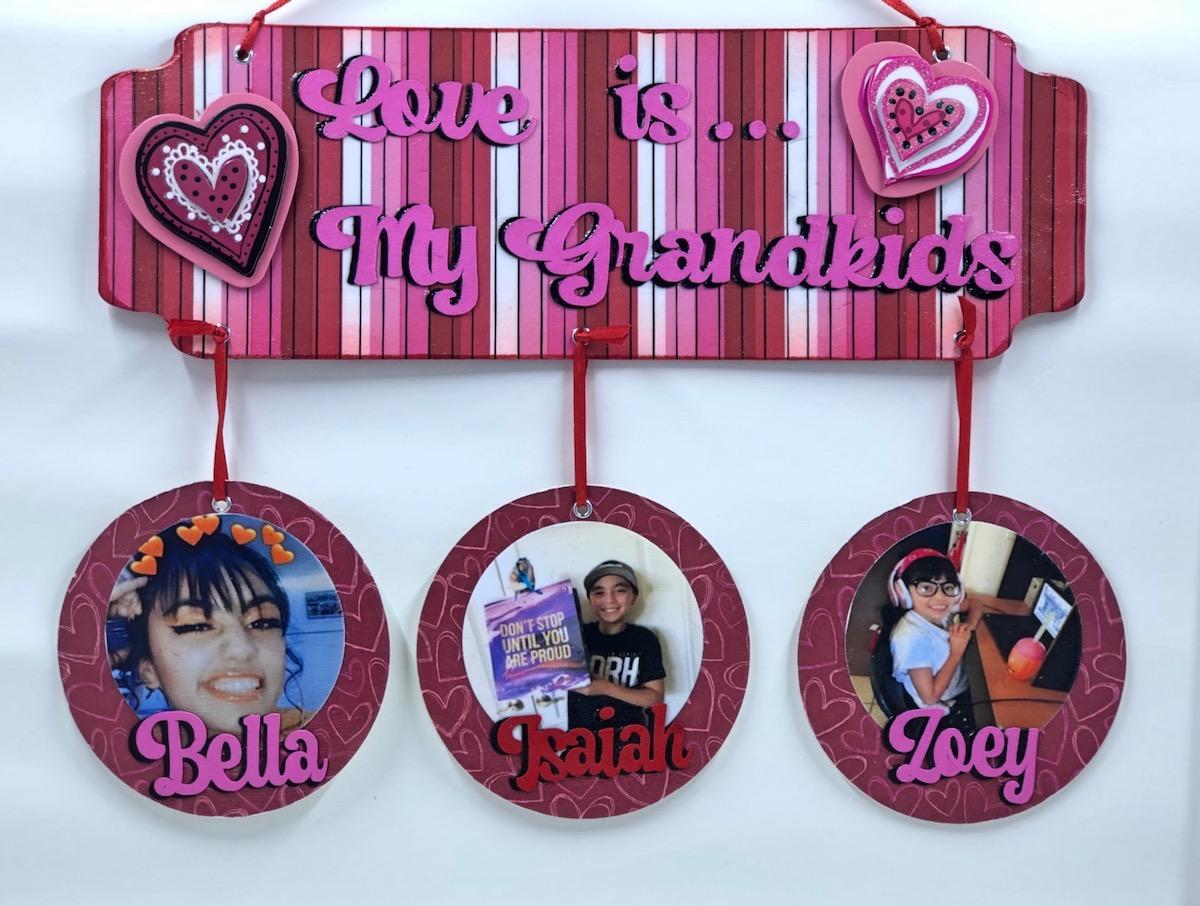
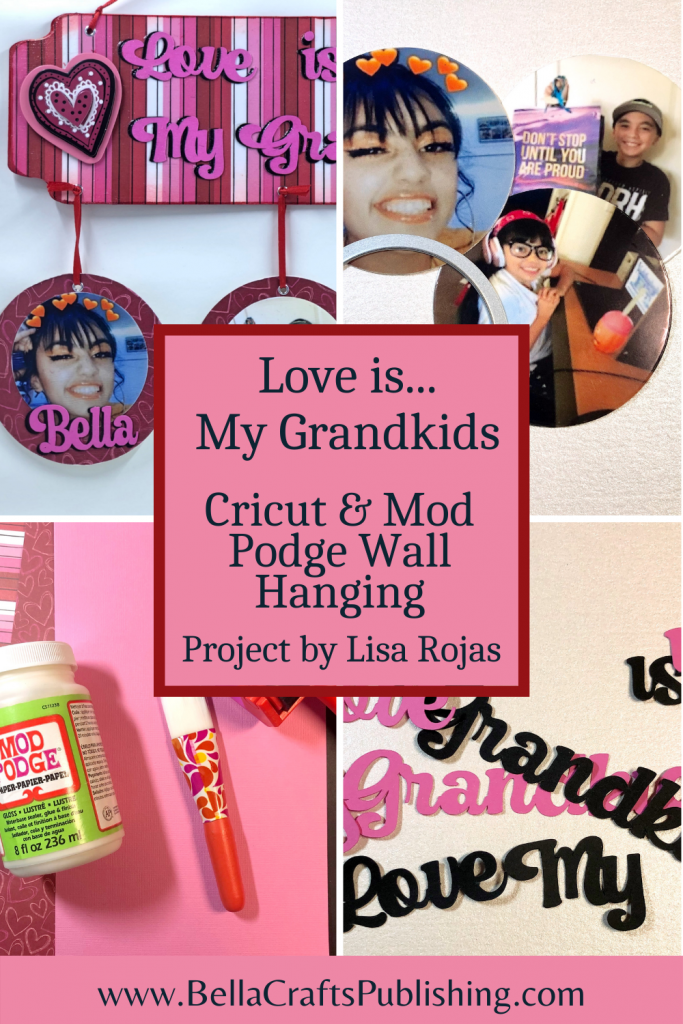
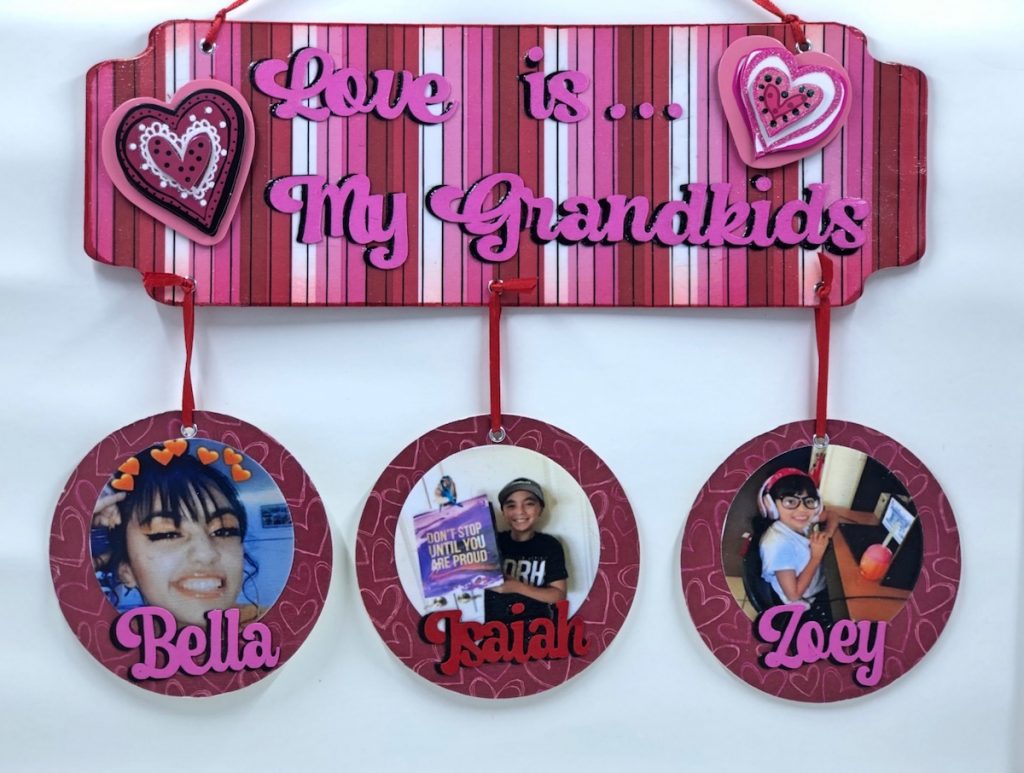
I recently purchased a new Cricut to create a photo holder of my grandkids. The project was so quick and easy to make and since Valentines Day is right around the corner, I wanted it to be made with lots of hearts and red and pink colors. I love it so much and I hope you’ll make one too. Lisa~
Supplies for Love is… Photo Holder
Check out the full list of supplies at the end of this post.
Step One:
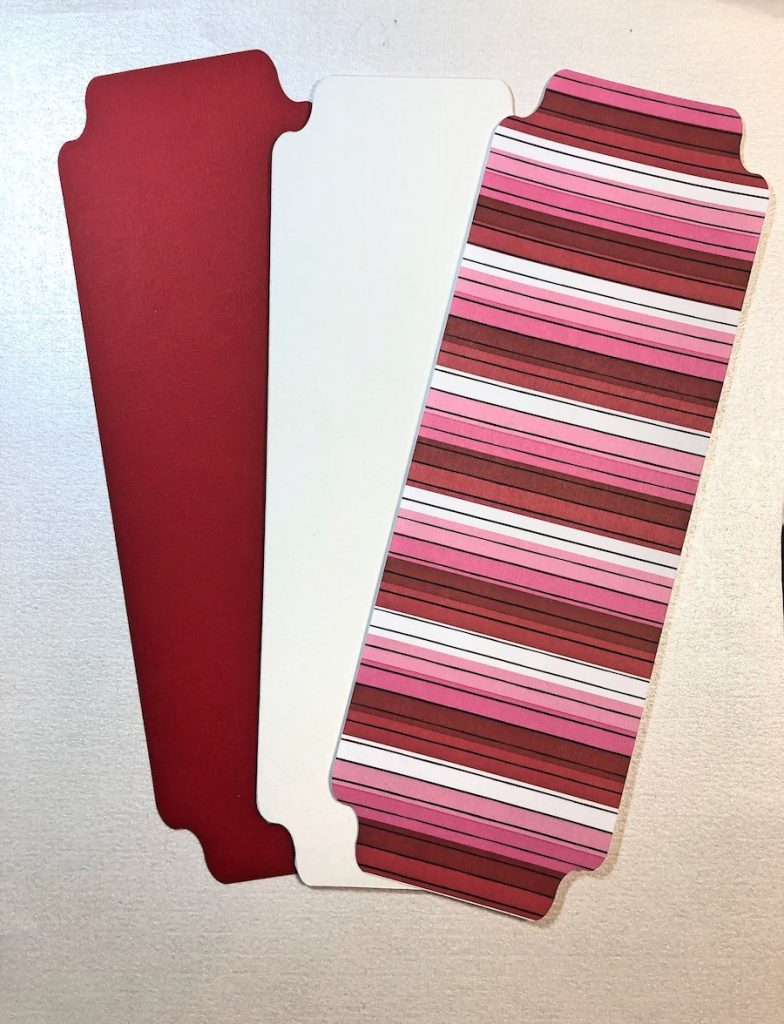
Using a Cricut Maker machine design a sign and cut it out in patterned paper, red cardstock and white mat board. My sign is 10 1/4″W x 3 1/2″H.
Step Two:
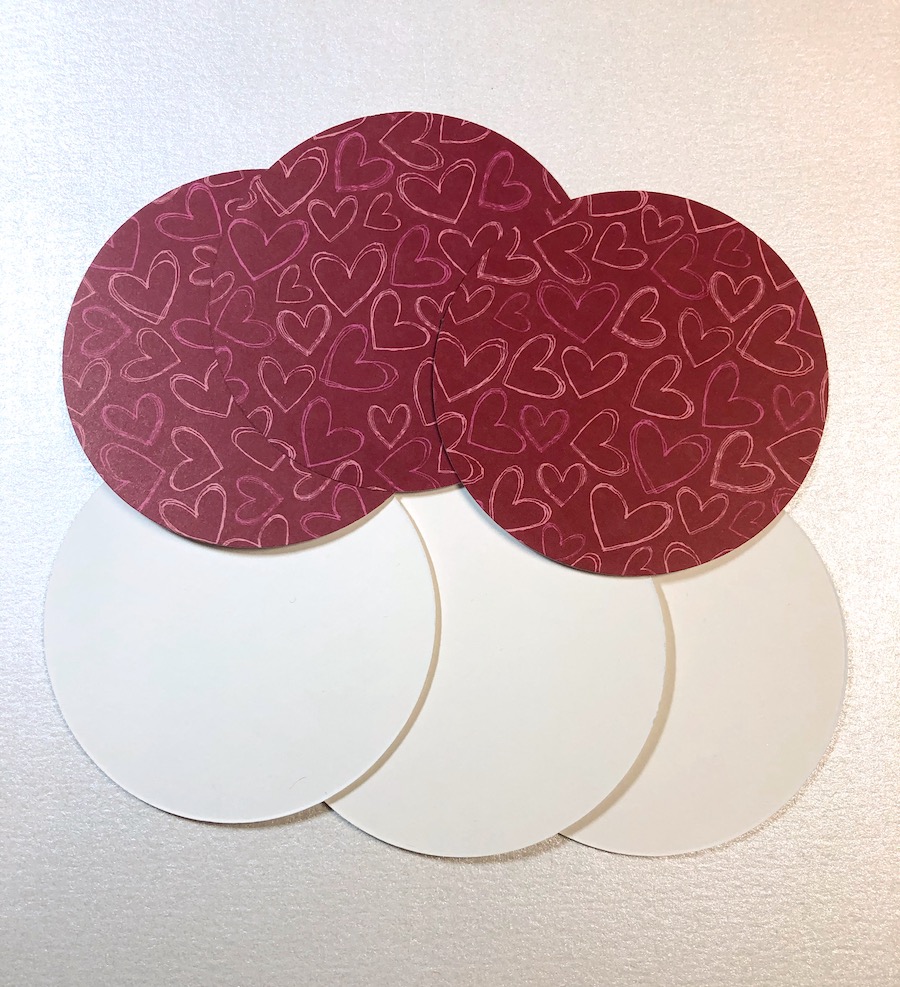
Use Cricut to cut three 3 1/2″ circles in patterned paper and another three in mat board.
Step Three:
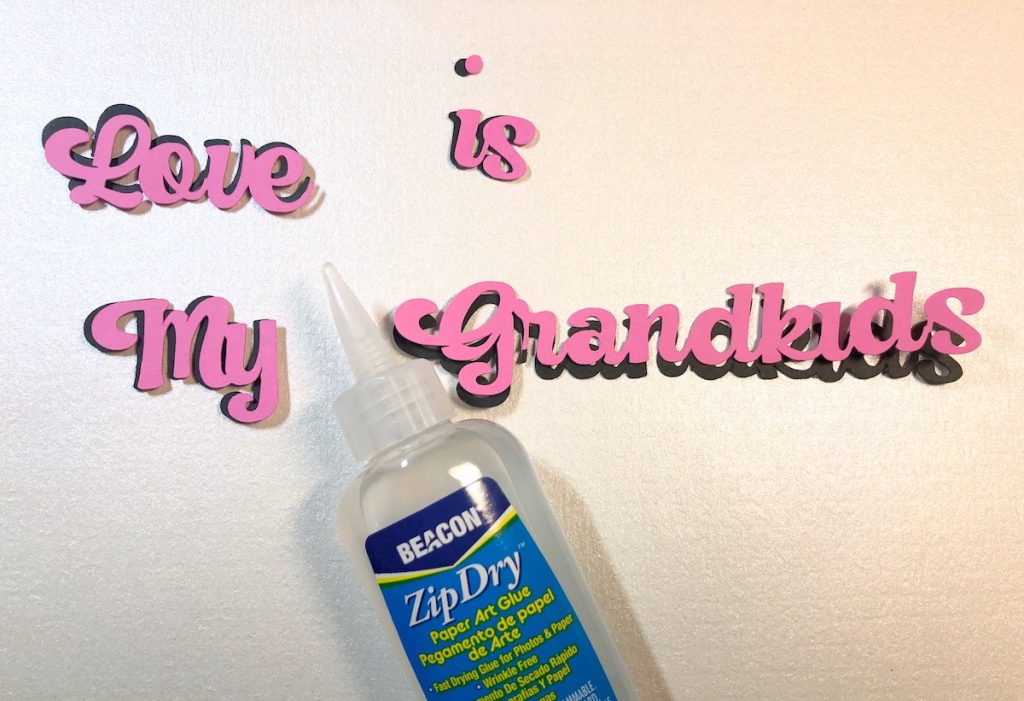
Again using a Cricut machine, cut out the words “Love is… My Grandkids” in pink and black cardstock and then, cut out your kids/grandkids names.

Step Four:
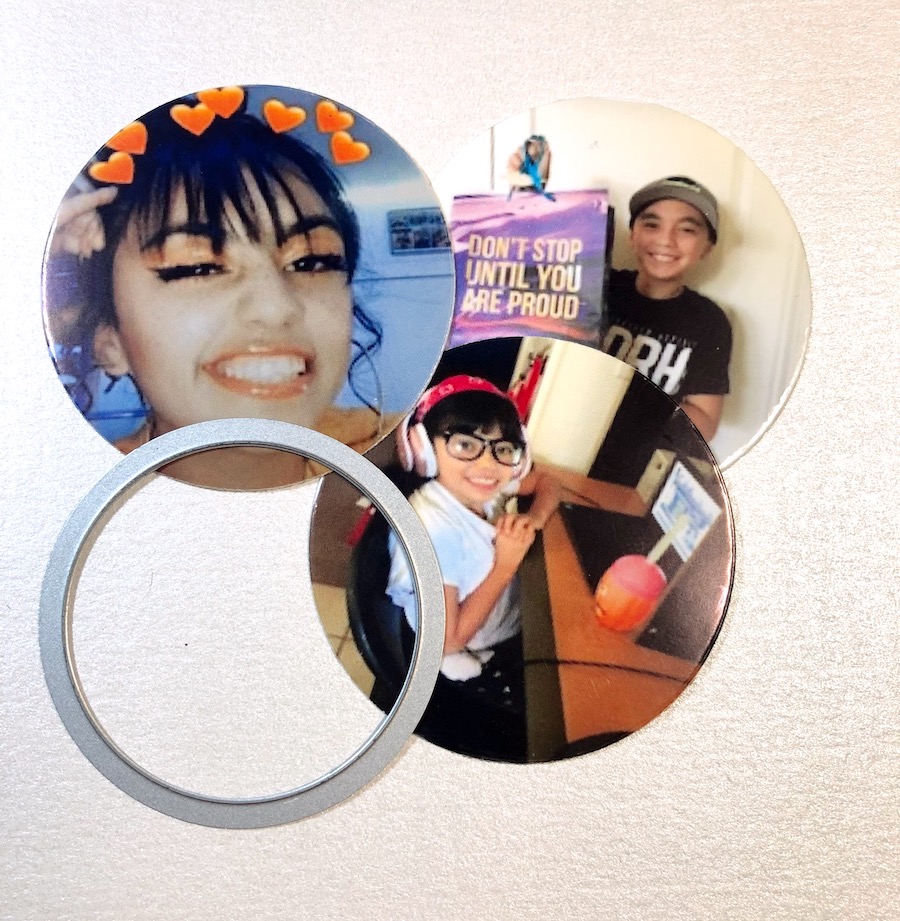
Next, use a Big Shot die cutting machine and a 2 1/2″ circle die to cut out your photos.
Step Five:
Adhere the words and names together with Zip Dry glue as shown.
Step 6:
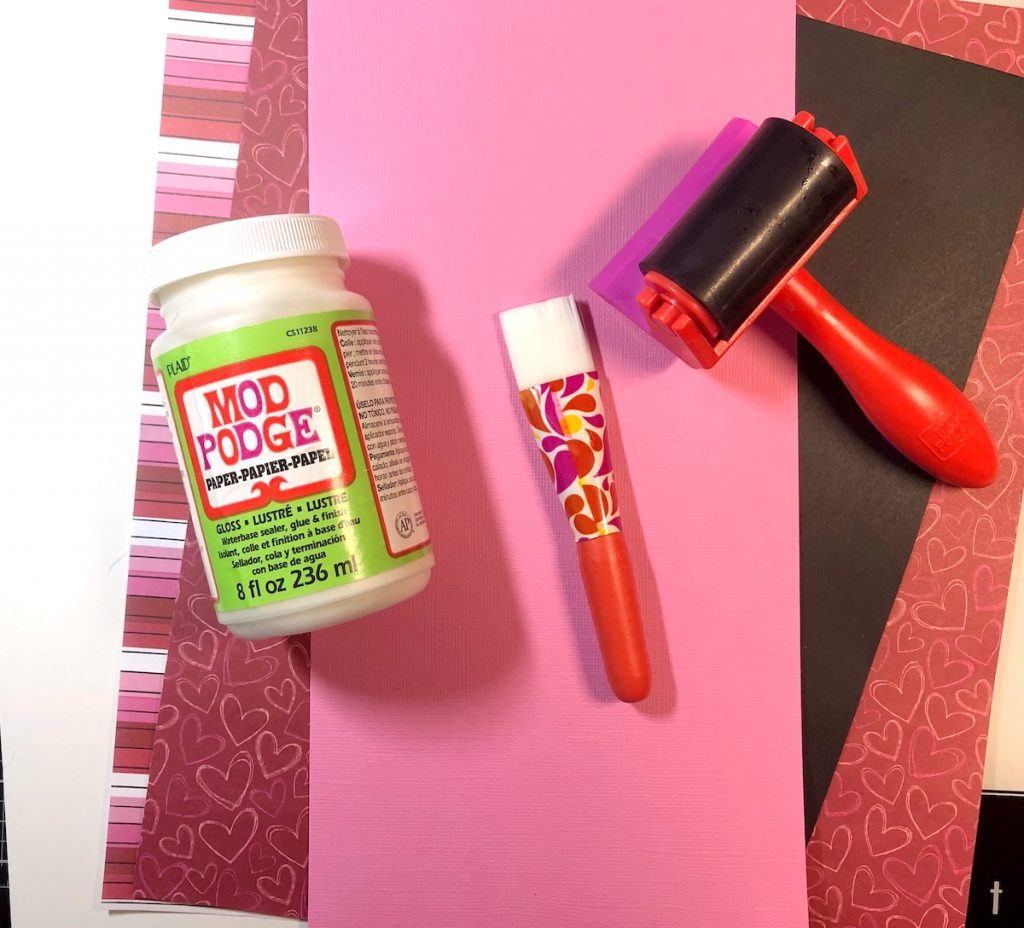
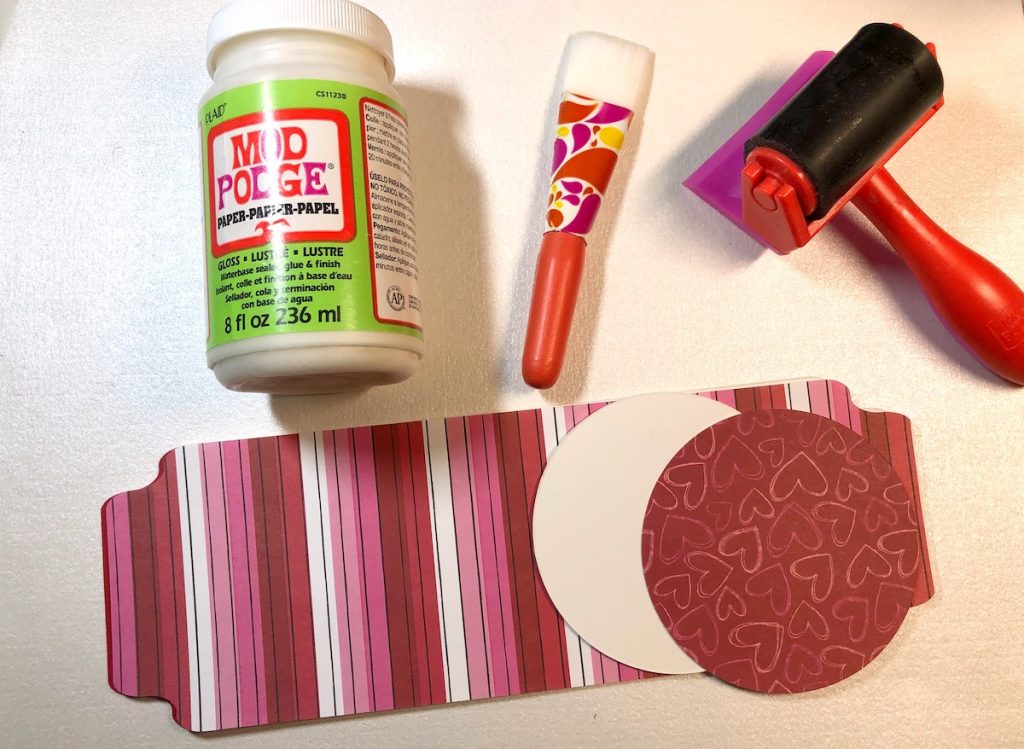
To finish off the project, apply Mod Podge to the mat board. Lay the patterned paper on top and apply another layer of Mod Podge. Add the wording on the sign and apply another layer of Mod Podge. Repeat the process with the circles, layering the patterned paper to the mat board, the photos and the names. Punch two holes into the top of the sign and three holes on the bottom. Attach the eyelets with a Crop-A-Dile. Punch a hole and attach an eyelet to the top the circles. Add red ribbon to hang the sign and the circles. Add the heart stickers to the sign.
Love is…Photo Holder
Supplies for Love is…Photo Holder
- Cricut Maker Machine
- Big Shot Machine
- 2 1/2″ Circle Die
- Crop-A-Dile or Hole Punch
- Mod Podge by Plaid
- Zip Dry Paper Glue by Beacon Adhesives
- Photos
- Patterned Papers
- Cardstock: Pink, Red, Black
- Mat Board
- Ribbon, Red
- Eyelets
- Stickers, Hearts

Fabulous. project… Thank You!!!
Thank you!