
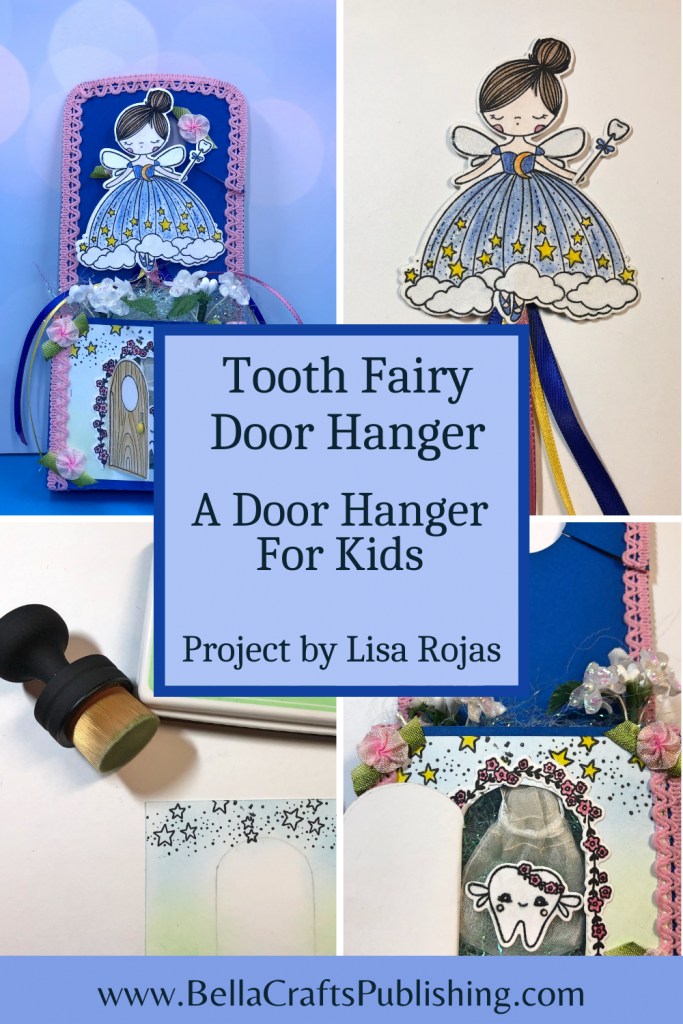
Create this adorable Tooth Fairy Door Hanger for the little ones in your life~
Please note: This post contains affiliate links. If you use these links and make a purchase, we earn a commission at no extra cost to you…
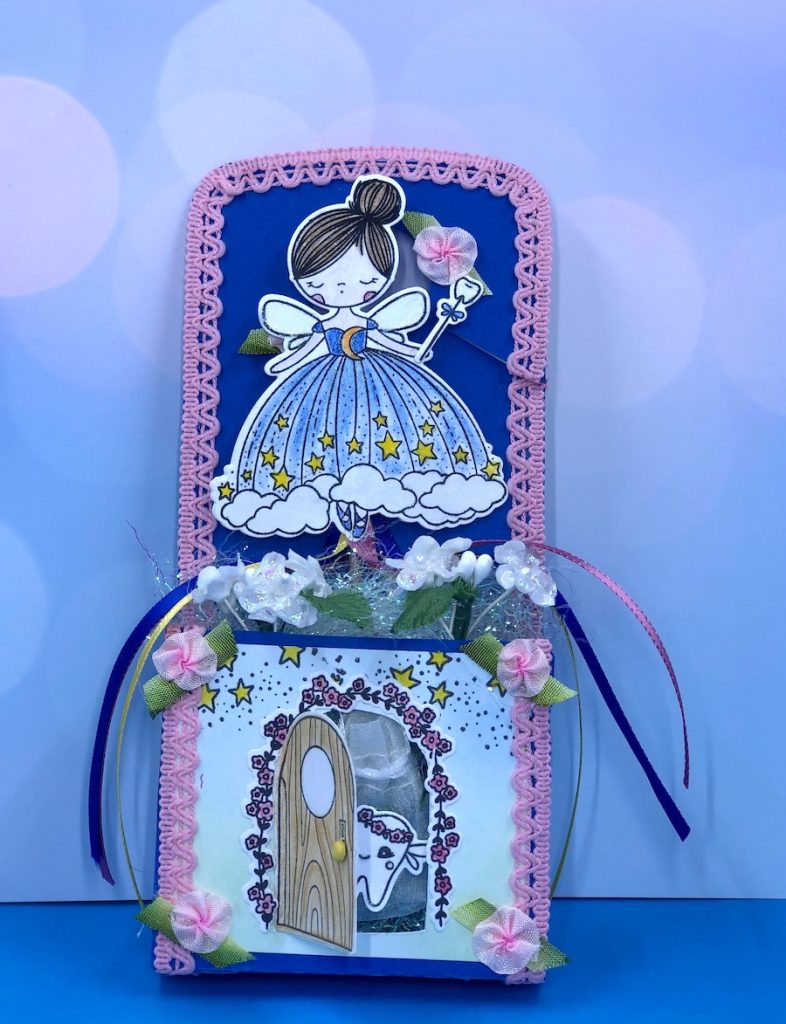
I really enjoy creating projects for my grandkids and this Tooth Fairy Door Hanger is probably one of my favorites. This door hanger has a miniature door that opens up to reveal a tiny bag perfect for holding a tooth until the Tooth Fairy arrives. It also has a removable fairy wand to bring hours of fun to your little ones.
Supplies for Tooth Fairy Door Hanger
Check out the full list of supplies at the end of this post.
Step One:
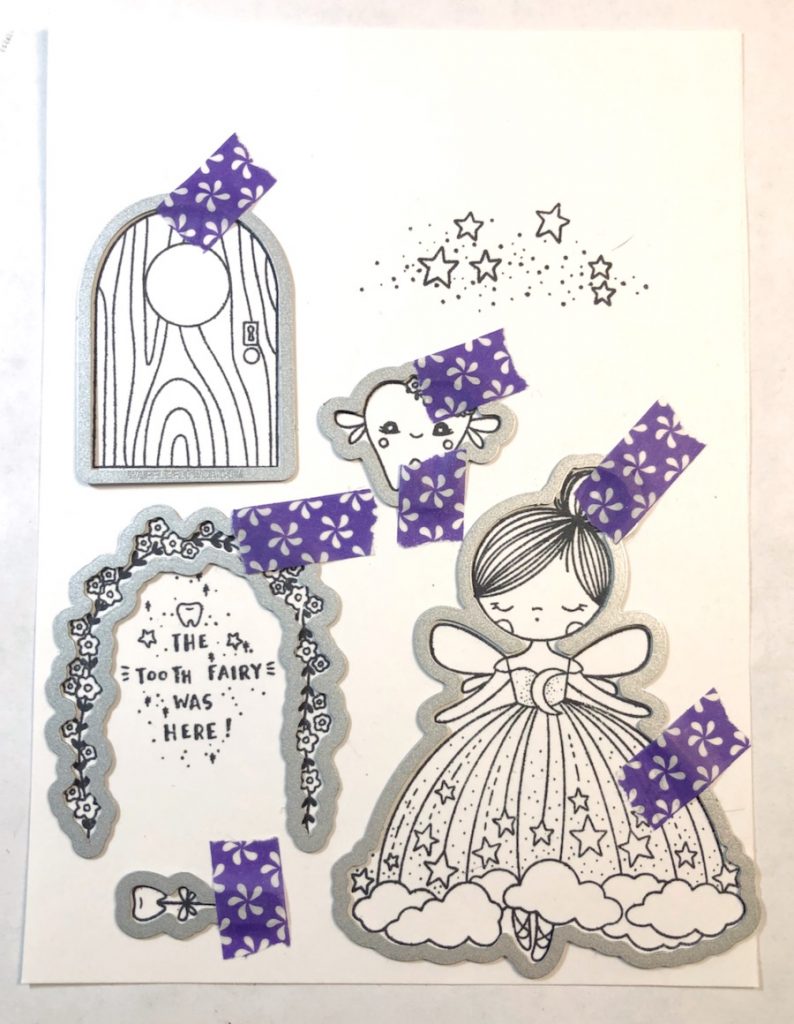
On white cardstock and using a black inkpad, stamp, color and die cut the images with a die cutting machine.
Step Two:

Cut a piece of white cardstock 3 1/4″ x 2 3/4″. Place door on top of cardstock, trace it with a pencil and cut it out, leaving the left side in tact.
Step Three:
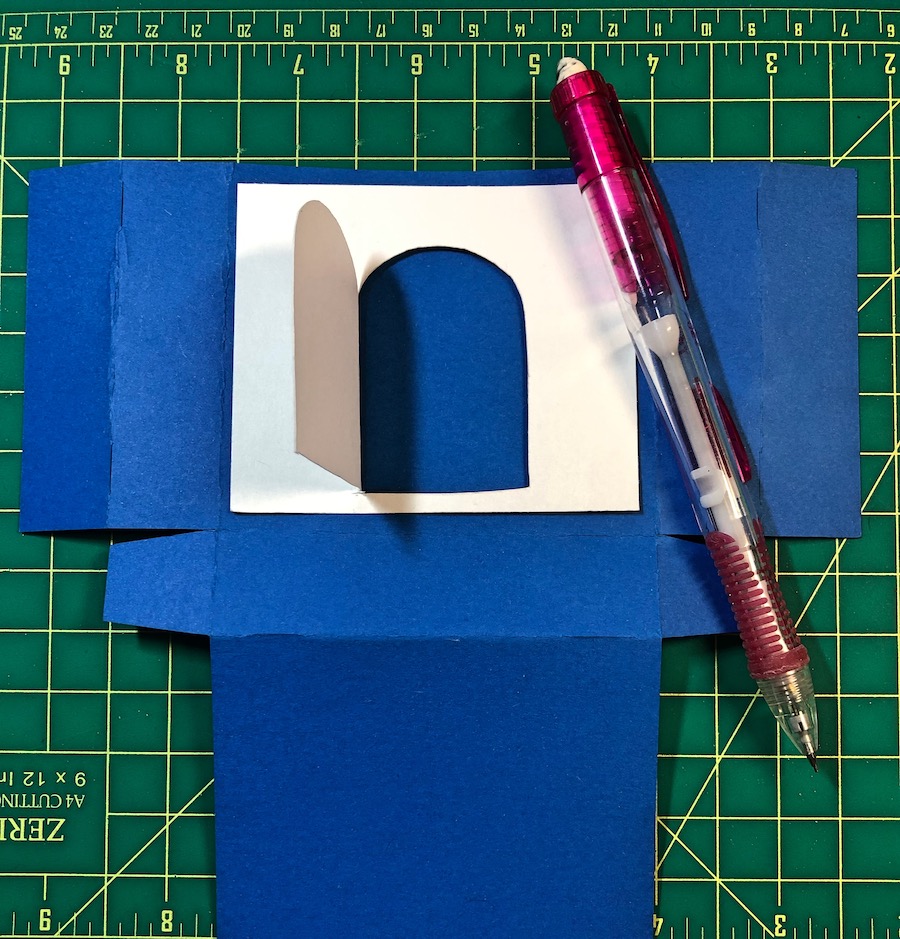
Create the door hanger using the Cricut Maker. The image I used is #M42B1F and then I resized it to 7.011 x 11.995, which works perfect for a 12″ x 12″ piece of cardstock. Next, lay the piece of white cardstock to the front of the door hanger. Trace the door and cut it out.
Step Four:
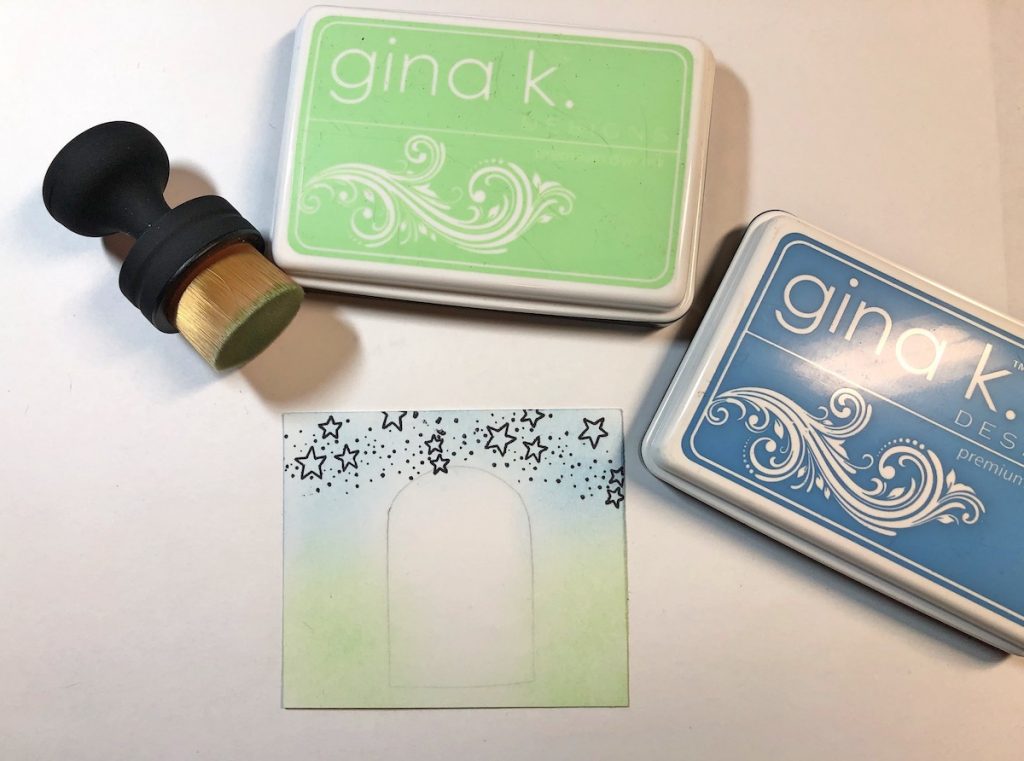
Stamp the stars on the white cardstock and color them. Using the blending brush from Pink and Main and the inkpads from Gina K Designs, add color as shown.
Step Five:
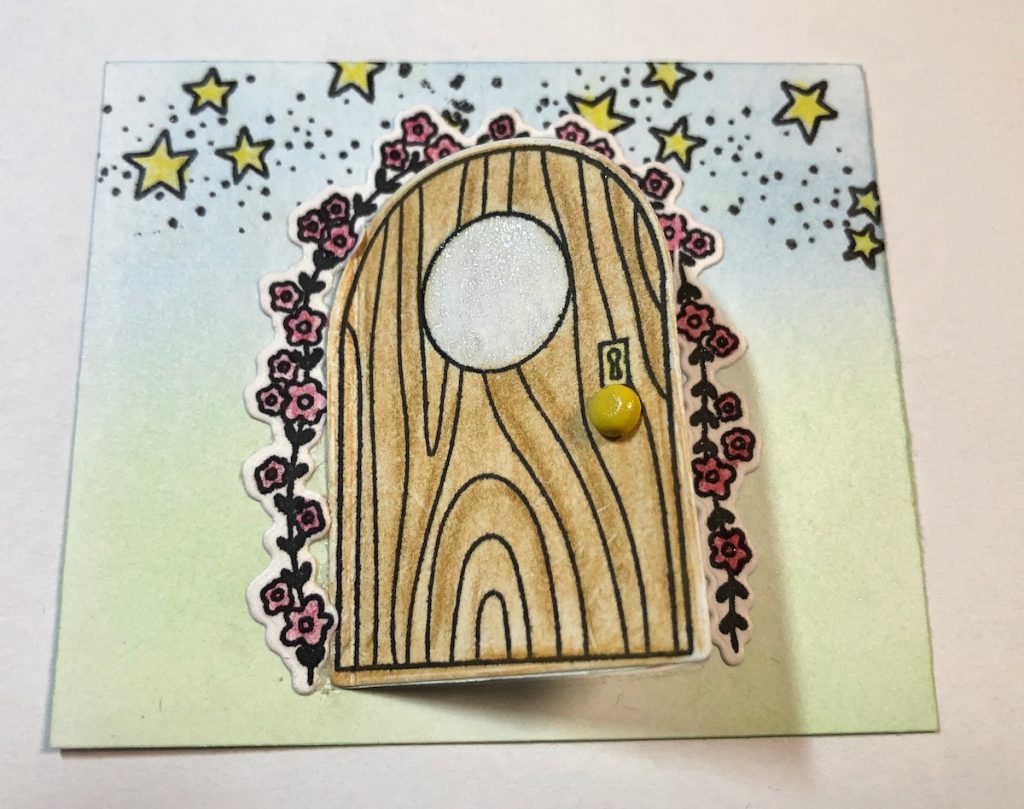
Adhere the floral arch and the door to the white cardstock. Punch a hole in the door and add the brad.
Step 6:

Assemble the door hanger. Adhere the white cardstock to the front and then adhere the pink trim and flowers. Place some iridescent confetti and flowers to the inside of the box.
Step 7:
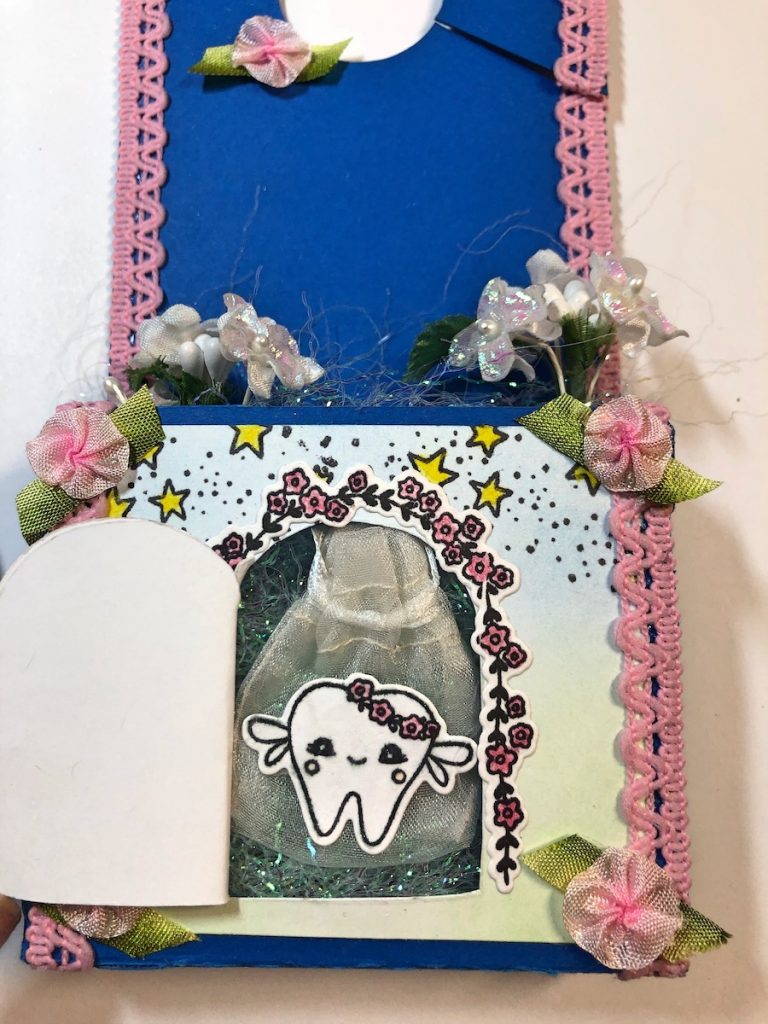
Adhere the tooth image to a small bag. Attach a small Velcro Dot to the ribbons on the bag and place inside of the box. Make sure the Velcro is pressed firmly so the bag can be removed to place a tooth inside.
Step 8:
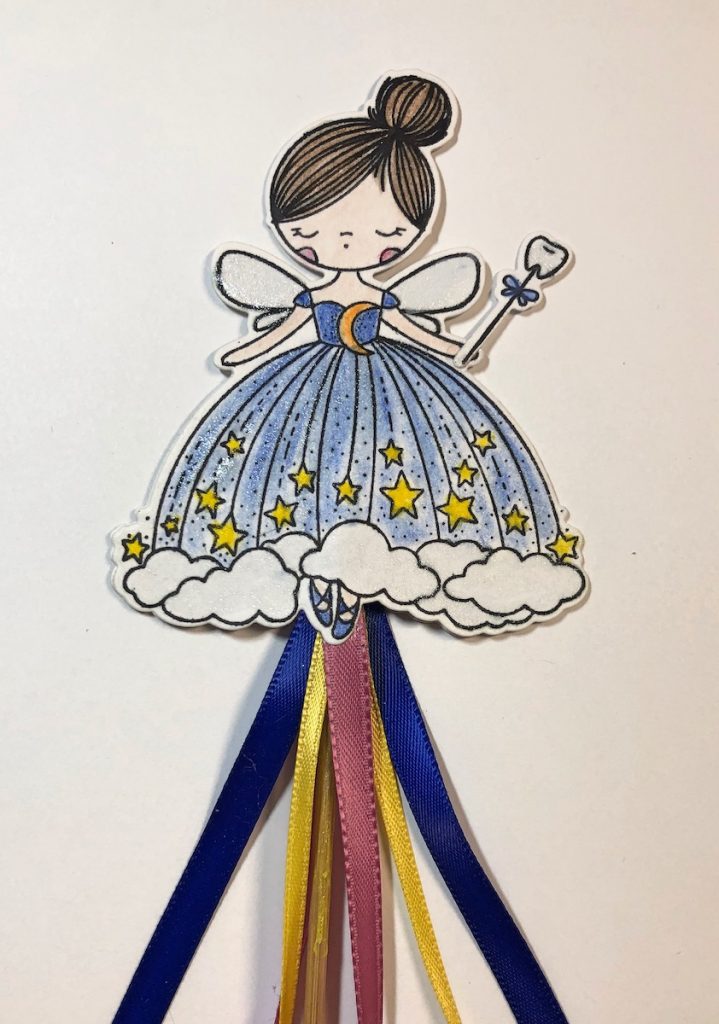
To finish, cut a skewer 7″ long. Adhere the ribbons to the bottom of the fairy’s dress. Using a glue gun, adhere the skewer to one of the fairy images and then adhere both of the fairy images together to create the wand. Place inside of the door hanger and POOF! You’re done!!!
Tooth Fairy Door Hanger
Supplies for Tooth Fairy Door Hanger
- Cricut Maker by Provo Crafts
- Evolution Die Cutting Machine by We R Memory Keepers
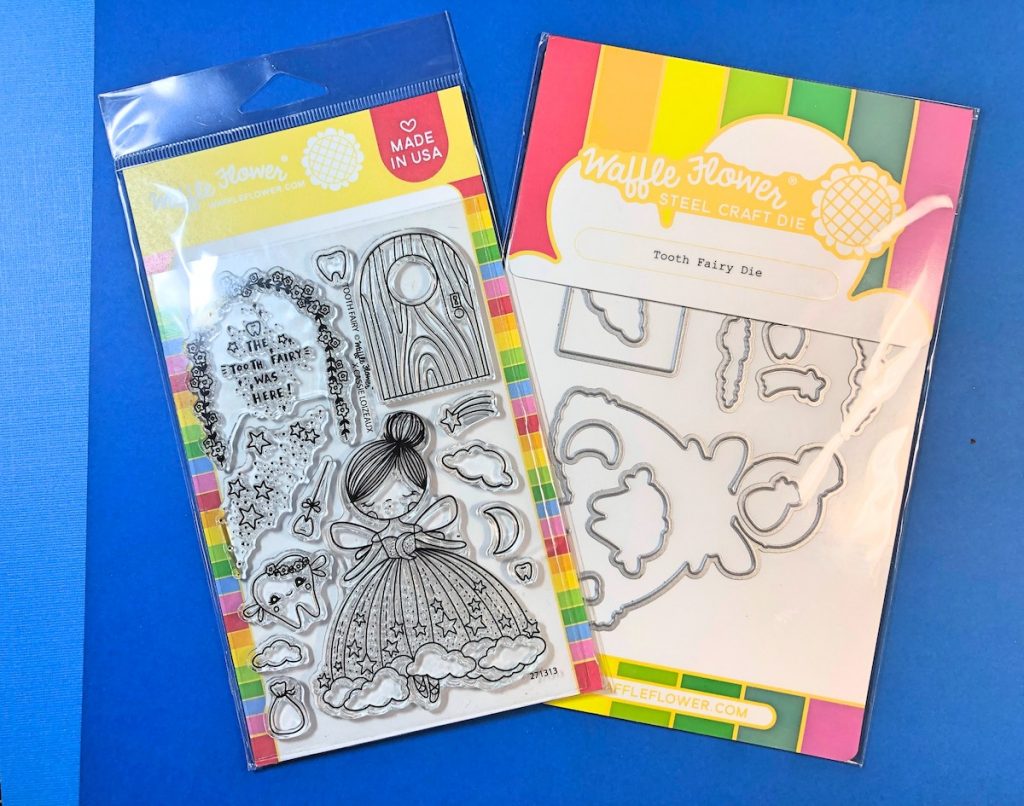
- Tooth Fairy Stamp & Die Cut Sets by Waffle Flower
- Cardstock: White, Blue
- Chalk Pencils by Stabilo
- Inkpads: Black Onyx, Powder Blue, Applemint by Gina K. Designs
- Blending Brushes by Pink and Main
- Spectrum Noir Sparkle Pen
- Trim and Flowers
- Iridescent Confetti
- Zip Dry Paper Glue by Beacon Adhesives
- Glue Gun
- Small Brad
- Ribbon: Blue, Pink, Yellow
- Wood Skewer
- Small Bag
Aww! So cute! I have some grandlittles that would love this!
Yes, they would love it!