Each week we try to bring you some fun and exciting craft projects that you’ll want to make for yourself. This week we’re going to be creating a super fun 4 sided slider card and some quick and easy tags. We think you’re going to love both of the projects, so let’s get crafty!
Please note: This post contains affiliate links. If you use these links and make a purchase, we earn a commission at no extra cost to you…
For our first project, Ann starts off by using some gorgeous dies from Impression Obsession and her new patterned papers from Emerald Creek to create some super quick and easy tags that you can use to hold gift cards or tie around a gift for a special friend.
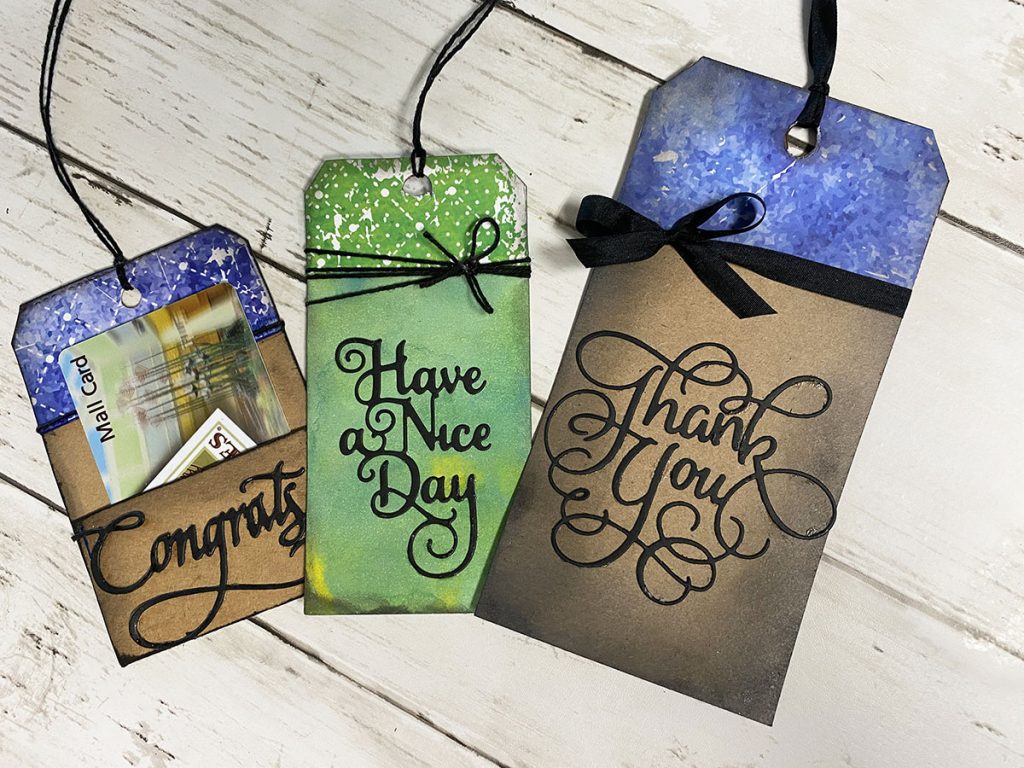
Watch the video to see how easy these are to create…
Ann is sharing some Quick and Easy Tags
Posted by Bella Crafts Publishing on Wednesday, July 8, 2020
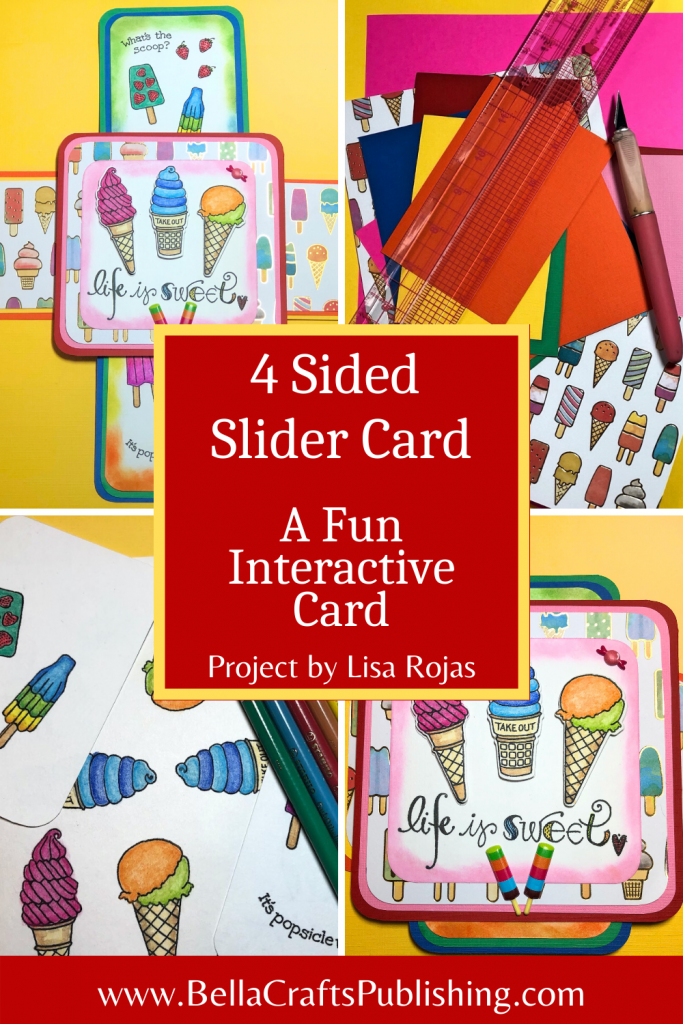
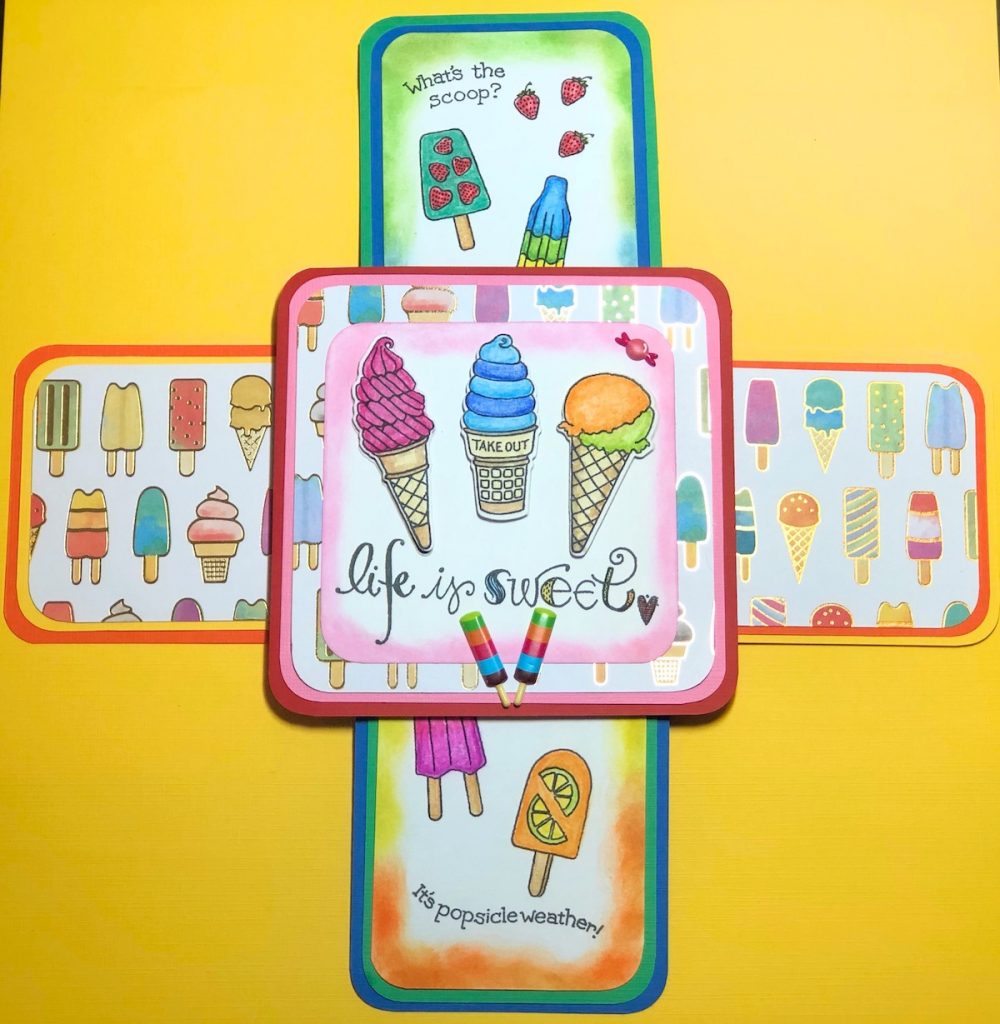
Our second project is a fun 4 sided slider card created by Lisa. Using rubber stamps and dies from this week’s sponsor, Impression Obsession, and some colorful inkpads from Gina K. Designs. This interactive card reminds us of summertime and yummy ice cream treats that are sure to bring a smile to anyone that sees it. Below are some basic instructions for this project, but if you want a full tutorial click on the link below the photo of the finished project.
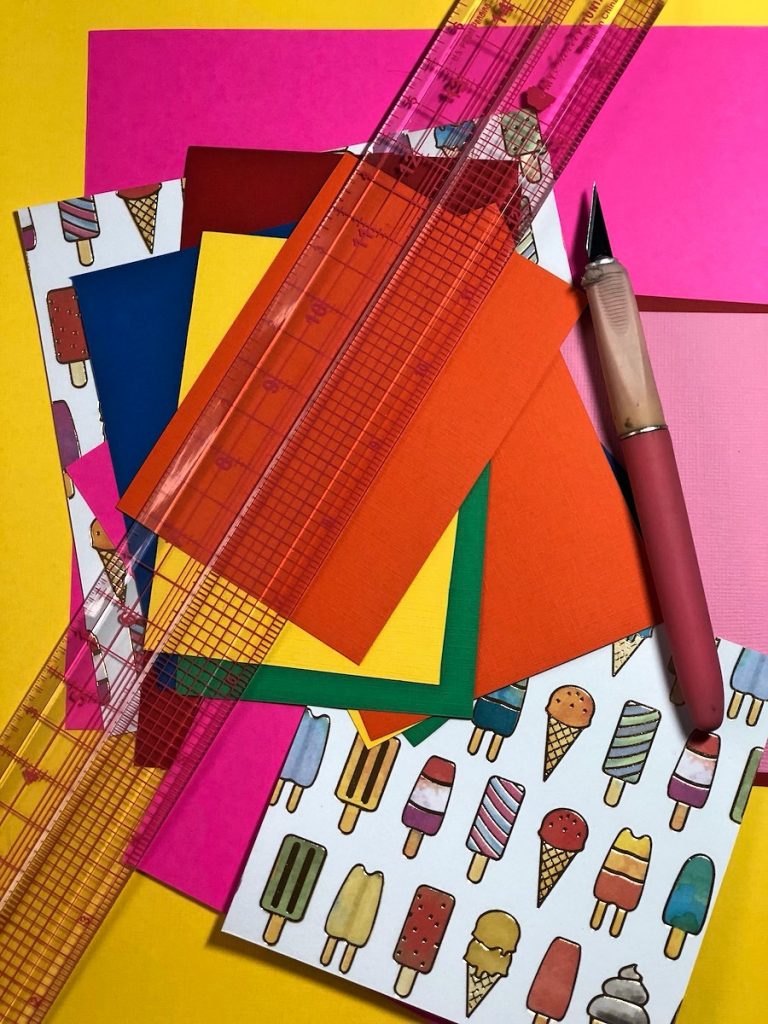
Gather your supplies. See video for a full list.
Step One:
Cut the papers as follows-
Front Cover
- 5 ¼” x 5 ¼” Red Cardstock
- 5″ x 5″ Pink Cardstock
- 4 3/4″ x 4 3/4″ Patterned Paper
- 4″ x 4″ White Cardstock
Inside Panel
- 5″ x 5″ Yellow Cardstock- (2)
Mechanism
- 4 3/4″ x 4 3/4″ Yellow Cardstock- (2)
Sliders
- 5″ x 3 1/2″ Blue, Green, Yellow, Orange (1 each color)
- 4 3/4″x 3 1/4″ Blue, Green, Yellow, Orange (1 each color)
- 4 1/2″ x 3″ Patterned Paper (2) and White Cardstock (2)
- 3 1/2″ x 8 1/2″ Plastic Bag (2)
Use a corner rounder to round all paper edges. Layer all the papers and adhere with glue.
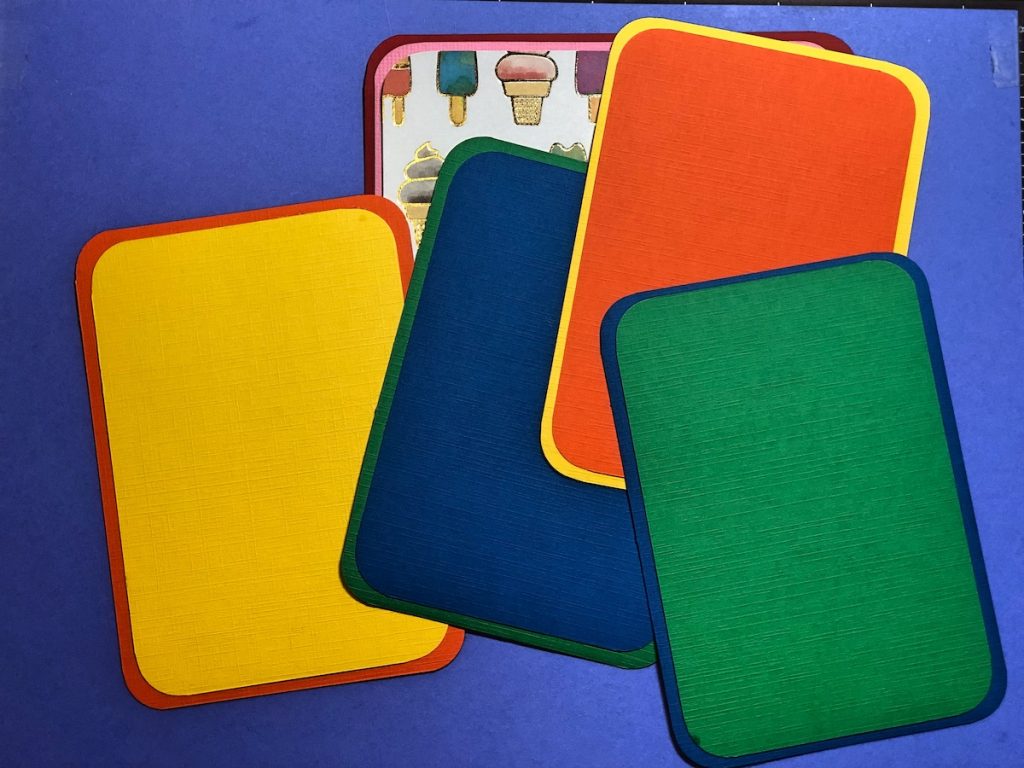
Step Two:
On the two piece of white cardstock that are 3″ x 4 1/2″ stamp images with black inkpad and then on a scrap piece, stamp the three ice cream cones twice. Next, color the images and die cut the ice cream cones.
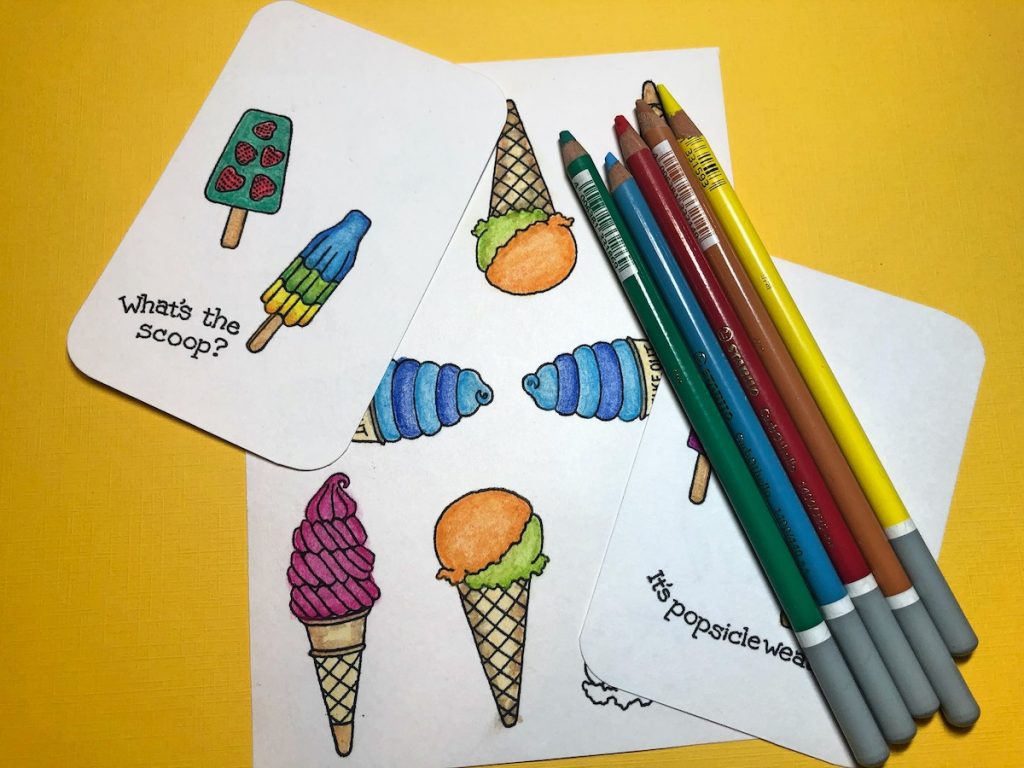
Step Three:
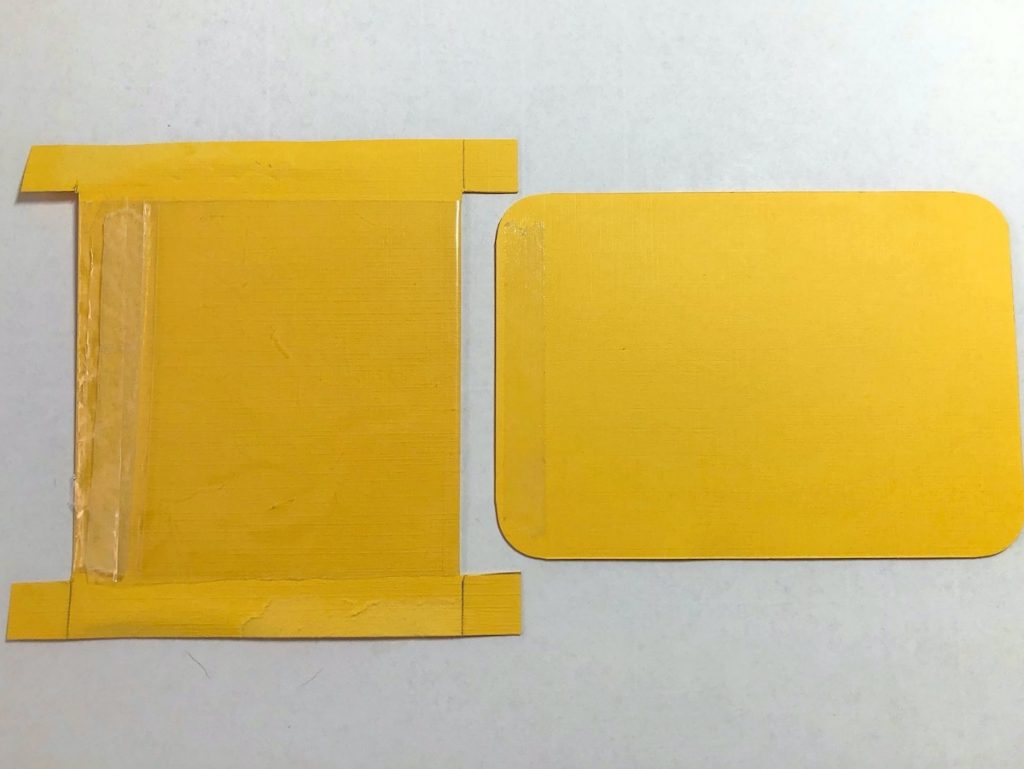
For the mechanism, measure 1/2′ on each end of the cardstock.
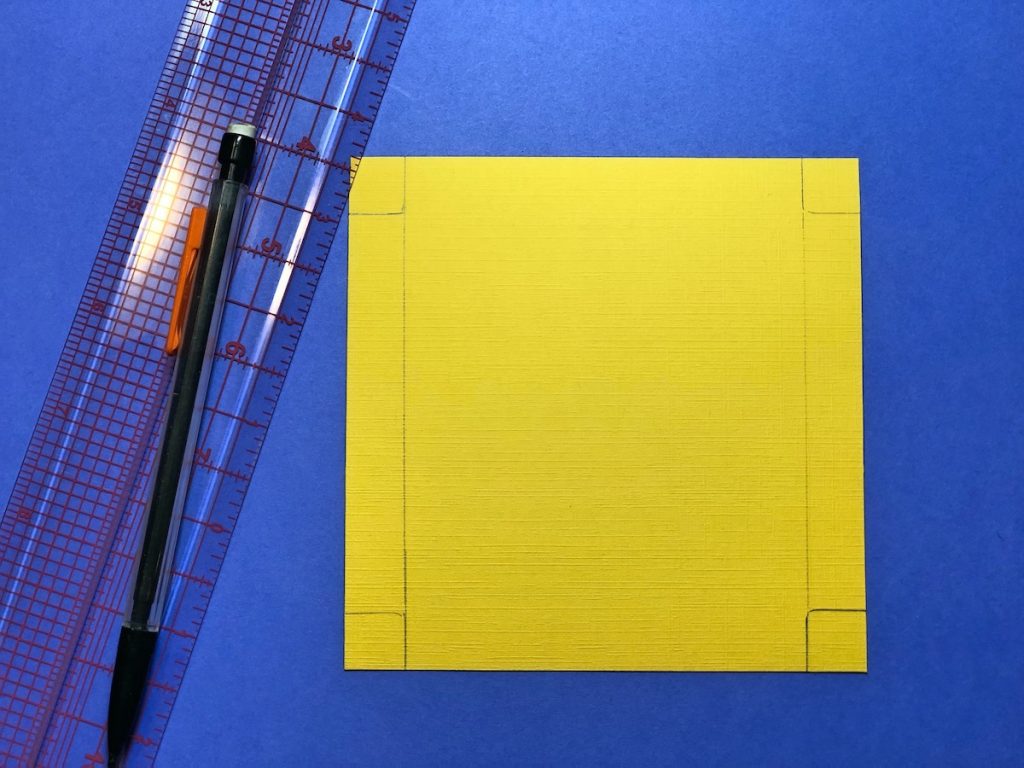
Step Four:
Cut out the two sides of the cardstock.
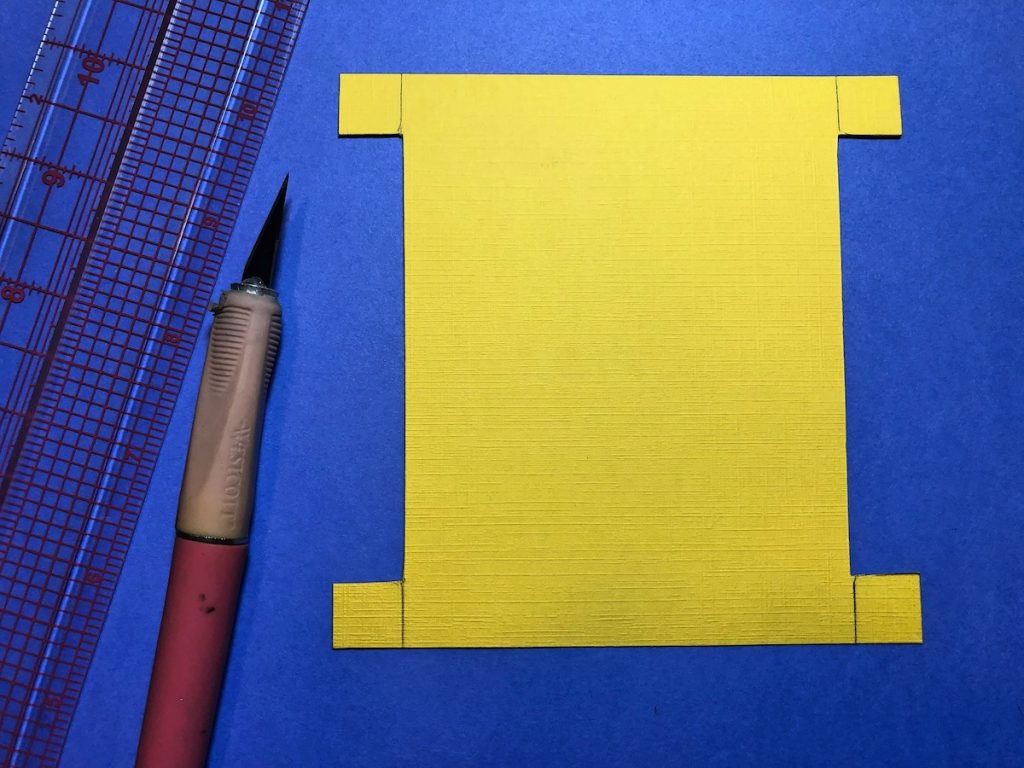
Step Five:
Wrap the plastic around the cardstock and attach with double-sided tape. On the back of the side piece, attach to the plastic with double-sided tape.
Step Six:
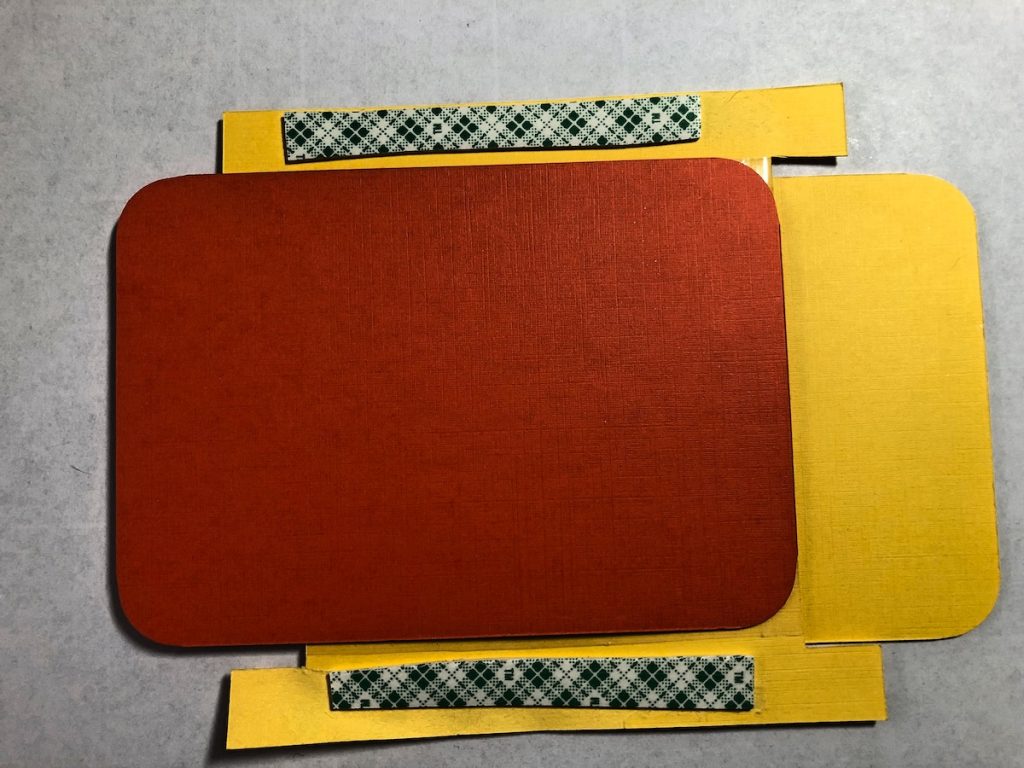
On the front of the second side piece, adhere to the back of slider.
Step 7:
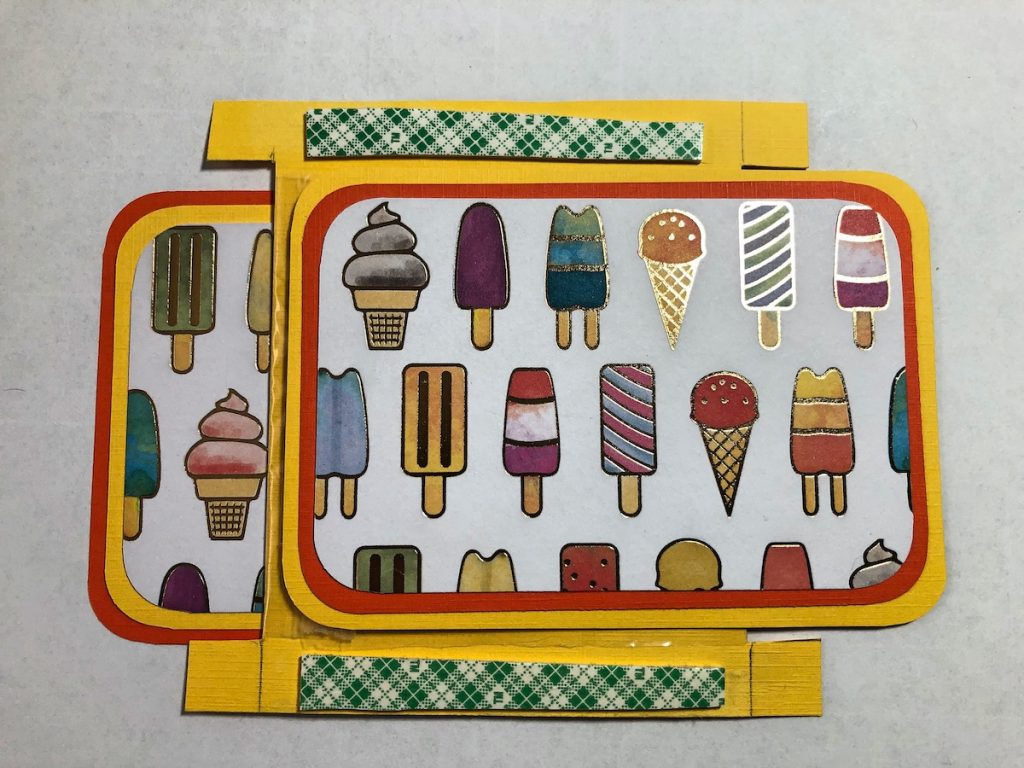
Apply foam tape on both sides of slider and also the back sides.
Step 8:
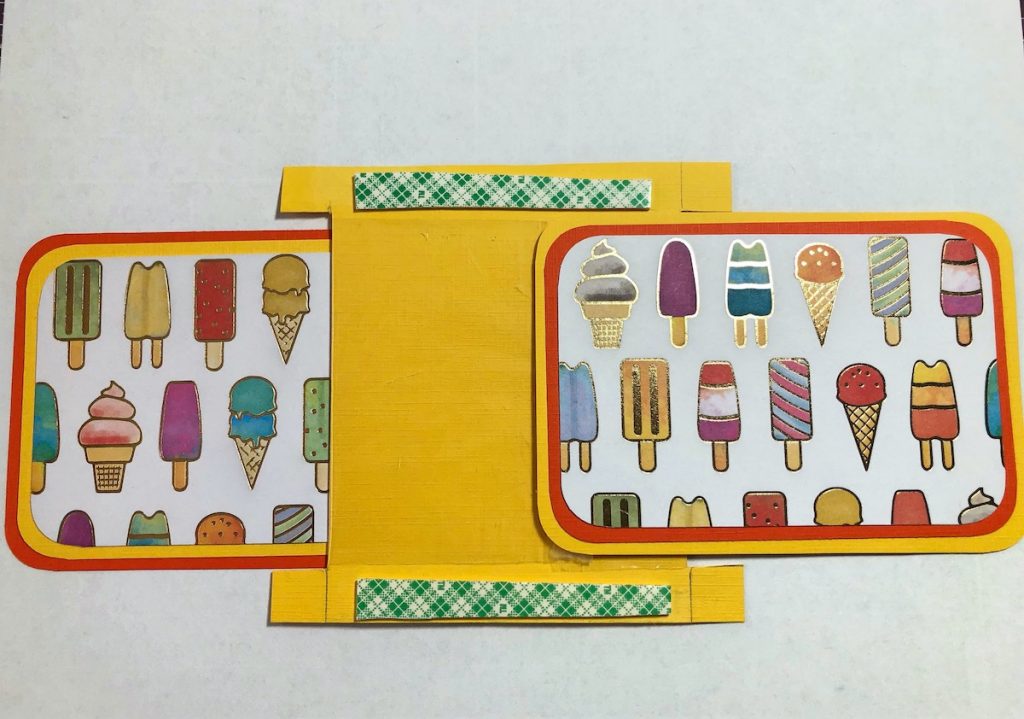
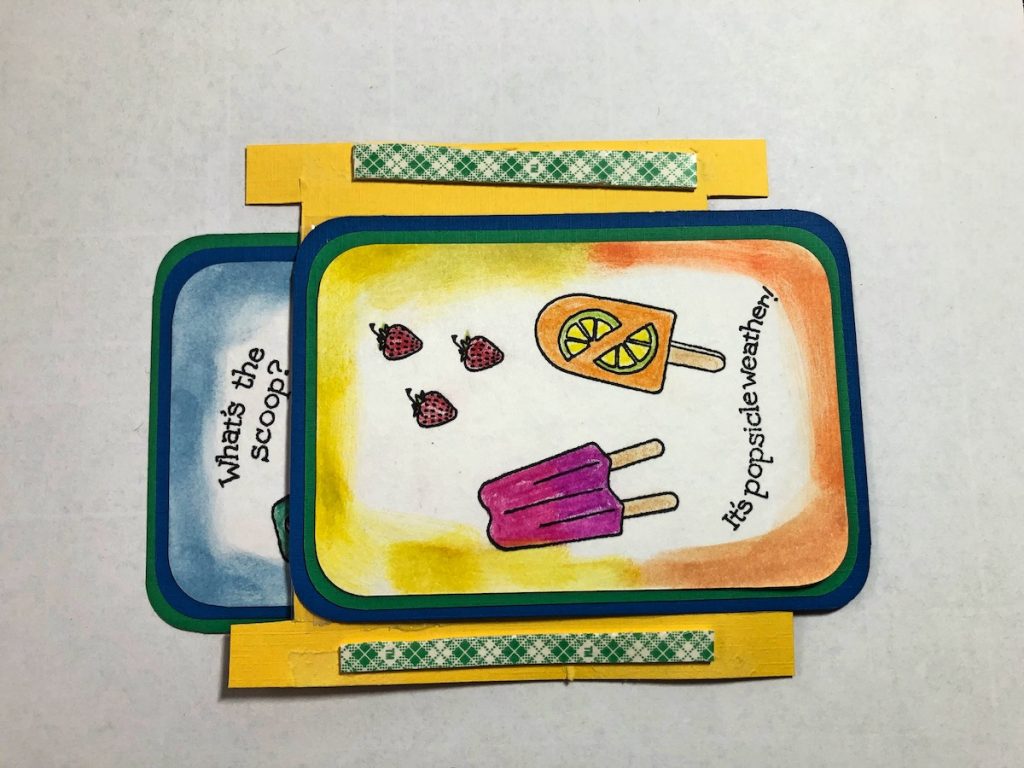
This is what it looks like when it open
Step 9:
Repeat the same steps for the top and bottom pieces of the second slider. Apply foam tape on front and back of slider.
Step 10:
This is what the second slider looks like.
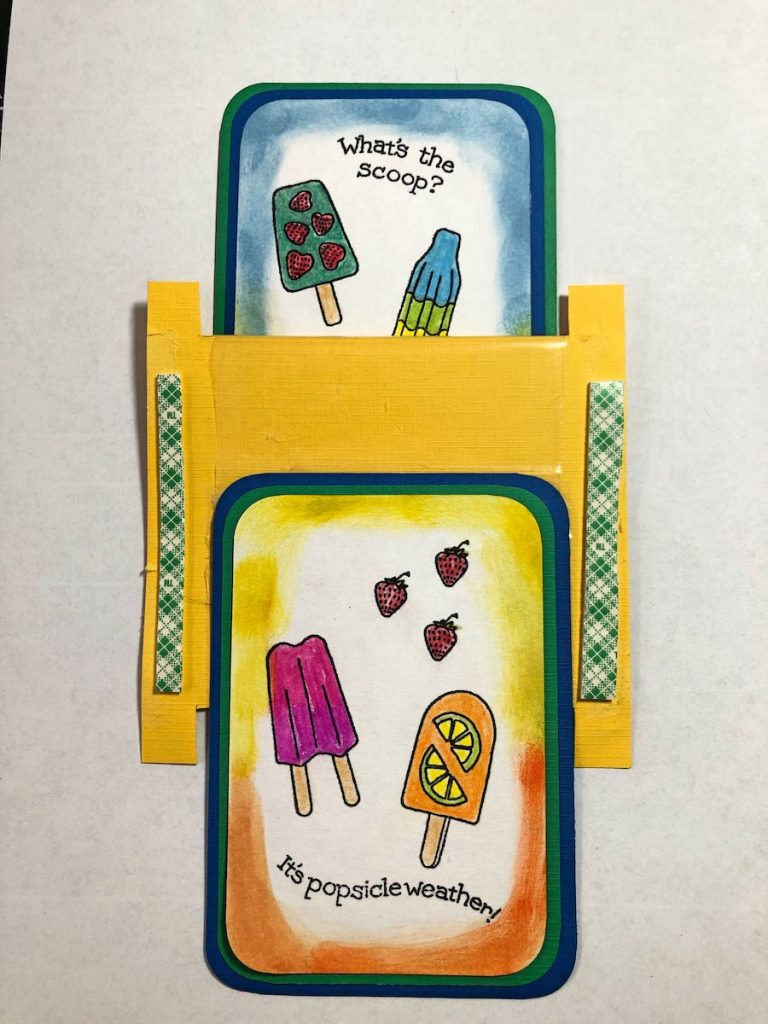
Step 11:
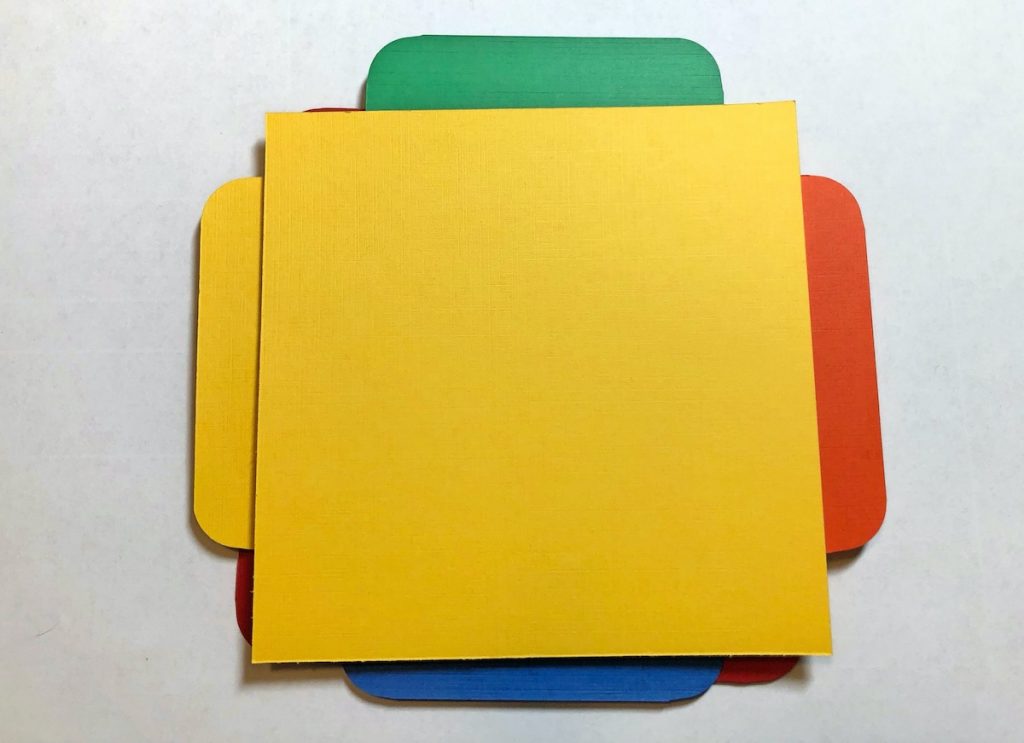
Lay the cardstock on top of the foam tape and adhere to the first slider as shown.
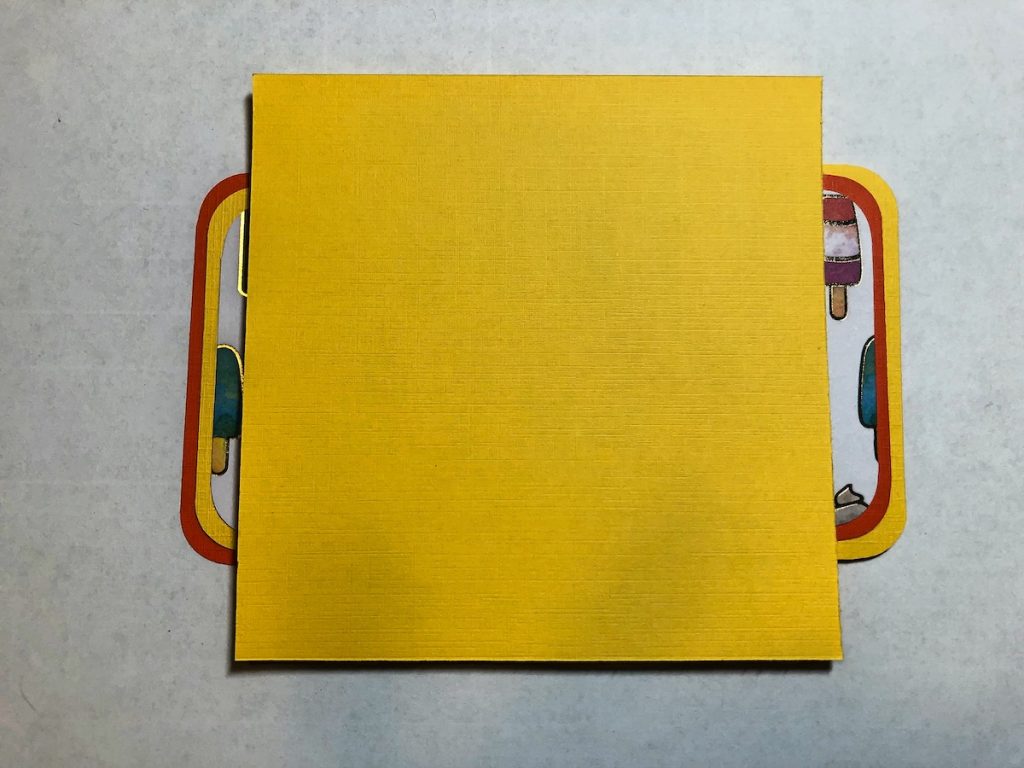
Step 12:
Lay the second slider on top of the yellow cardstock (and the first slider) and adhere with the foam tape.
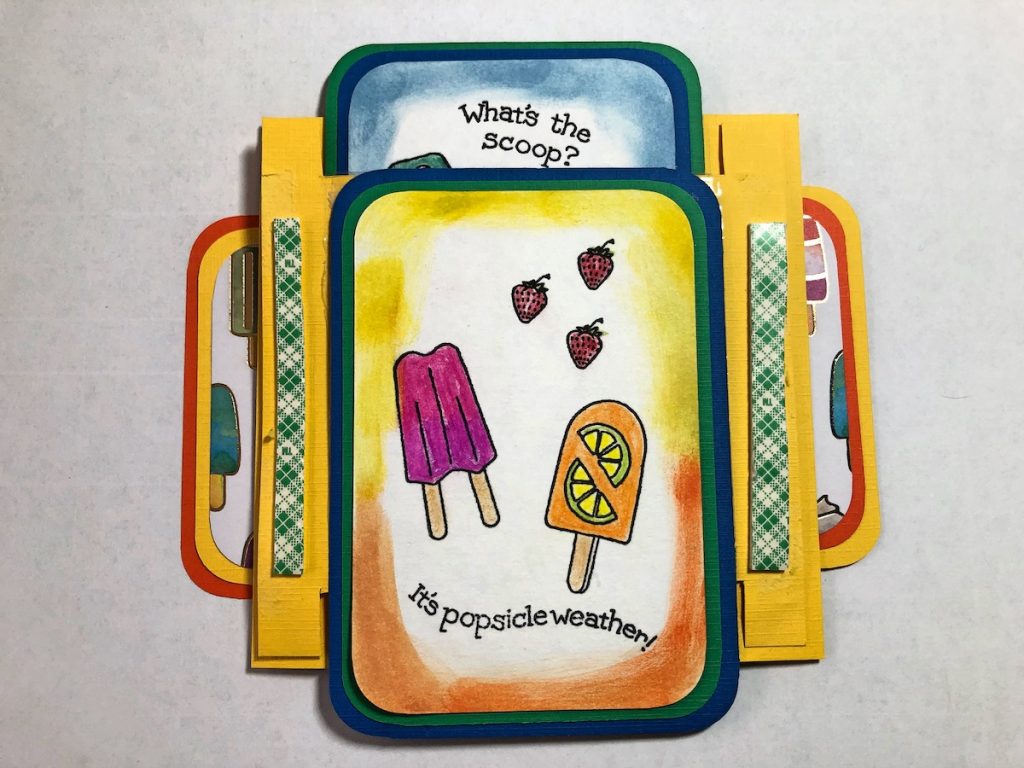
Step 13:
Layer the ice cream cones with foam tape and adhere to the top piece. Ink the edges. Stamp “Life is Sweet”. Lay cover piece on top and adhere to the foam tape.
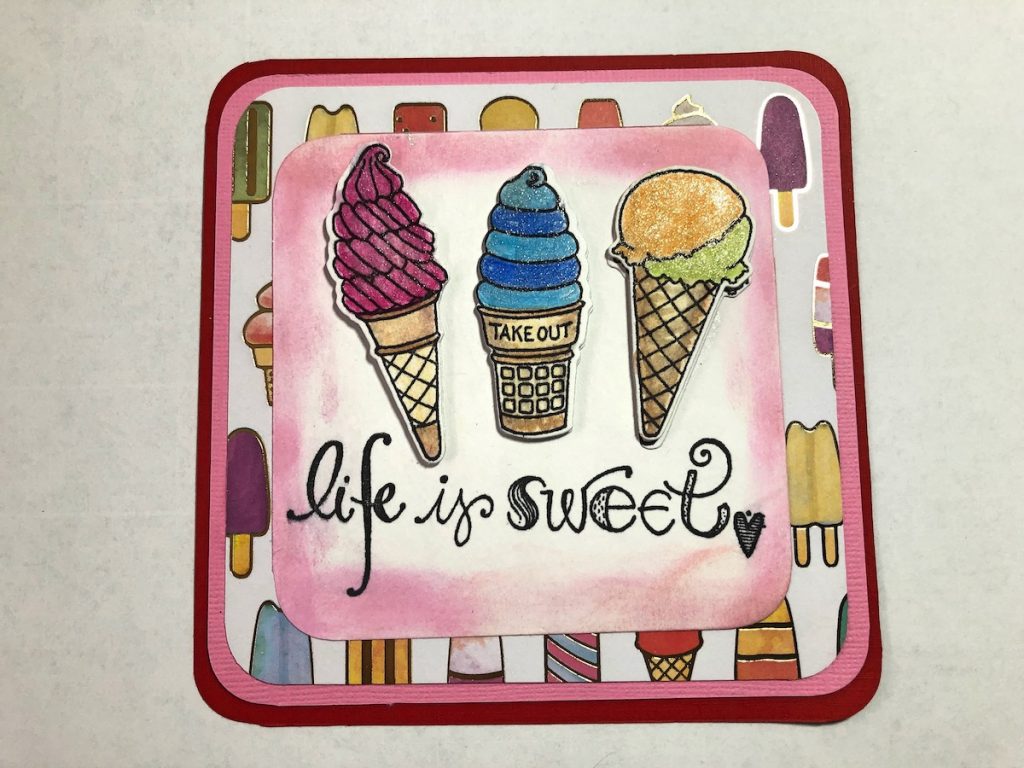
Step 14:
Adhere the second piece of the yellow cardstock to the back of the slider card and you’re done! Watch the video to help with instructions if needed.
Below is the Facebook Live with complete instructions on how to put this together…
Along with our projects each week, we work with amazing companies that are very generous and supply our readers and viewers with awesome prizes for our giveaways. They range from $25.00 to $50.00 gift certificates to product packages filled with cool stuff. Our sponsor this week is Impression Obsession and they are giving away a $25.00 gift certificvate! In order to be entered in our giveaway you need to watch our Facebook Live videos to find out how. Don’t miss out! You have until Tuesday, July 14th at midnight CST to enter.
We hope you create one of these fun 4 sided slider cards or some quick and easy tags! Or even better…make both!!!
If we ever inspire you to create a project we would love for you to share it in either the comment section below or you can join us in our crafty fun Facebook Group~ Do You Love To Craft. We would love for you to come craft with us and show us all your crafty project!
Don’t forget to join us every Wednesday on our Bella Crafts Publishing’s Facebook Page at 10:00 am PST (12:00 pm CST, 1:00 pm EST and again at 2:00 pm CST (12:00 pm PST, 3:00 pm EST) for two brand new crafty videos and a new giveaway. Hope to see you there~ Ann & Lisa


