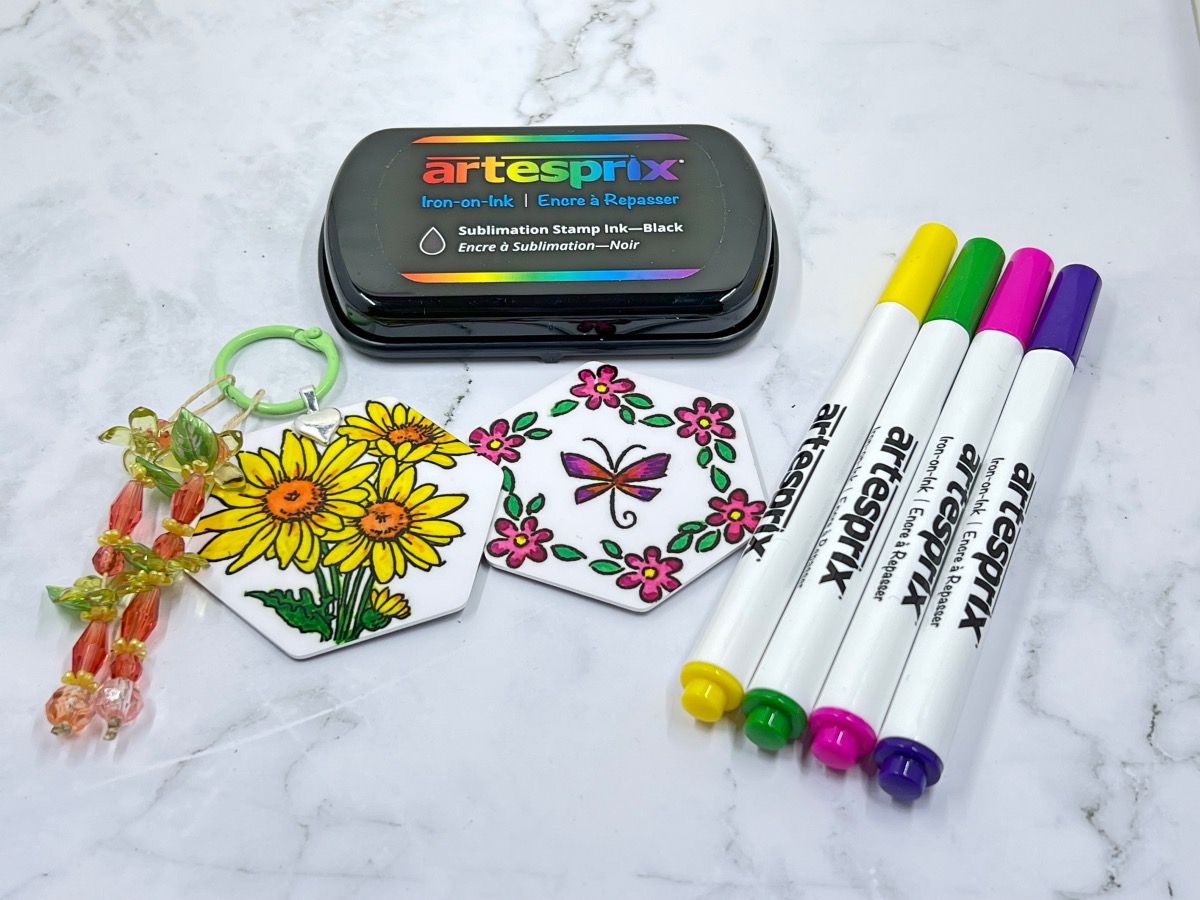
Create this Sublimation Keychain and Magnet with markers and inkpads, using your very own rubber stamps!
Please note: This post contains affiliate links. If you use these links and make a purchase, we earn a commission at no extra cost to you…
If you have never tried this technique you are in for a fun time! I have been wanting to try sublimation for a while now, but I was always a little nervous about it. Then I was told that I could use my stamps, along with sublimation markers and inkpads from Artesprix and I lost my mind!!! This sublimation keychain and magnet were my first projects and they came out great! I can’t wait to continue on this sublimation journey and I really hope you’ll join me as I create more projects and learn new ways to use it. Lisa~
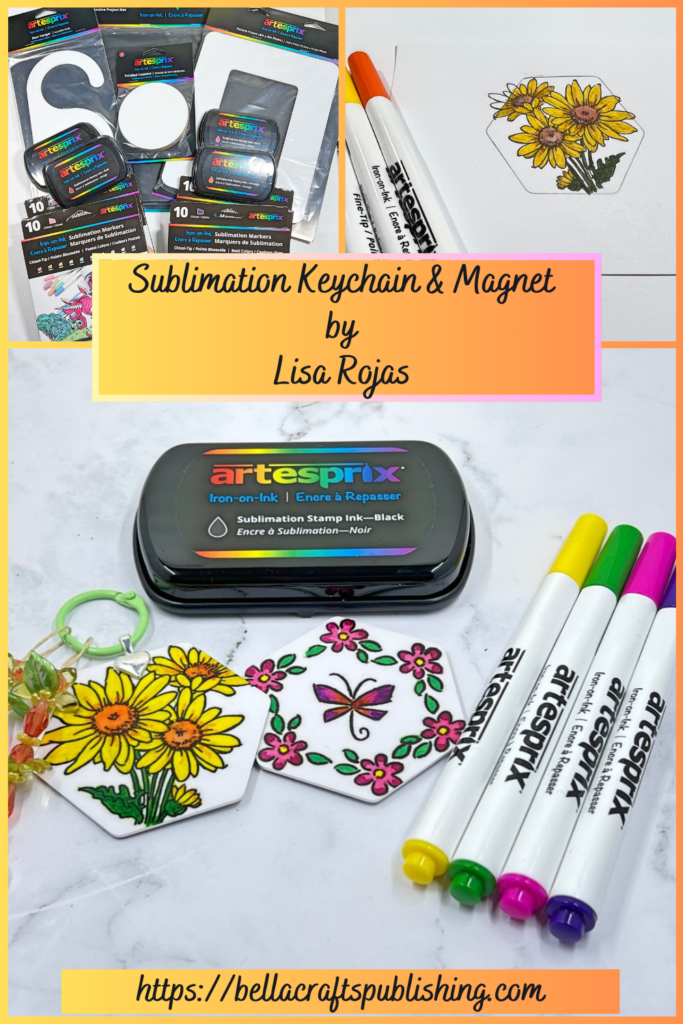
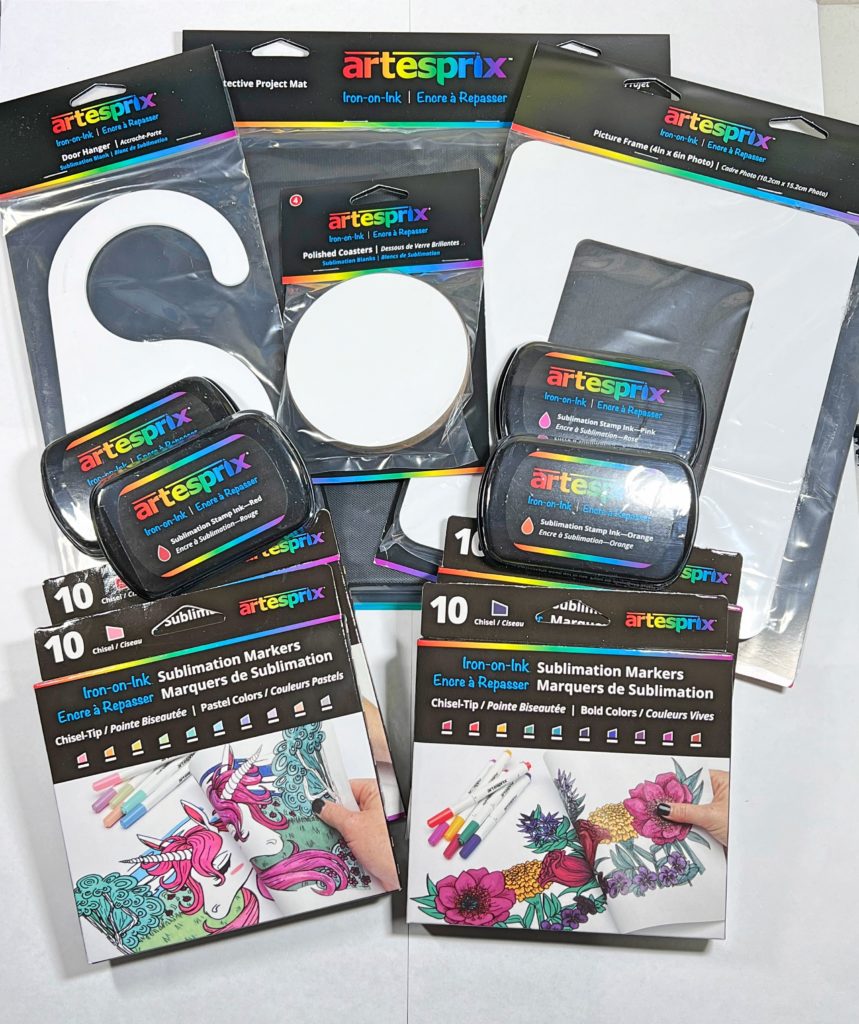
Supplies for Sublimation Keychain and Magnet
Check out the full list of supplies at the end of this post.
Step One:
Note~ Sublimation requires certain types of materials that you will need to use. The products that I used in these projects are from Artesprix and they are listed in the supply list below.
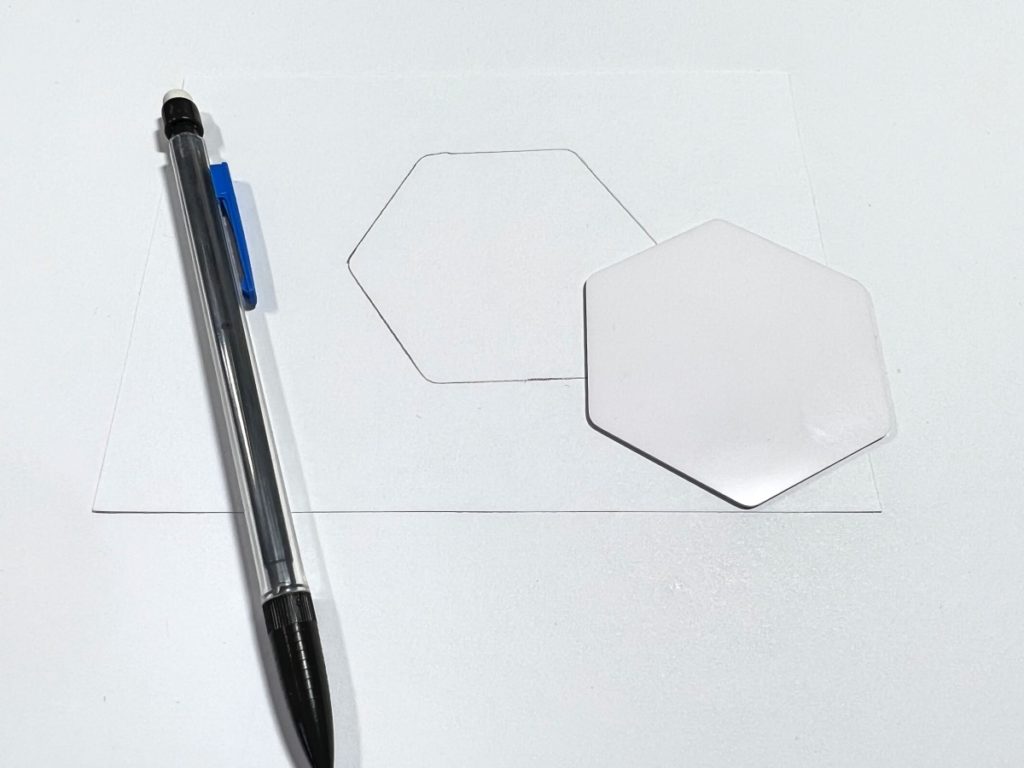
Cut a piece of plain printer paper a little bigger that the sublimation blank and trace the blank with a pencil only. Pens, markers etc will not work.
Step Two:
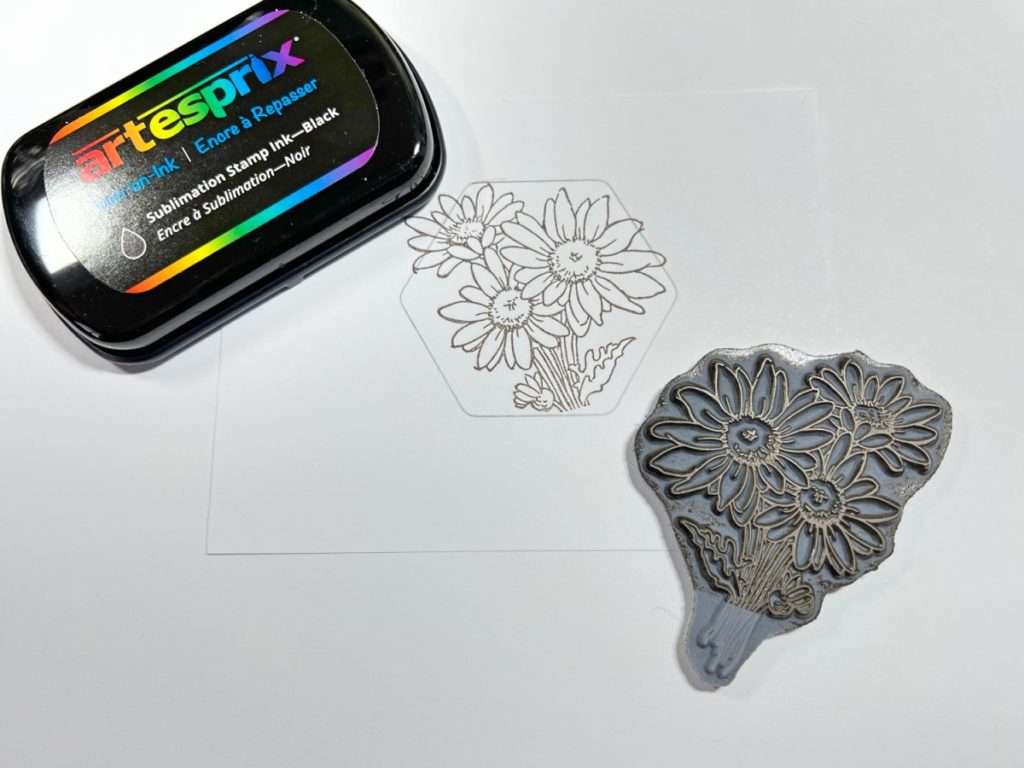
Use a black inkpad and stamp the image onto the printer paper as shown. The colors in the inkpads and markers will look muted at first like the photo below. The in actuality looks brown, but once it’s heat set it will be black.
Note: The stamped image will be in reverse. Keep that in mind especially with words and sentiments. You will have to mirror the image or check out the new sublimation stamps that are available for sale.
Step Three:
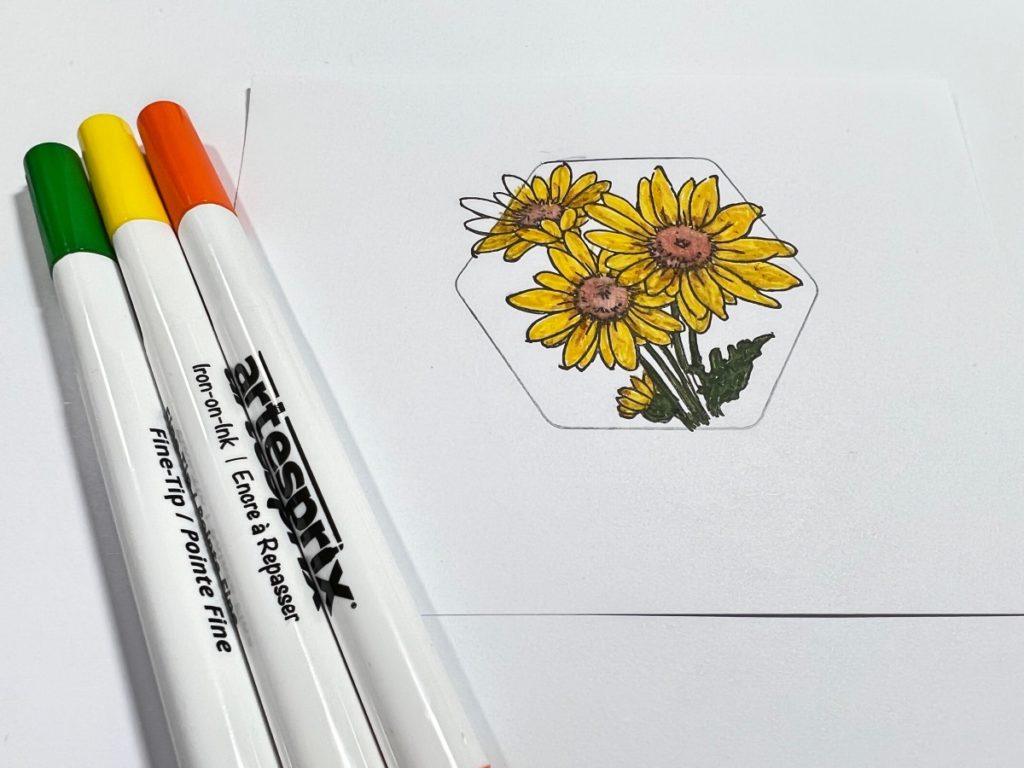
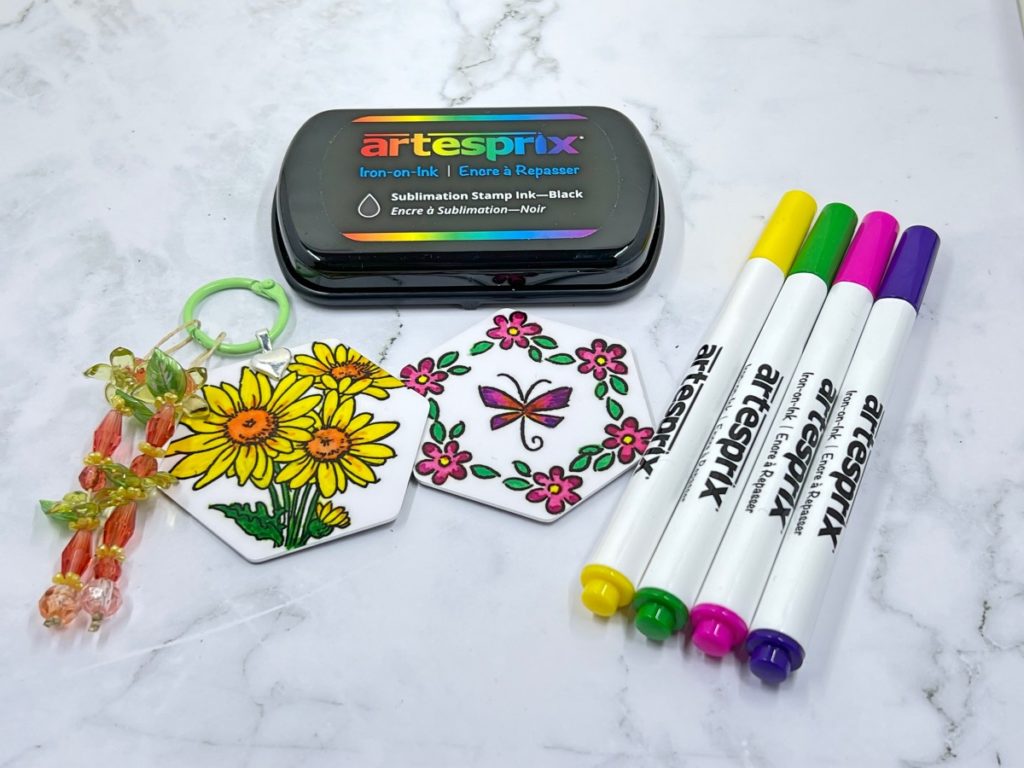
Color in the stamped image with sublimation markers. Notice the difference with the colors from the marker lids and the colored flowers.
Step Four:
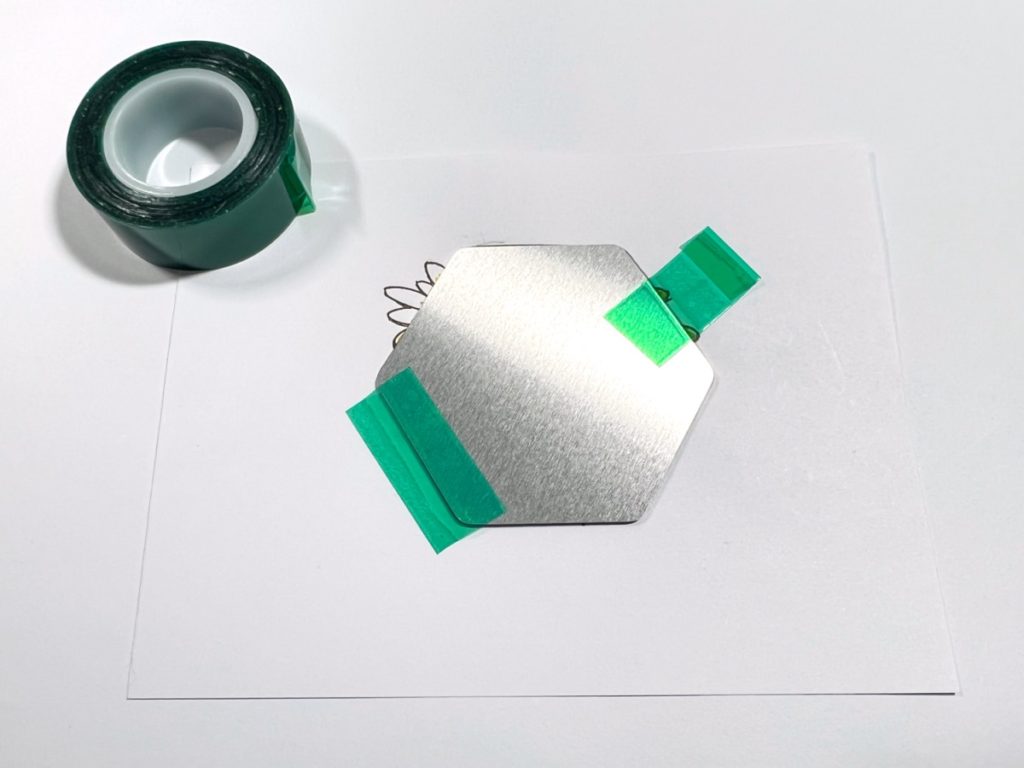
After the image has been colored, place the sublimation blank facedown on top of the stamped image. Secure it in place with the heat tape.
Step Five:
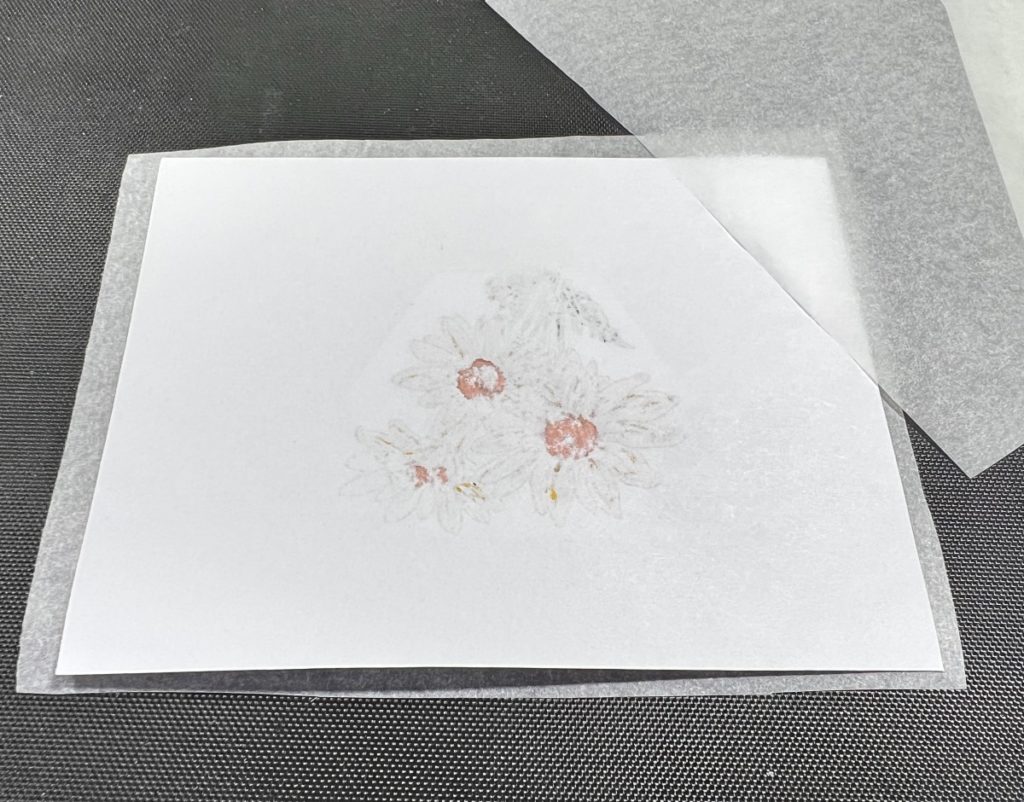
Lay the project mat down and create a sublimation sandwich starting from the bottom to the top. Cut a piece of protection paper a little larger that the printer paper and lay that down first. Next, lay the magnet with the image face down and place another piece of protective paper on top. Set the Heat Press temperature at 400 degrees. Place on top of the sandwich and hold in place for 75 seconds.
Note: Artesprix has different types of sublimation blanks like picture frames, coasters, etc for you to use. They also have a lot of videos, written instructions and FAQ. Be sure to check out their website.
Step Six:
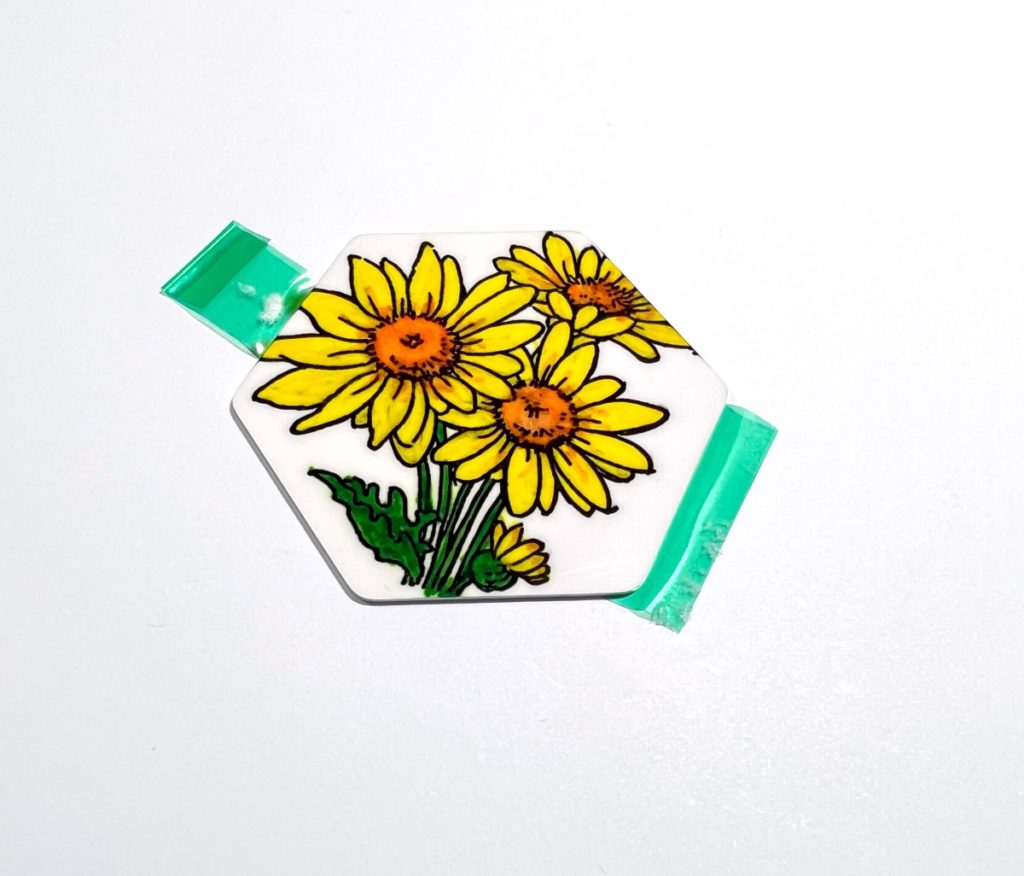
Let the blank cool down a little because it will be very hot once you remove the Heat Press. Remove the printer paper and the heat tape to reveal the awesome design!
Step Seven:
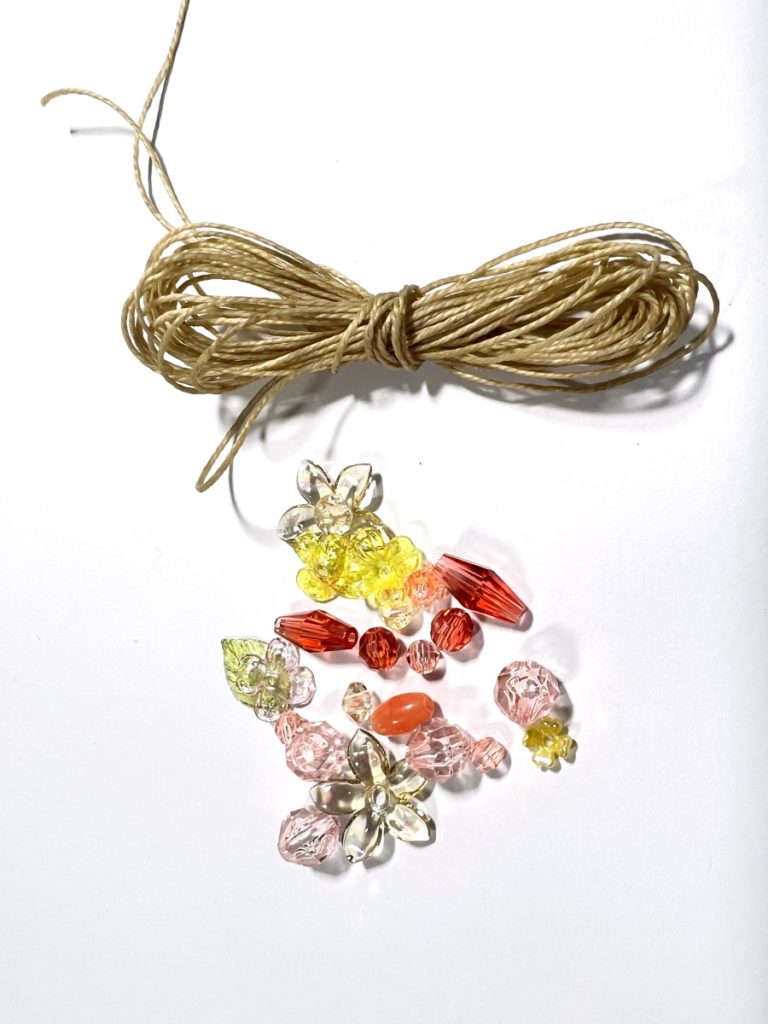
To finish the project, adhere a jewelry bale to the top of the blank with E6000 and let dry. Cut two piece of wax thread 5″ long. Tie a knot on one end and add the beads until you have the desired length. Leave about 3/4″, make a loop and run the end of the thread back through a few beads, tie a knot and cut off the excess thread. Repeat with the other piece of thread. Add a ring through the bale and add the beads. The magnet was created the same way, but I used different stamps and marker colors. Once the blank has been heat set, attach a piece of magnet to the back and it’s done!
Sublimation Keychain and Magnet
Here’s Another PIN For You To Share!
Supplies for Sublimation Keychain and Magnet
- Printer Paper
- Rubber Stamps, Various
- Sublimation Magnet Blanks (2) by Artesprix
- Sublimation Marker Set, Fine Tip by Artesprix
- Sublimation Inkpad, Black by Artesprix
- Heat Tape by Artesprix
- Project Mat by Artesprix
- Protective Paper by Artesprix
- E6000 Glue
- Jewelry Bale, Silver (1)
- Waxed Thread
- Beads, Various
- Key Ring, (1)
- Heat Press

OH wow,,,I love sublimation and didnt know that there was sublimation stamping products . How fun!!!
Love this sublimation!