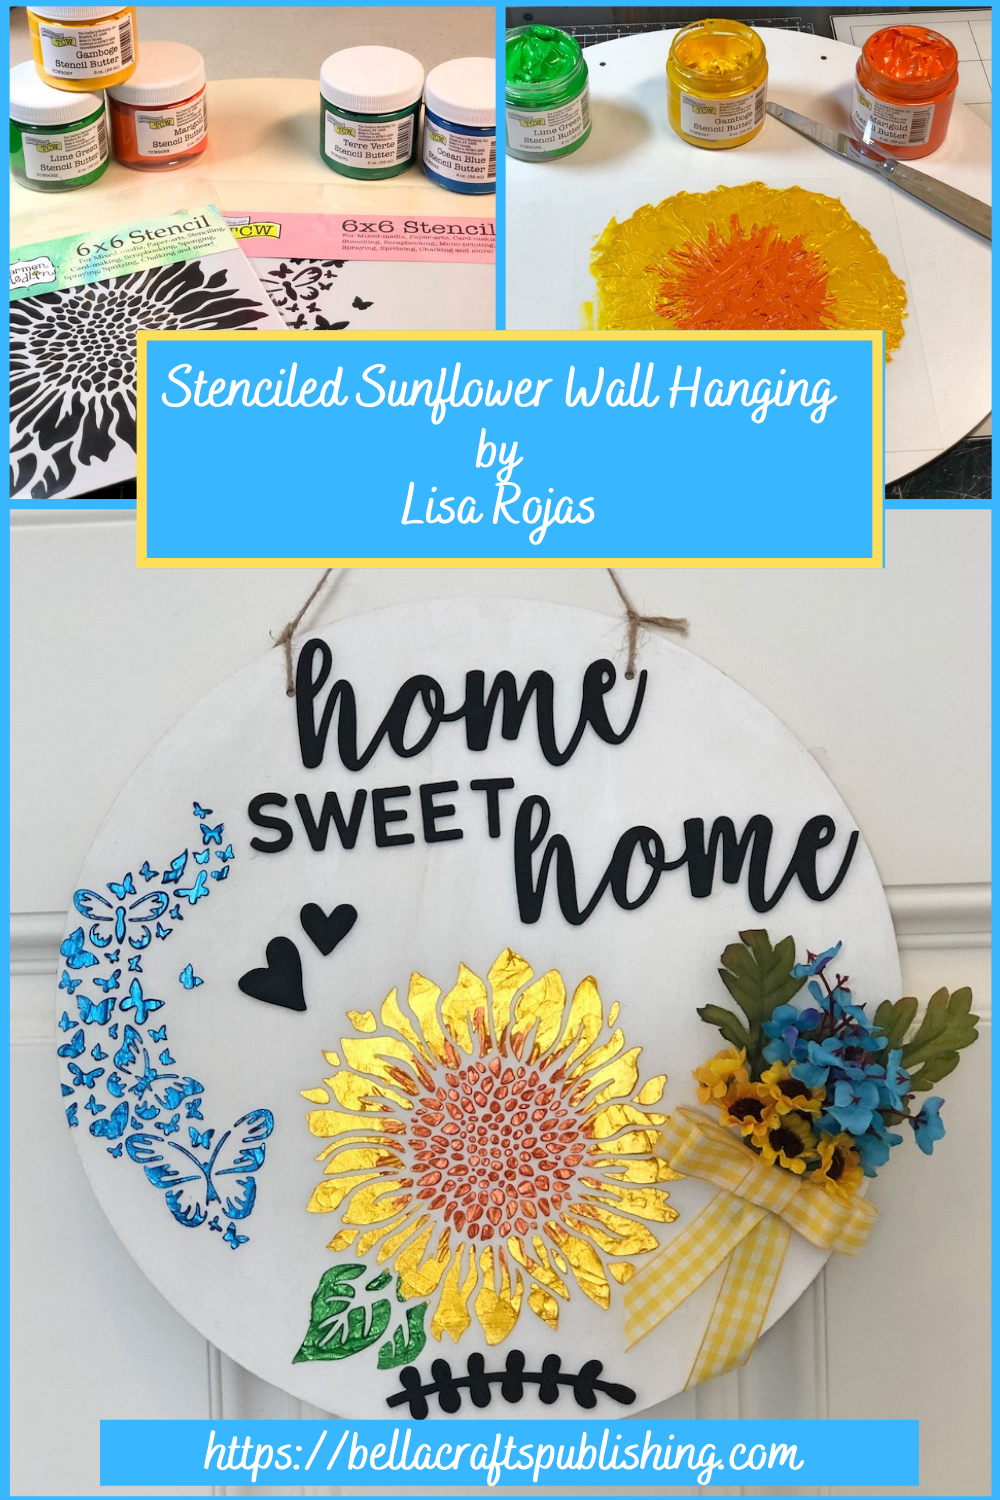
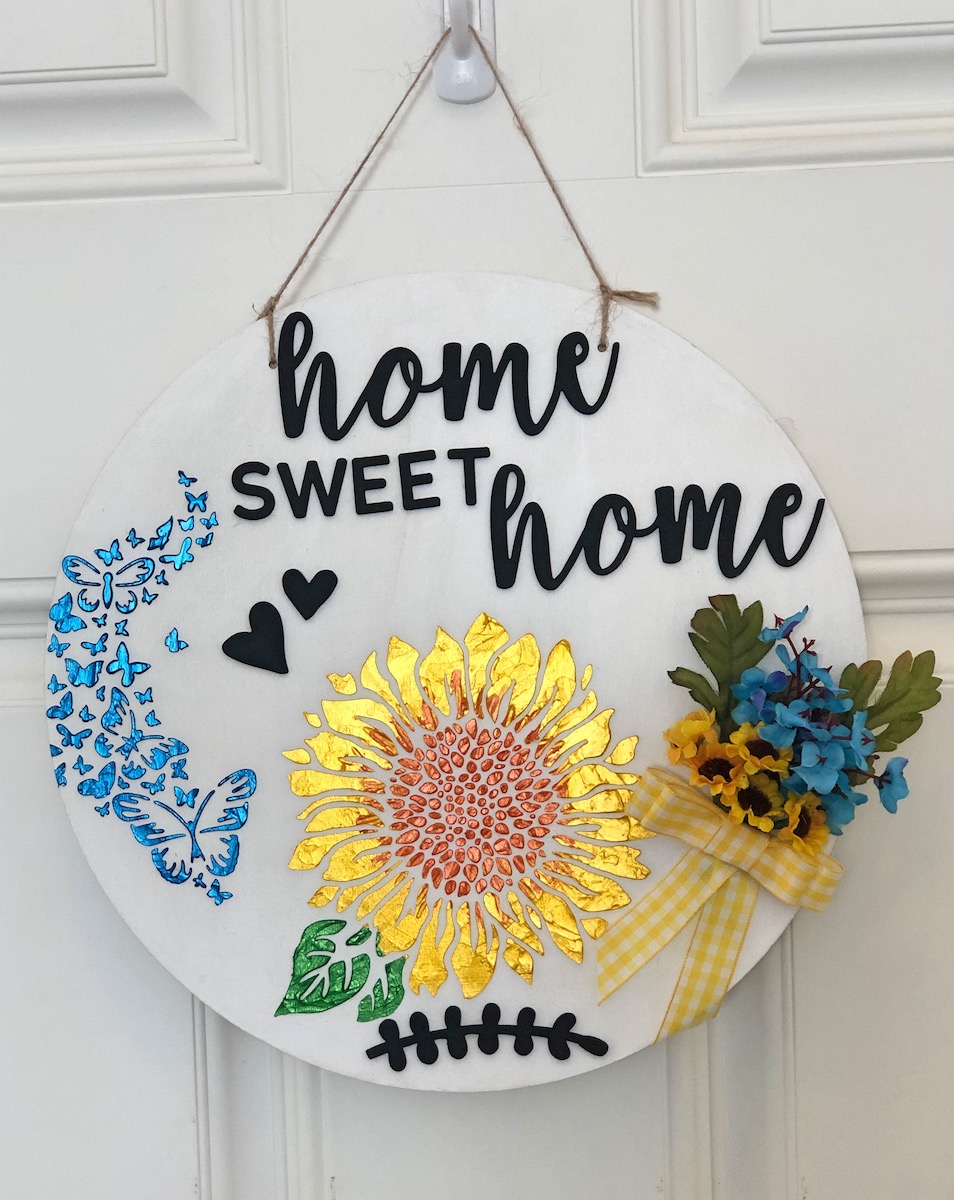
This Stenciled Sunflower Wall Hanging is the perfect addition to your home decor~
Please note: This post contains affiliate links. If you use these links and make a purchase, we earn a commission at no extra cost to you…
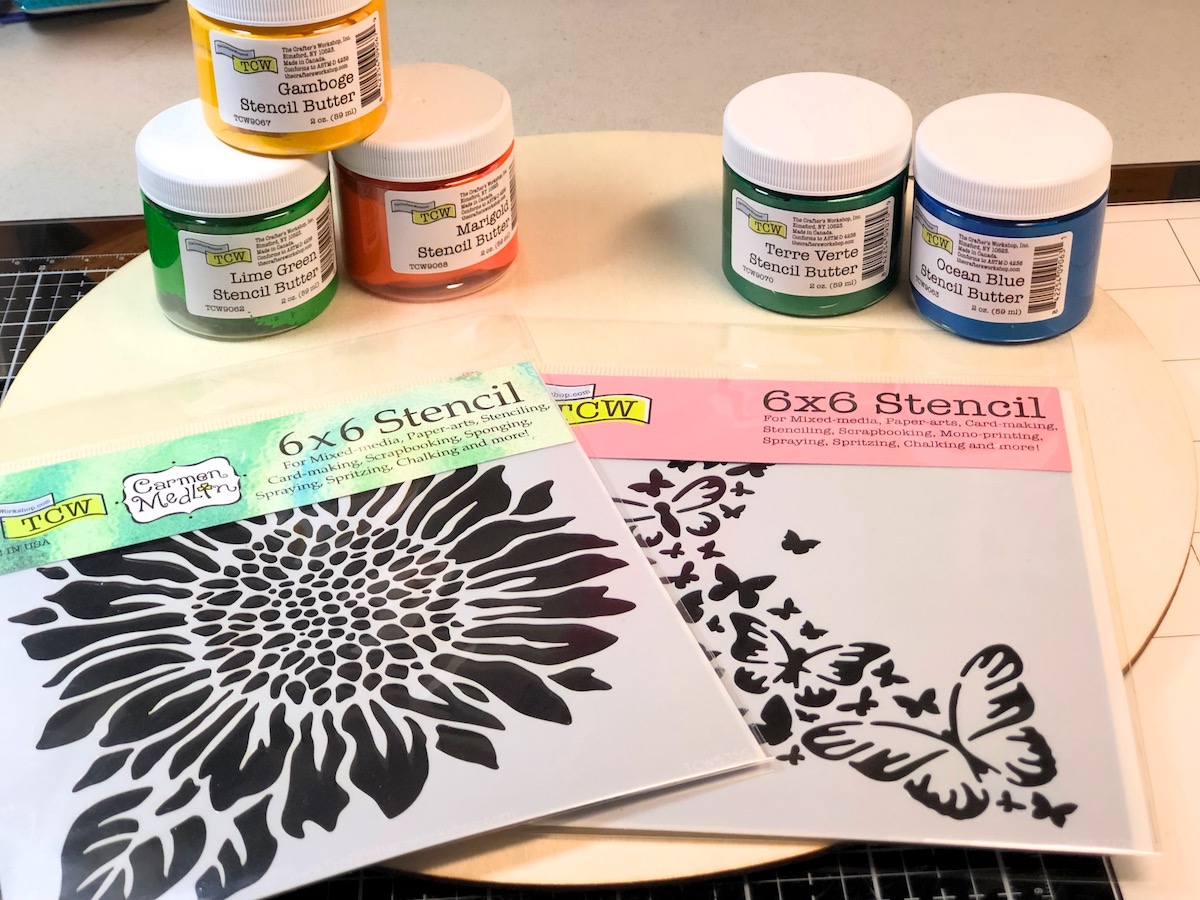
If you haven’t tried these Stencil Butter paints from The Crafter’s Workshop, you are in for a fun surprise! I used the paints along with their stencils to create this Stenciled Sunflower Wall Hanging and I couldn’t be happier with the results. Not only is this wall hanging bright & colorful but it doesn’t take long to create. Which makes it an awesome project to me. I hope you give it a try~ Lisa
Supplies for Stenciled Sunflower Wall Hanging
Check out the full list of supplies at the end of this post.
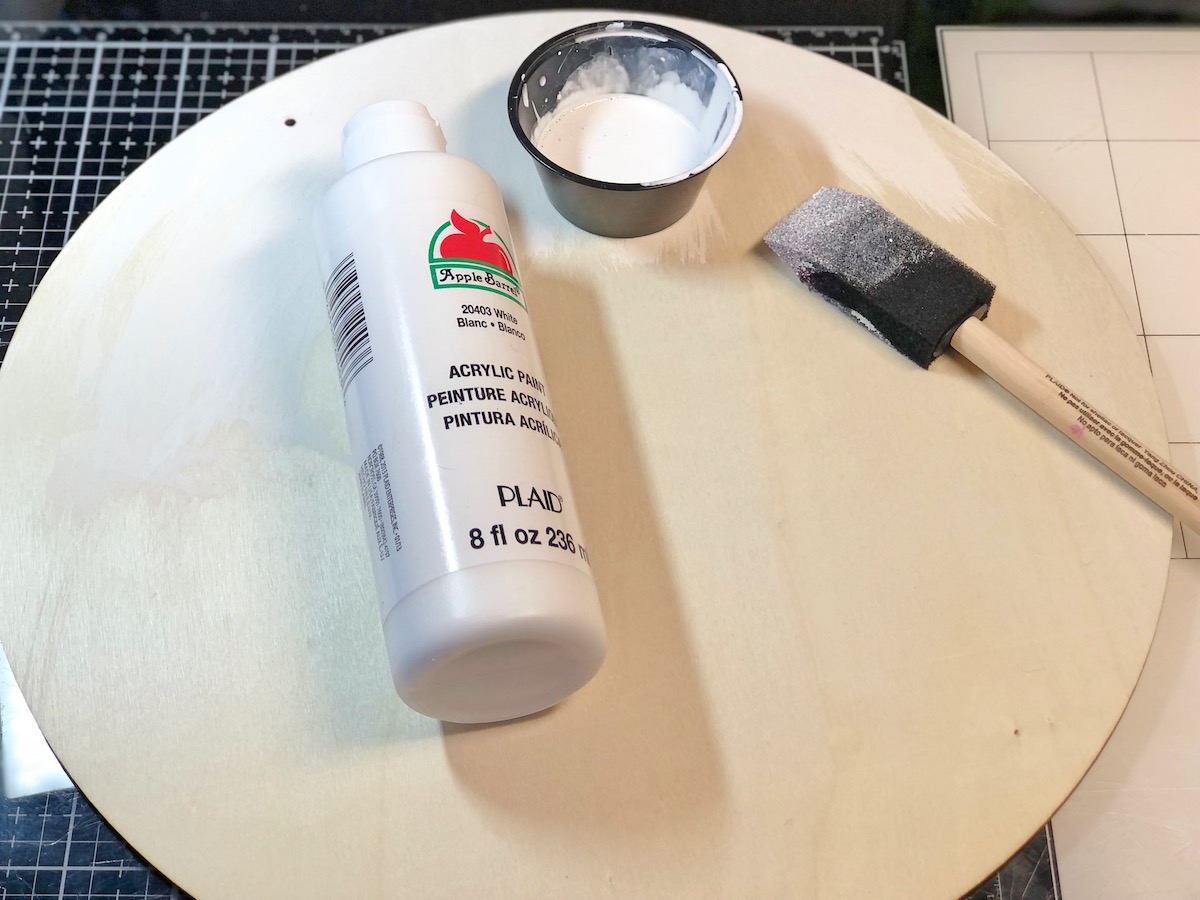
Step One:
Use a white acrylic paint and some water to make a white wash. Apply the wash to the wood circle. Once dry, lightly sand the wood to give it a shabby chic look.
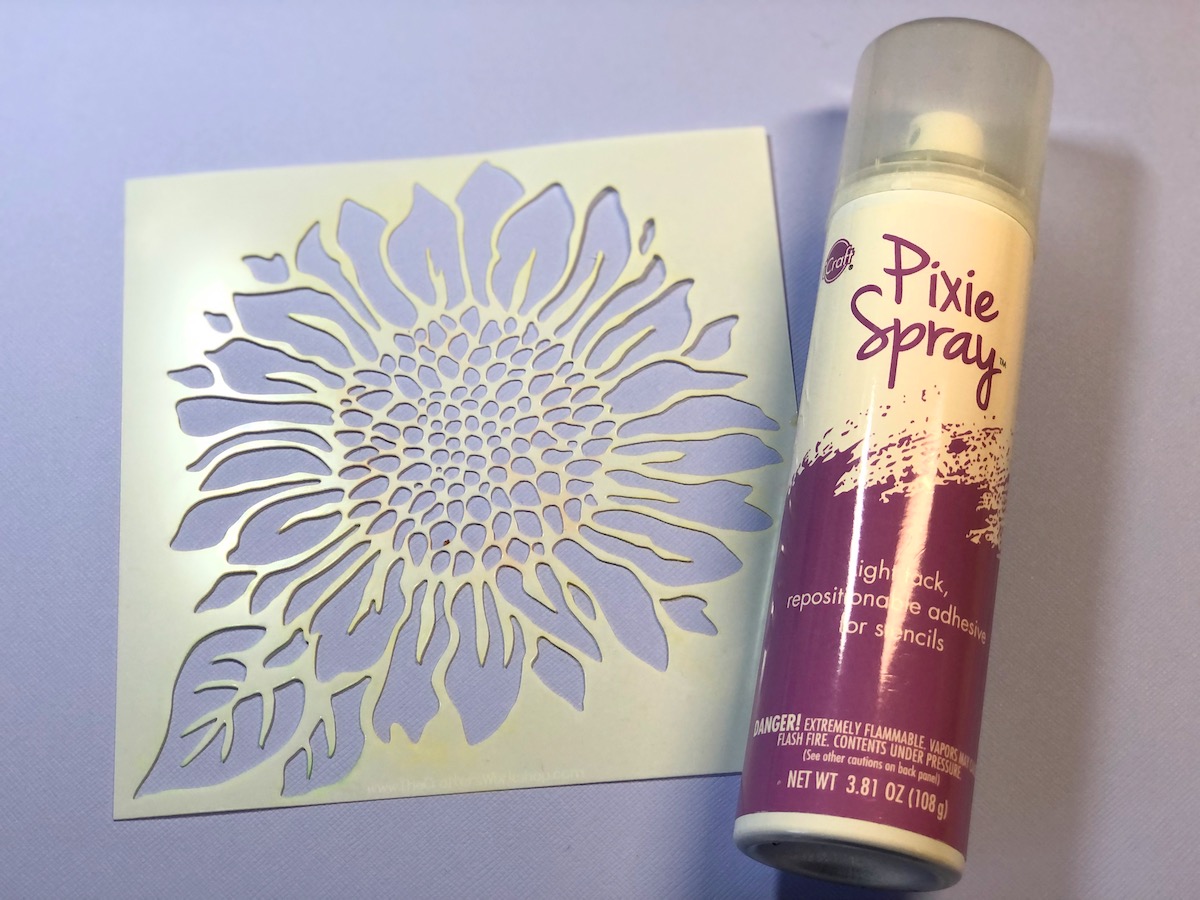
Step Two:
Apply the Pixie Spray to the back of the sunflower stencil. Adhere the stencil to the wood circle.
Step Three:
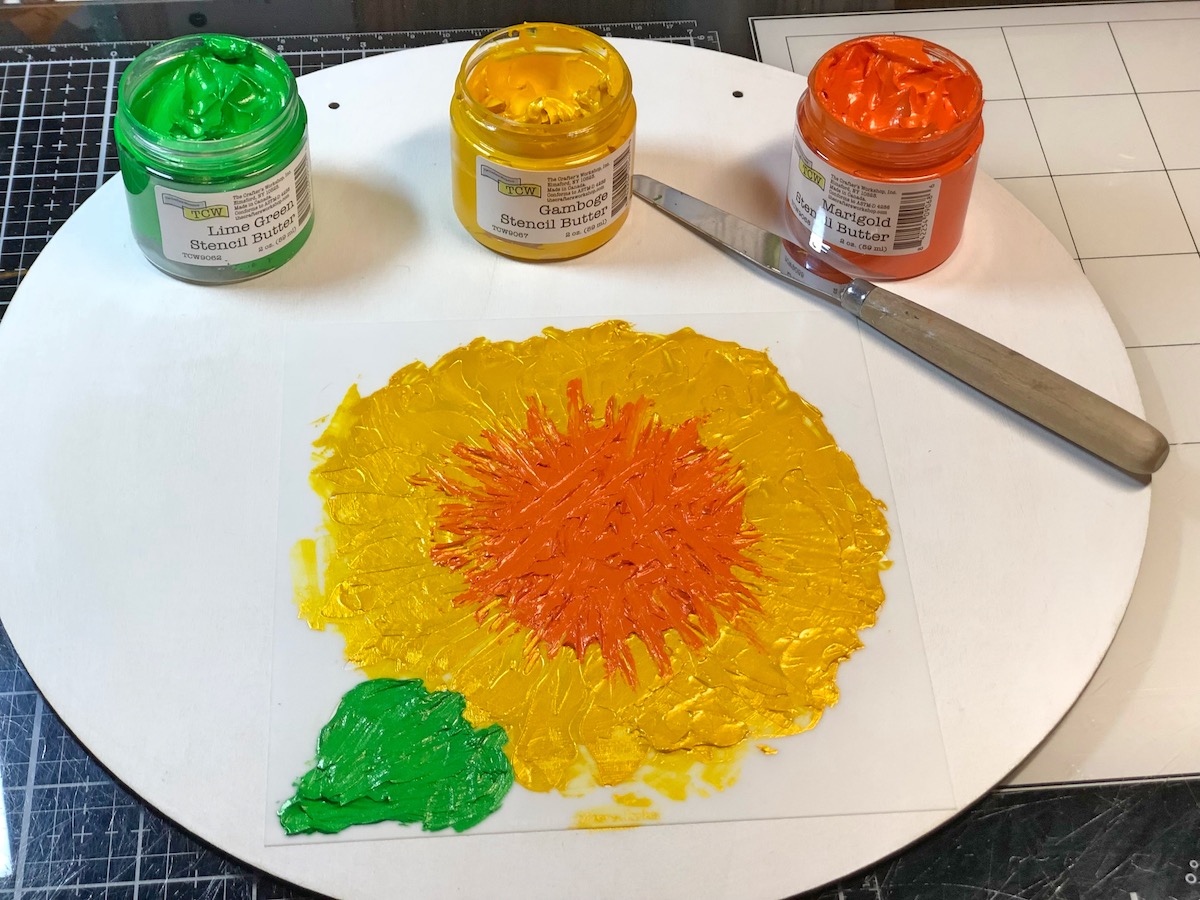
Spread the Stencil Butter to the stencil with a pallet knife. Use a stylus or toothpick to drag the Marigold paint into the Gamboge paint as shown. Remove the stencil and let dry.
Step Four:
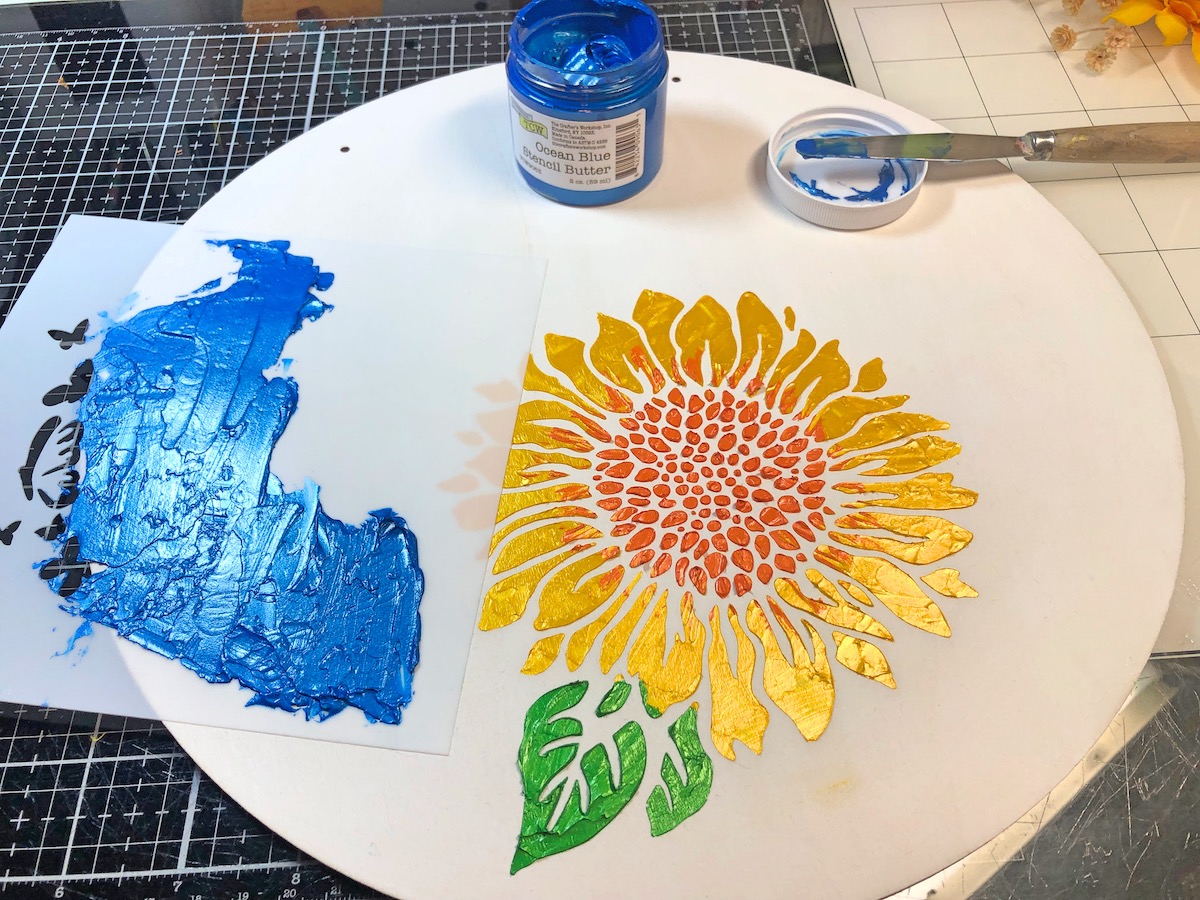
Apply the Pixie Spray to the back of the butterfly stencil. Adhere the stencil to the wood circle. Spread the Ocean Blue Stencil Butter to the stencil with a pallet knife. Remove the stencil and let dry. To finish~ adhere the foam words & embellishments to the wood circle. Create a mini bouquet from silk flowers and add a bow. Adhere to circle with glue gun. Attach some twine for the hanger.
Here’s another PIN for you to share!

Stenciled Sunflower Wall Hanging
Supplies for Stenciled Sunflower Wall Hanging
- Wood Circle 12″- I bought mine on Amazon
- Mini Joyful Sunflower Stencil by The Crafter’s Workshop
- Mini Butterfly Trail by The Crafter’s Workshop
- Stencil Butter: Gamboge, Marigold, Lime Green, Ocean Blue by The Crafter’s Workshop
- Acrylic Paint, White
- Foam Words
- Silk Flowers
- Ribbon
- Twine
- Pixie Spray by Therm O Web
- Pallet Knife
- Stylus or Toothpick
- Foam Brush
- Glue Gun
- Sand Paper
This sunflower stencil makes me smile! I love everything they make yet haven’t tried the new products yet. Thanks for such a clear demo of how to blend the colors within the stencil, Lisa. I can see why they’re called “butters.”
So glad you like it! You will love the Stencil Butters when you do try them!!