If you’re looking for a fall project to create, check out my stamped & layered sunflower box
Please note: This post contains affiliate links. If you use these links and make a purchase, we earn a commission at no extra cost to you…
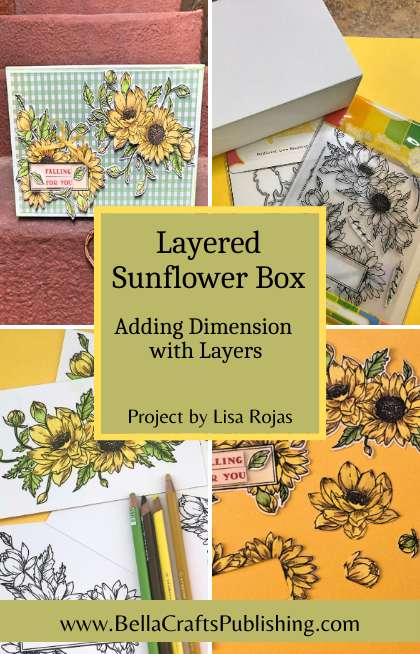
I love sunflowers! There is just something about them that makes me smile every time I see one. I also love the technique of layering stamped images. So, when I saw this beautiful stamp set from Waffle Flower I knew I wanted to combine these two loves into a project and that is how my stamped & layered sunflower box was created.
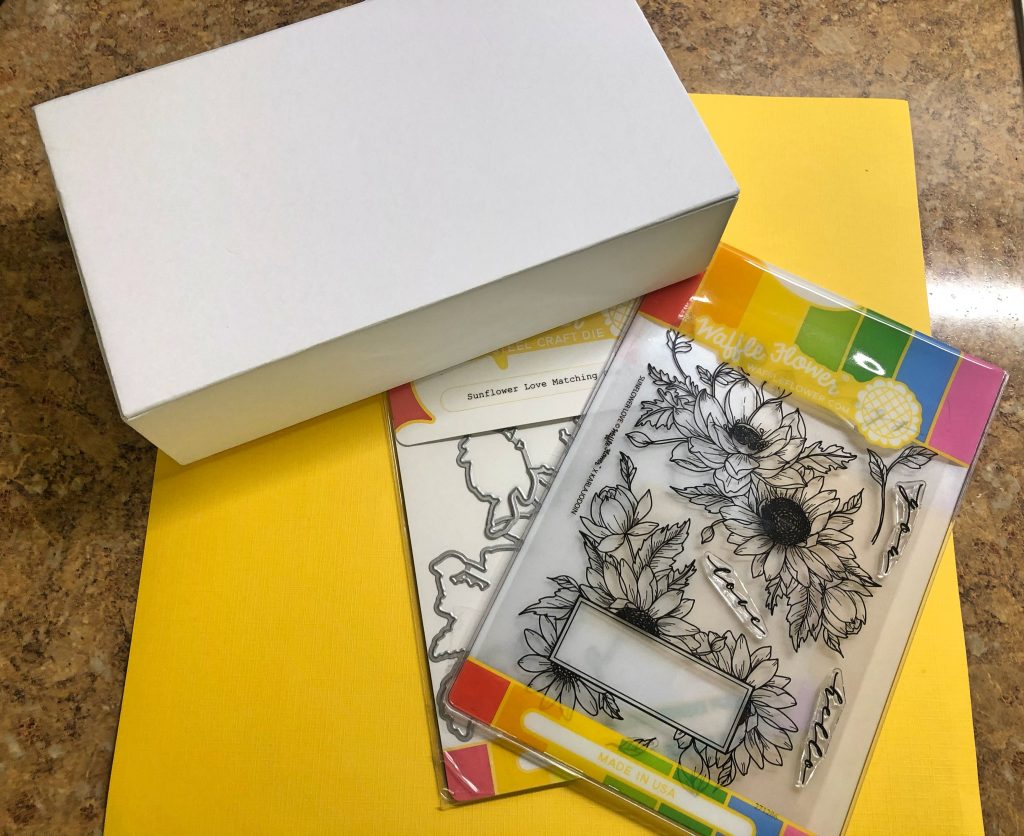
Supplies for Layered Sunflower Box
Check the end of this post for a full list of supplies
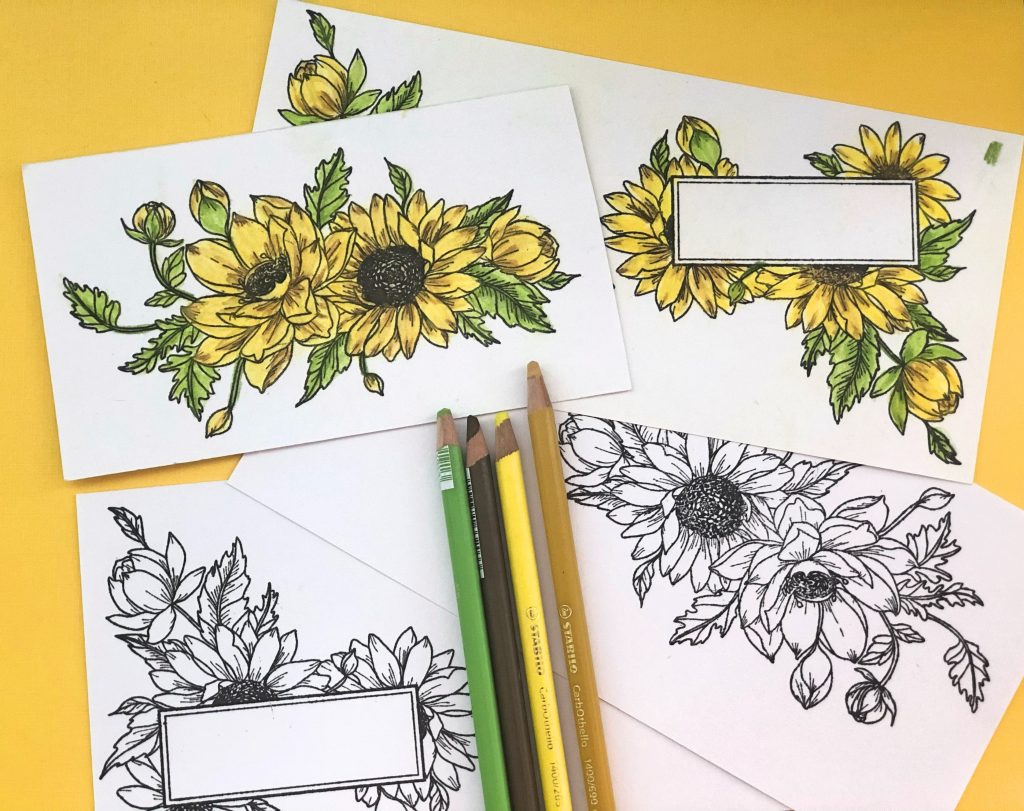
Step One:
Stamp each image twice with black inkpad onto white cardstock. Color images with chalk pencils.
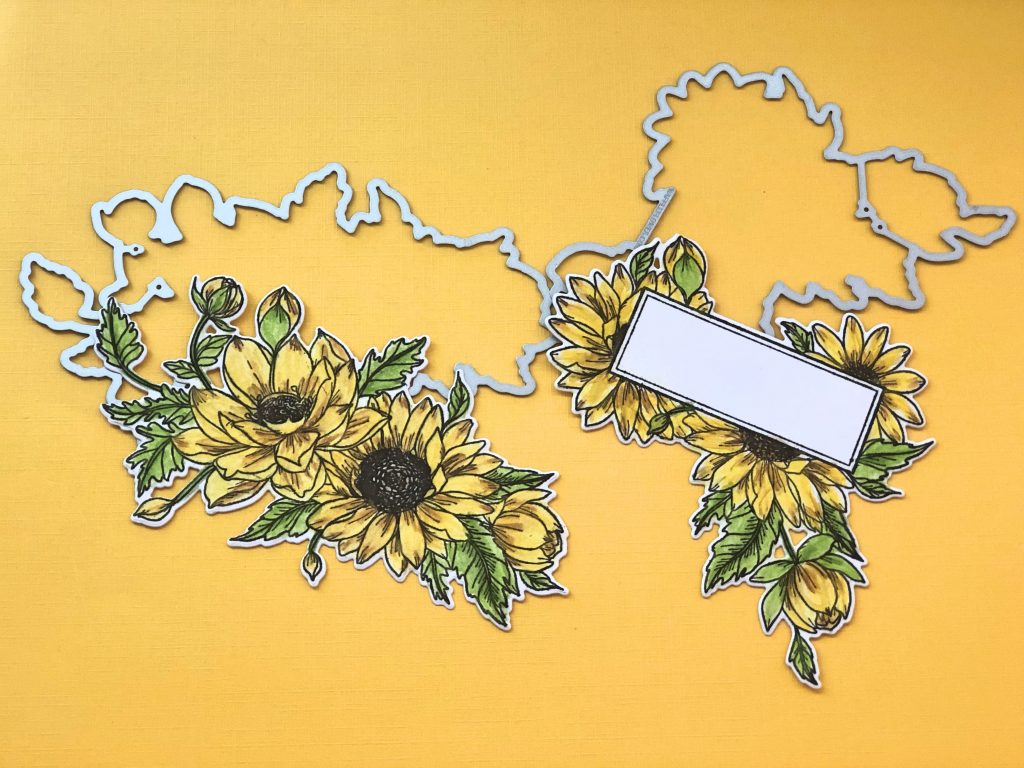
Step Two:
Die cut images with a die cutting machine.
Step Three:
Using a blender brush from Pink and Main apply green ink around the edges of the box.
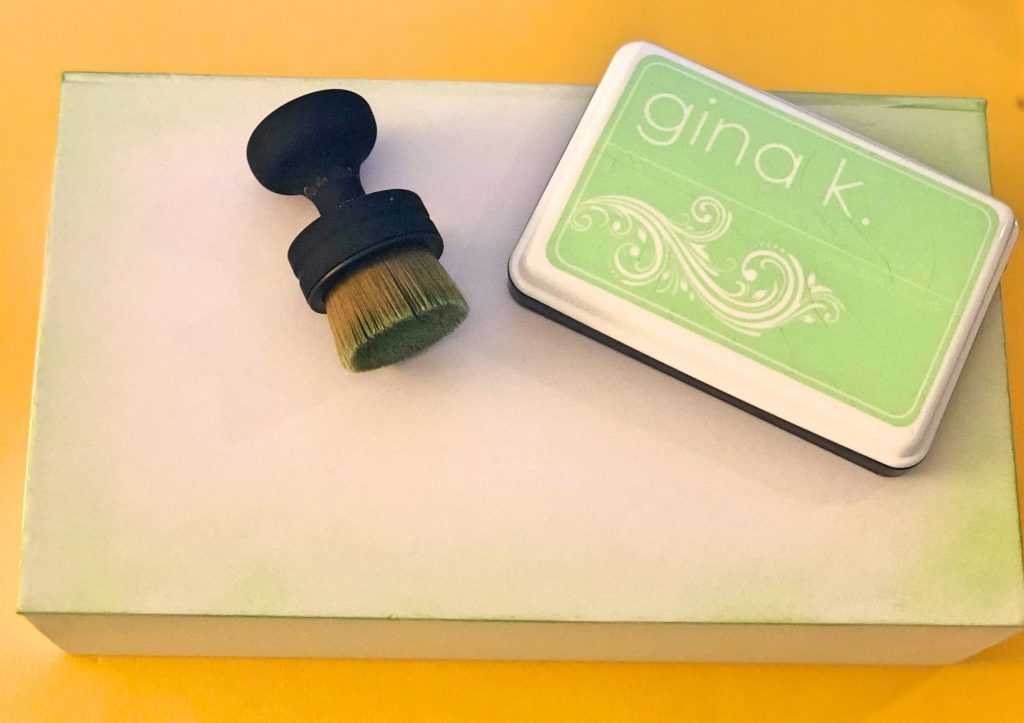
Step Four:
Cut patterned paper as follows- For lid 8 1/4″ by 4 3/4″, Sides 4 3/4″ x 2″ and Front Piece 8 1./4″ x 2″. Cut a small piece of ribbon and adhere to the vine heart and then to the top of the box. Adhere the patterned papers to the box.
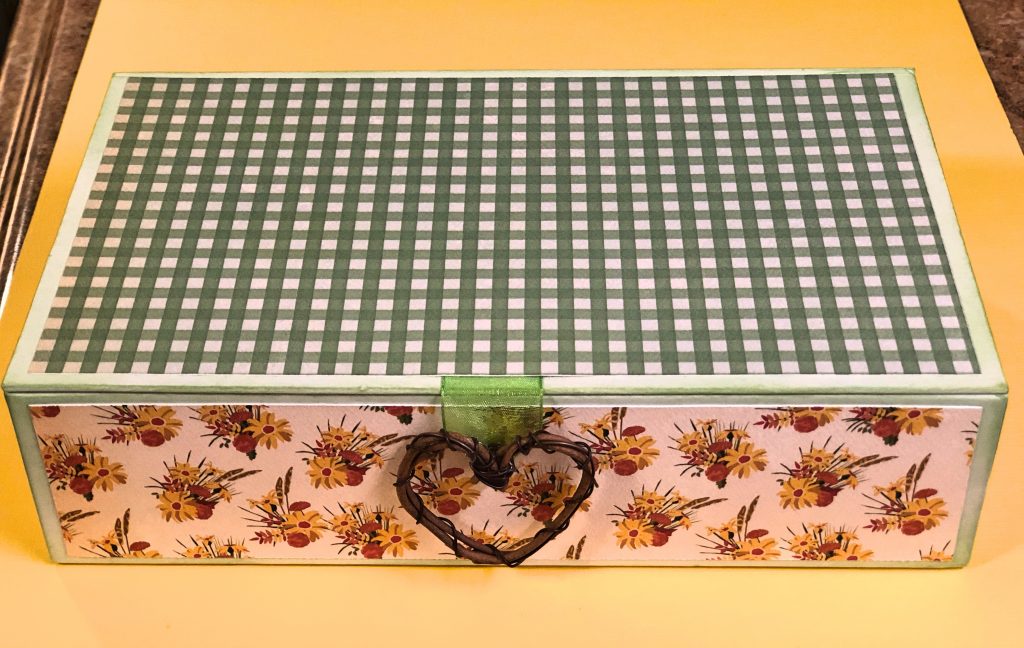
Step Five:
Adhere one layer of each stamped image onto the box lid. With the two images left cut out portions of the images to created the layers. Apply two layers of foam tape to the pieces and layer onto the images on the box. Add word stickers and two leaves to the label with foam tape. Work the layers with your fingers to create added dimension. Add a yellow bow.
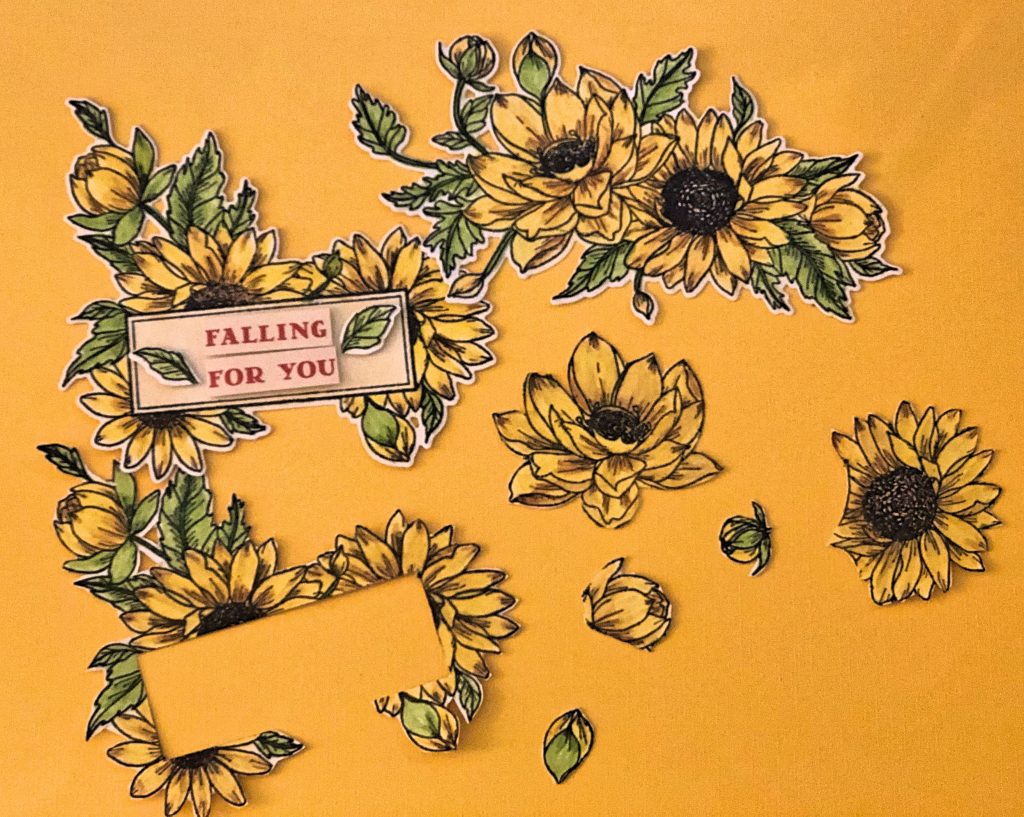
Layered Sunflower Box
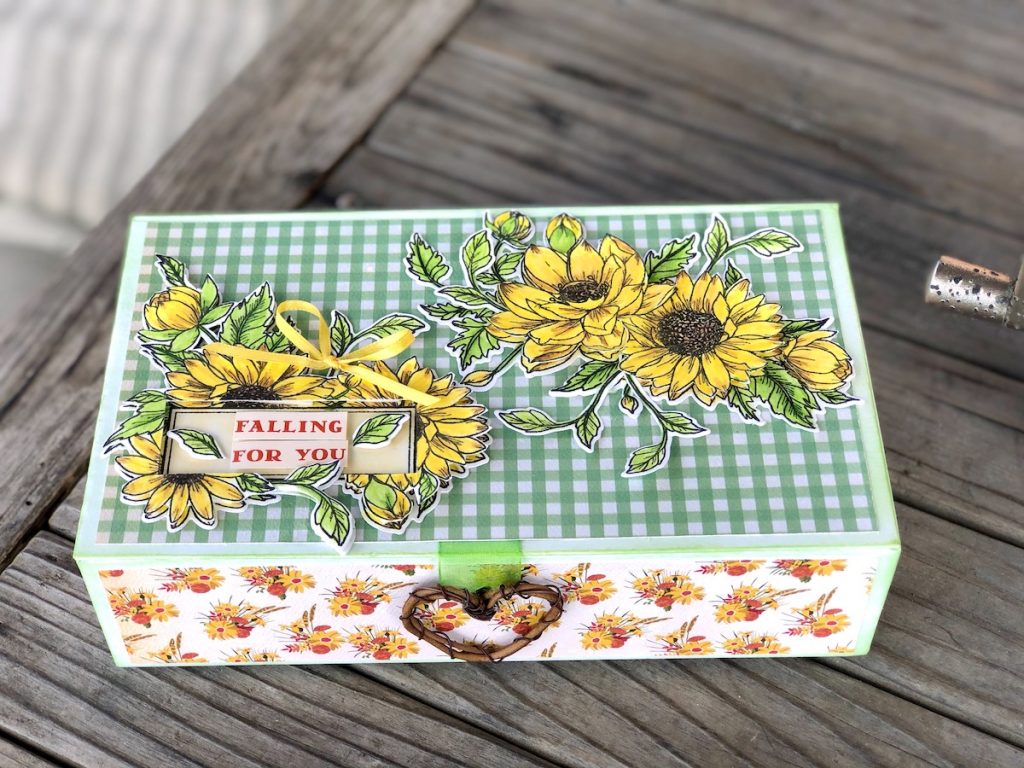
Supplies for the Layered Sunflower Box
- White Box
- Sunflower Stamp & Die Set by Waffle Flower Crafts
- Blender Brush by Pink and Main
- Inkpads: Black & Green by GinaK
- Patterned Papers by Carta Bella Paper Co
- Foam Tape
- Zip Dry Paper Glue by Beacon Adhesives
- Ribbons
- Heart Embellishment
- Paper Trimmer
- Die Cutting Machine
- Chalk Pencils
