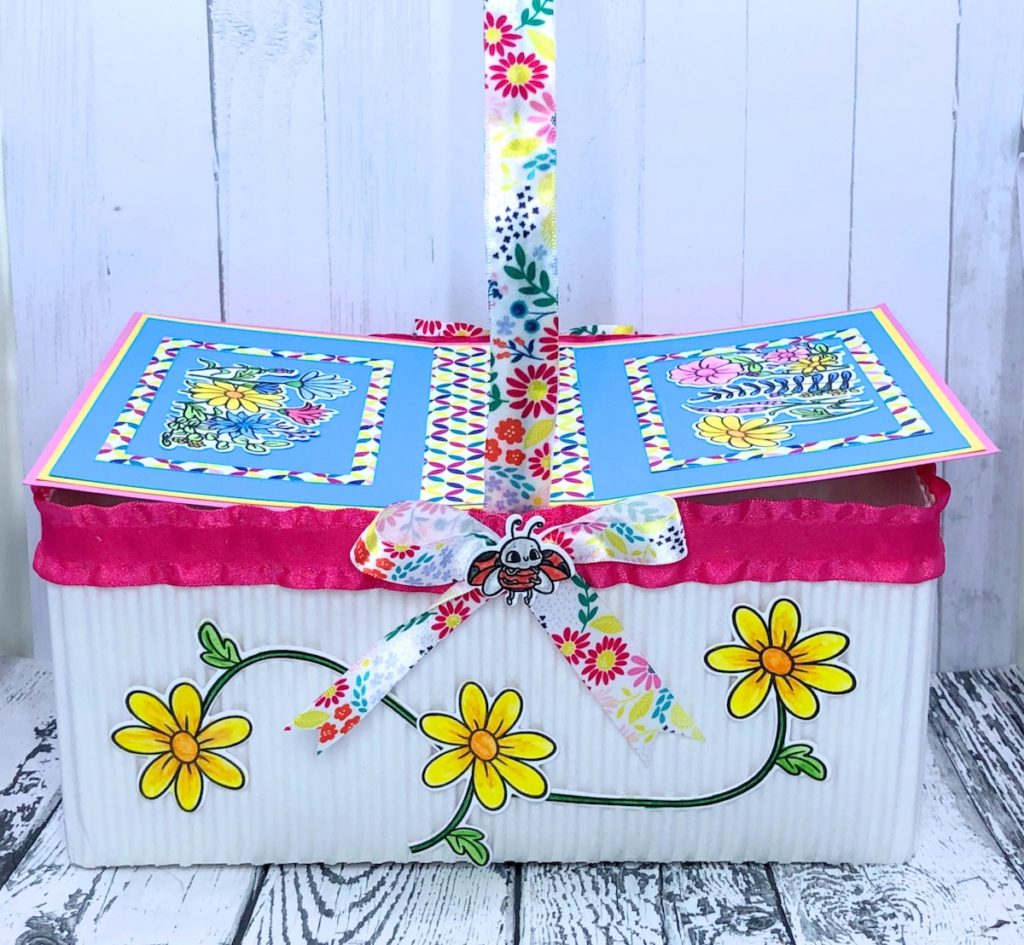
This Stamped Ladybug Basket is so adorable and can be used for lots of different things. We hope you give it a try!
Please note: This post contains affiliate links. If you use these links and make a purchase, we earn a commission at no extra cost to you…
I have been making these baskets for over twenty years. In that time, I have created different sizes and themes and have used them for a variety of events. I’ve even taught classes at multiple stamp stores through the years. But, no matter what I’m creating at any given time, I always try to share this project with a new group of crafters. I hope you make one or maybe two for yourself! Have fun~ Lisa

Supplies for Stamped Ladybug Basket
Check out the full list of supplies at the end of this post.
Step One:
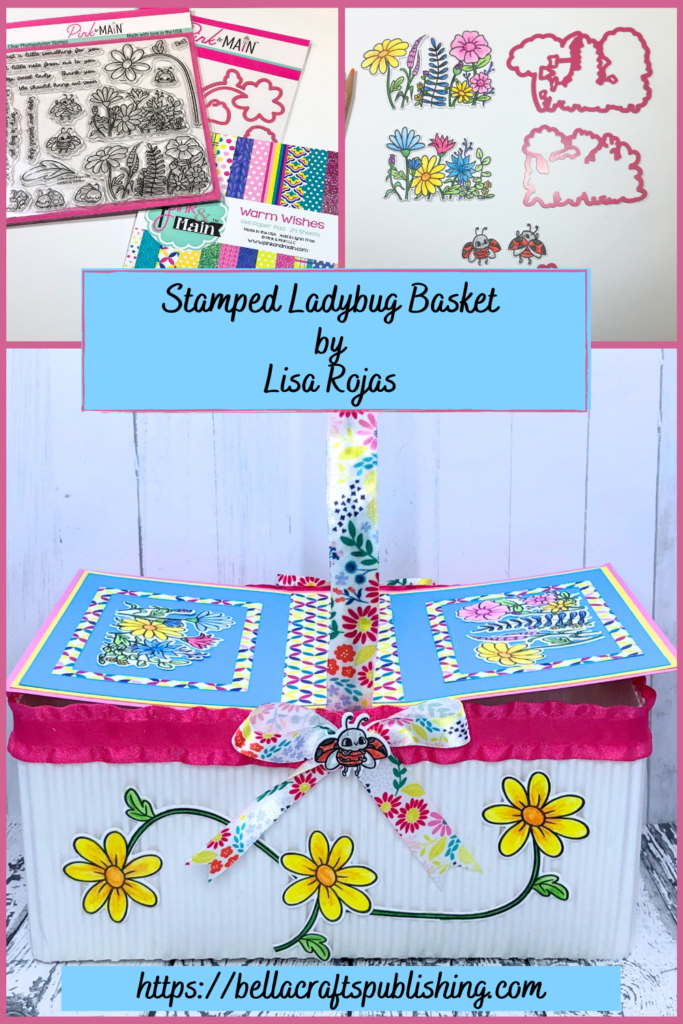
Using a black inkpad, stamp out the images once on white cardstock and stamp out the large flower six times.
Step Two:
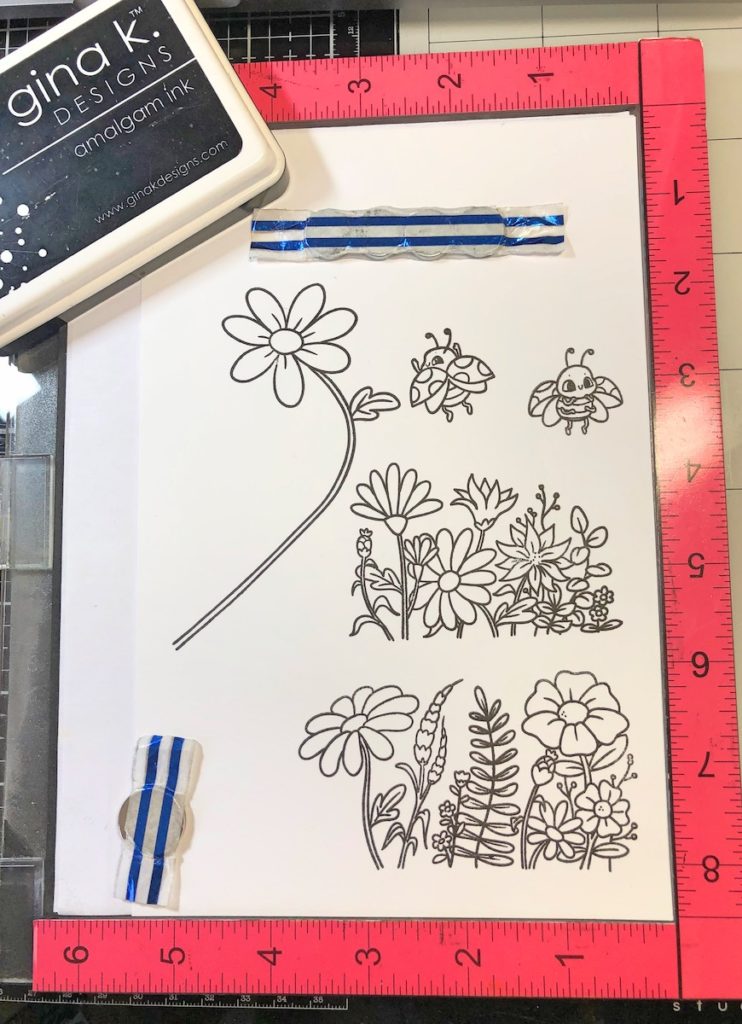
Color all the stamped images with watercolor pencils and use the matching dies to cut them out on a die cutting machine.
Step Three:
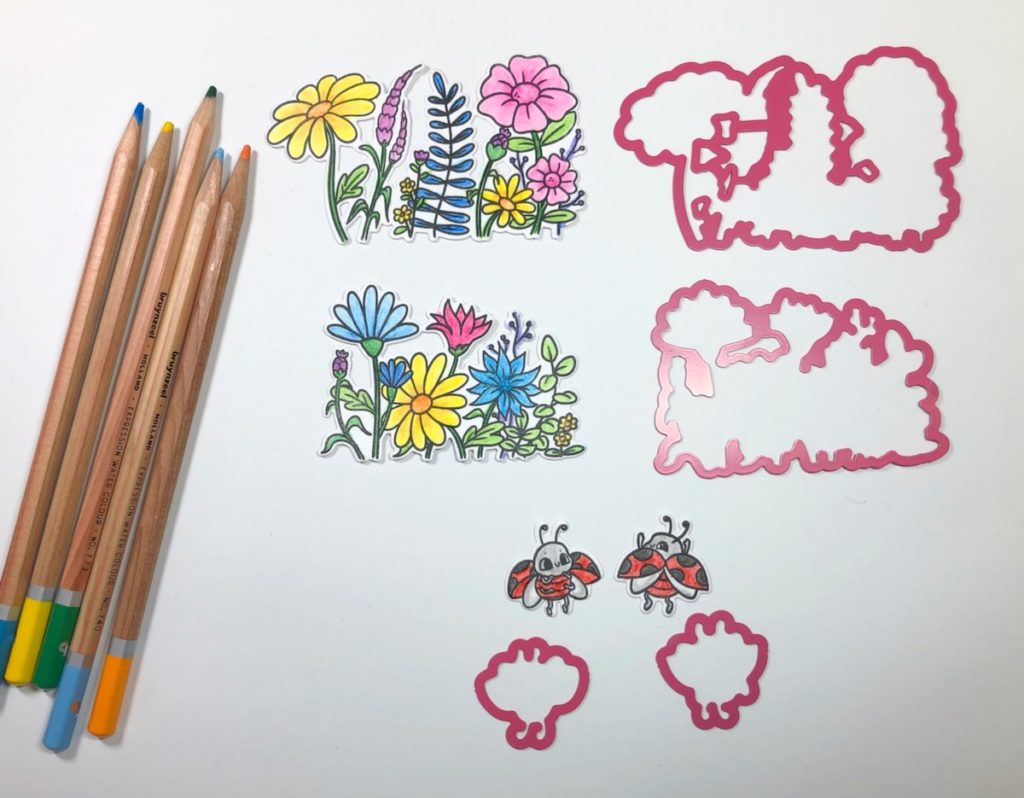
Cut a piece of matboard 6″ x 9 1/2″. Score 3/8″ all the way around but don’t cut through the matboard. Next, cut the four corners out as shown.
Step Four:
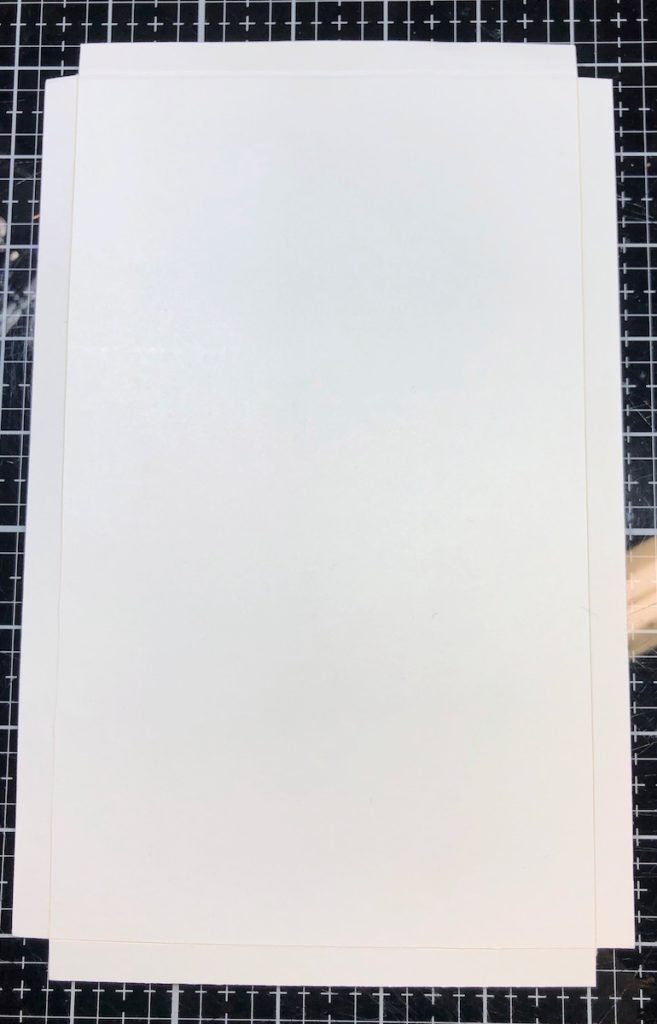
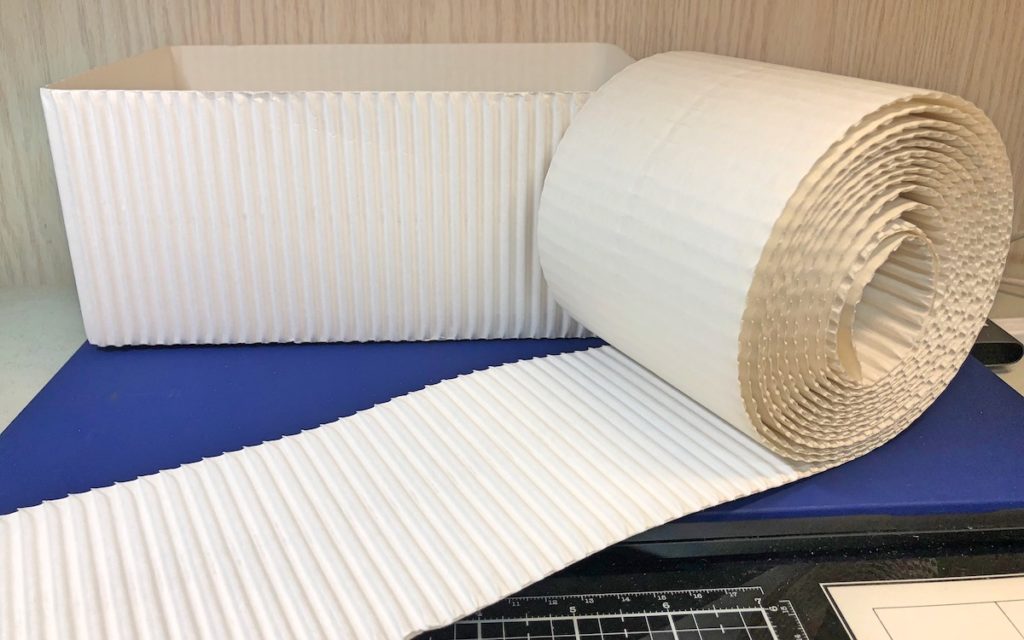
Starting at the corner of the matboard, begin gluing the corrugated paper around the scored part of the matboard using a glue gun. Once done, glue the last bit of the corrugated paper together. The basket will look as shown in the photo.
Step Five:
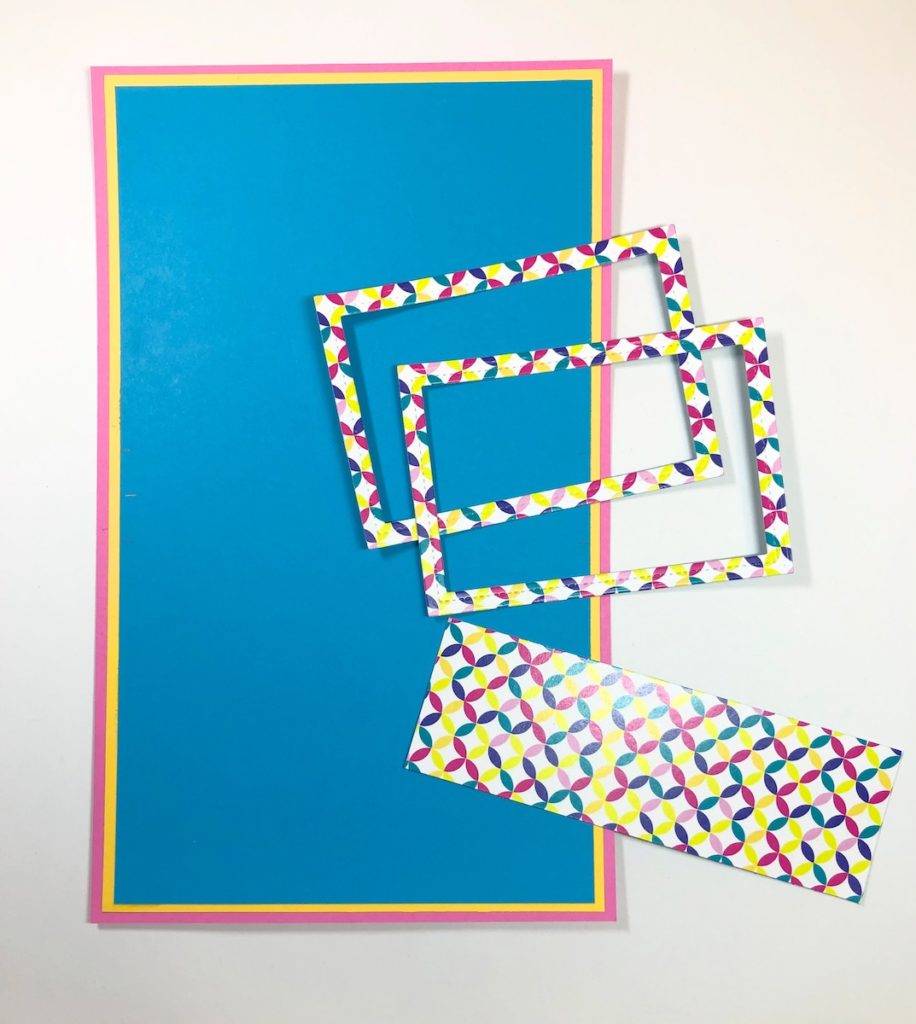
Cut the cardstock as follows: Pink 5 3/4″ x 9 1/2″. Yellow 5 1/2″ x 91/4″ and Blue 5 1/4″ x 9″. Die cut two rectangles 4 1/4″ x 2 3/4″ and a piece 1 3/4″ x 5 1/4″ from patterned paper.
Step Six:
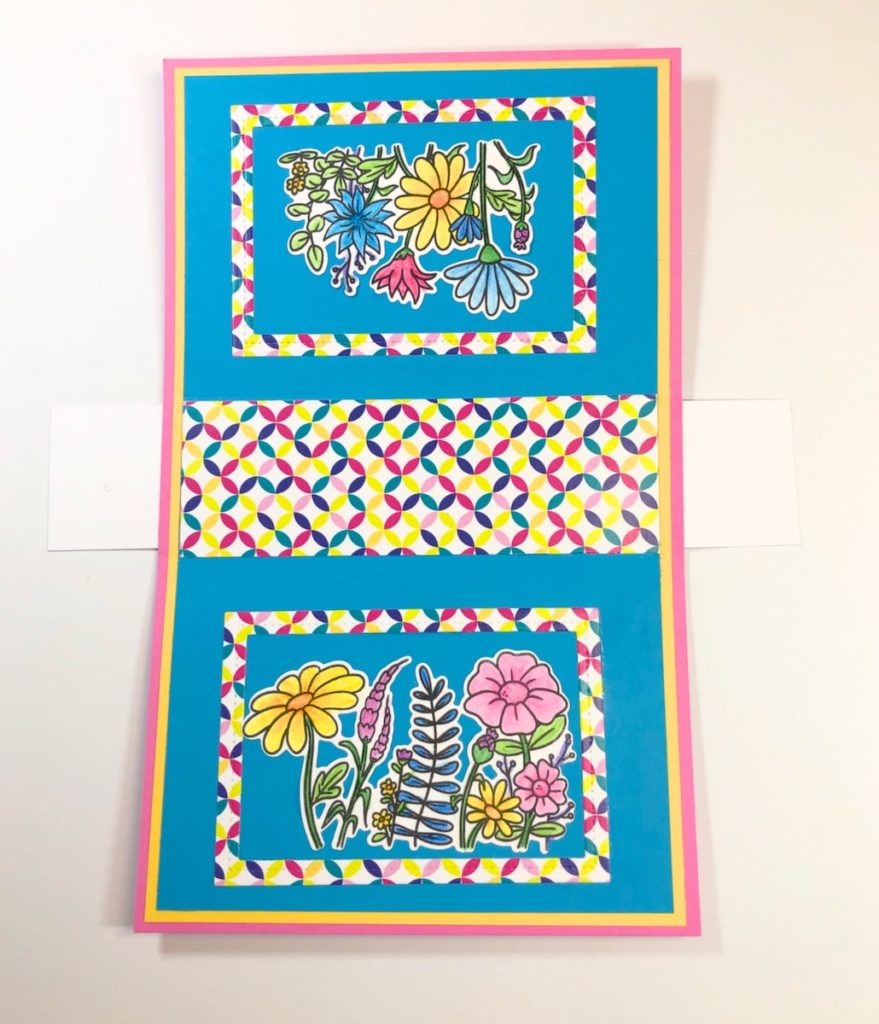
Adhere all of the papers together with Zip Dry glue as shown. Cut two tabs 1 3/8″ x 2″ from white cardstock. Adhere the tabs on the inside of the lid and fold down. Punch a hole in each tab. Lay the lid on top of the basket, mark each hole on the box with a pencil and punch holes in the basket. Adhere the tabs to the outside of the basket.
Step Seven:
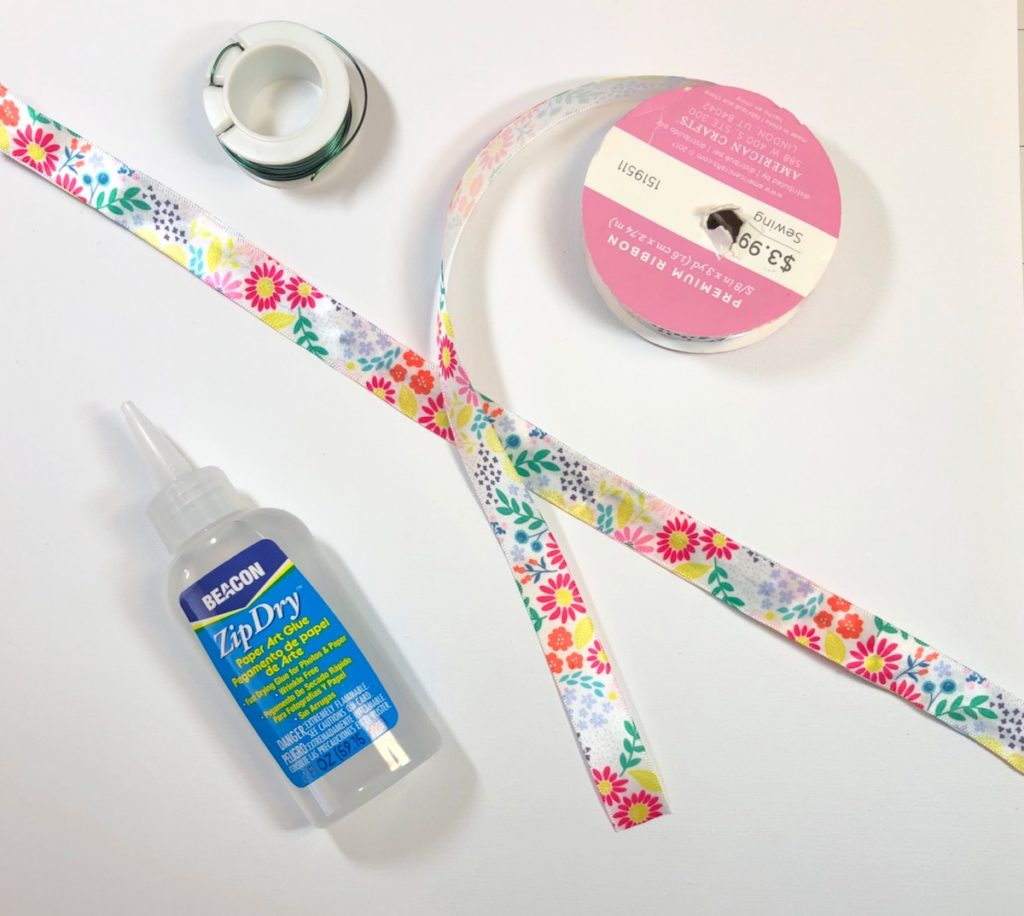
Create the handle by cutting two pieces of ribbon 16″ long. Cut a piece of wire 18″ long. Turn each end of the wire into a loop. Place wire in between the ribbons and glue in place with Zip Dry glue. Insert the loops of the handle into the holes of the basket and pinch the loops closed on the inside. To finish, adhere pink ribbon around the basket. Attach two bows to the basket and adhere the ladybug images to the bows. Adhere the large flowers on each side of the basket as shown in the finished project photo.
Stamped Ladybug Basket
Here’s another PIN for you to share!
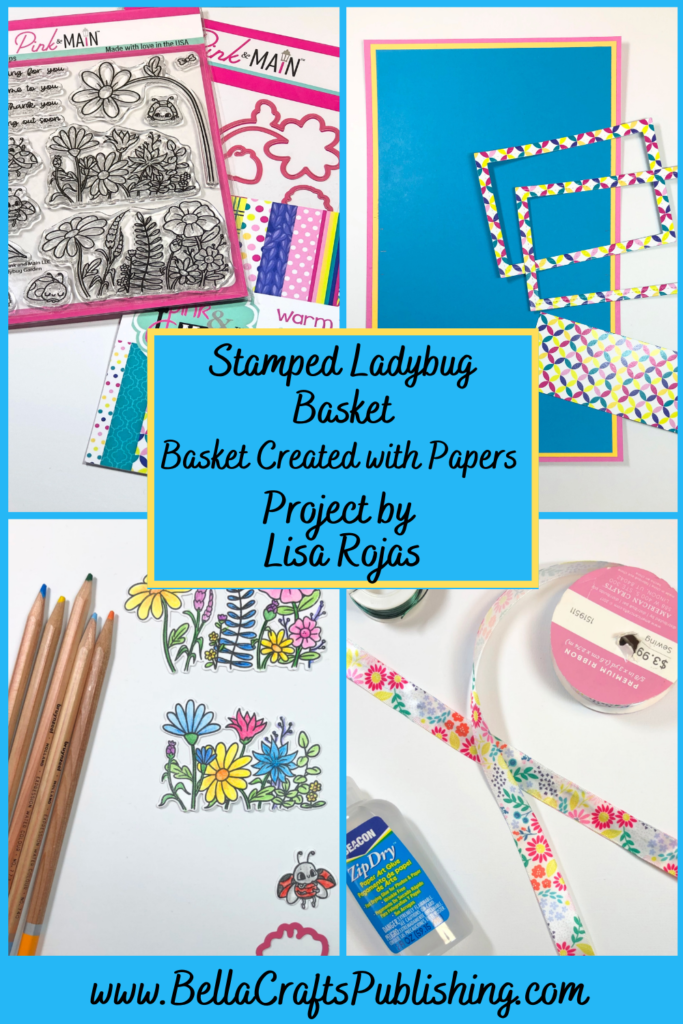
Supplies for Stamped Ladybug Basket
- Matboard
- Cardstock: White, Pink, Yellow, Blue
- Corrugated Paper, White
- Warm Wishes Patterned Paper by Pink and Main
- Ladybug Garden Stamp Set by Pink and Main
- Ladybug Garden Die Set by Pink and Main
- Black Inkpad
- Watercolor Pencils
- Ribbons
- Wire
- Zip Dry Paper Glue
- Scissors
- Hole Punch
- Wire Cutters
- Die Cutting Machine
- Glue Gun


Trackbacks/Pingbacks