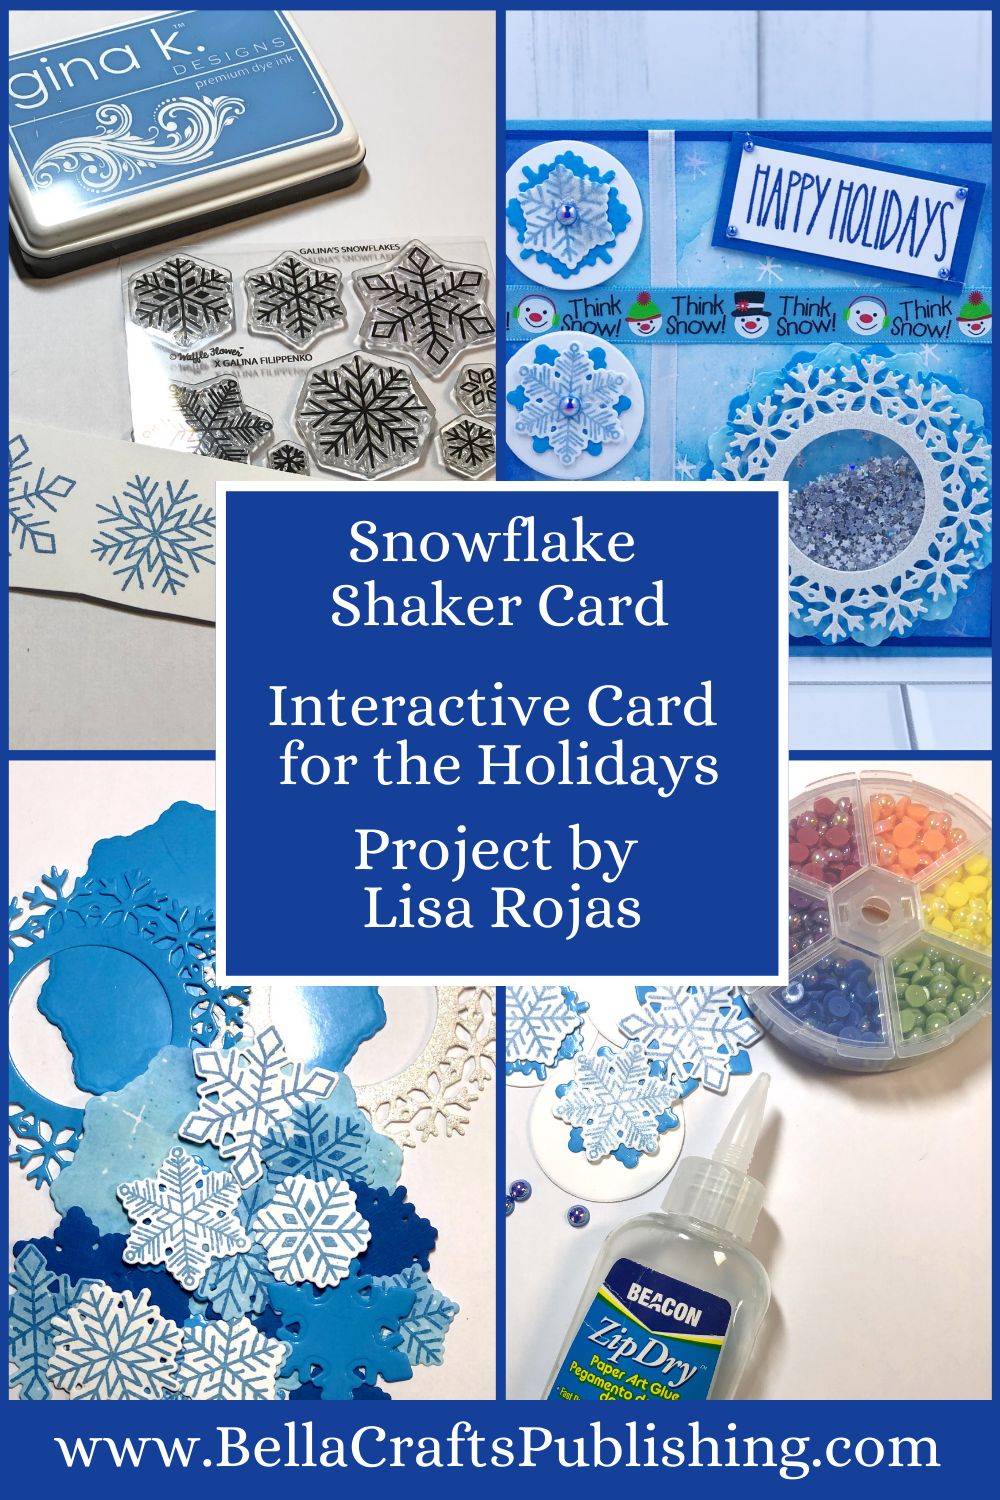
Learn how to create this fabulous Snowflake Shaker Card in just a few easy steps!
Please note: This post contains affiliate links. If you use these links and make a purchase, we earn a commission at no extra cost to you…
It’s hard to believe that we’re sharing Christmas cards already but the holidays will be here before you know it. I decided to get a jump on things with this fabulous Snowflake Shaker Card. This card is pretty easy to create, so you can make just one or one for everybody on your Christmas card list. Either way, anyone that gets this card is going to be asking…”how did you make this?” I hope you give it a try! Lisa~

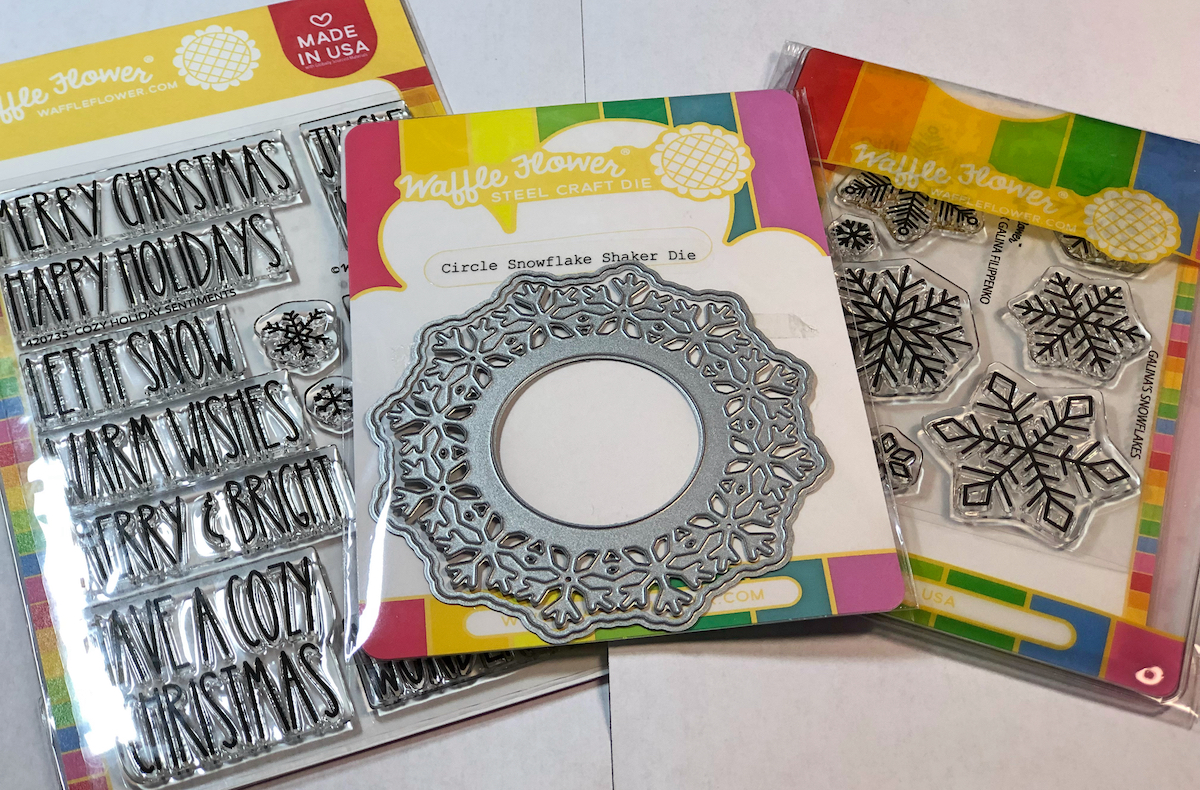
Supplies for Snowflake Shaker Card
Check out the full list of supplies at the end of this post.
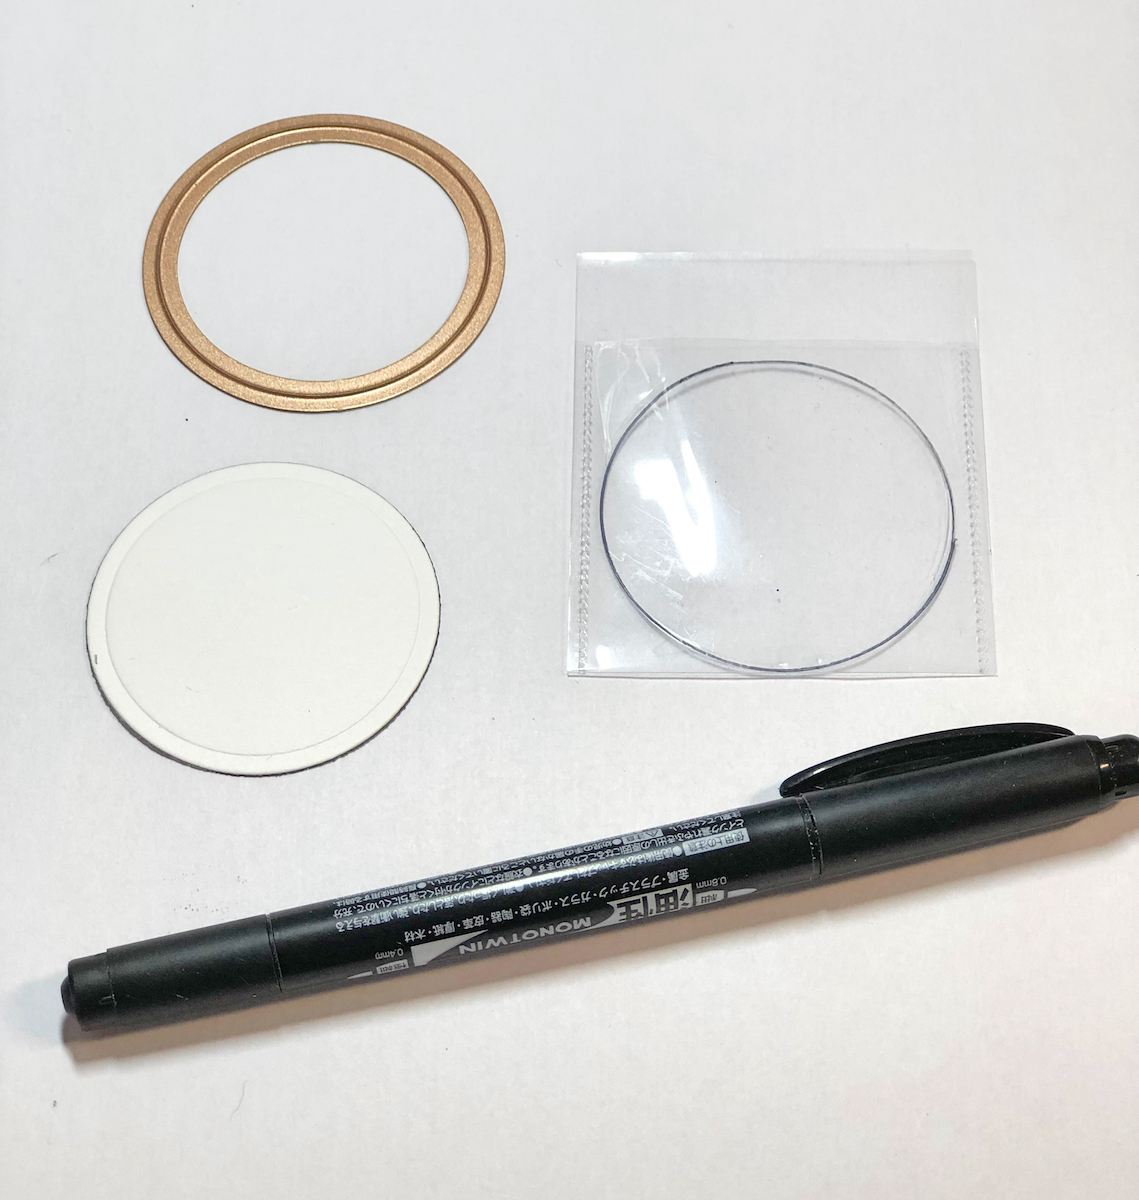
Step One:
Die cut a 2″ circle from white cardstock. Trace the circle onto the plastic pocket.
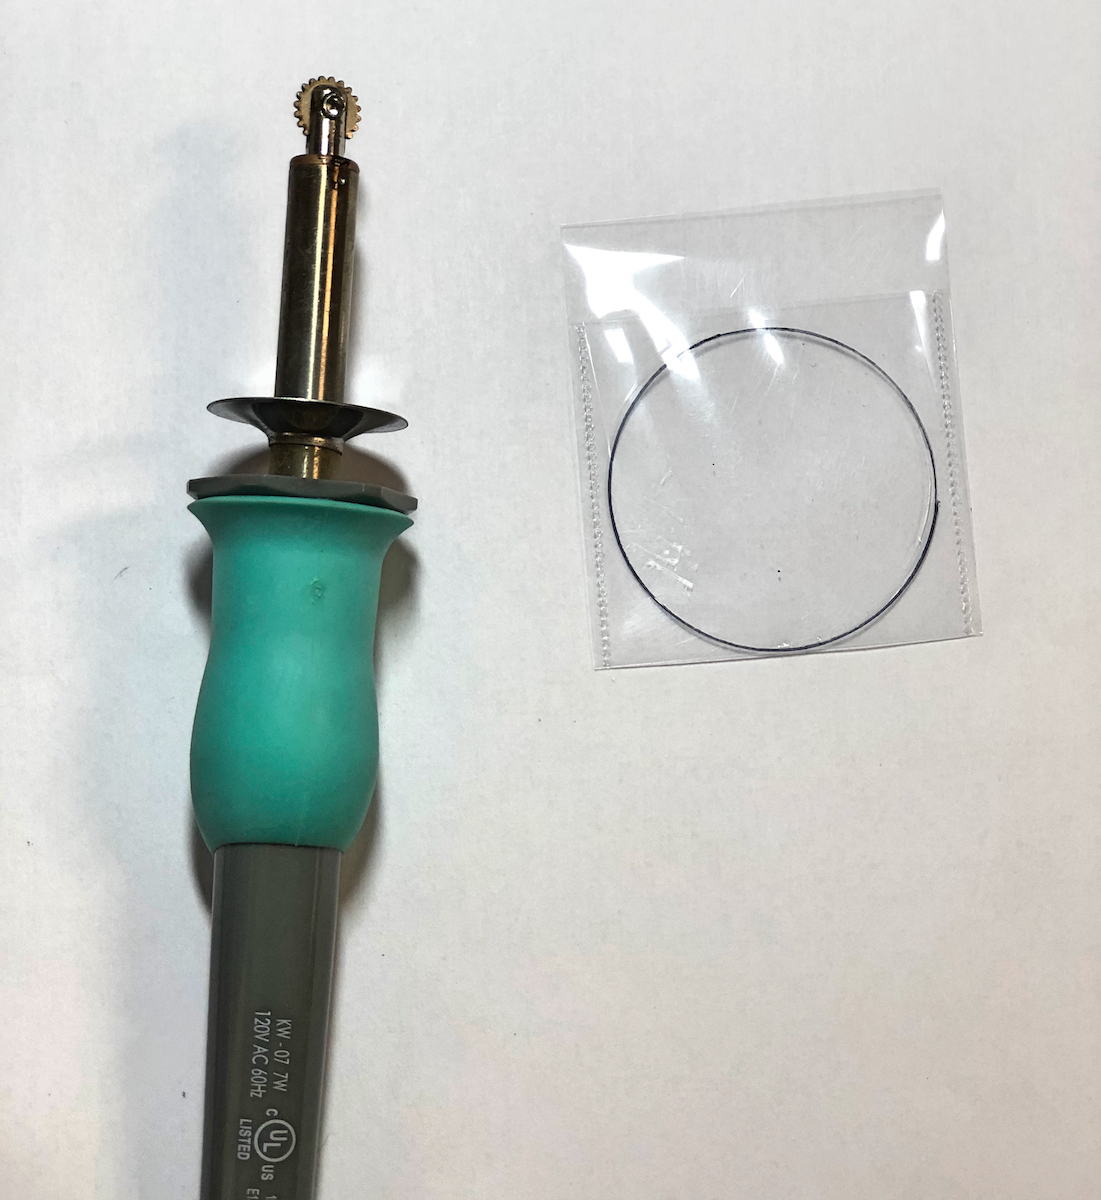
Step Two:
Using the hot Fuse tool, go around the circle leaving a small opening at the top to put the glitter mixture inside. Once the glitter mixture is inside the circle, seal the opening with the Fuse tool. Use scissors to cut around the circle removing the excess plastic.
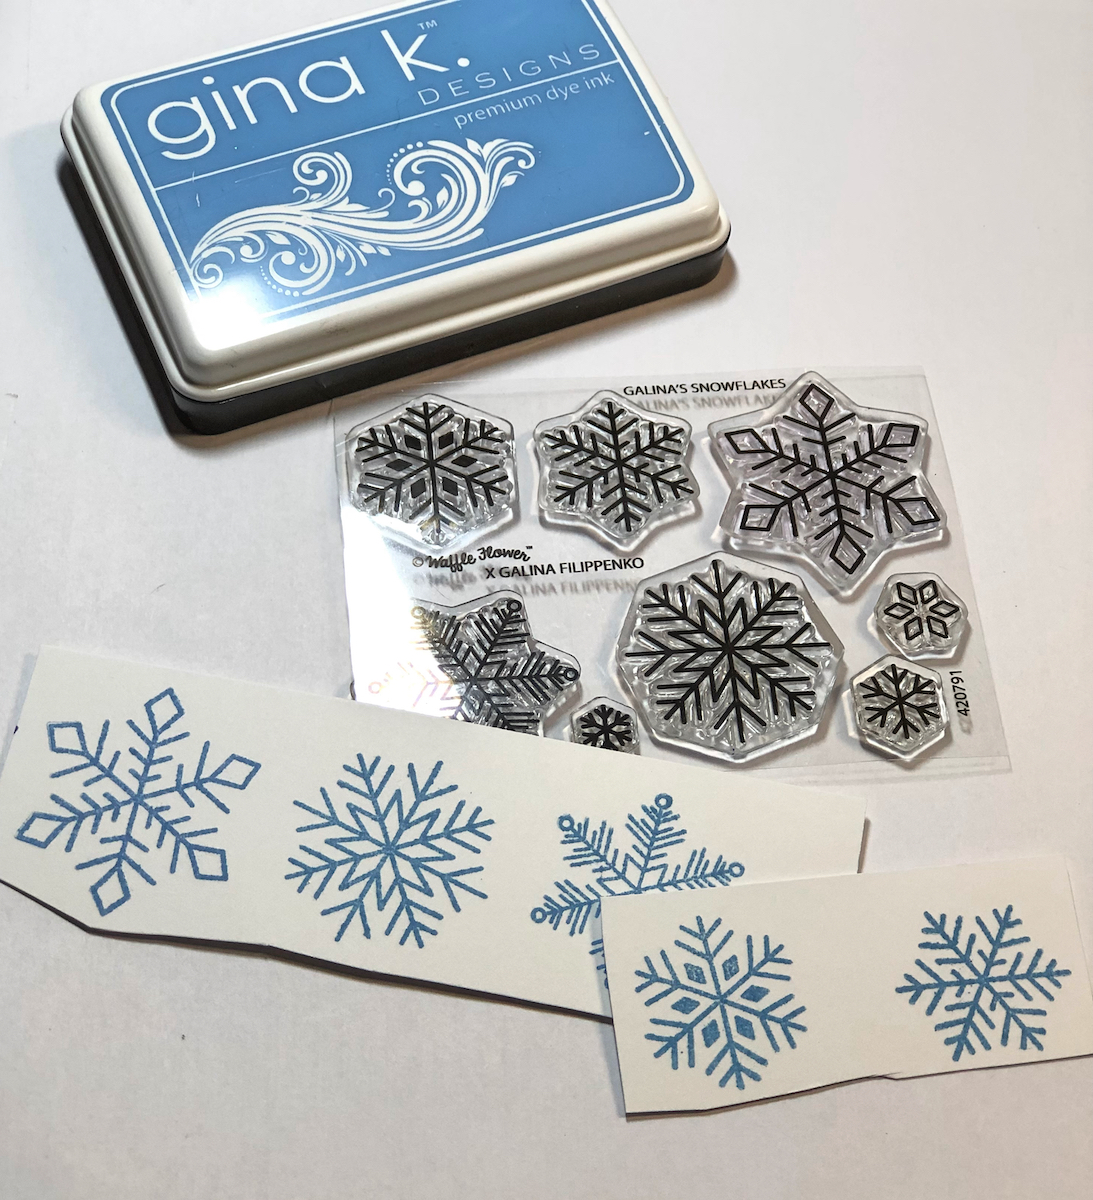
Step Three:
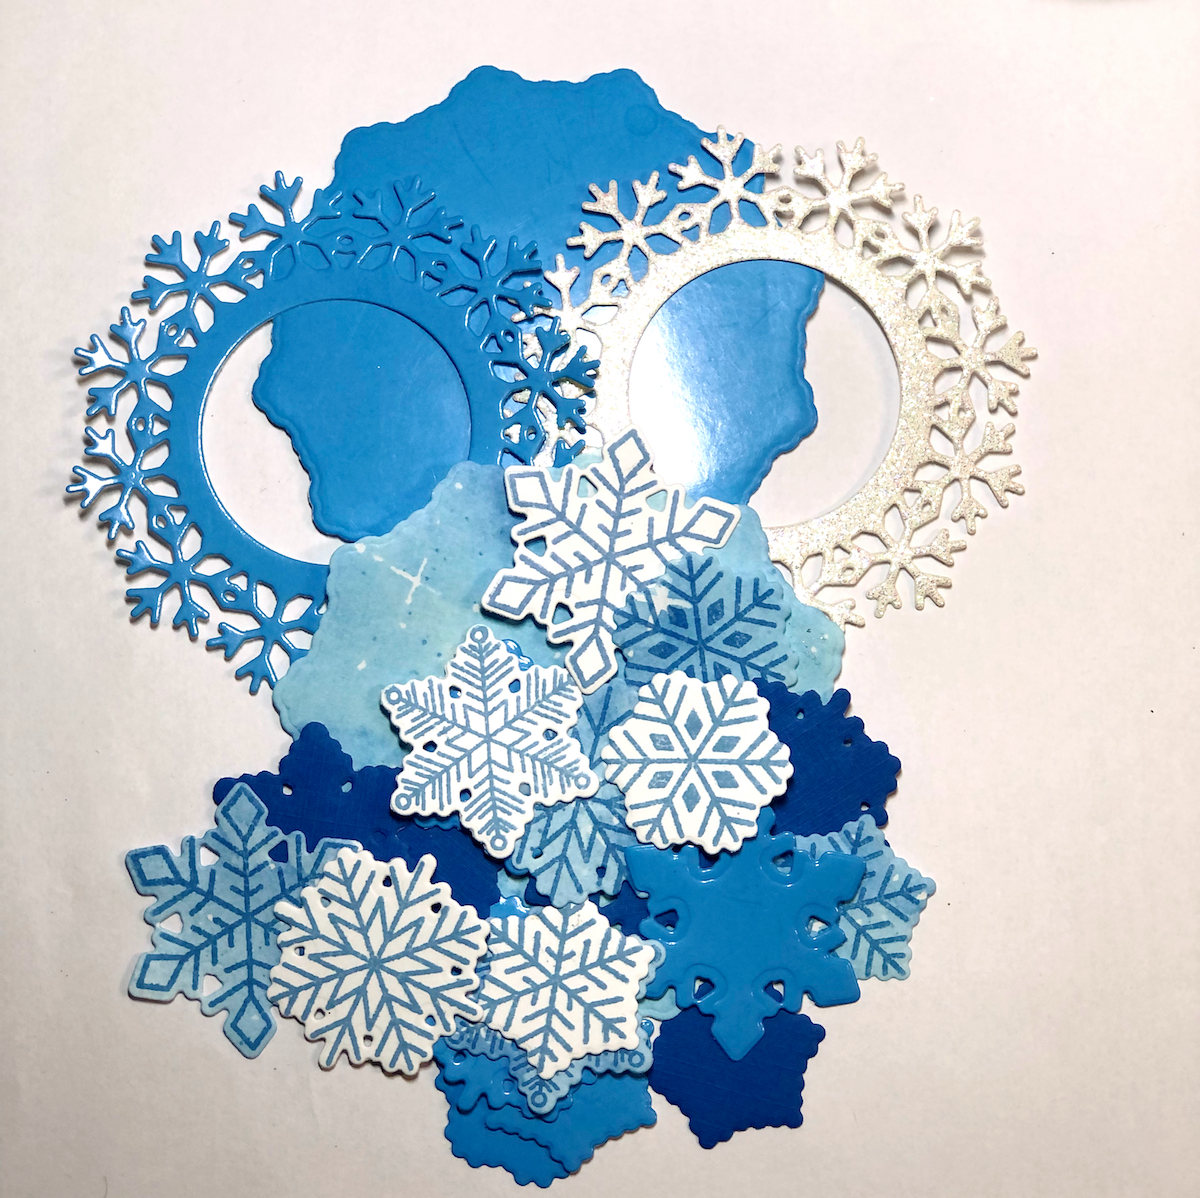
Stamp the snowflakes onto white cardstock with the powder blue inkpad. Die cut the snowflakes with the coordinating dies.
Step Four:
Die cut the large solid snowflake from patterned paper and blue glossy cardstock. Next, die cut the large decorative snowflake from blue glossy cardstock and white glitter cardstock. Die cut three small snowflakes from blue glossy cardstock. Lastly, die cut three 1 1/2″ circles.
Note: I changed my mind and did not use the small patterned paper and dark blue snowflakes as shown in this picture on my finished card. You can use whichever colors you like best.
Step Five:
Adhere the filled plastic circle to the back of the glittered snowflake with double-sided tape. Apply foam tape and layer the large snowflakes together as seen in the photo.

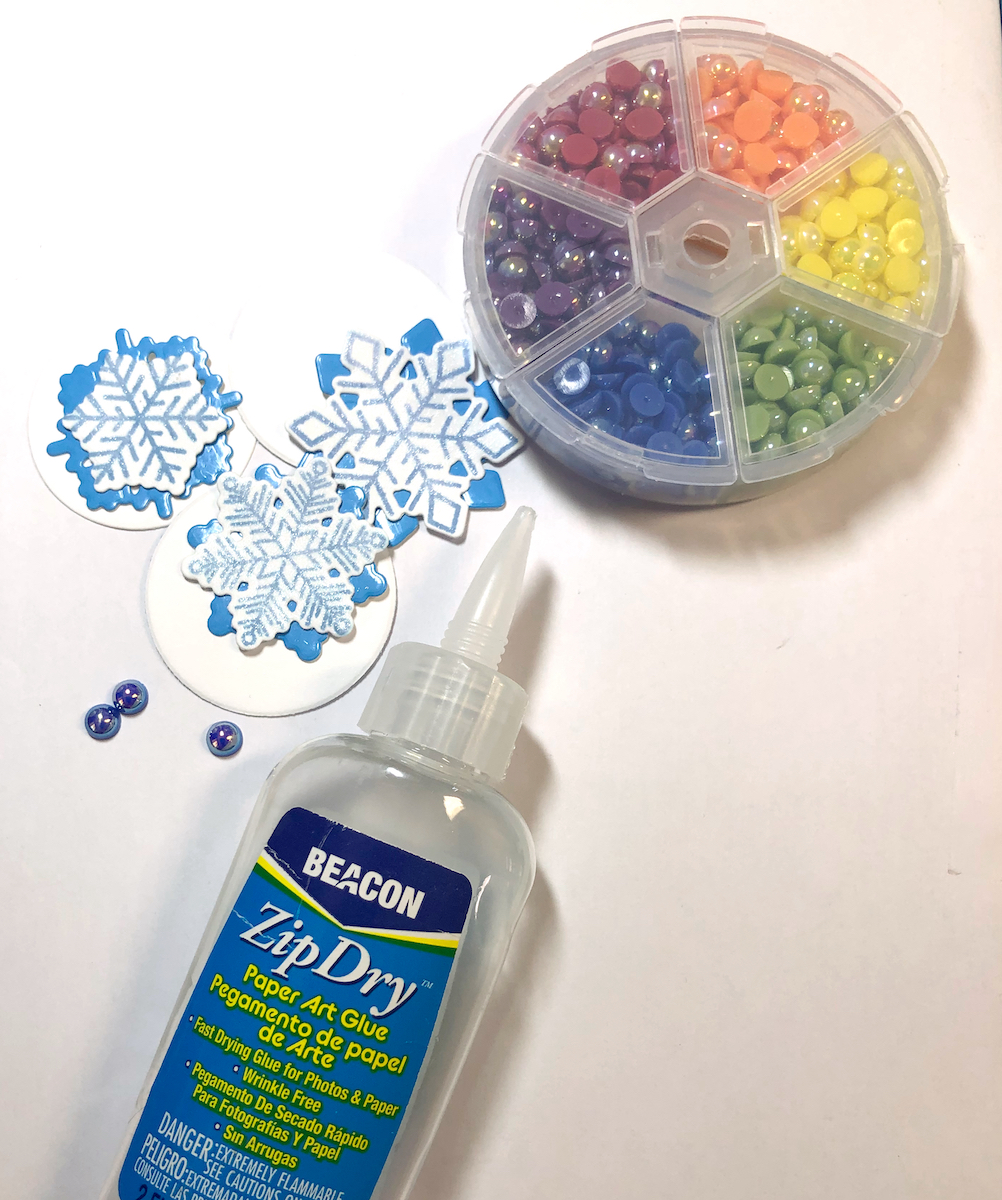
Step Six:
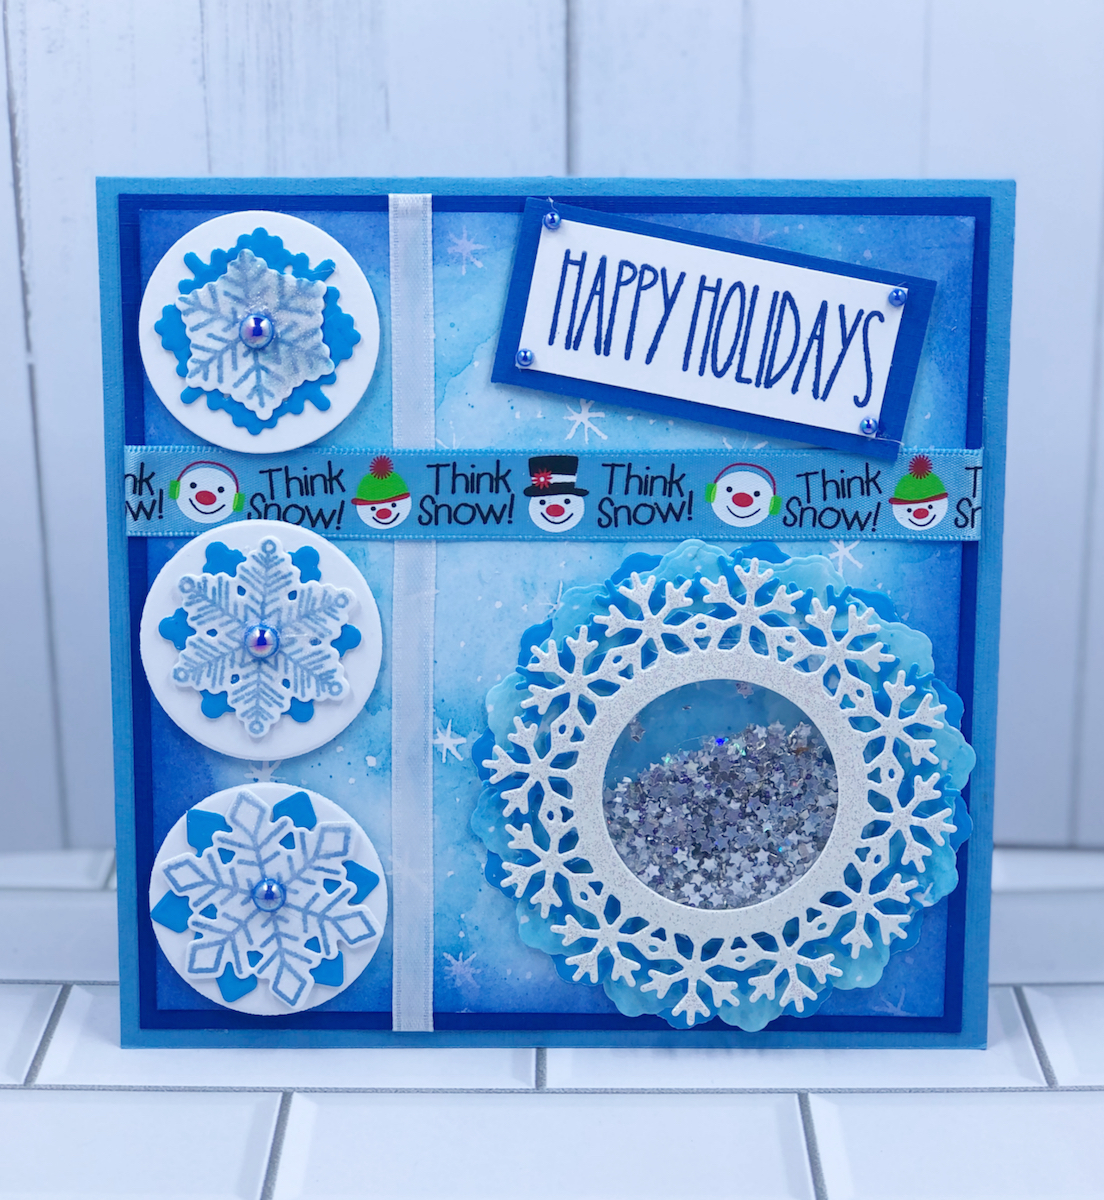
Layer three small snowflakes and adhere them to the white circles. Apply the blue gems to the centers. To finish, cut the card layers as follows: Medium blue cardstock 6″ x 6″, dark blue cardstock 5 3/4″ x 5 3/4″ and patterned paper 5 1/2″ x 5 1/2″. Adhere the dark blue cardstock and the patterned paper together. Attach ribbons and then adhere the layers to the card base. Adhere the three small snowflake circles and the snowflake shaker to the card. Cut a piece of white cardstock 2 1/2″ x 1″ and stamp word image with blue denim inkpad. Layer with dark blue cardstock 2 3/4″ x 1 1/4″. Attach four tiny blue gems and adhere to the card. See photo for placement if needed.
Snowflake Shaker Card
Here’s another PIN for you to share!
Supplies for Snowflake Shaker Card
- Cardstock: White, Medium Blue, Dark Blue, Blue Glossy
- Glitter Cardstock, White
- Patterned Paper
- Cozy Holiday Sentiments Stamp Set by Waffle Flower
- Galina’s Snowflake Stamp and Die Set by Waffle Flower
- Circle Snowflake Shaker Die Set by Waffle Flower
- Powder Blue & Blue Denim Inkpads by Gina K. Designs
- Blue Gems
- Glitter Mixture
- Ribbons
- Zip Dry Paper Glue by Beacon Adhesives
- Foam Tape
- Clear Plastic Photo Sleeves by We R Memory Keepers
- Fuse Tool by We R Memory Keepers
- Die Cutting Machine
Trackbacks/Pingbacks