If you love Slimlines, how about giving a Slimline Shaker in the Middle Card a try. They’re so much fun!
Please note: This post contains affiliate links. If you use these links and make a purchase, we earn a commission at no extra cost to you…
Slimline cards are all the rage right now and I love them as much as the next person, but my heart will always be with interactive cards. When I saw this Slimline stamp from Stampendous I knew exactly what I was going to create with it, and the Slimline Shaker in the Middle card was created. I hope you have as much fun as I did when you make it for yourself! Have fun~ Lisa
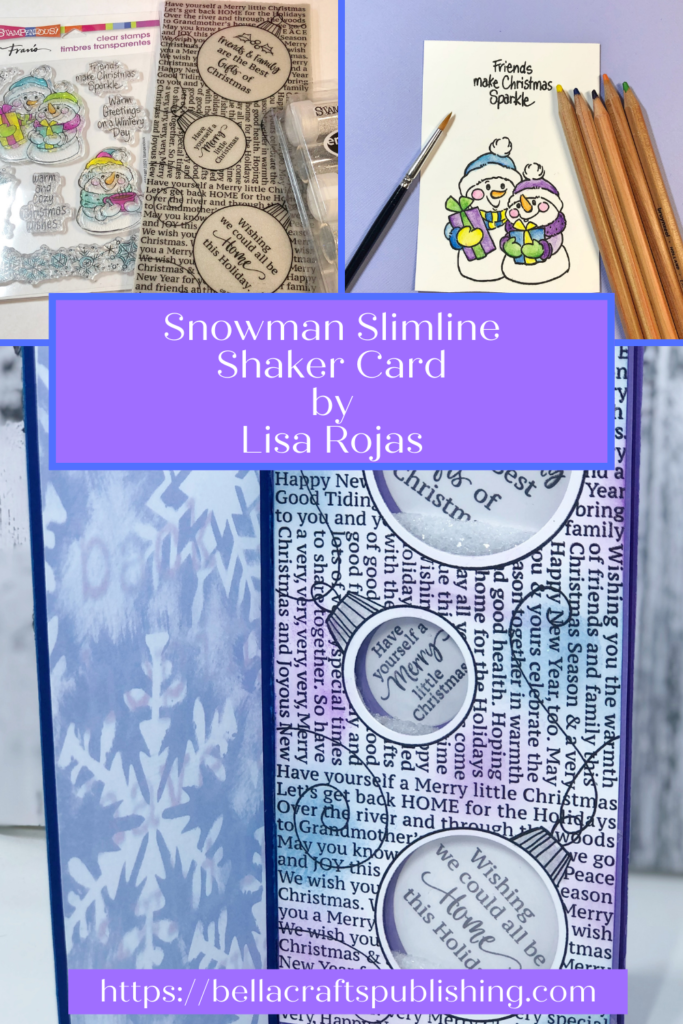
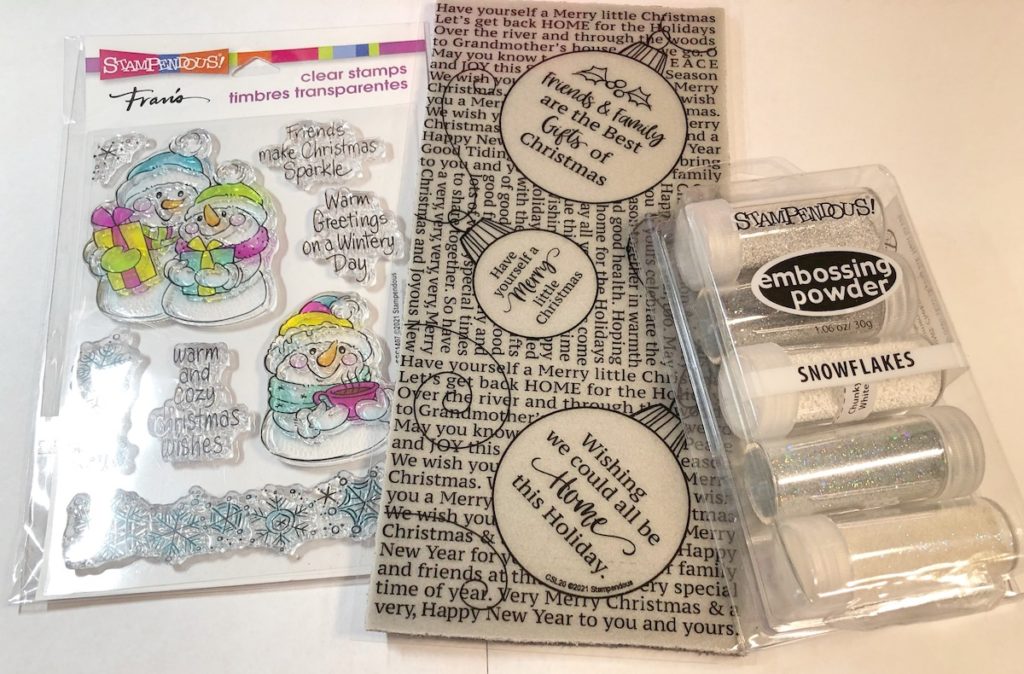
Supplies for Snowman Slimline Shaker Card
Check the end of the post for a full list of supplies
Steps One, Two, Three:
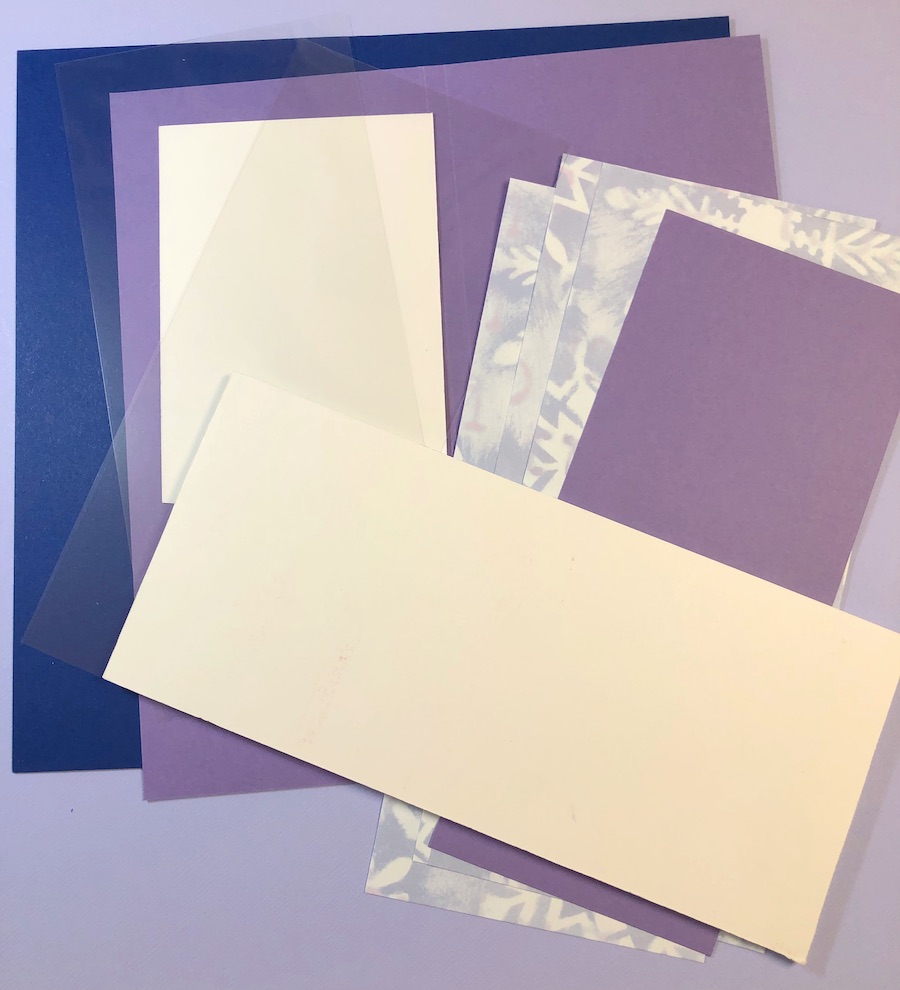
Cut and score the papers and foam core board as follows: Card Base- Dark Blue, 8 1/2″ x 8 1/2″. Score at 4 1/8″ and 4 3/8″. Inside Cover for Shaker Element- Lavender, 7 3/4″ x 8 1/4″. Score at 3 3/4″ and 4″. Patterned Paper- 3 3/4″ x 8 1/4″ (3). White- 3 1/4″ x 4 1/2″. Window Plastic- 3 1/2″ x 7 3/4″ (2). Foam Core Board- 3 1/2″ X 7 3/4″.
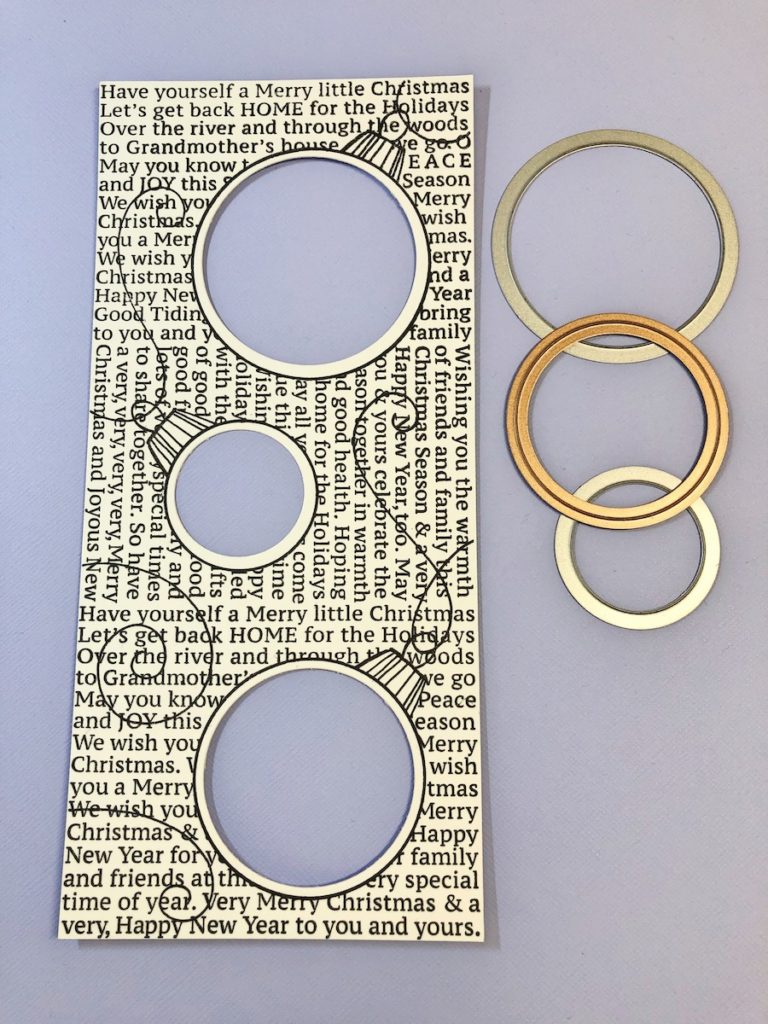
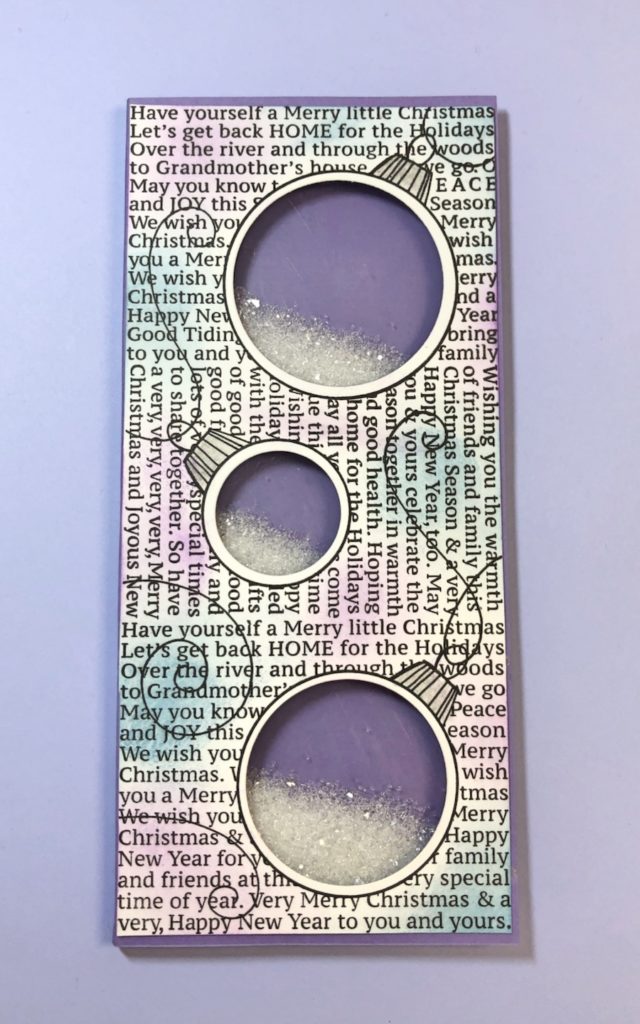
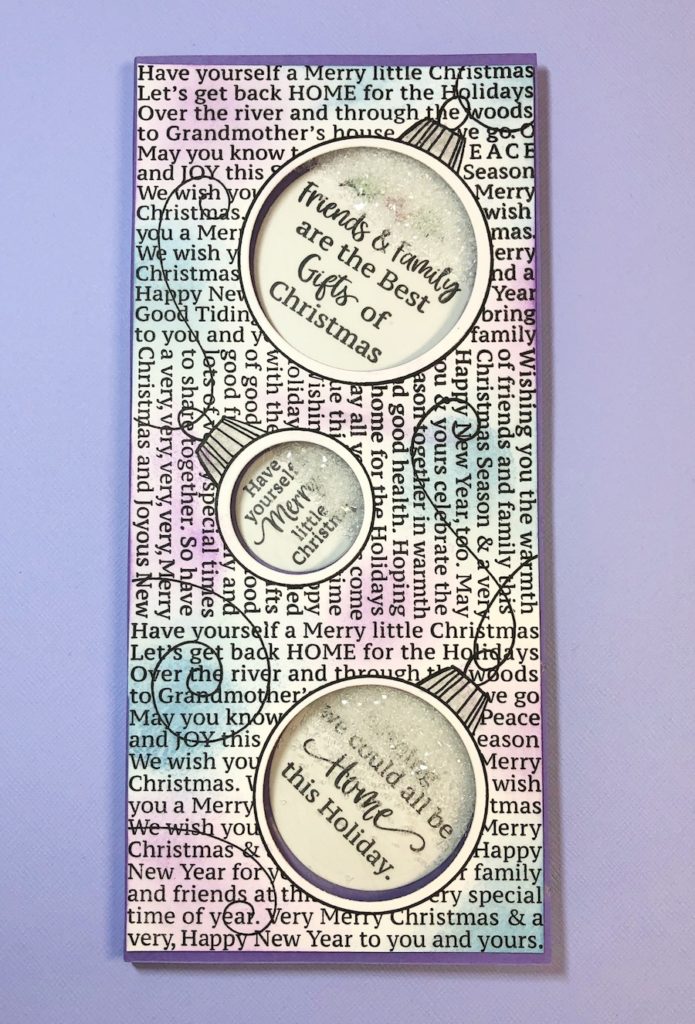
Stamp large word stamp on a piece of white cardstock with black inkpad and trim. Use circle dies to cut out the centers of the ornaments. Save the circles to add to the card later. Use blending brushes with blue and purple inkpads to add color.
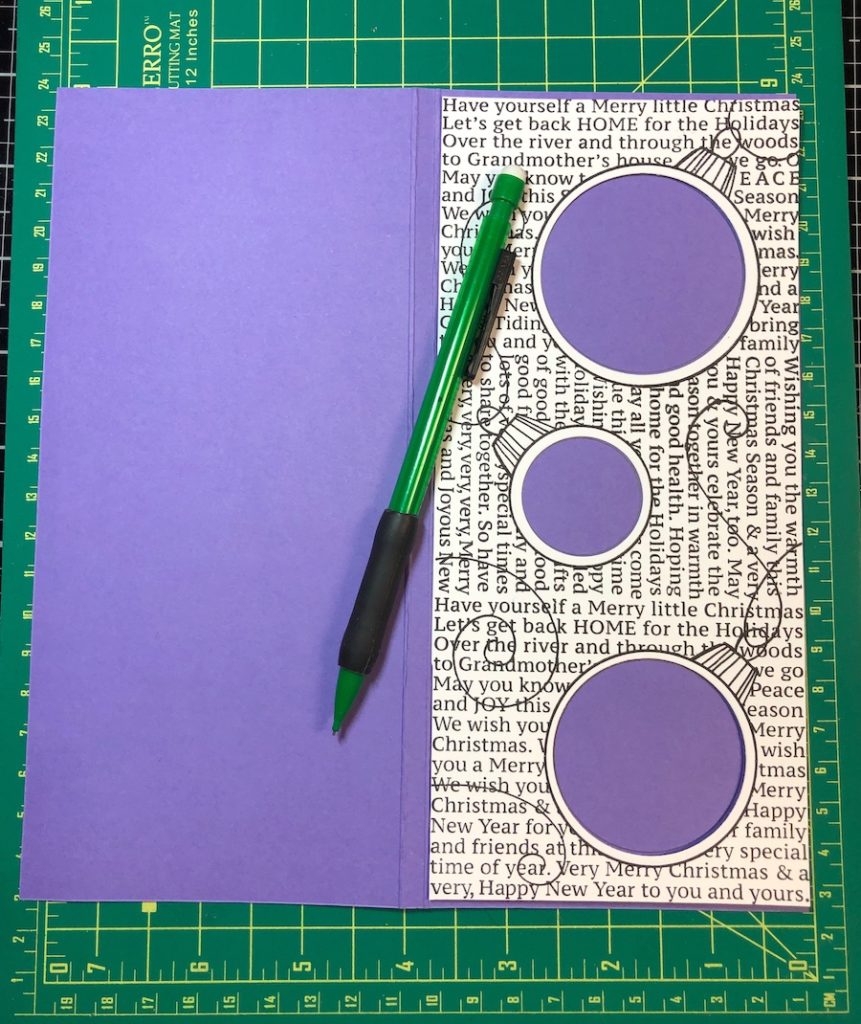
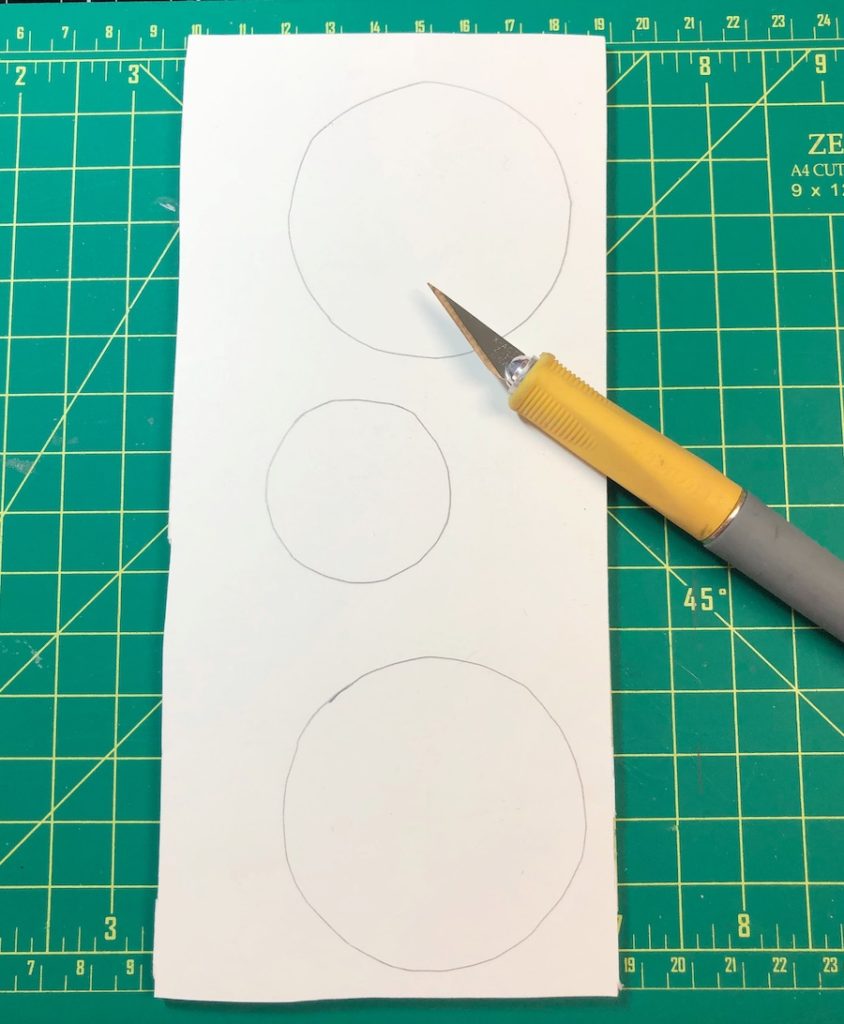
Lay it down on top of the lavender cardstock and trace the circles with a pencil.
Steps Four, Five, Six:
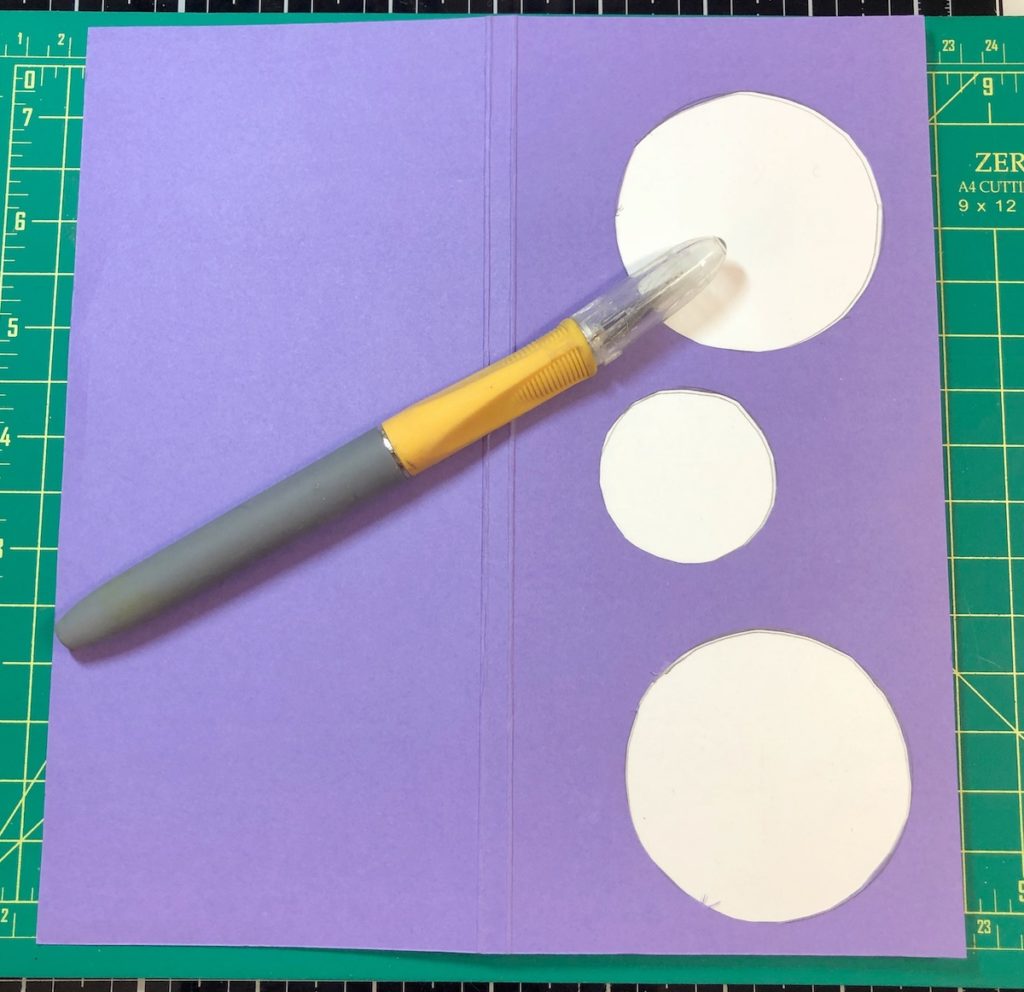
Cut the circles out slightly larger. Lay the lavender cardstock on top of the foam core and trace the circles.
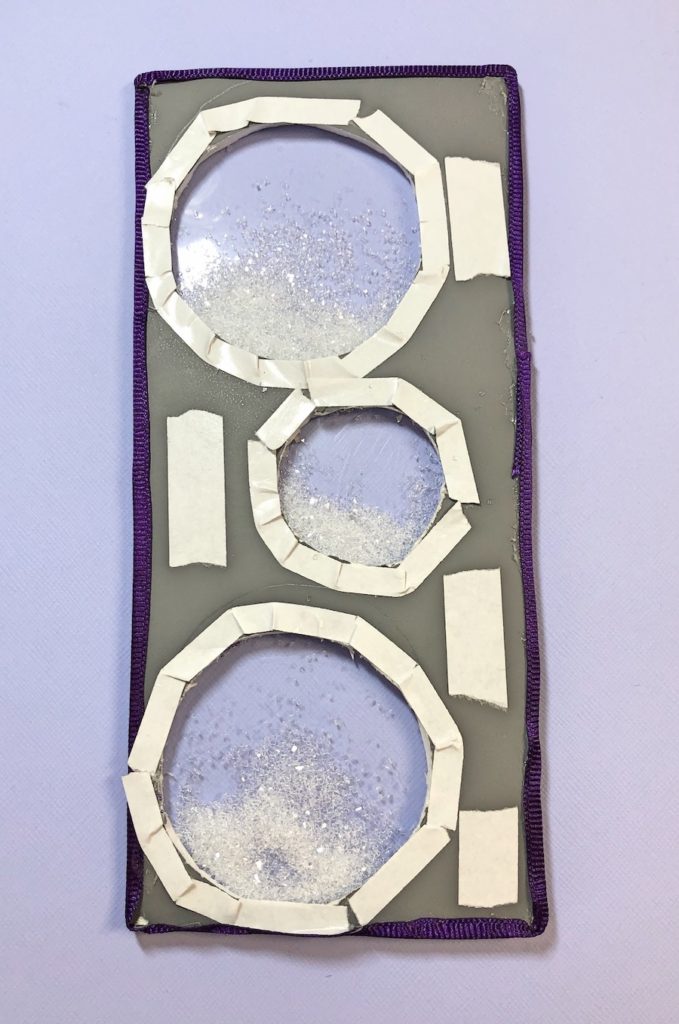
Using an Exacto knife, cut the circles out of the foam core. Glue some purple ribbon around the outside of the foam core with glue gun. Apply double-sided tape around each of the circles and other areas of foam core. Attach window plastic.
Turn foam core over and add Diamond Dust or other beads inside the circles. Apply double-sided tape around each of the circles and other areas of foam core. Attach window plastic.
Steps Seven, Eight, Nine, Ten:
Adhere the large wood image on the front of lavender cardstock. Place the shaker element inside of the cardstock and adhere it to the front portion only.
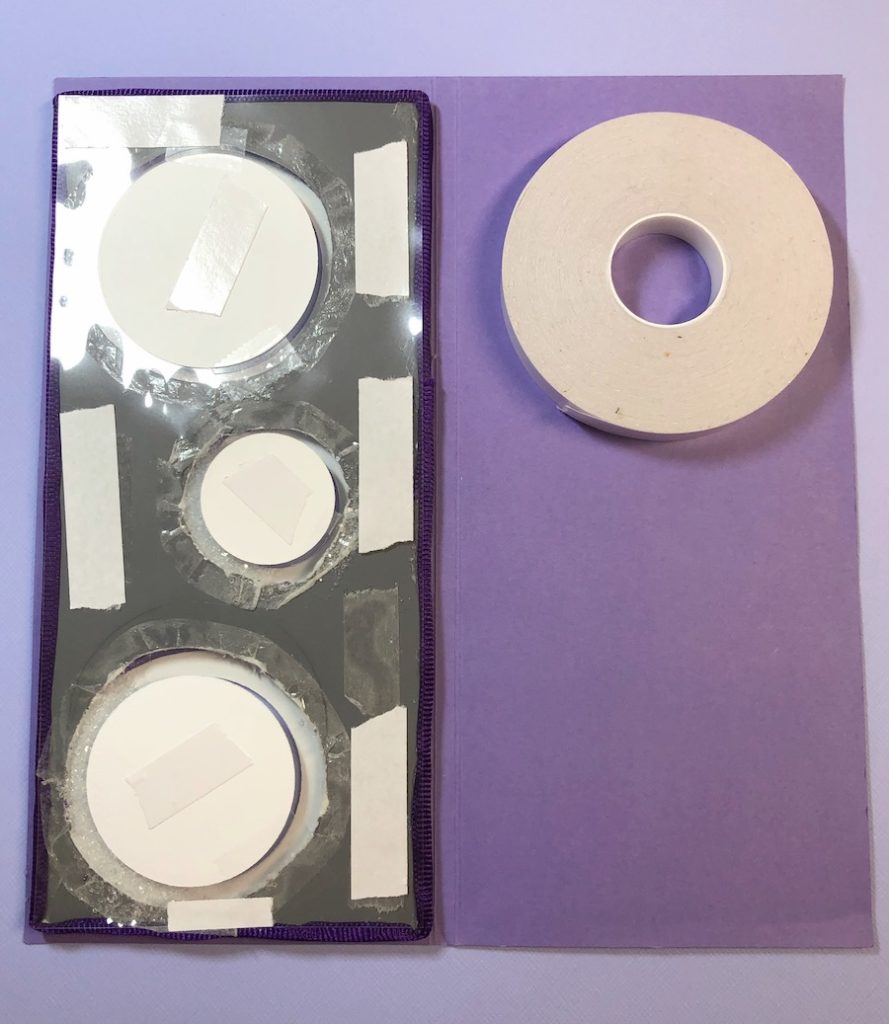
Lay the circles to the backside of the shaker element and once they are lined up to the front of the shaker, adhere them to the shaker.
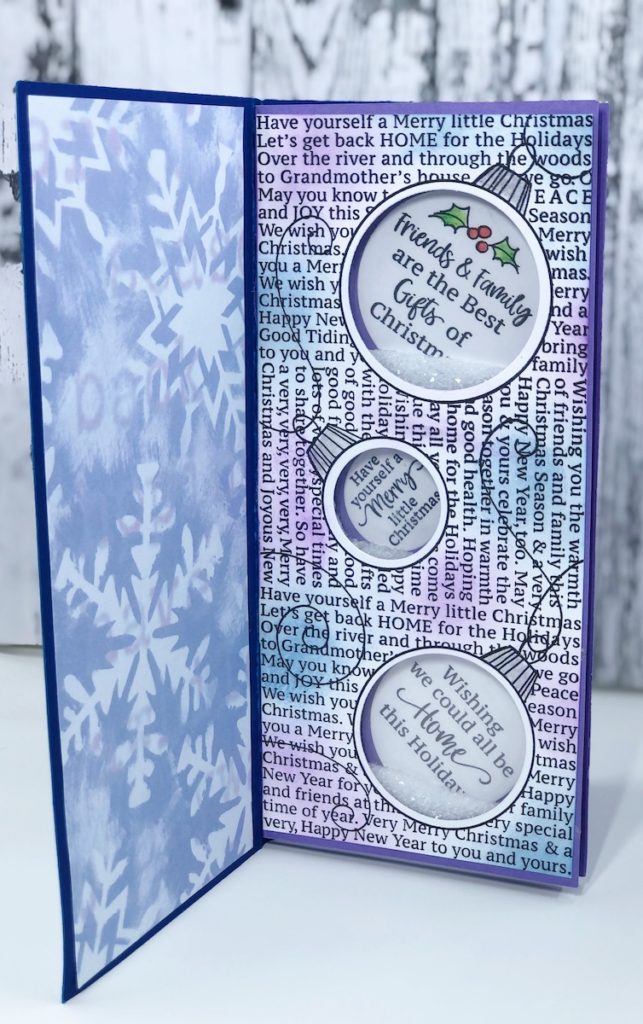
Apply additional double-sided tape to the the back of the shaker and close the lavender cardstock, adhering the shaker inside. Add tape or glue gun to the spine of the shaker and adhere it to the inside of the dark blue cardstock. Attach two pieces of the patterned papers to the inside of the card and the last piece to the front of the card.
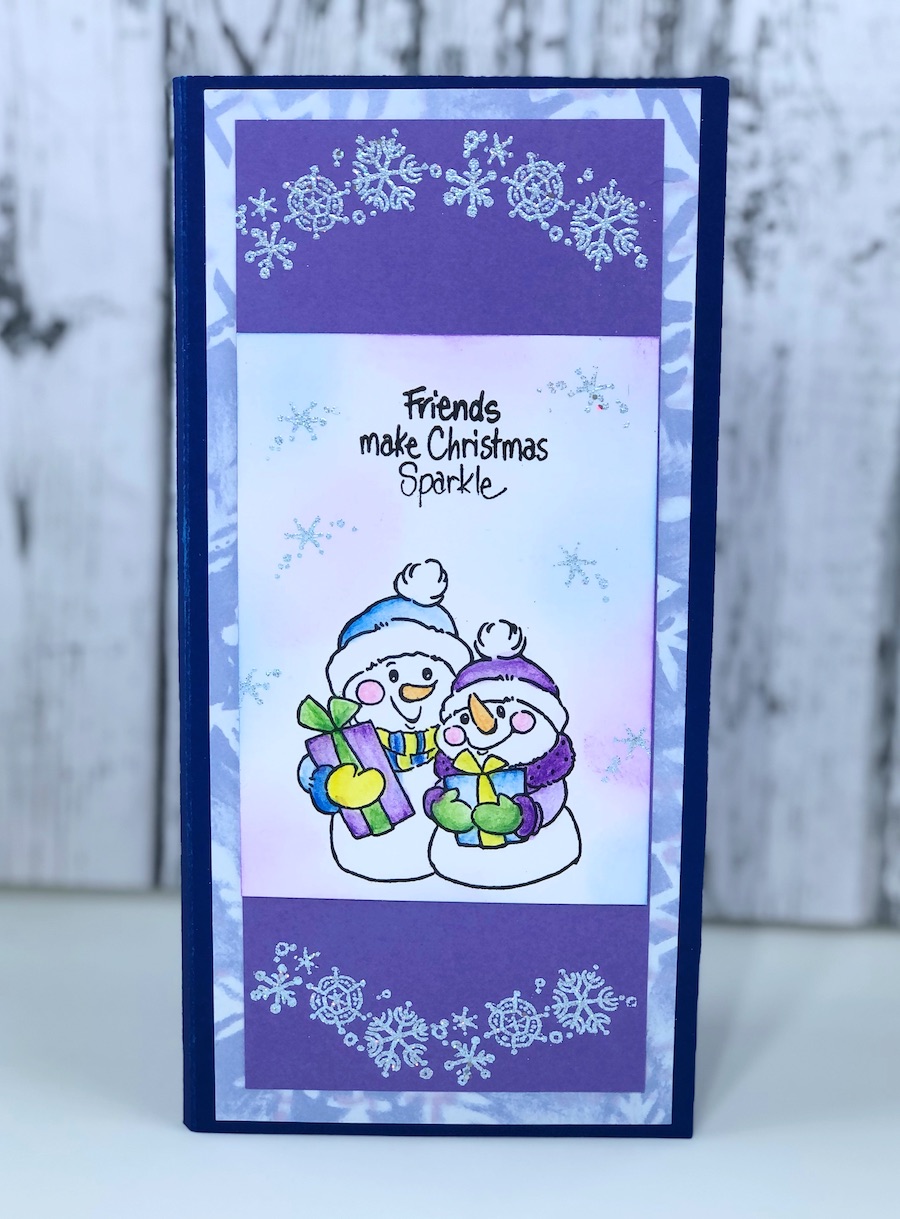
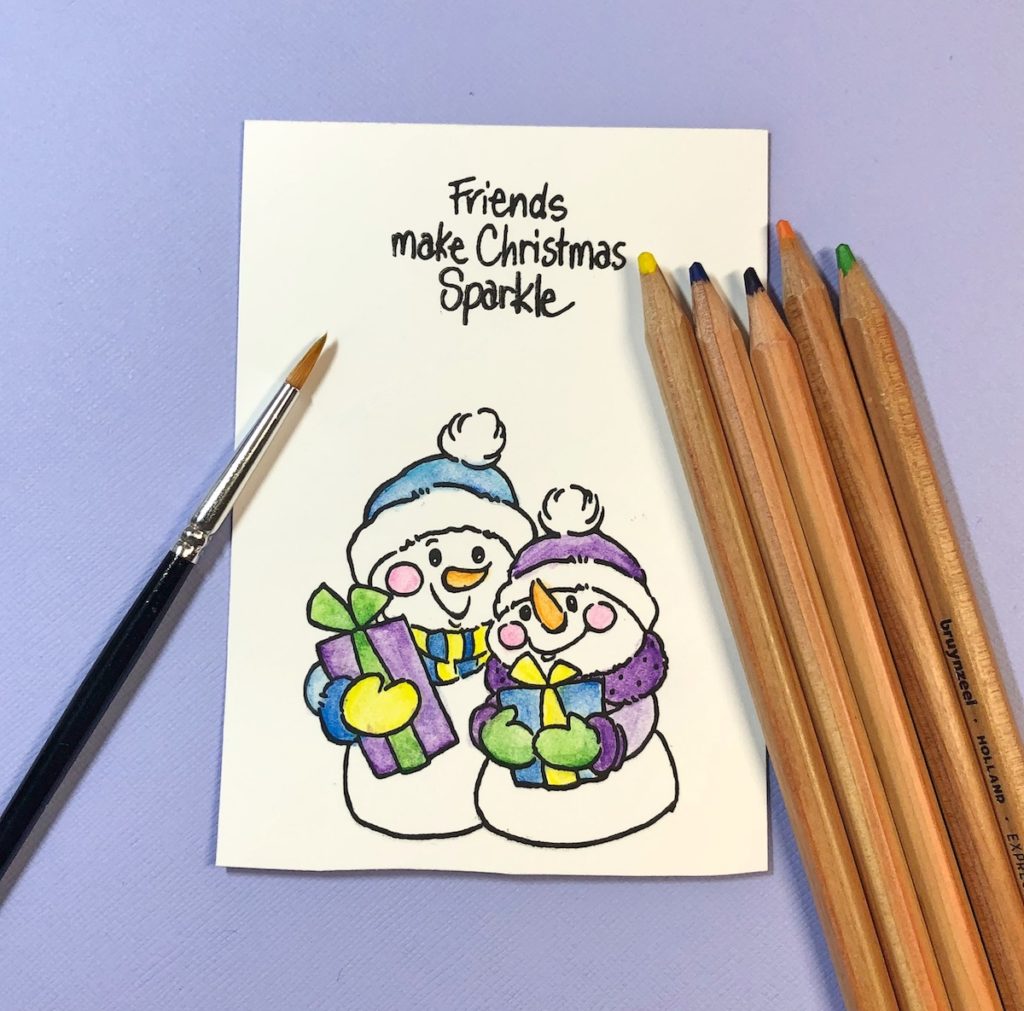
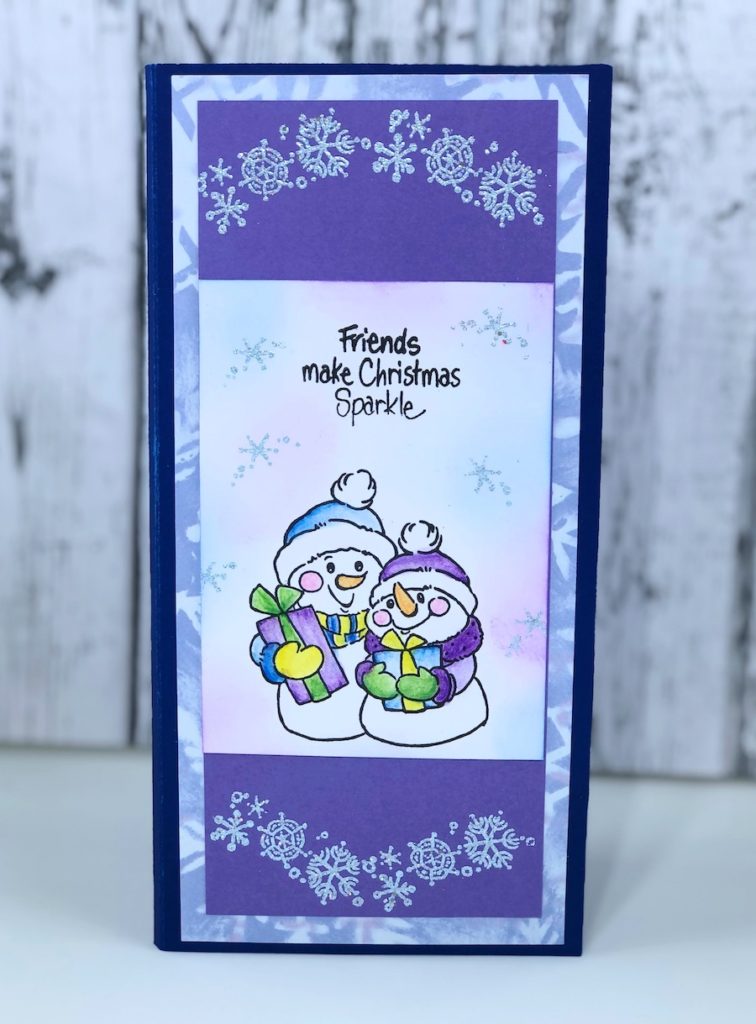
Stamp the snowman and the word image on white cardstock with a black inkpad. Color the image with watercolor pencils. Stamp small snowflakes with a Versamark or embossing inkpad. Sprinkle the Frozen Ice Tinsel embossing powder to the snowflakes, tap off the excess and return it to the container. Heat set with a heat tool. Stamp the medium snowflake border image four times with Versamark inkpad on a piece of lavender cardstock. Again, sprinkle the powder on the images, tap off the excess and return it to the container. Heat set with a heat tool. Layer and adhere the lavender cardstock and white cardstock together and then adhere to the front of the card to finish.
Front of Card and Shaker in the Middle
Snowman Slimline Shaker Card
- Cardstock: Dark Blue, Lavender, White
- Snowflake Patterned Paper
- Window Plastic
- Slim Ornament Text Stamp by Stampendous!
- Snow Time Rubber Stamp Set by Stampendous!
- Snowflakes 5 Jar Embossing Powder Kit by Stampendous!
- Watercolor Pencils by Royal Talens
- Diamond Dust
- Purple Ribbon
- Inkpads: Black, Blue & Purple by Gina K. Designs
- Blending Brushes by Pink and Main
- Circle Dies
- Double-Sided Tape
- Glue Gun
- Heat Tool
- Die Cutting Machine
- Paper Trimmer
- Exacto Knife
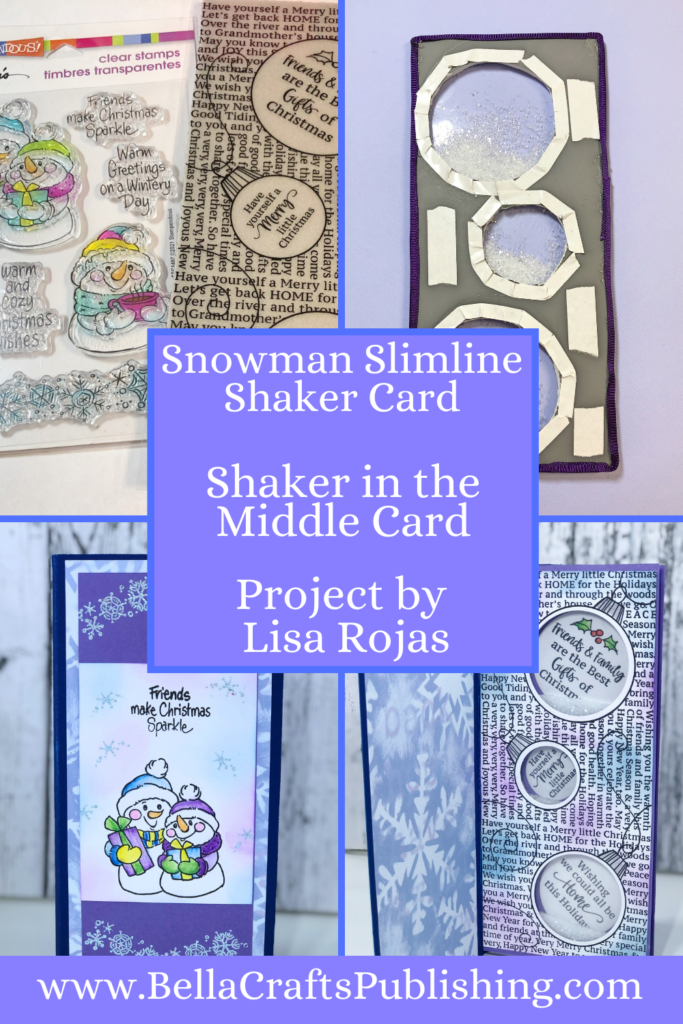
One more PIN of the Snowman Slimline Shaker Card to share

Trackbacks/Pingbacks