Recycled crafting is more popular than ever. We are know that recycled items are being used more and more in our crating projects. They can be an inexpensive way to create projects, but that doesn’t mean that they have to look cheap. Betsy Skagen has turned some left over papers into this beautiful recycled hostess gift set. What can you create with your recycled items?
Use scraps to make unique and low-cost hostess gifts
I hate wasting crafting supplies. Just about any scrapbooking paper bigger than a couple ink pads gets saved. Unfortunately, after a couple decades of crafting…gulp…this leads to a lot of scraps.
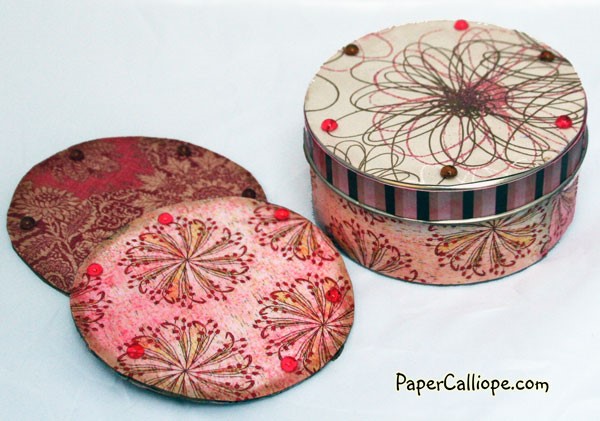
That is why I was pleased as punch to discover a new use for paper scraps. One that even saves money: hostess gift coaster sets. The great thing is that you can have a hodgepodge assortment of papers and it will still work great.
Besides paper scraps, you will need a couple other items that any legitimate hoarder…er, I mean crafter should have handy: cardboard (I save mine from the back of scrapbook packs) and a small container that measures approximately 4” x 4” x 3”. I used an old round tin, but containers can also be square and made out of wood or plastic as well.
[Tweet “Love recycled crafting? Then check out this amazing tutorial…a perfect gift, too.”]
Materials
- Small container
- Cardboard or chipboard
- Distress ink
- Mod-Podge
- Robin’s Nest Floral Collection
- Classic K Collection by K&Company
- Mini Dew Drops
Tools
- Ruler
- Paper trimmer
- Scissors
- Foam brush
- Ink blending tool
- Craft glue
Instructions
- Measure the length, width and depth of the container and container lid.
- Cut two 12” long strips of paper so that the widths match the depth of your container.
- Cut one 12” long strip so that the width matches the depth of your container lid.
- On scrapbook paper either measure or trace (if it is circular) around the lid and base of the container base. Cut two lid-sized papers and one base-sized paper.
- Trim one of the lid papers so that it slightly smaller and fits inside the lid. Do the same for the container base. Trim if necessary.
- Trace the container base paper onto a scrap sheet of paper. Create a pattern for the coasters by making it slightly smaller than the base paper. If your coasters are round, use a compass to create a pattern that is perfectly circular.
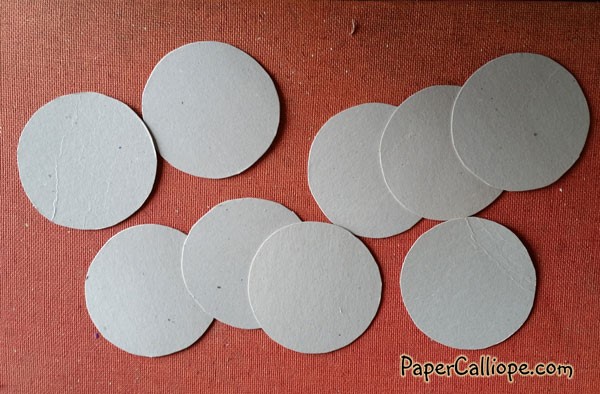
- Use this pattern to trace eight coasters onto your cardboard. Cut these out.
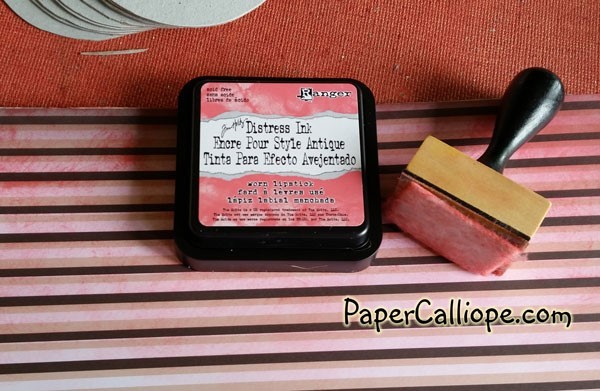
- Using inks and a felt blender, lightly apply ink to any scrapbook papers that will help unify the color theme of your coaster set. For example, I applied Ranger Worn Lipstick Distress Ink to some of the lighter scrapbook papers.
- Next use the same pattern to trace and cut 16 more circles onto scrapbook paper. If you wish, you can use the same paper for eight of the circles because they will be coaster backs.
- Distress the edges of the circles.
- Apply a thin layer of Mod-Podge to the inside of the container. Set the base paper inside and apply another thin layer of Mod-Podge over it. Lay one of the 12” strips along the inside sides of the container and apply another thin layer of Mod-Podge over it.
- Apply a thin layer of Mod-Podge to the large flat portion inside the container lid. Insert the base paper and apply another thin layer of Mod-Podge over it.
- While the container dries, apply a thin layer of Mod-Podge to one side of each of the cardboard circles. Adhere the paper that will be the back of the coaster to each coaster and apply another thin layer of Mod-Podge over them. Let dry.
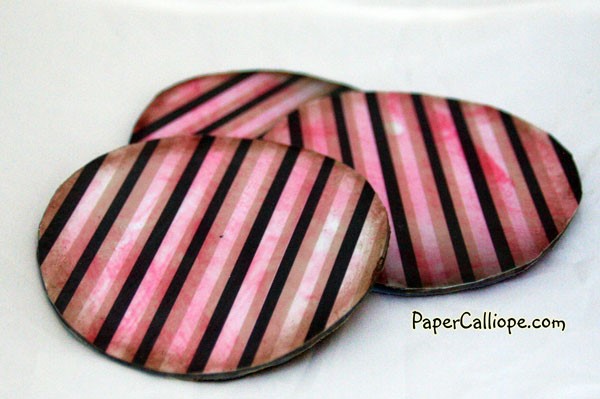
- Repeat Steps 11 and 12 for the outside of the container and lid, including the 12” strip around the outside of the lid.
- After the coasters are dry, turn them over and repeat Step 13 for the front side.
- Using craft glue, apply small decorations, such as Dew Drops, to the outside edge of the coasters.
Once everything dries, you will have a unique set of coasters that you can use as a lovely and thoughtful hostess gift. 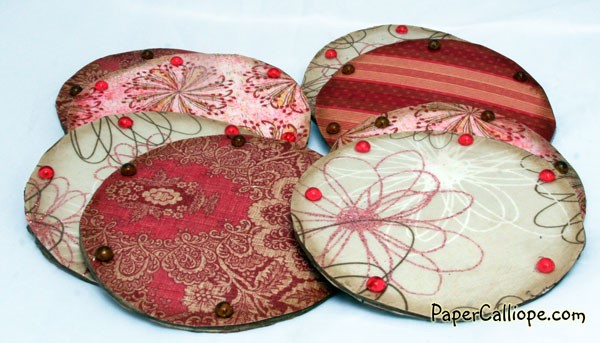
We just love recycled crafting, don’t you? What types of ordinary household items would you recycle into a treasure? Tell us in the comments.

Love the Robin nest products. thanks for sharing