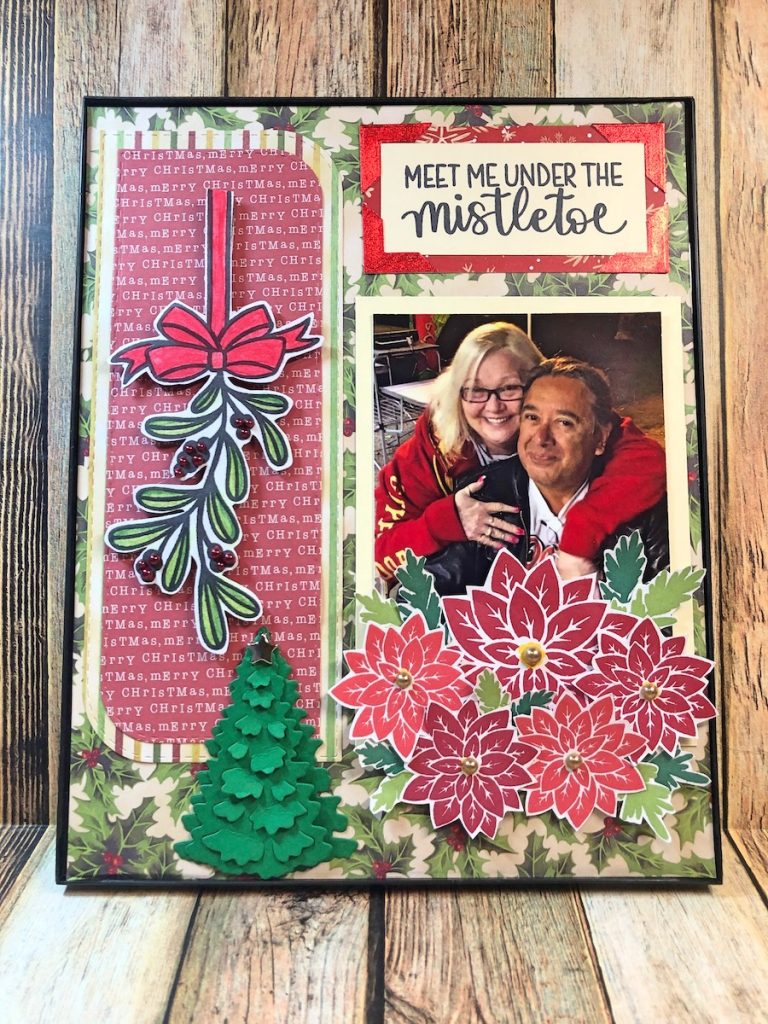
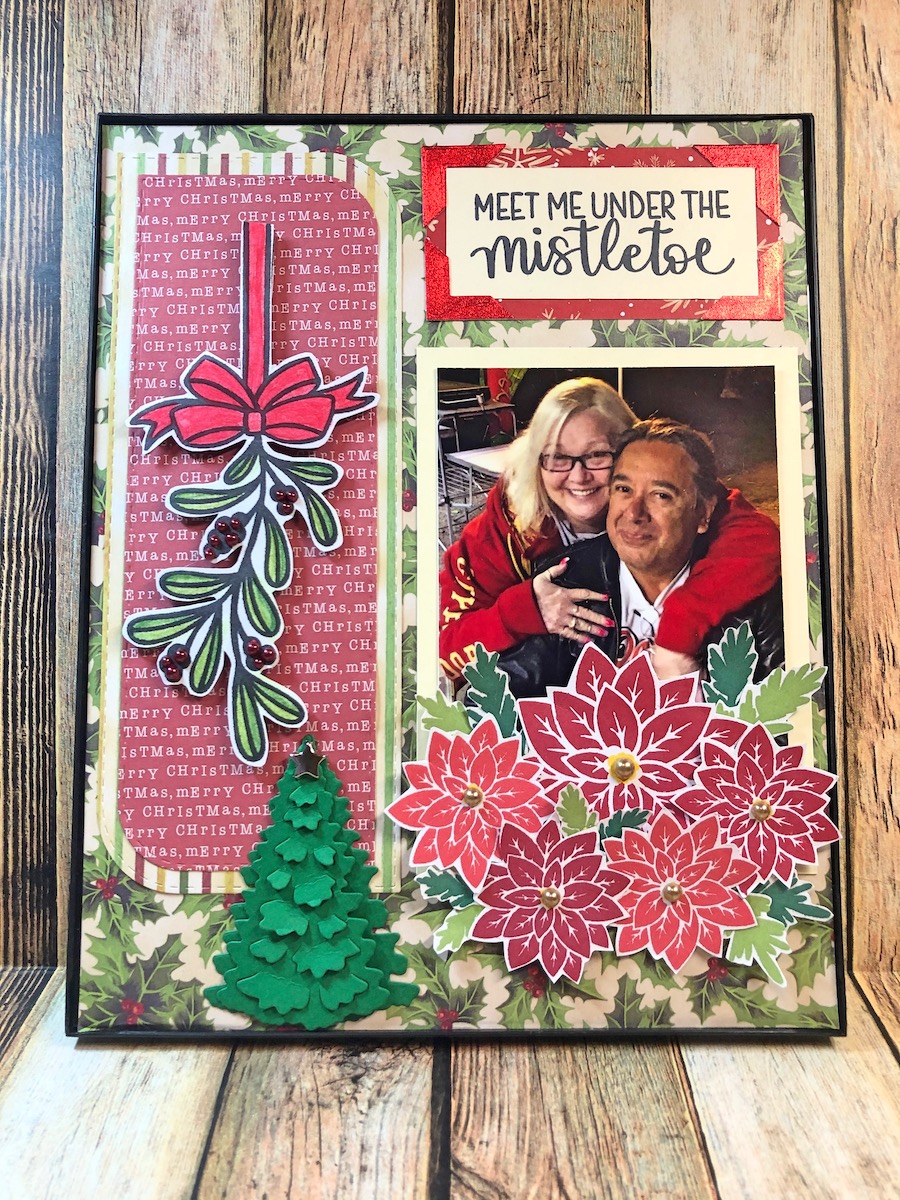
If you’re looking for a last minute gift idea this Mistletoe Frame for the holidays is perfect!
Please note: This post contains affiliate links. If you use these links and make a purchase, we earn a commission at no extra cost to you…
With Christmas being right around the corner, if you’re anything like me, you’re scrambling to finish your Christmas list. This Mistletoe Frame for the holidays is perfect. It’s a quick and easy project that you can complete in less than an hour and your loved ones are going to love that you took the time to make something yourself. It’ll be our little secret that it didn’t take you hardly any time to make it! Merry Christmas! Lisa~
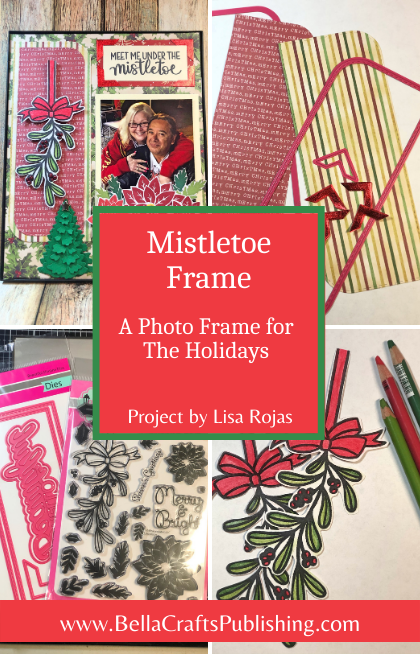
Supplies for Mistletoe Frame
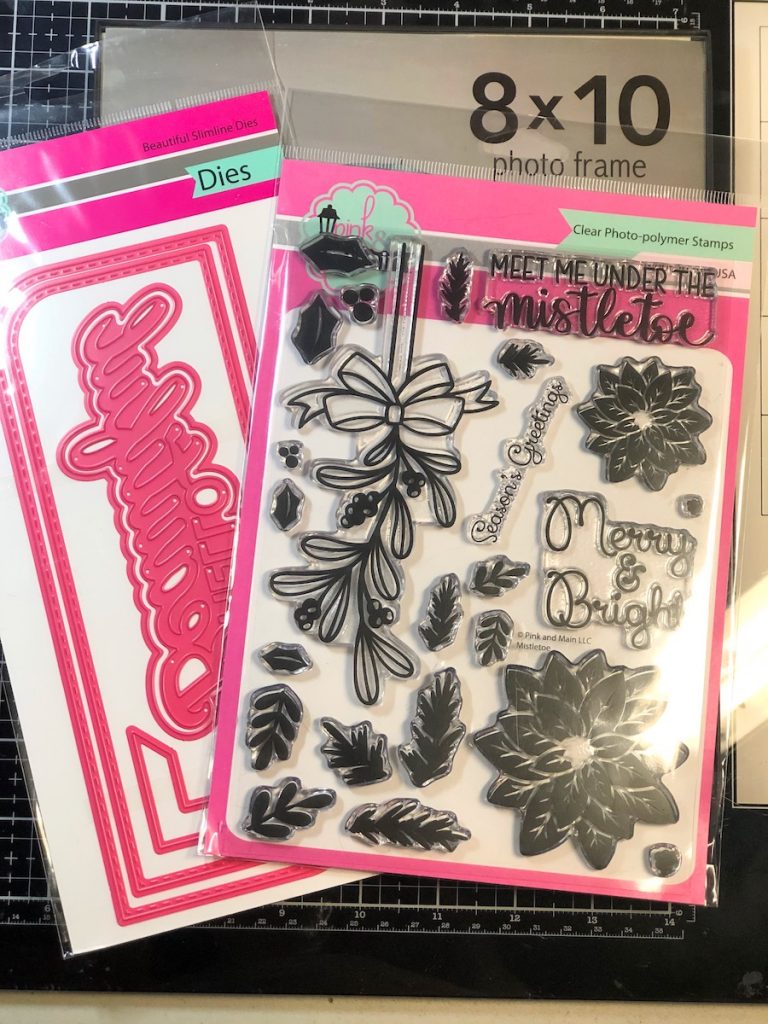
Check out the full list of supplies at the end of this post.
Step One:
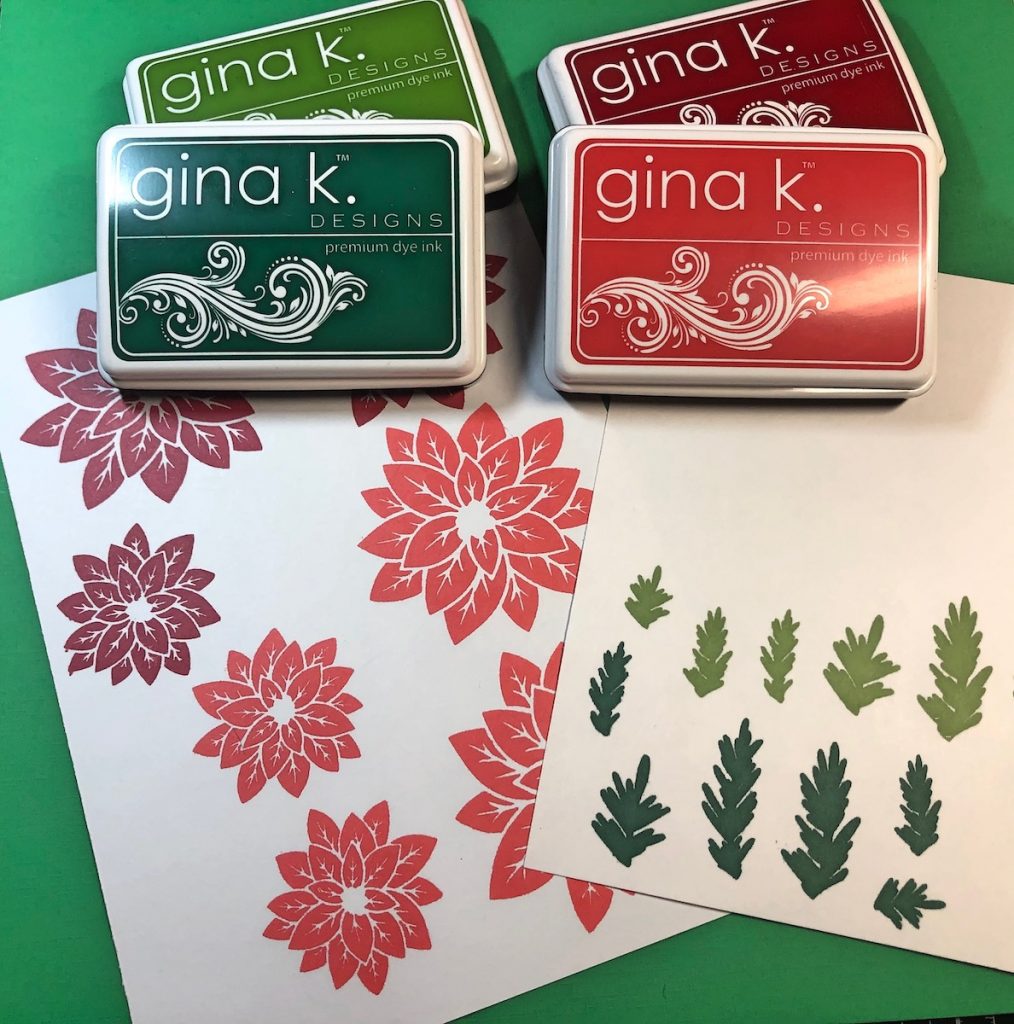
Stamp out your images with the inkpads. Stamp one large and four small poinsettias .
Step Two:
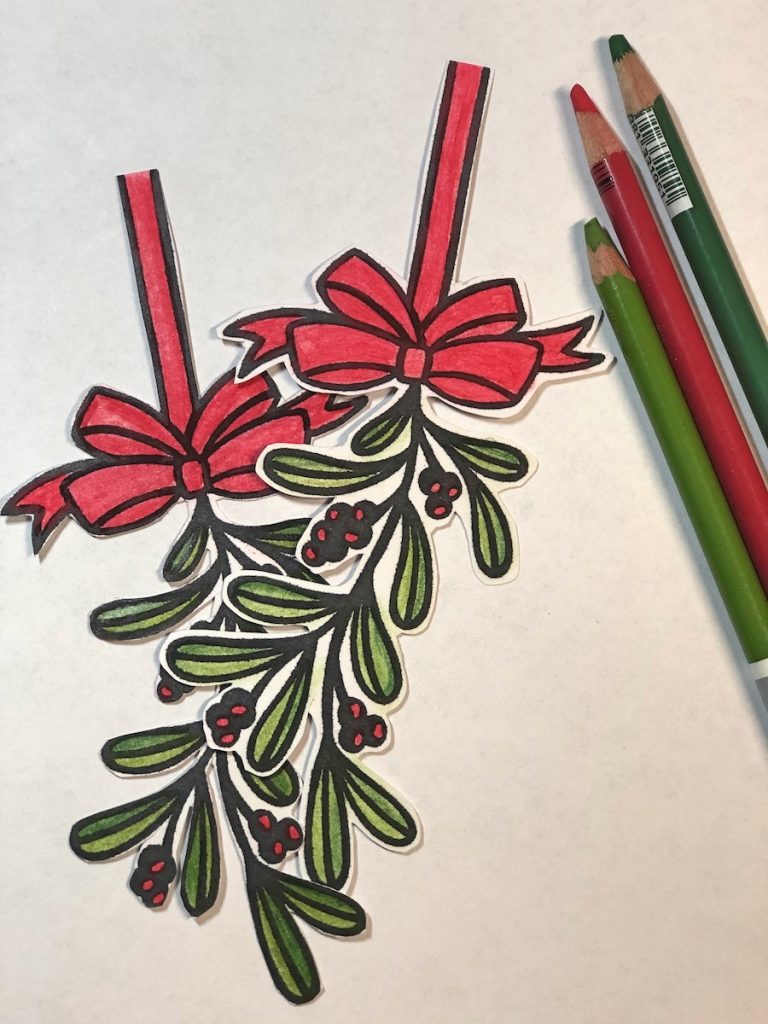
Stamp the mistletoe out two times with black inkpad and color with chalk pencils.
Step Three:
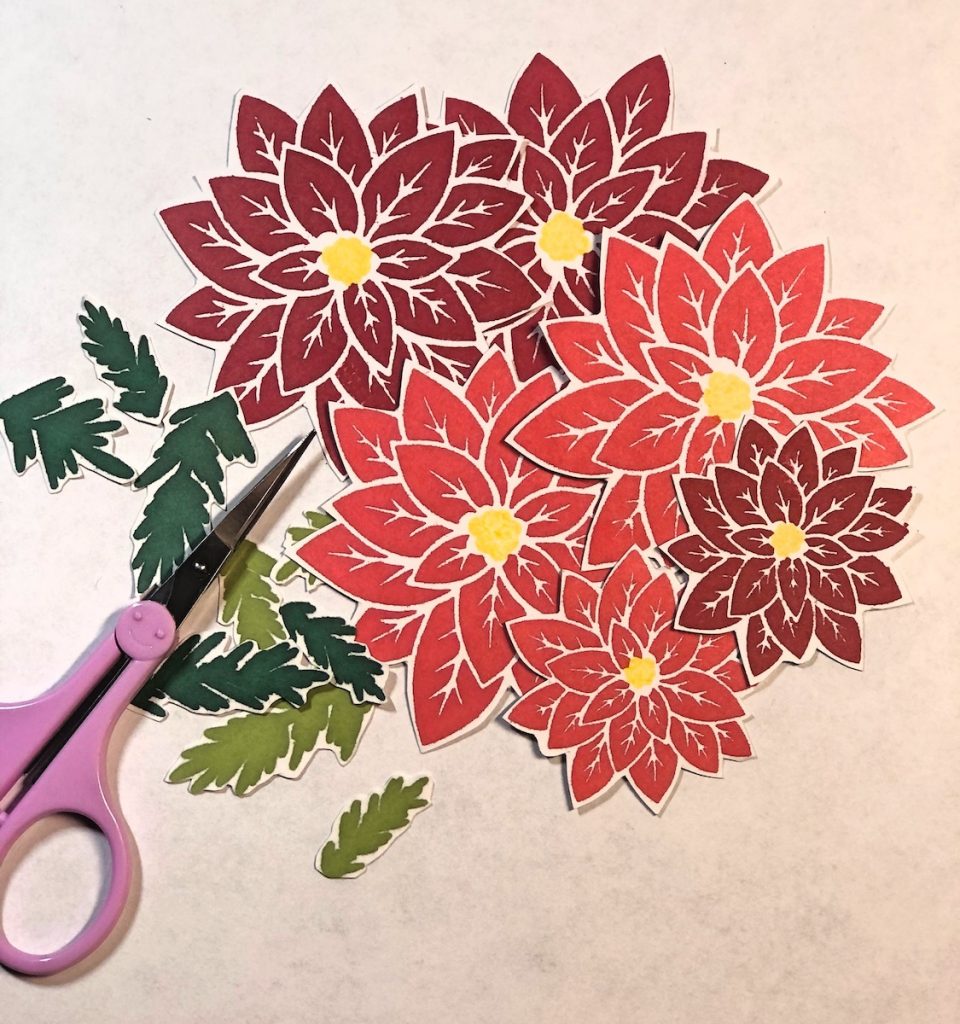
Cut out the stamped images with scissors.
Step Four:
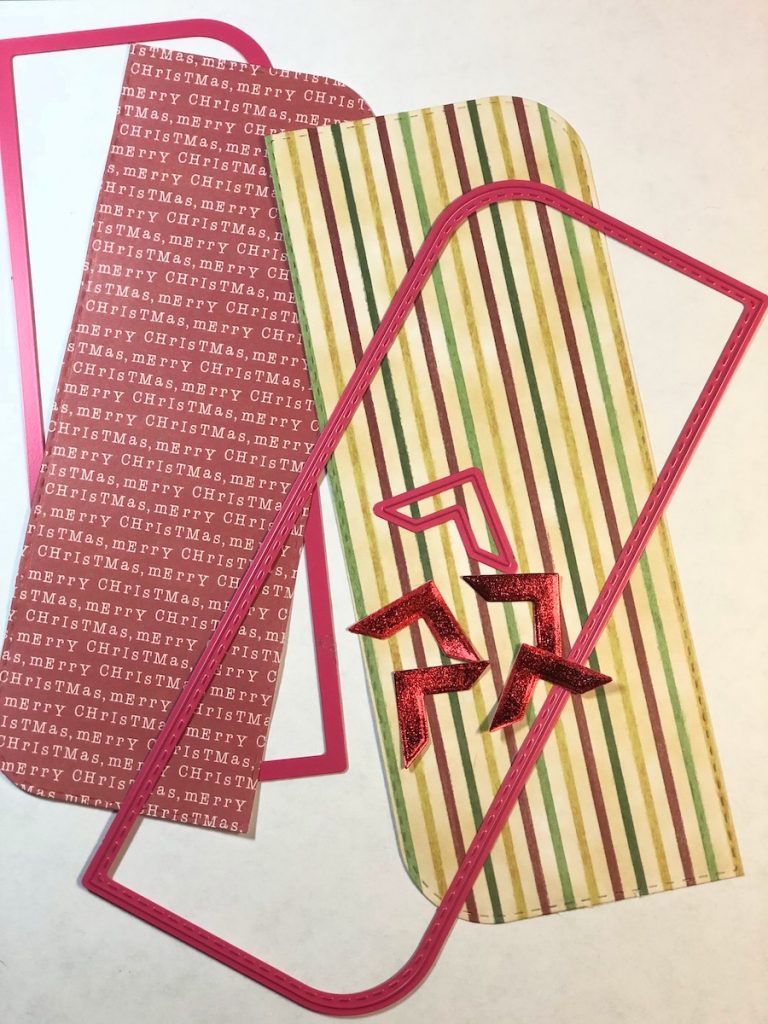
Using a die cutting machine, cut out two frames from patterned paper and four corners with red glitter paper. Die cut the tree from green cardstock. Add star brad to the top of the tree.
Step Five:
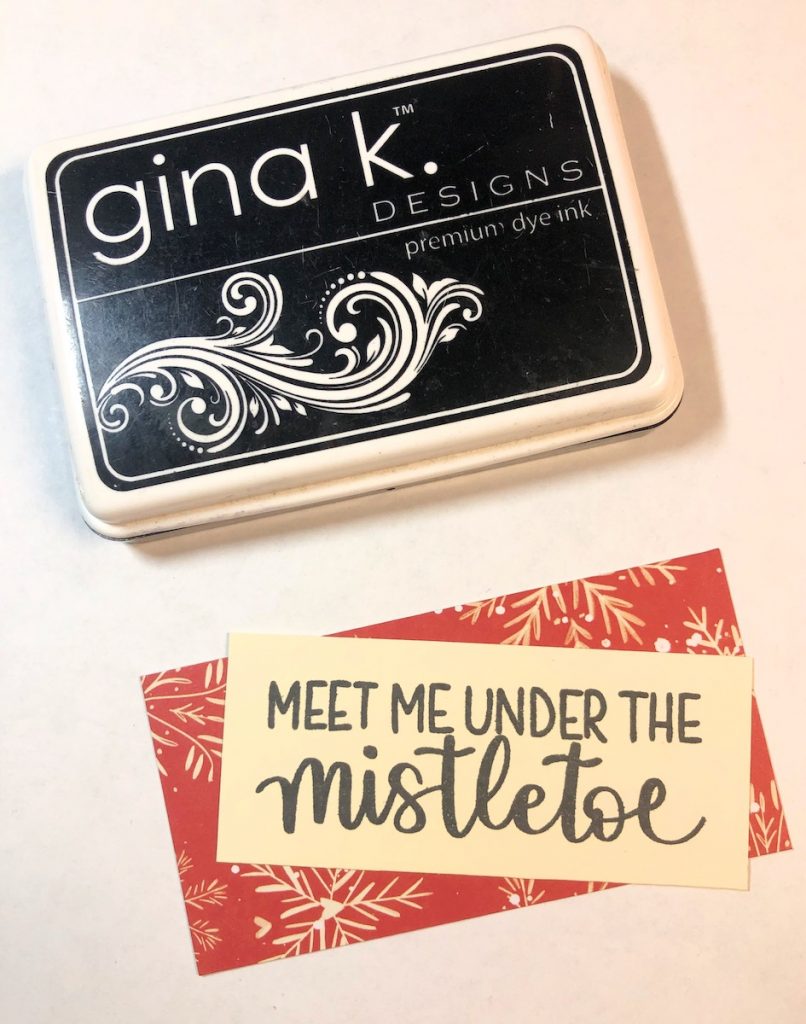
To finish the frame, stamp the wording on cream cardstock, 3 1/2″W x 1 1/2″H. Cut patterned paper 2″ x 4″ and adhere to the back of the cardstock. Adhere the four corners on the word image. Apply the enamel dots to centers of the poinsettias and the holly berries on the mistletoe. Apply foam tape to the mistletoe and both pieces together. Adhere all of the elements to an 8″ x 10″ piece of patterned paper, using photo for placement.
Mistletoe Frame
Supplies for Mistletoe Frame
- Frame 8″ x 10″
- Patterned Papers, Holiday Themed
- Cardstock: Cream, White, Green
- Glitter Papaer, Red
- Premium Dye Inkpads: Black Onyx, Grass Green, Christmas Pine, Red Hot, Cherry Red, Wild Dandelion by Gina K. Designs
- Chalk Pencils
- “Mistletoe” Clear Stamp Set by Pink and Main
- Beautiful Slimline Die Set by Pink and Main
- Zip Dry Paper Glue by Beacon Adhesives
- Foam Tape
- Enamel Dots: Gold, Red
- Star Brad
- Paper Trimmer
- Die Cutting Machine

Lovely. Thank you. A very Merry Christmas to all. ❤️
Hi Lisa,, This is Tami Trimm, I have been trying to get a hold of you for like,,, a couple or years and maybe even longer than that !
I didn’t want to have post publicly (I don’t know why) but cannot figure out any other way.
I know, I know, I could have just gone on Facebook everyone tells me.
But is there Any other way to connect with you ?
Email, a real phone (do you remember those things), snail mail, anything other than Facebook. I know as soon as I click this send button, I will think of something.
But anyway, I love you, I miss you and would love to talk with you. If for any reason this is not logical or whatever, just skip it. But,,,
Hi Tami,
Well, that explains a few things LOL! I have responded to you a few times on Facebook. Although, I’ve also responded to an email you sent a while back. You can reach me at info@bellacraftspublishing.com or you can bite the bullet and message me on Facebook Messenger! Take care, Lisa
PS- I removed your email address & phone number because this is a public forum.