This Mini Slimline Card and Envelope is a blast to make! It’s easy to create and has lots of bling. What could be better than that!
Please note: This post contains affiliate links. If you use these links and make a purchase, we earn a commission at no extra cost to you…
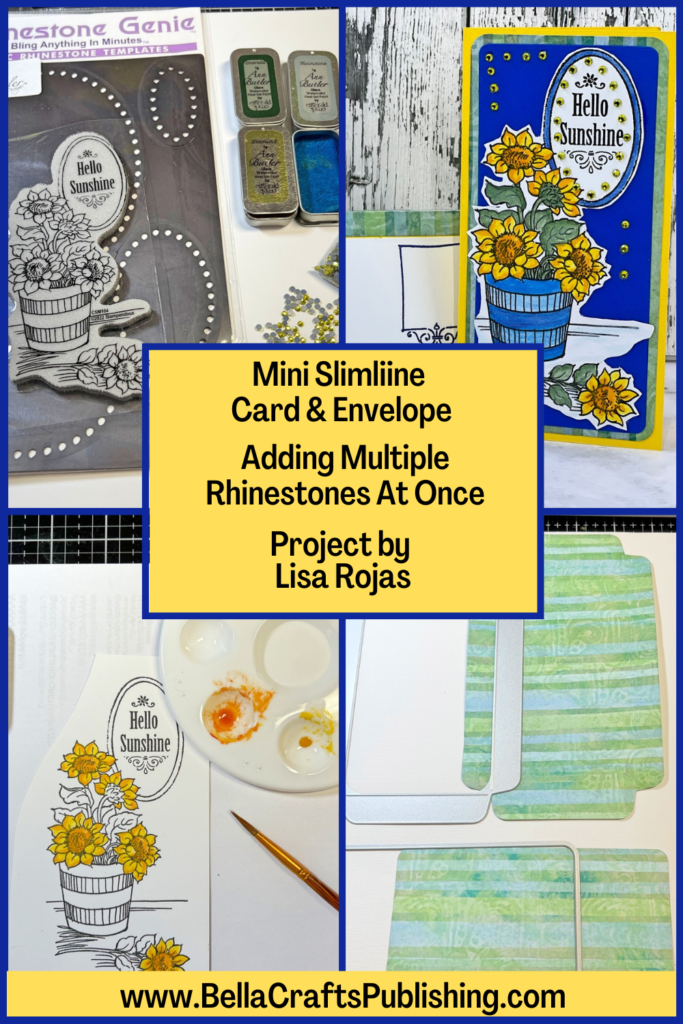
The mini slimline cards are very popular right now and when I started making this one, I could see why. Even though they’re smaller than a regular slimline you can still make a statement and put a smile on someone’s face. I wanted my card to “pop” so I used Ann Butler Designs Glacé watercolors from Emerald Creek Craft Supplies , her templates from Rhinestone Genie , and stamps and dies from Stampendous! to make this colorful Mini Slimline Card & Envelope. I hope you give it a try! Lisa~
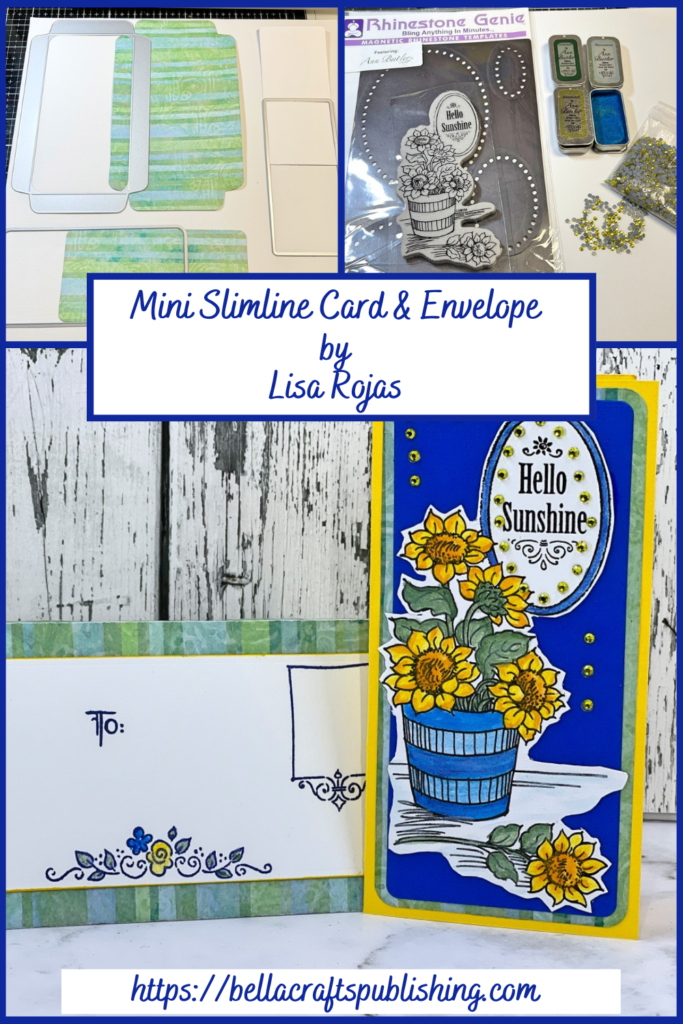
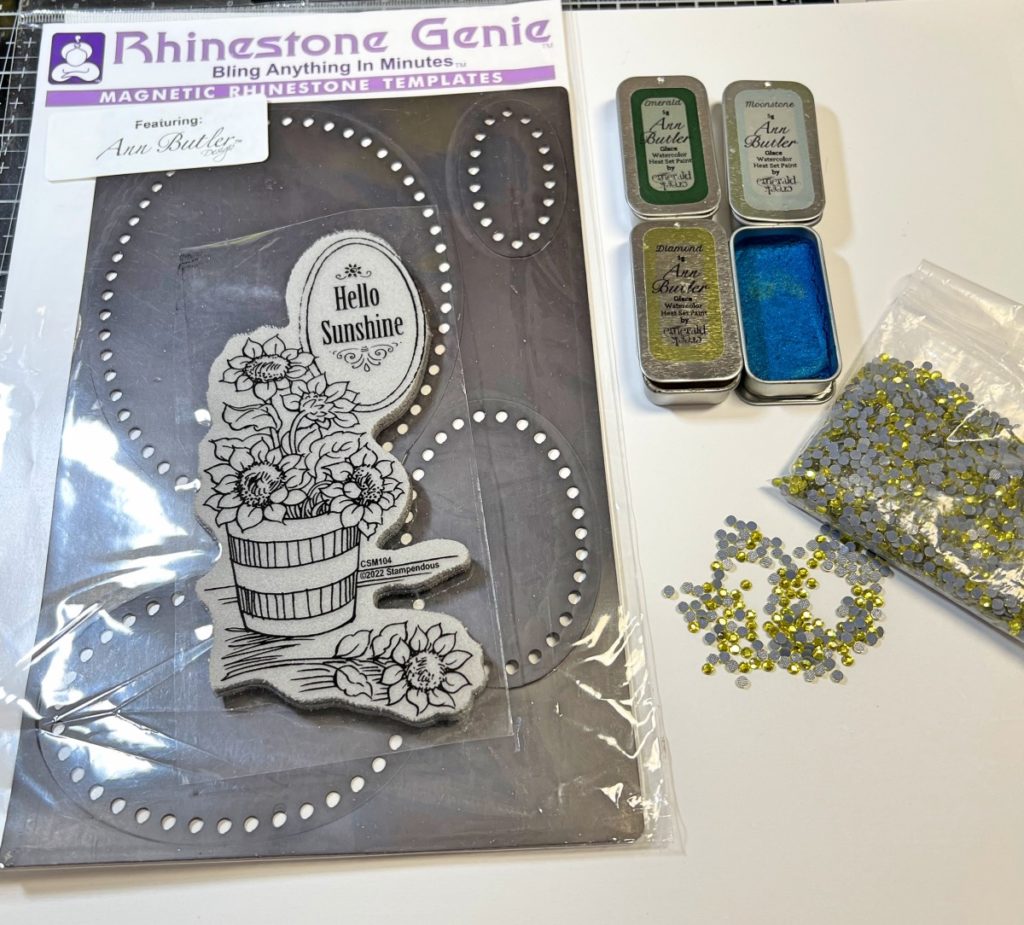
Supplies for Mini Slimline Card & Envelope
Check out the full list of supplies at the end of this post.
Steps One, Two, Three:
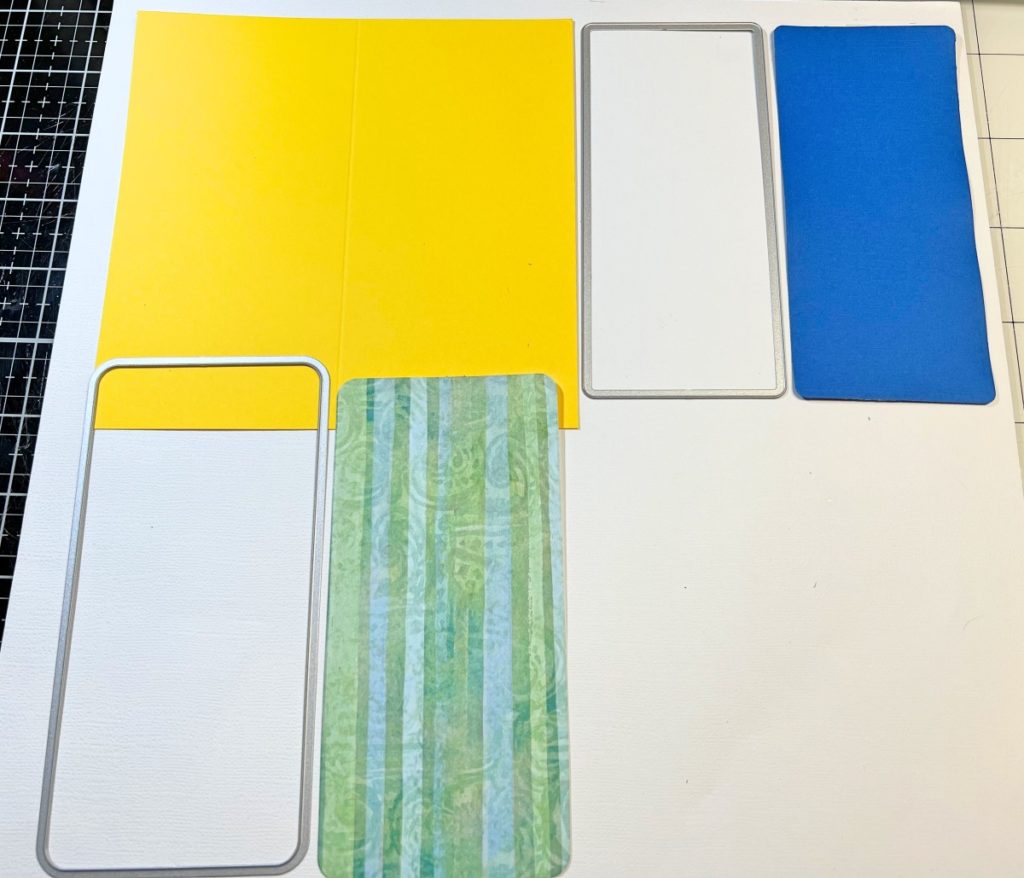
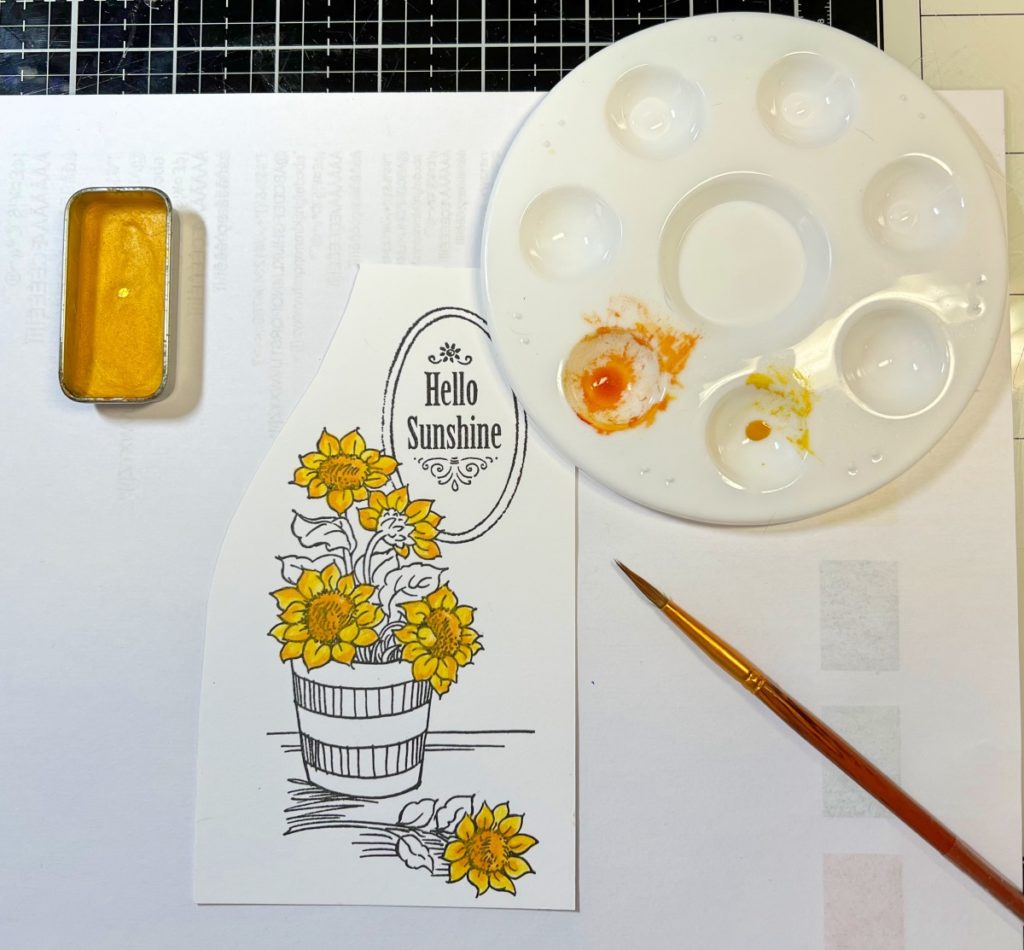
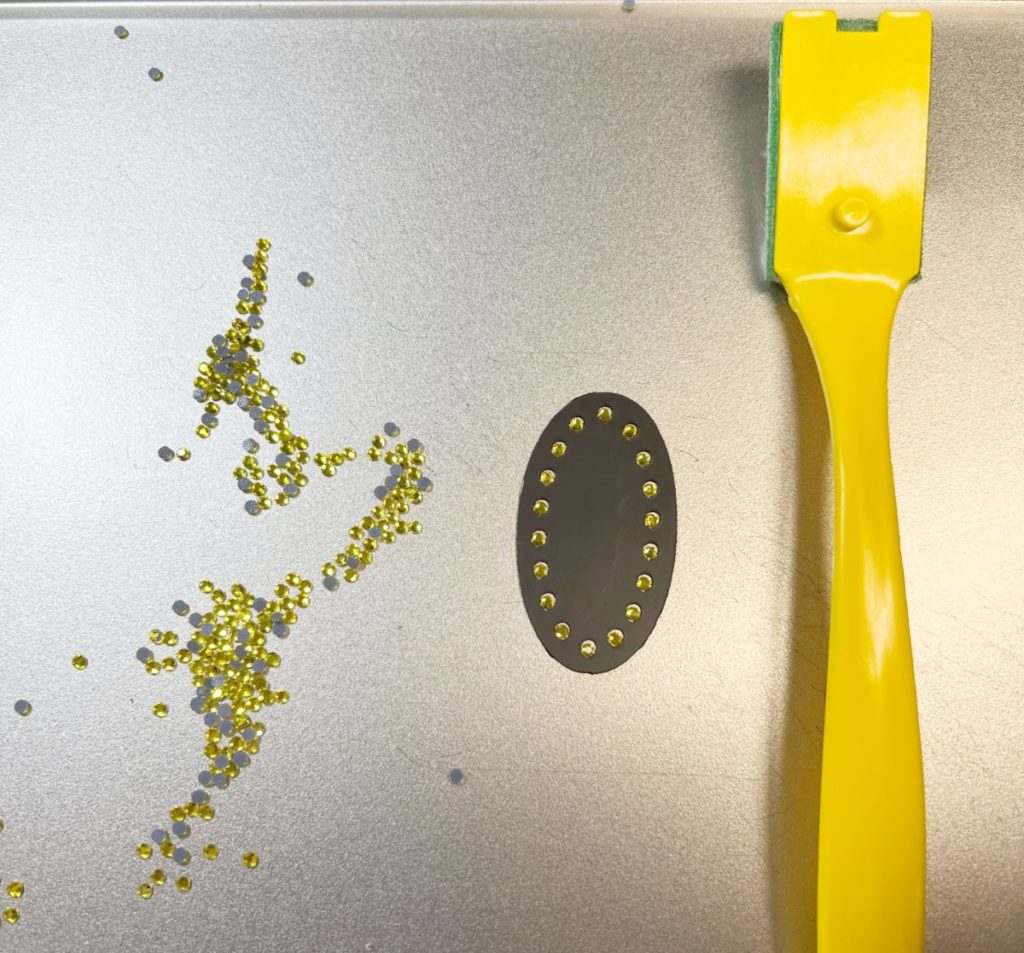
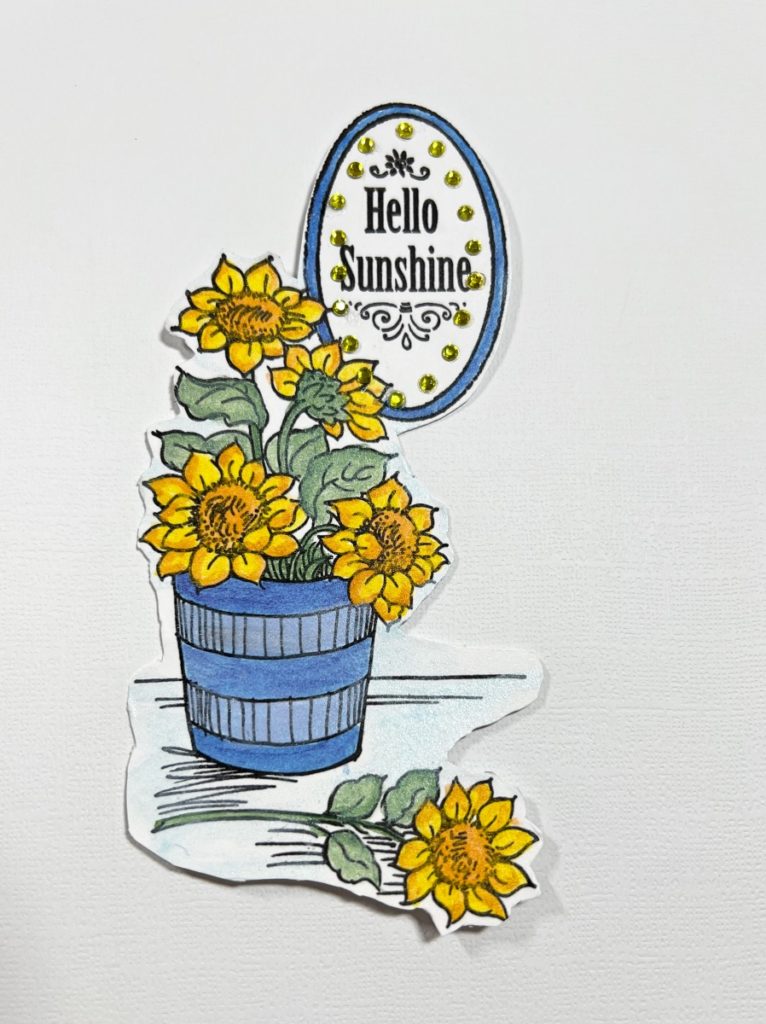
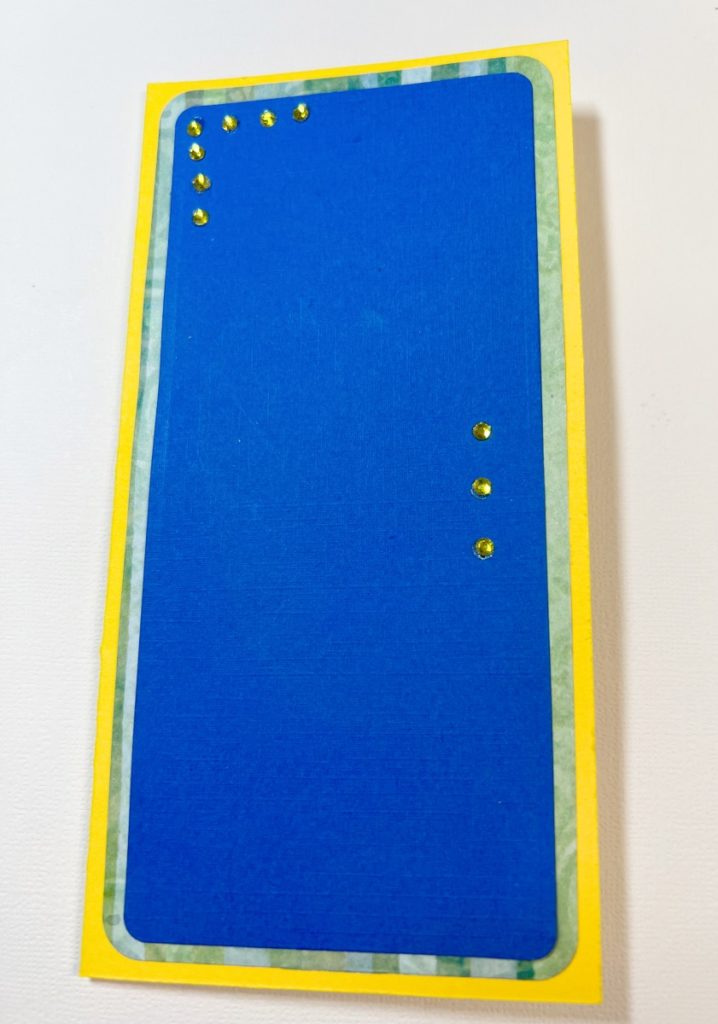
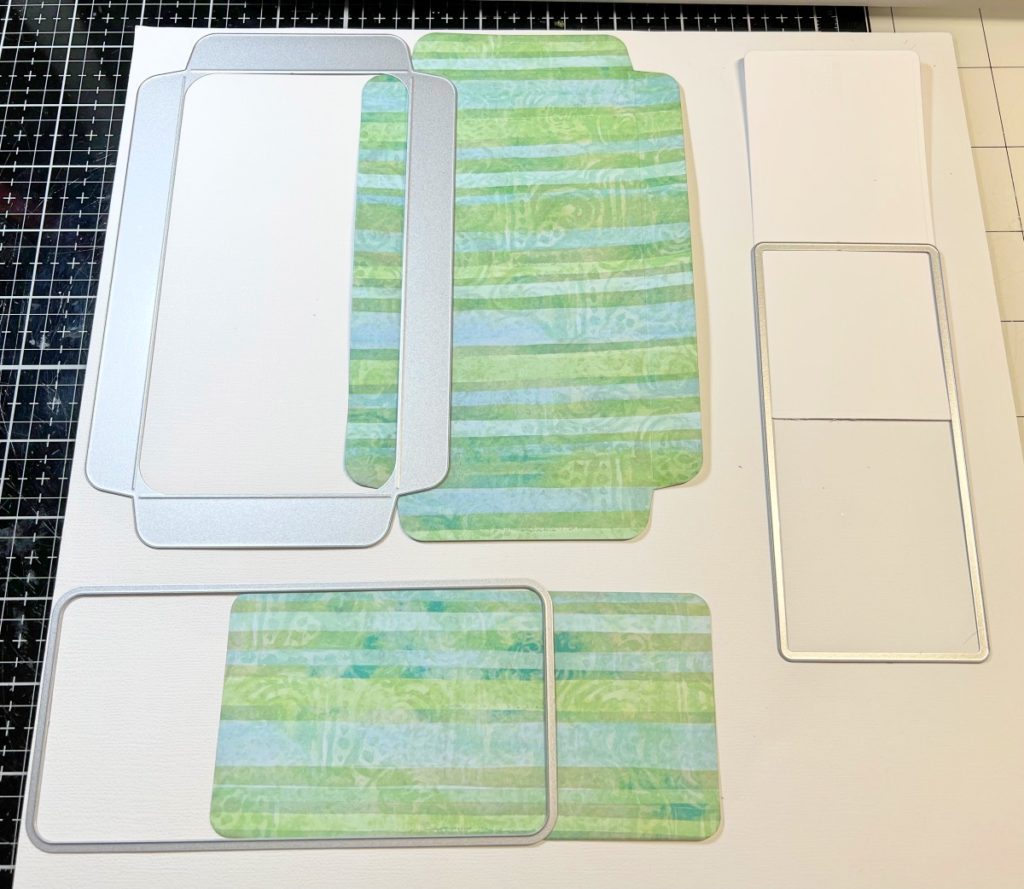
Cut the base card 6″ x 6″ and fold in half at 3″. Die cut the patterned paper with the larger die and the blue cardstock from the smaller one as shown. Layer and adhere the papers together. Stamp the image onto white cardstock with the black inkpad. Watercolor the images with Glacé watercolors. To add the bling, lay the oval template onto a cookie sheet, pour the rhinestones over the template and spread around with the brush until all of the holes are filled.
Note: To see how to mix the Glacé watercolors to create more colors, you can watch my video. Here’s the link~ https://youtu.be/bN3DixyLCxY
Note: Watch Ann’s quick video to see how to use the Rhinestone Genie. Here’s the link for that~ https://youtu.be/oNYtbnsVUnM
Steps Four, Five, Six:
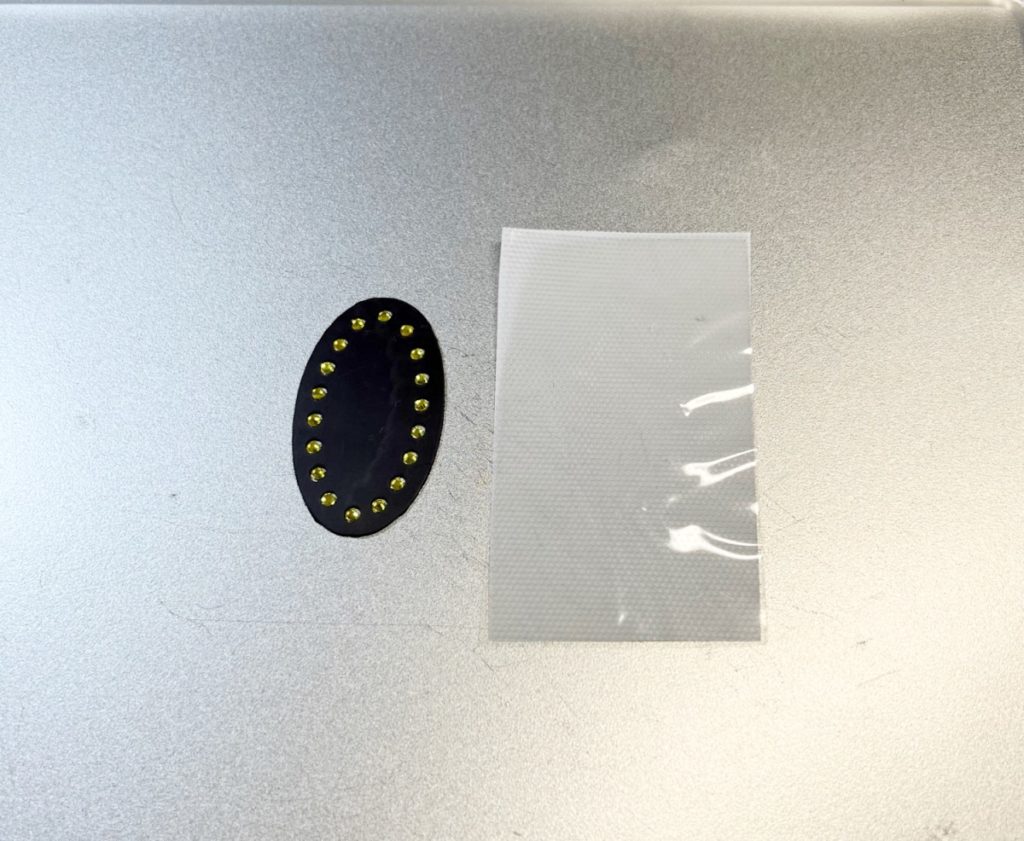
Remove the backing from the adhesive sheet. Lay it onto the template and press it all around the rhinestones making sure they stick. Lift up the adhesive sheet and place it onto the stamped image. Place a hot, dry iron, onto the adhesive sheet for about 15-20 seconds and then gently pull the adhesive sheet off. Repeat steps 3 & 4 using the corner template and three dot template as in step 6.
Steps Seven, Eight, Nine:
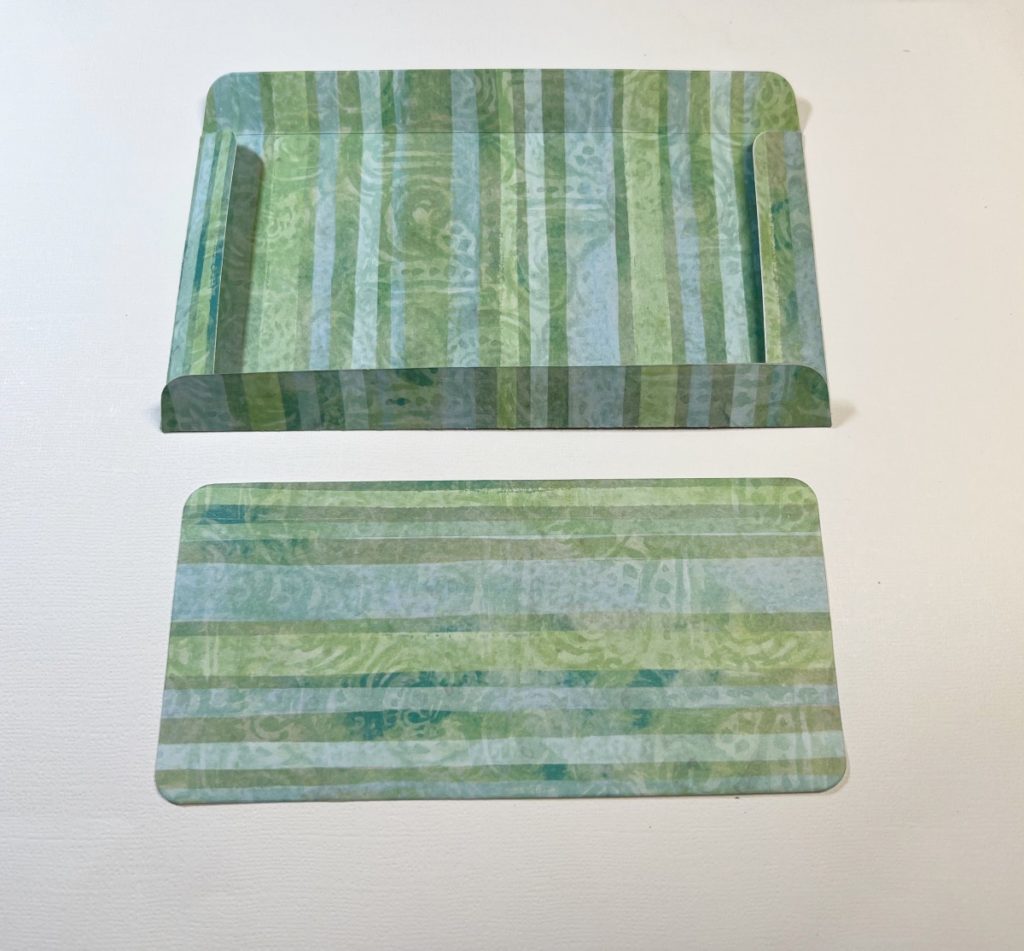
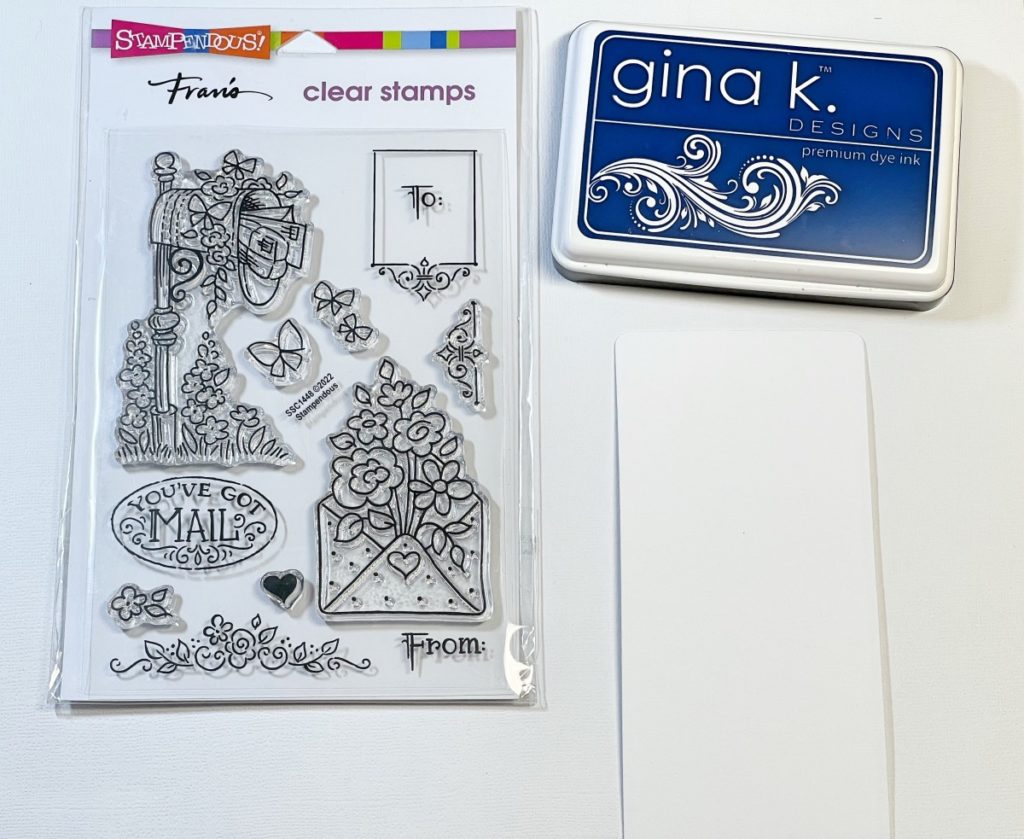
For the envelope, die cut the patterned papers as shown and white cardstock for the address. Fold the envelope on the score marks and adhere the other piece of patterned paper along both sides and the bottom. Use blue inkpad to stamp on the address label and adhere to the front of the envelope. Color the flowers with watercolors.
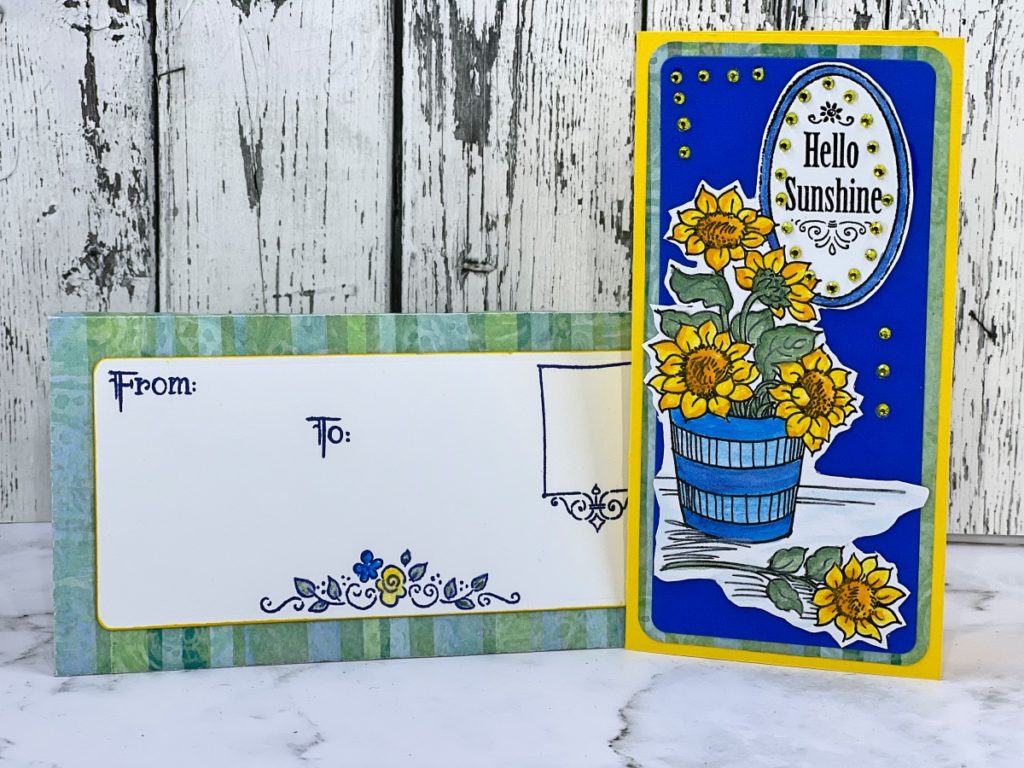
Mini Slimline Card & Envelope
- Cardstock: White, Yellow, Dark Blue
- Patterned Paper
- Glacé Heat Set Watercolors by Emerald Creek
- Rhinestone Starter Set by Ann Butler Designs
- Gina K. Inkpads: Obsidian, Blue Denim by Gina K. Designs
- Mini Sunshine Flowers by Stampendous
- Mailbox Spring Stamp Set by Stampendous
- Mini Slimline Cutting Dies by Stampendous
- Paintbrush
- Zip Dry Paper Glue by Beacon Adhesives
- Die Cutting Machine
- Scissors

Trackbacks/Pingbacks