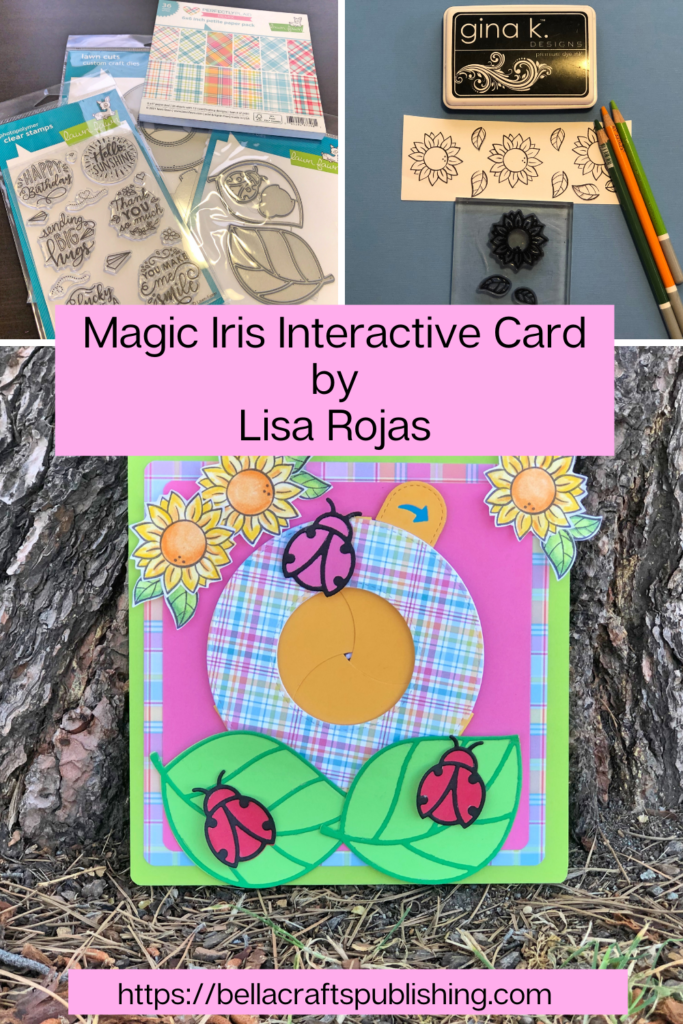
This Magic Iris Interactive Card will be having your friends ask…How’d you create that?!
Please note: This post contains affiliate links. If you use these links and make a purchase, we earn a commission at no extra cost to you…
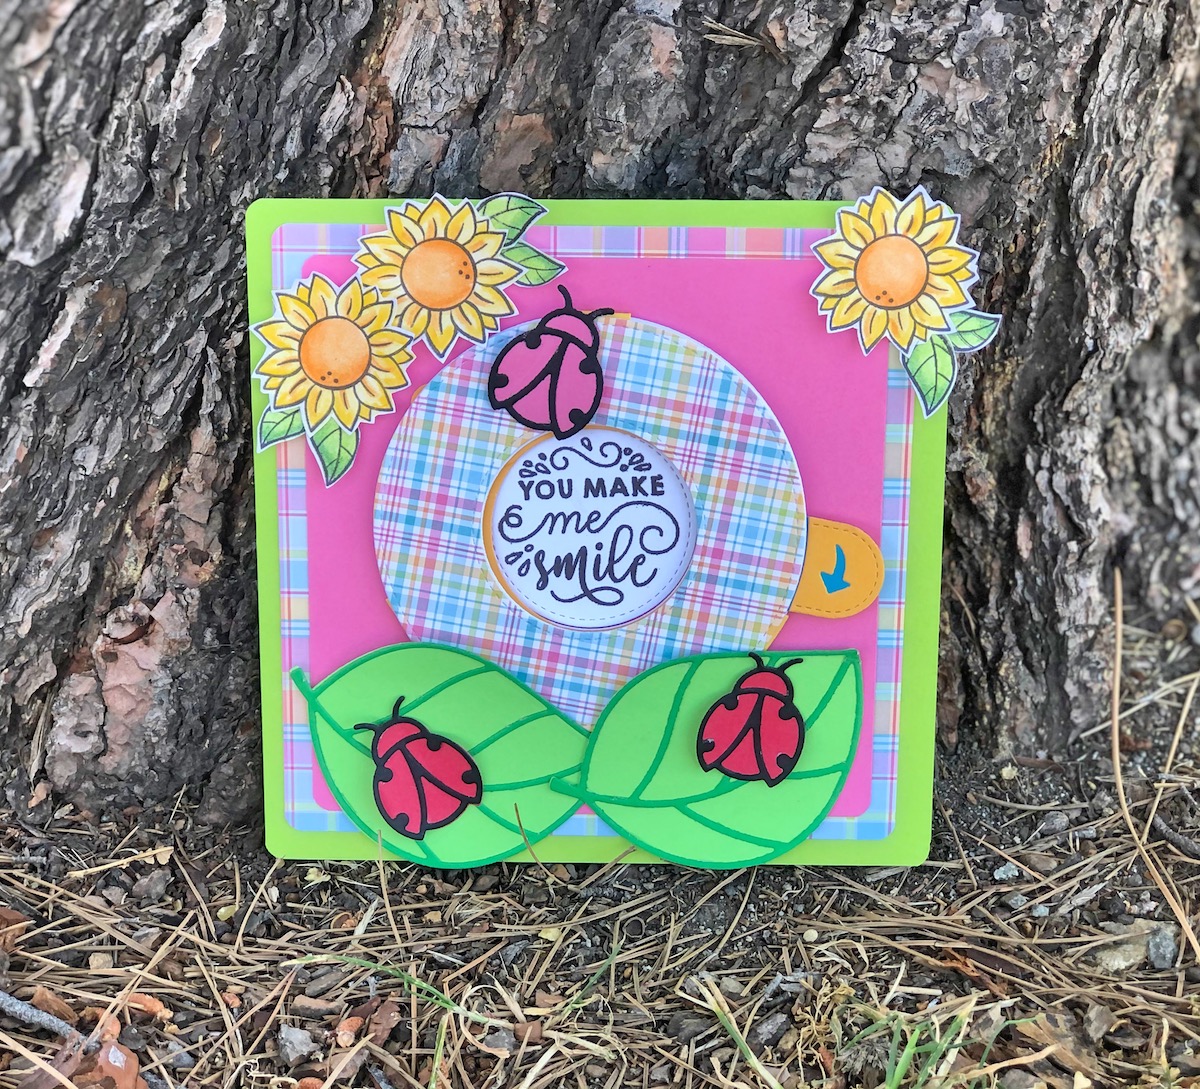
I’m in love with this Magic Iris Interactive Card. It’s no secret that interactive cards are my favorite but this one, created with dies and stamps from Lawn Fawn is definitely in my top five favorites! My 8 year old granddaughter could not get enough when she was playing with it. This card is perfect for kids and adults alike. I really hope you take the time to make this card for someone you love. It’s guaranteed to put a smile on their faces! Have fun~Lisa
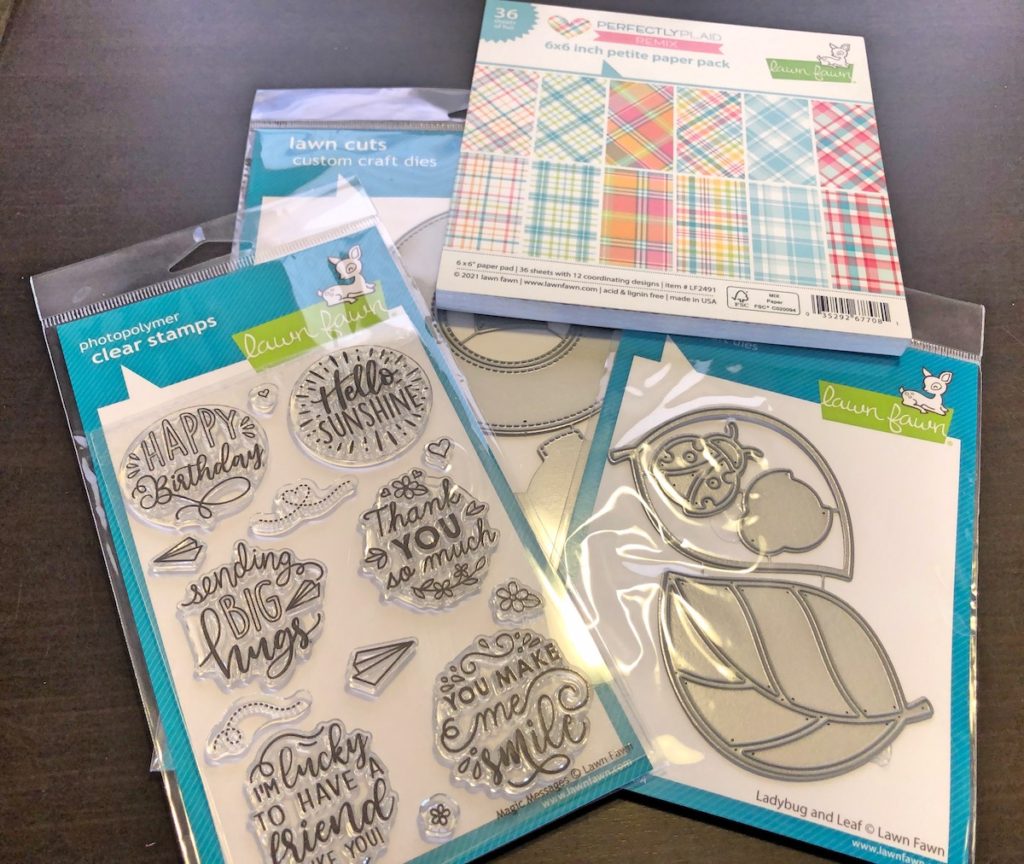
Supplies for Magic Iris Interactive Card
A full list of supplies can be found at the end of this post.
Watch the video of this project on our YouTube Channel~
Steps One, Two, Three:
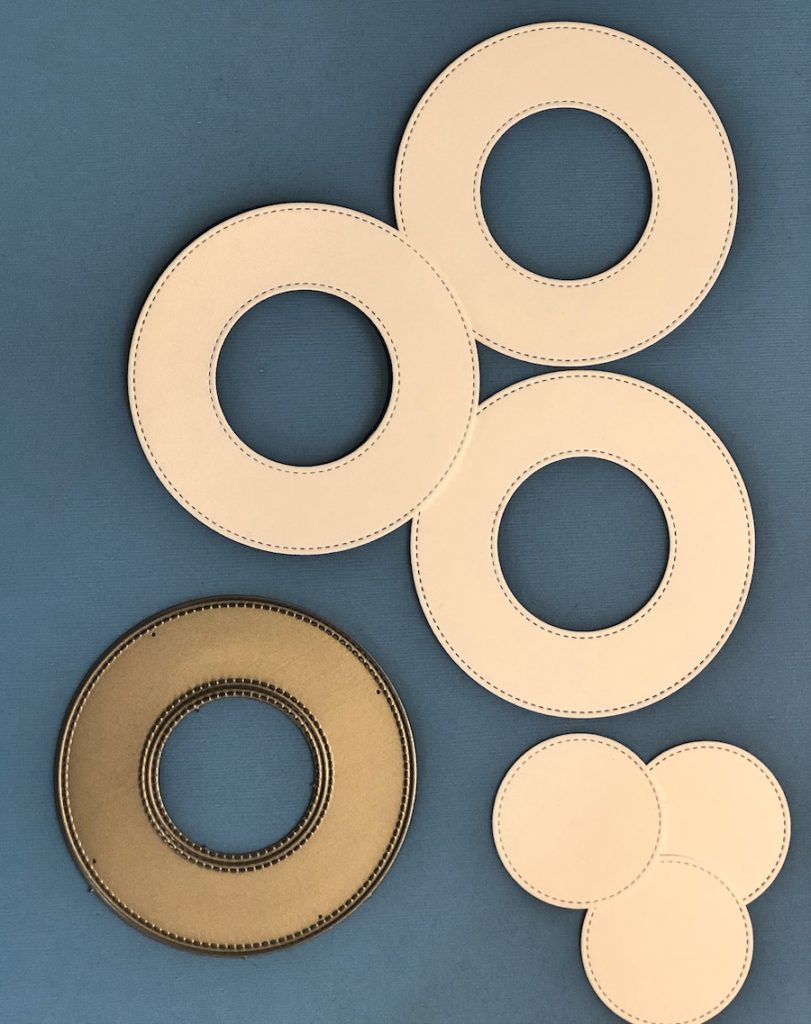
Die cut three large circles from white cardstock. Save one of the smaller circles for later.
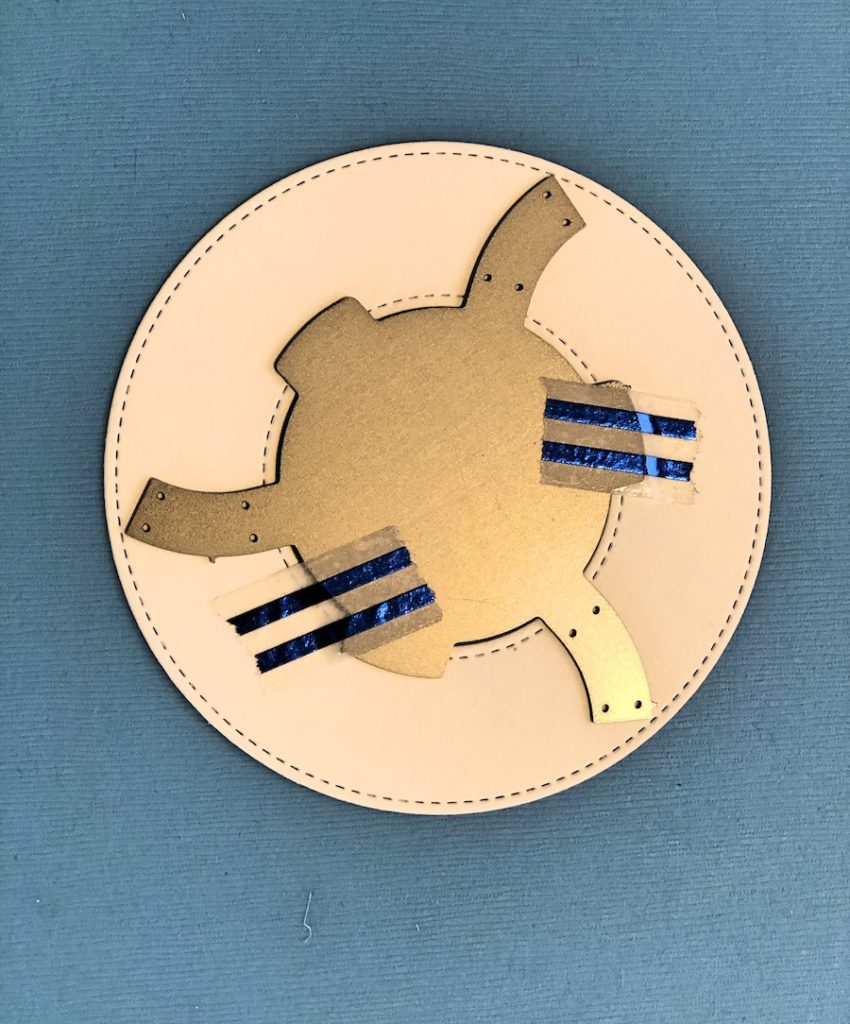
Lay the circle piece with arms onto one of the large circles and run through die cutting machine again.
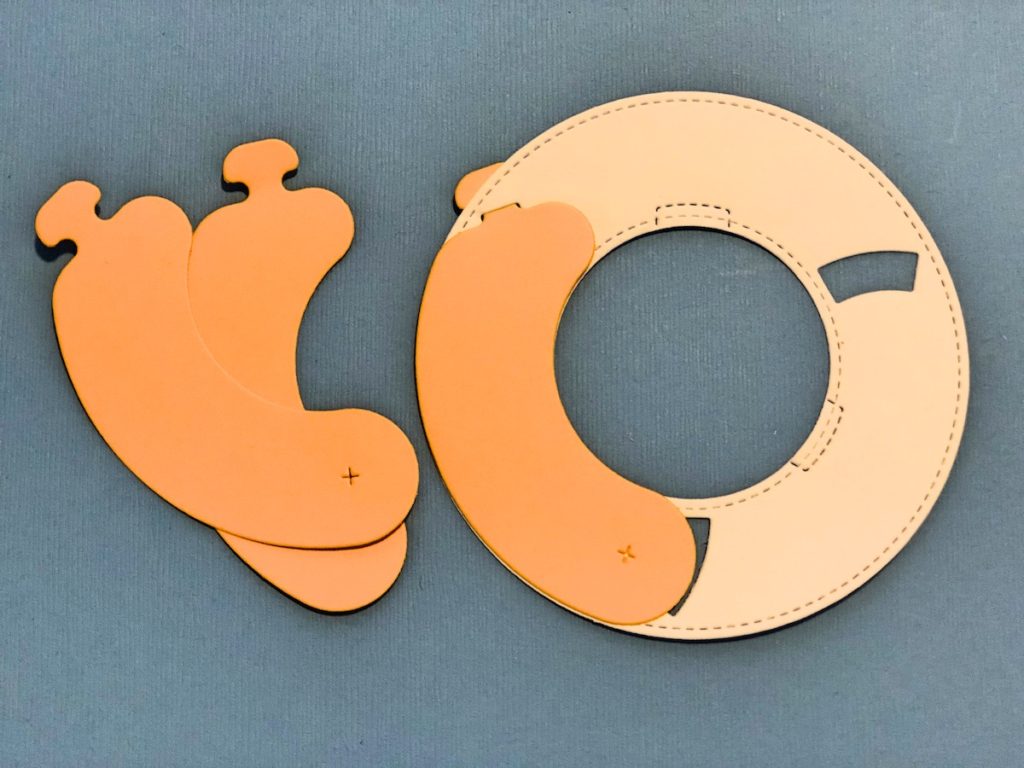
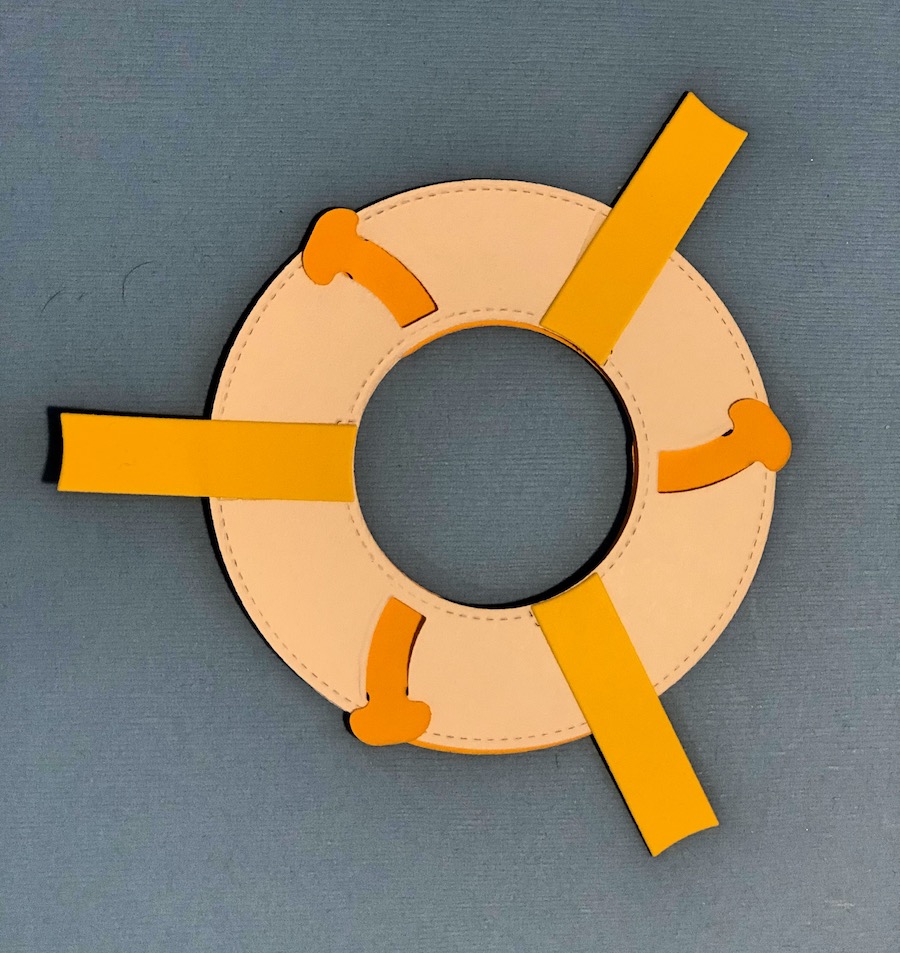
Die cut three pieces from orange cardstock with half circle die. Place the notches into each of the three slots on the large circle.
Steps Four, Five, Six:
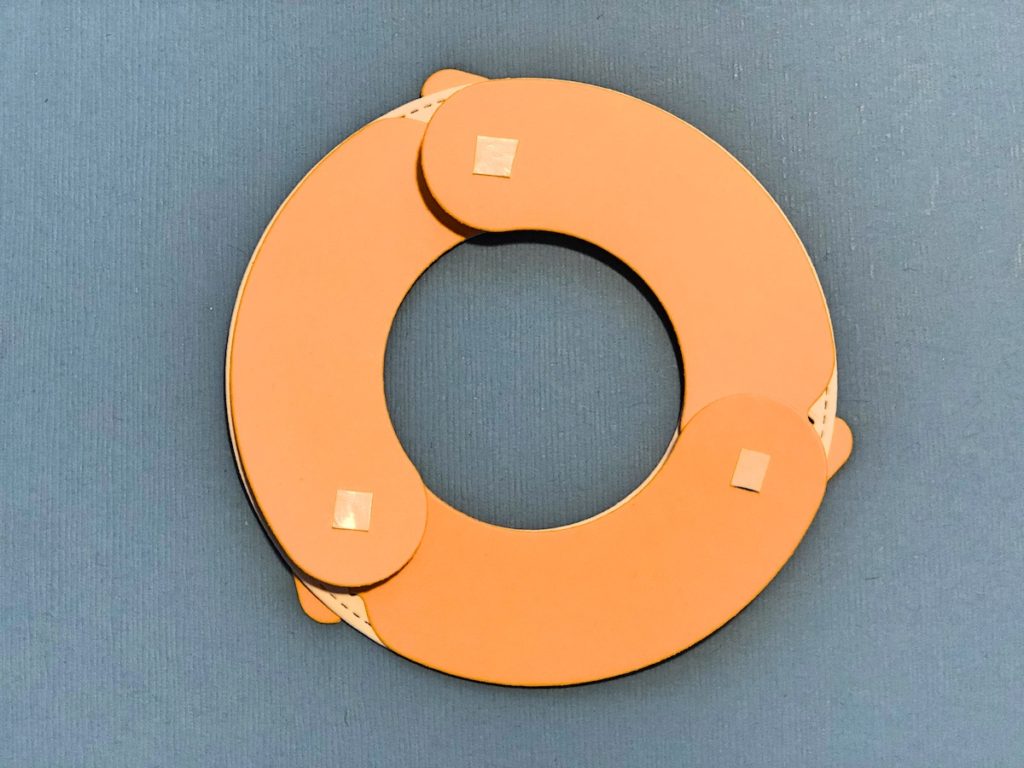
Once the pieces are in place, add three small tabs of double sided tape on the X’s found on the die cut pieces. Adhere one of the large circles.
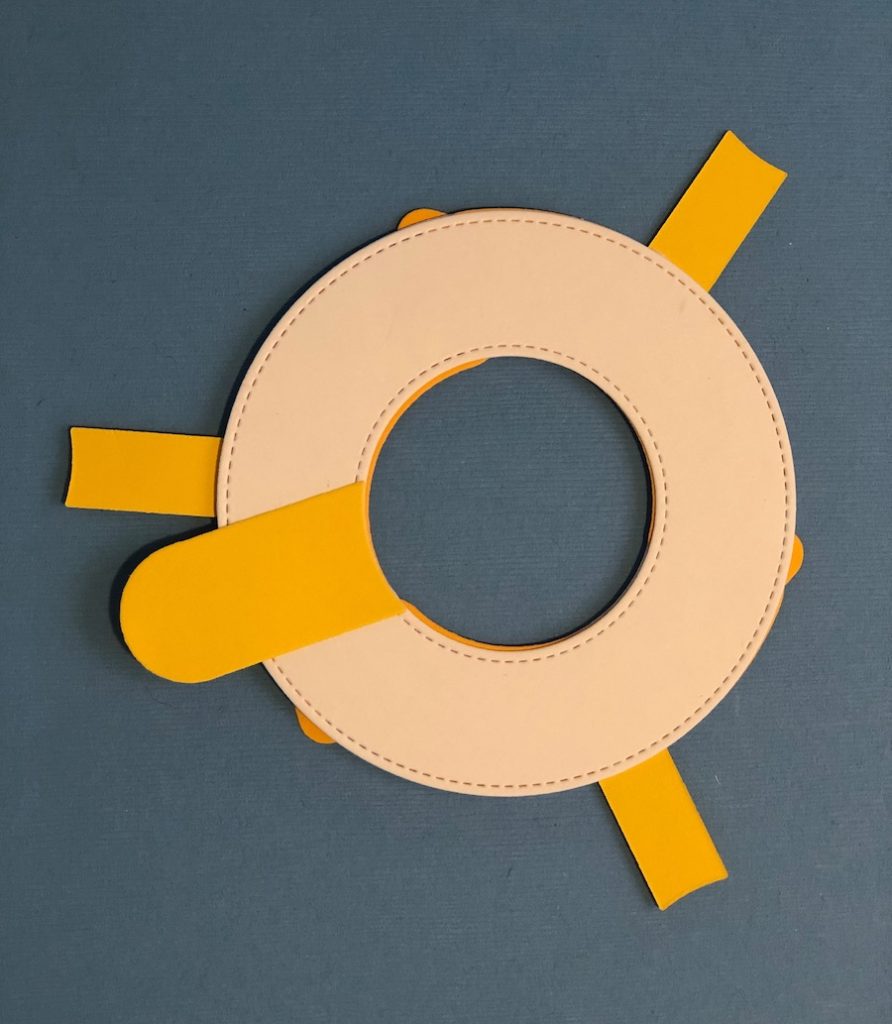
Die cut three of the stabilizers pieces (the thin rectangles) from orange cardstock. Turn the circle over and adhere the three stabilizers on the large circle. Note: There are markings on the die that will show you where to put the stabilizers.
Turn the circle over again. Die cut the tab piece from orange and blue cardstock with the blue facing up (Optional: doubling the cardstock will make the tab stronger) and adhere the tab to the circle next to one of the stabilizers.
Steps Seven, Eight, Nine:
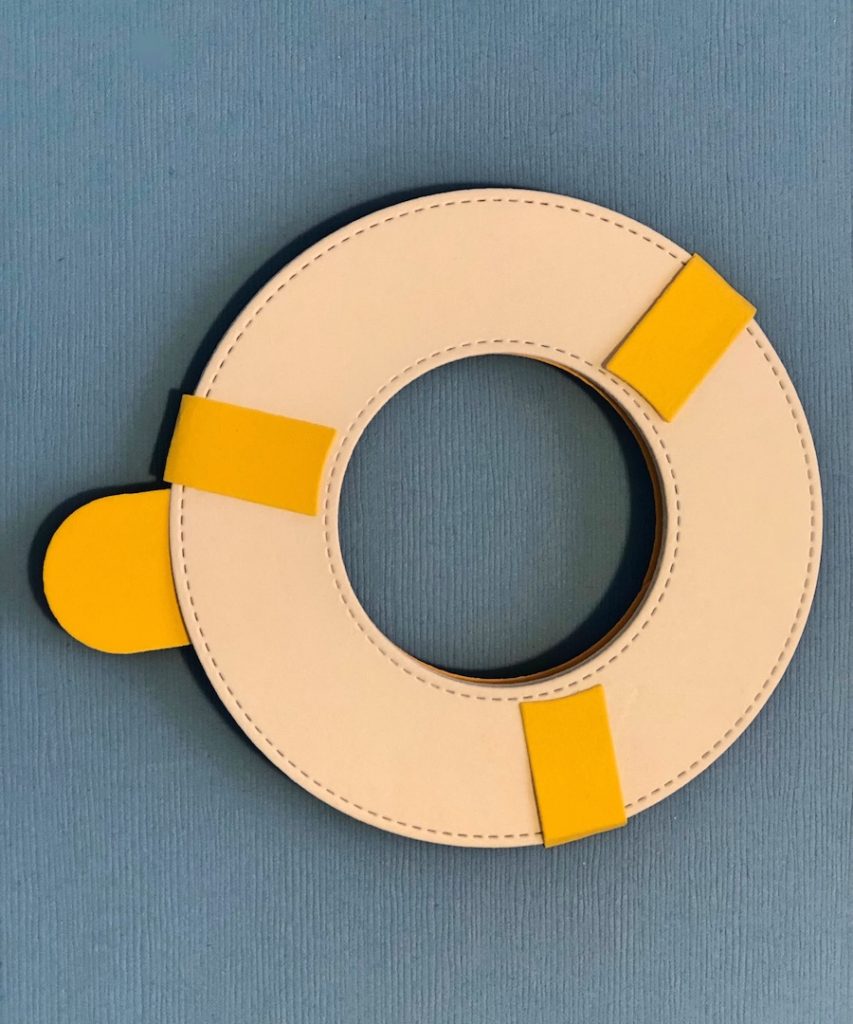
Apply adhesive to the stabilizers. Place the last large circle on top and fold the stabilizers over to secure the circle in place.
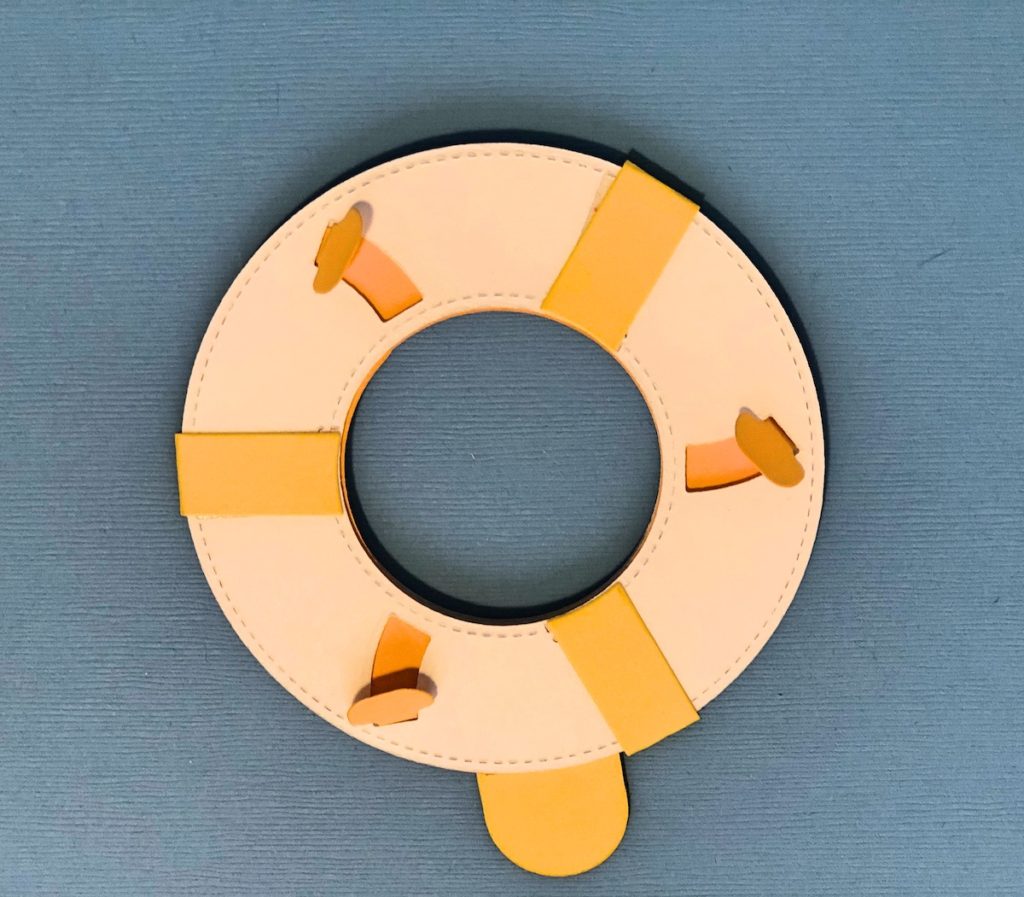
Turn the circle over and fold the notches over but do not glue down.
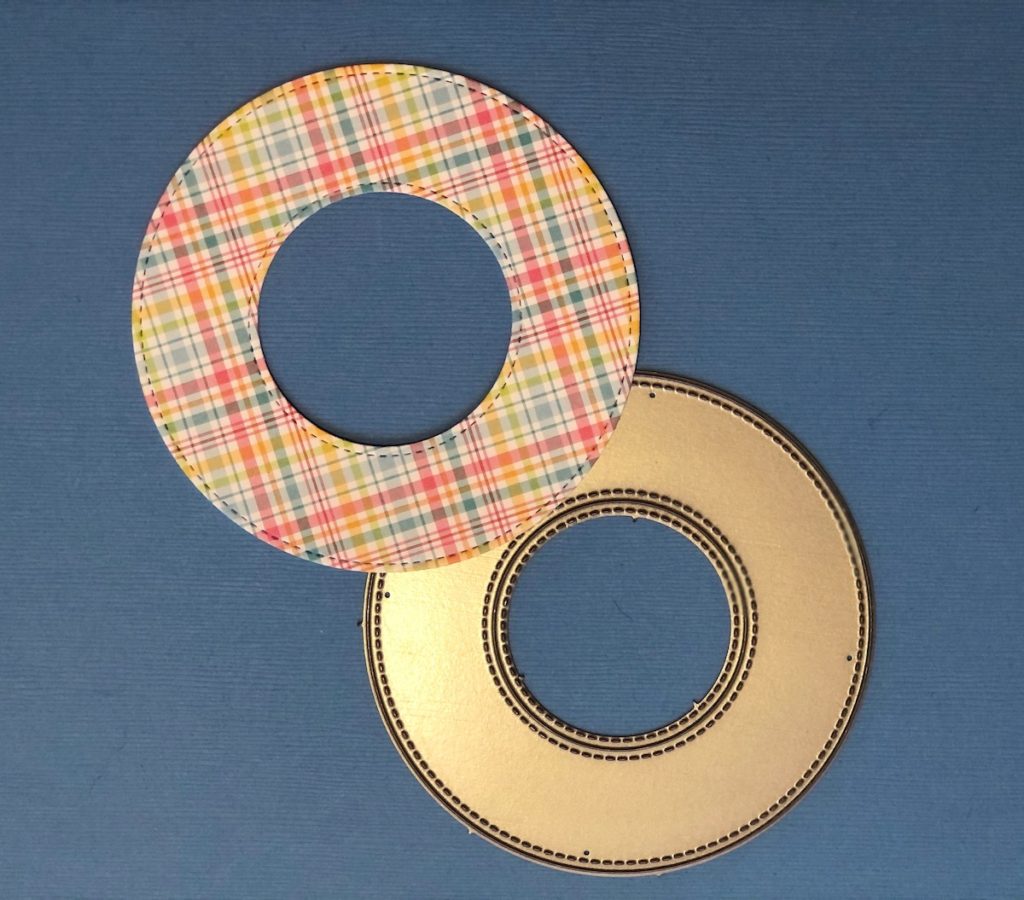
With a piece of patterned paper, die cut the large circle once. Die cut the decorative piece (the die with the arrow) from orange cardstock and adhere to the tab. Turn the circle over and apply adhesive to the stabilizer pieces only. Put the circle aside.
Steps Ten, Eleven, Twelve, Thirteen:
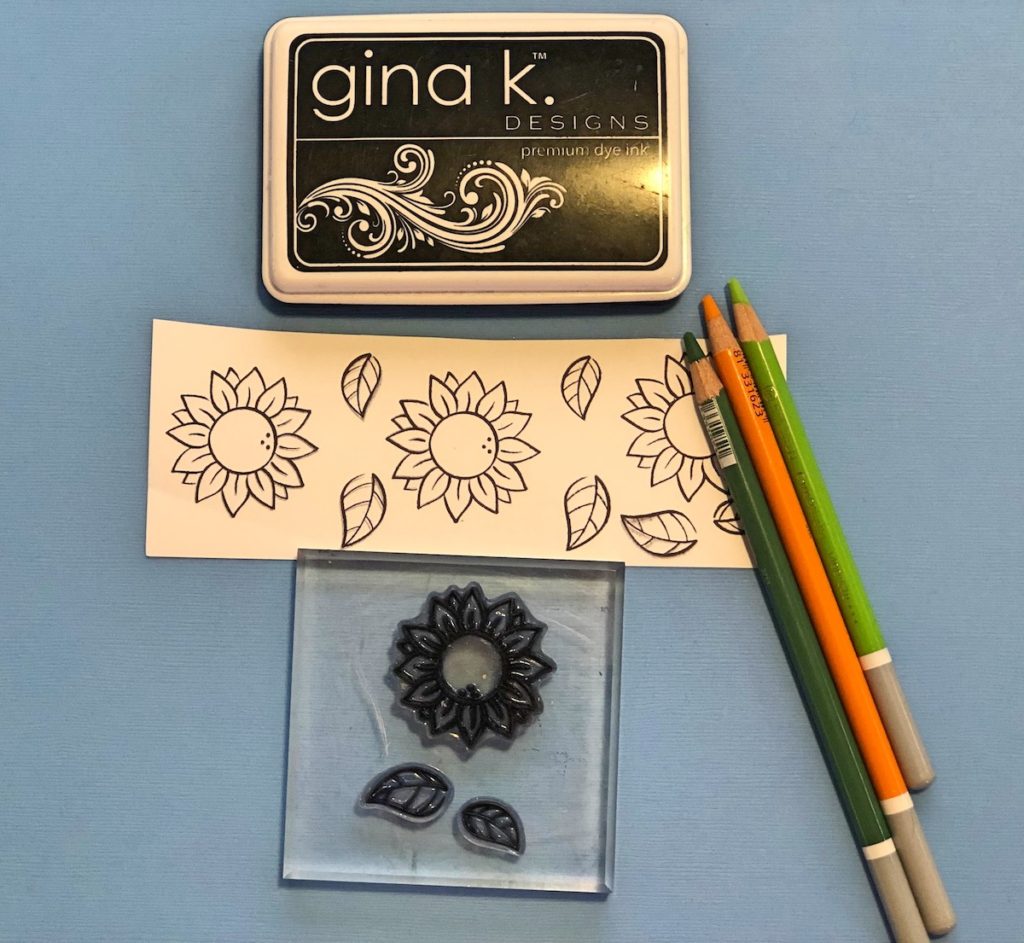
Stamp three sunflowers and six leaves on white cardstock with black inkpad. Color the images with chalk pencils and cut them out.
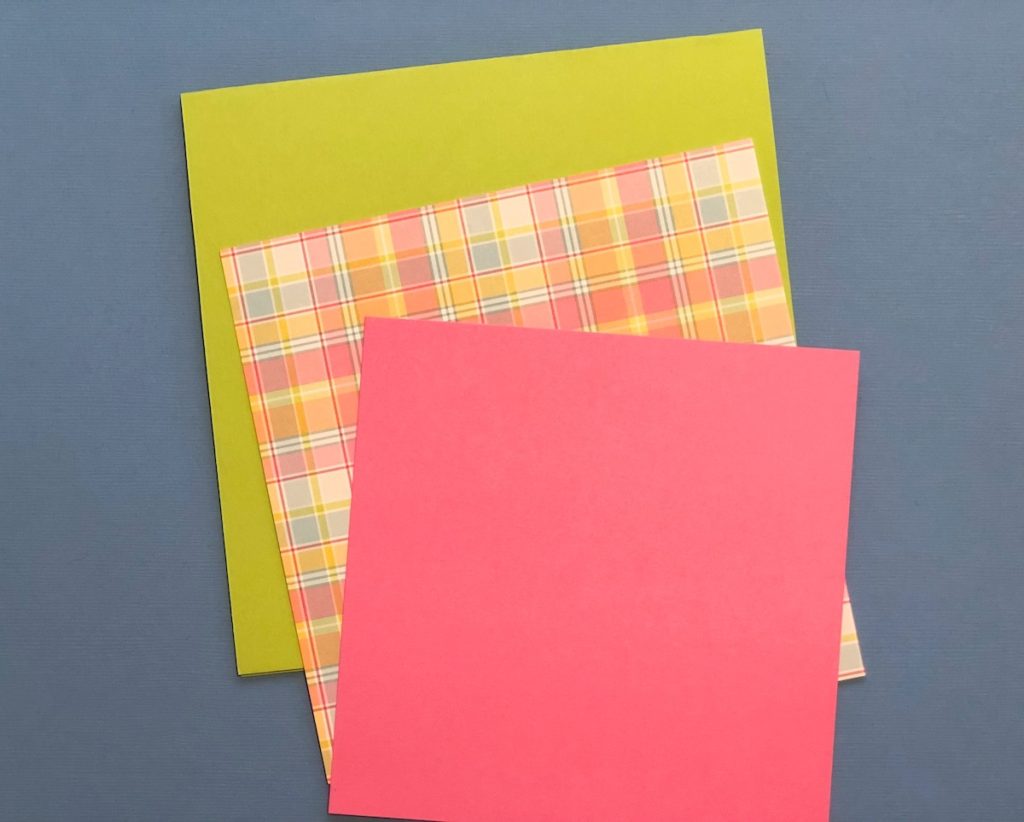
Cut the cardstock as follows: Green 6″ x 12″ folded in half. Patterned paper 5 1/2″ x 5 1/2″ and Pink 5″ x 5″. Adhere the papers together.
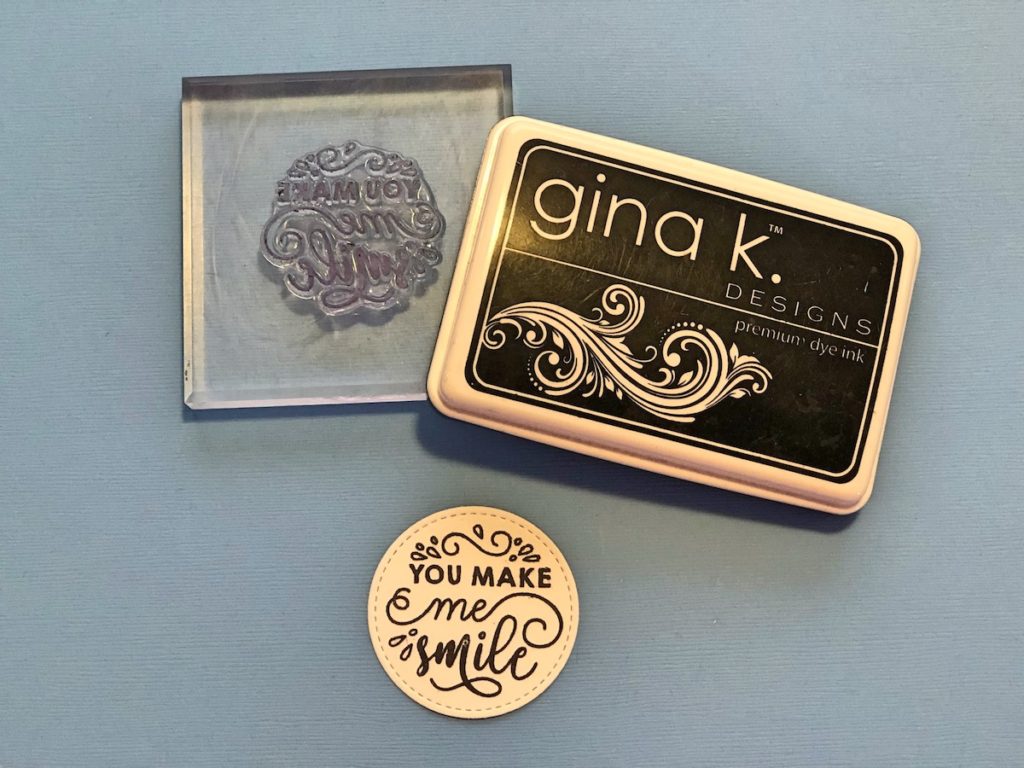
With the black inkpad, stamp the word image from one of the small circles from step one.
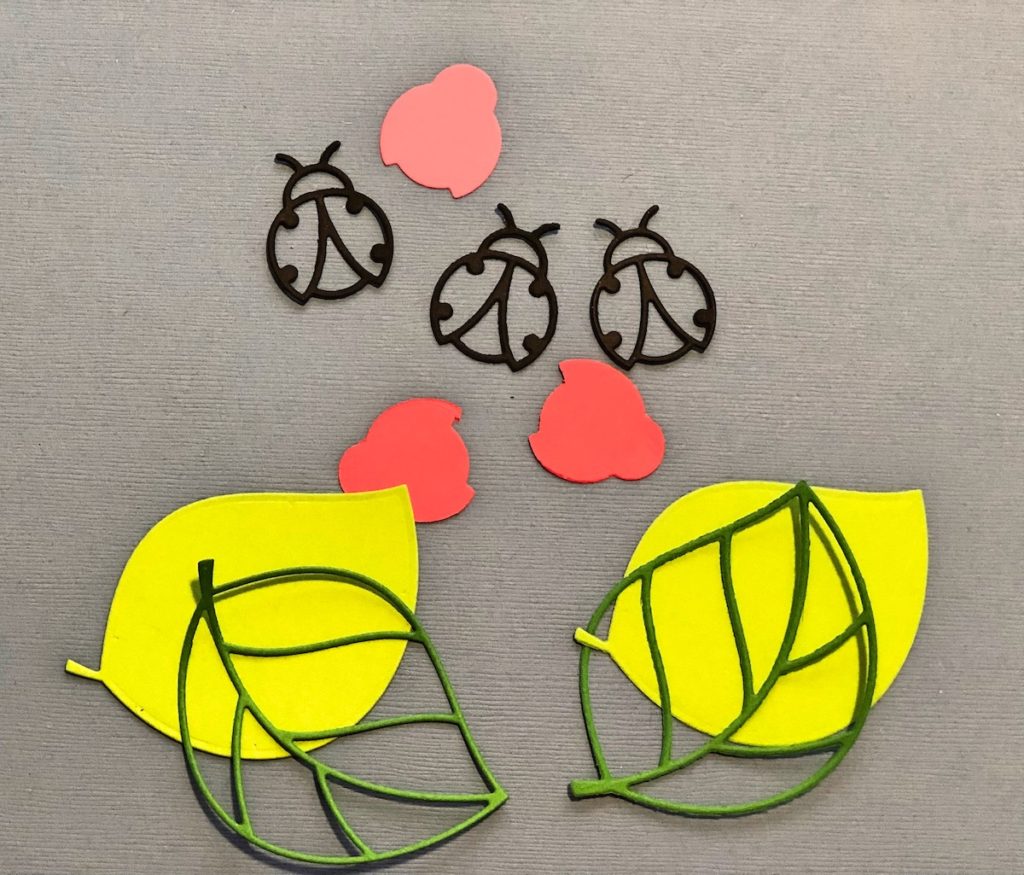
Using the Ladybug die set, die cut two solid leaves, two detailed leaves and three ladybugs. Apply a small amount of glue to layer the pieces together as shown in the photos below.
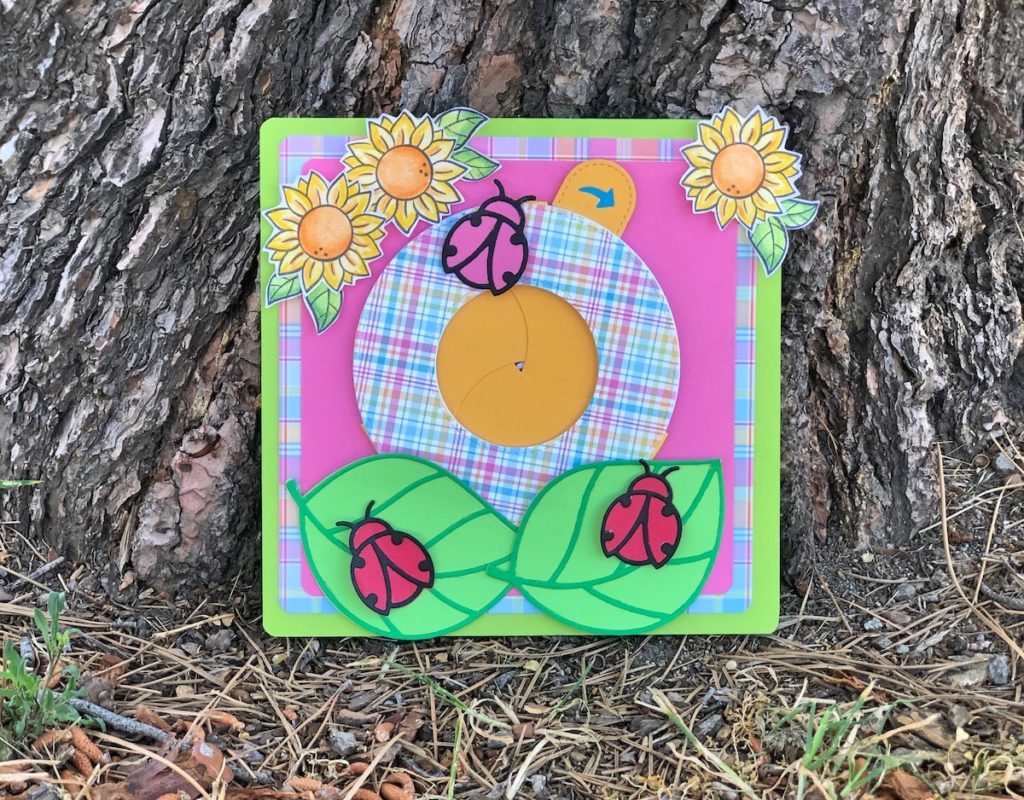
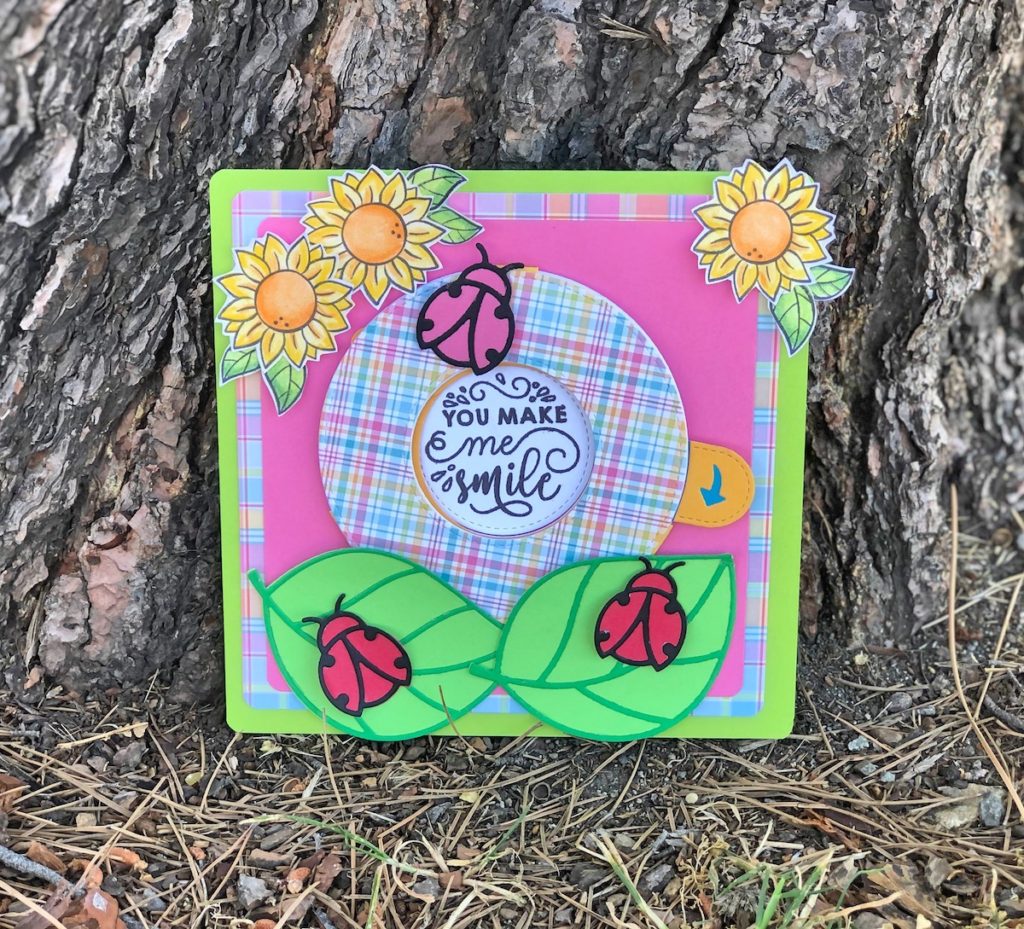
To finish the card, attach the circle to the card base. Pull the tab down to open the mechanism . Apply a little bit of glue to the back of the smaller circle and adhere it to the inside making sure not to glue it to any part of the mechanism. Add the remainder of the elements to the card front using the photo for placement.
Magic Iris Card
Supplies for the Magic Iris Card
- Cardstock: White, Pink, Blue, Orange, Red, Light Green, Dark Green
- Magic Iris Die Set by Lawn Fawn
- Lady Bug and Leaf Die Set by Lawn Fawn
- Magic Messages Stamp Set by Lawn Fawn
- Our Friendship Grows Stamp Set by Lawn Fawn
- Perfectly Plaid Patterned Paper by Lawn Fawn
- Inkpad by Gina K. Designs
- Chalk Pencils by Stabilo
- Double Sided Tape
- Zip Dry Paper Glue by Beacon Adhesives
- Die Cutting Machine
- Paper Trimmer
- Scissors
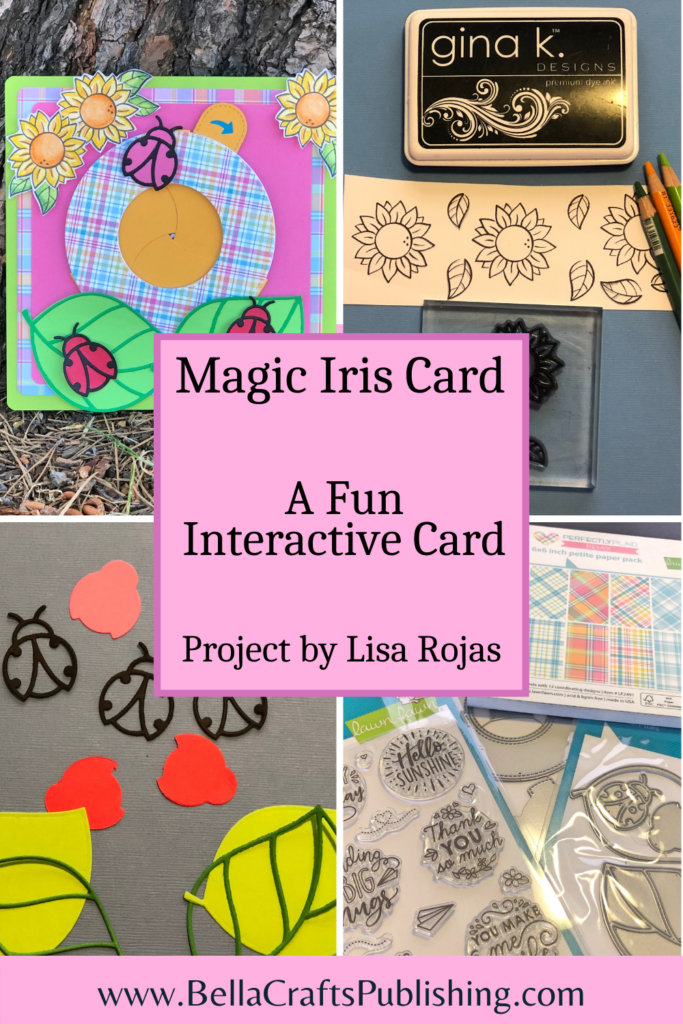
One more PIN of the Magic Iris Card to share

Trackbacks/Pingbacks