
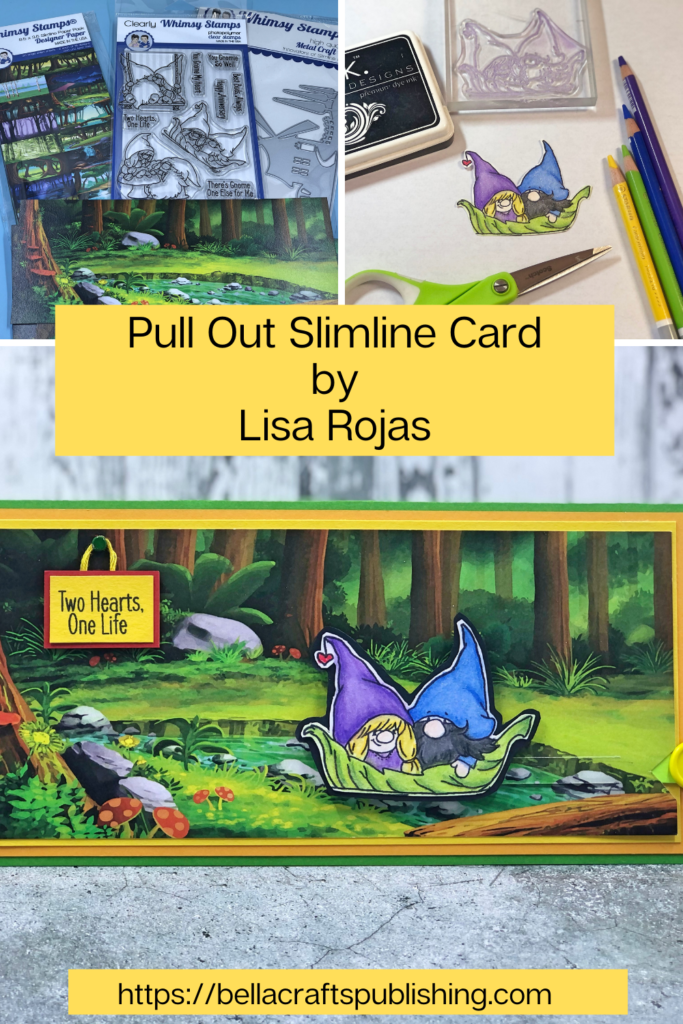
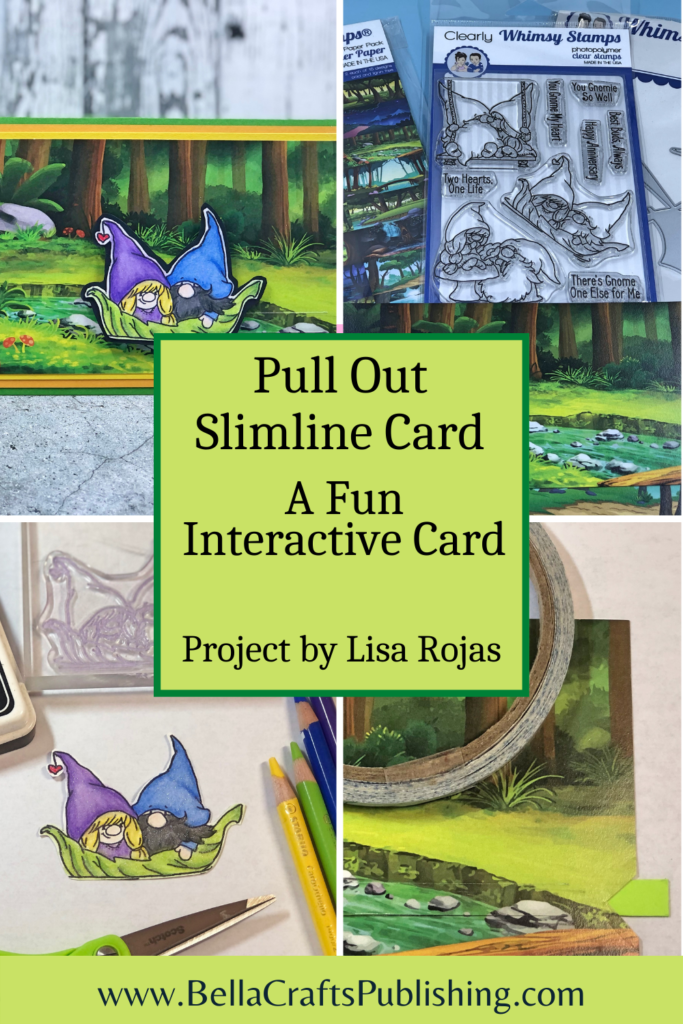
Create your own interactive slimline card in no time at all!
Please note: This post contains affiliate links. If you use these links and make a purchase, we earn a commission at no extra cost to you…
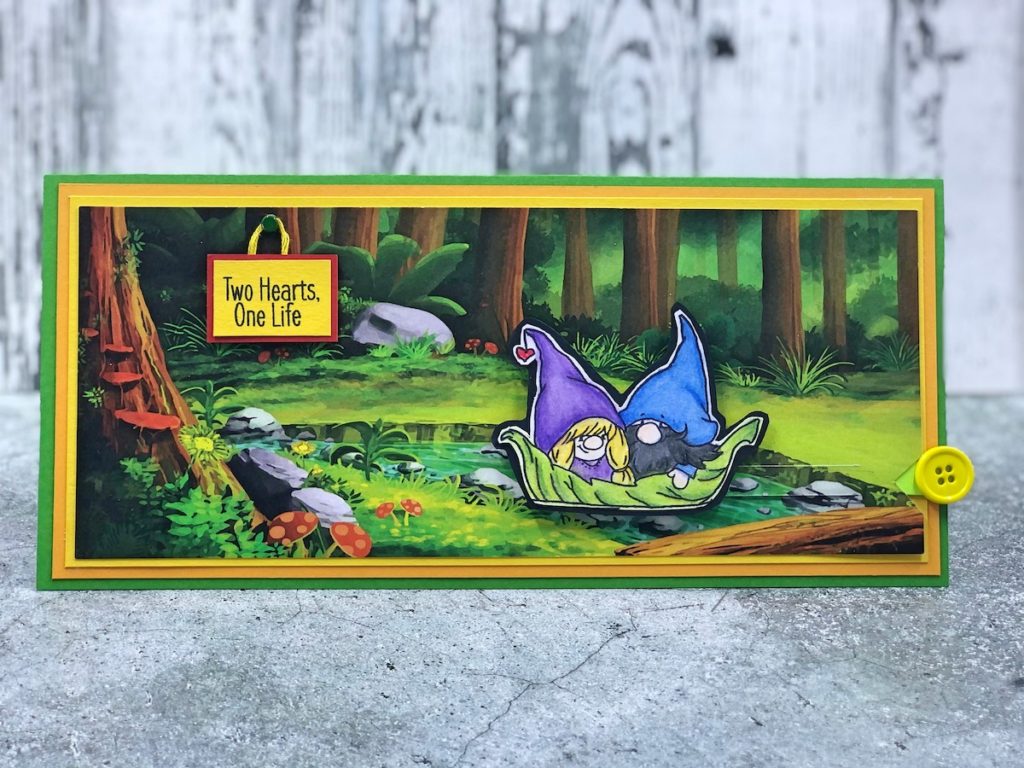
Slimline cards are all the rage right now and they are a nice change from the typical A2 cards cardmakers usually create. But, for this slimline, I added a little extra fun by making it a pull out card too! You can watch the adorable Gnome couple “float” down the creek in their leaf boat! What a super fun card! Lisa~
Supplies for Pull Out Slimline Card
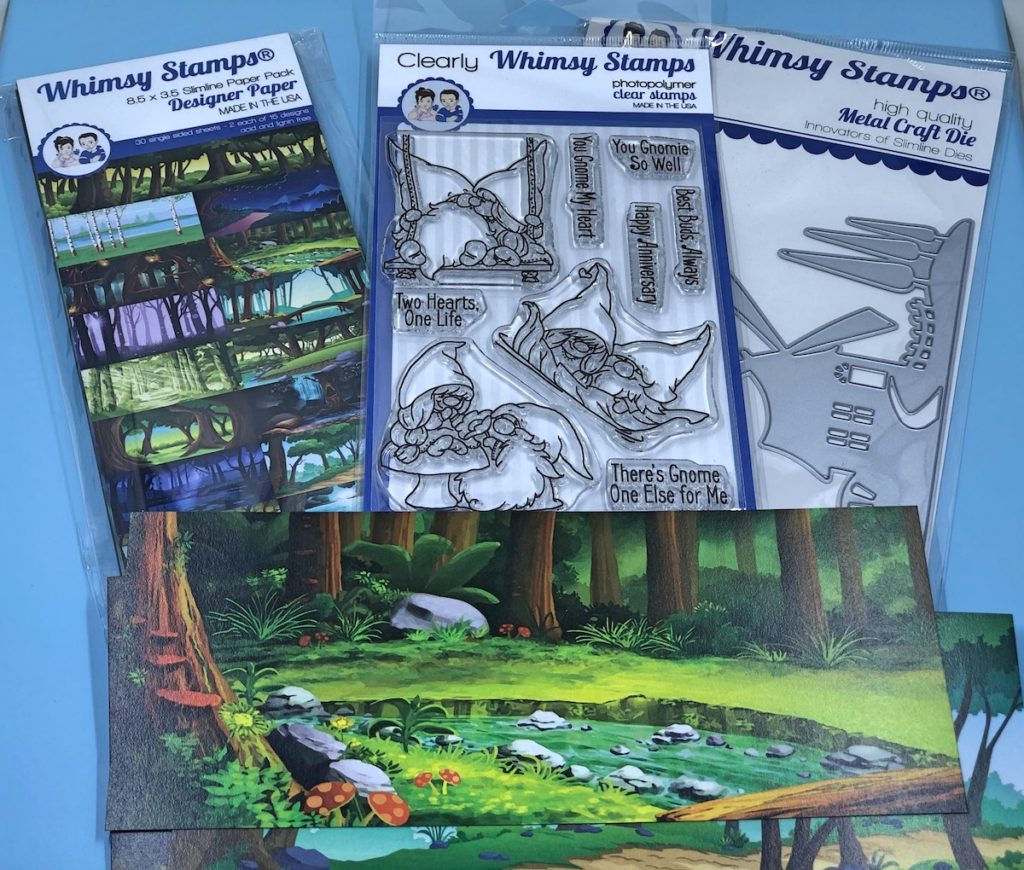
Check out the full list of supplies at the end of this post.
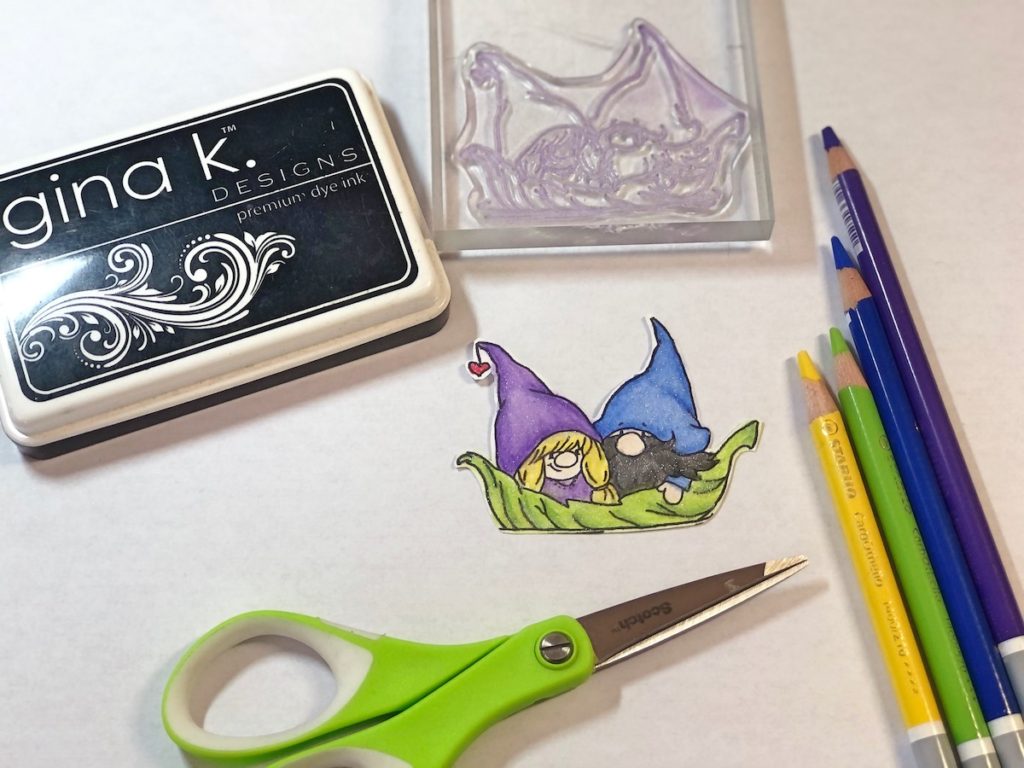
Step One:
On white cardstock, stamp the gnome couple with black inkpad. Color the image with chalk pencils and cut out. Layer the image on black cardstock and cut out again. Add a little shine to the image with a glitter pen. Cut the cardstock as follows: Green 9 1/4″ x 8 1/2″ fold in half to create the base card 9 1/4″W x 4 1/4″H. Orange 9″ x 4″ and Yellow 8 3/4″ x 3 3/4″.
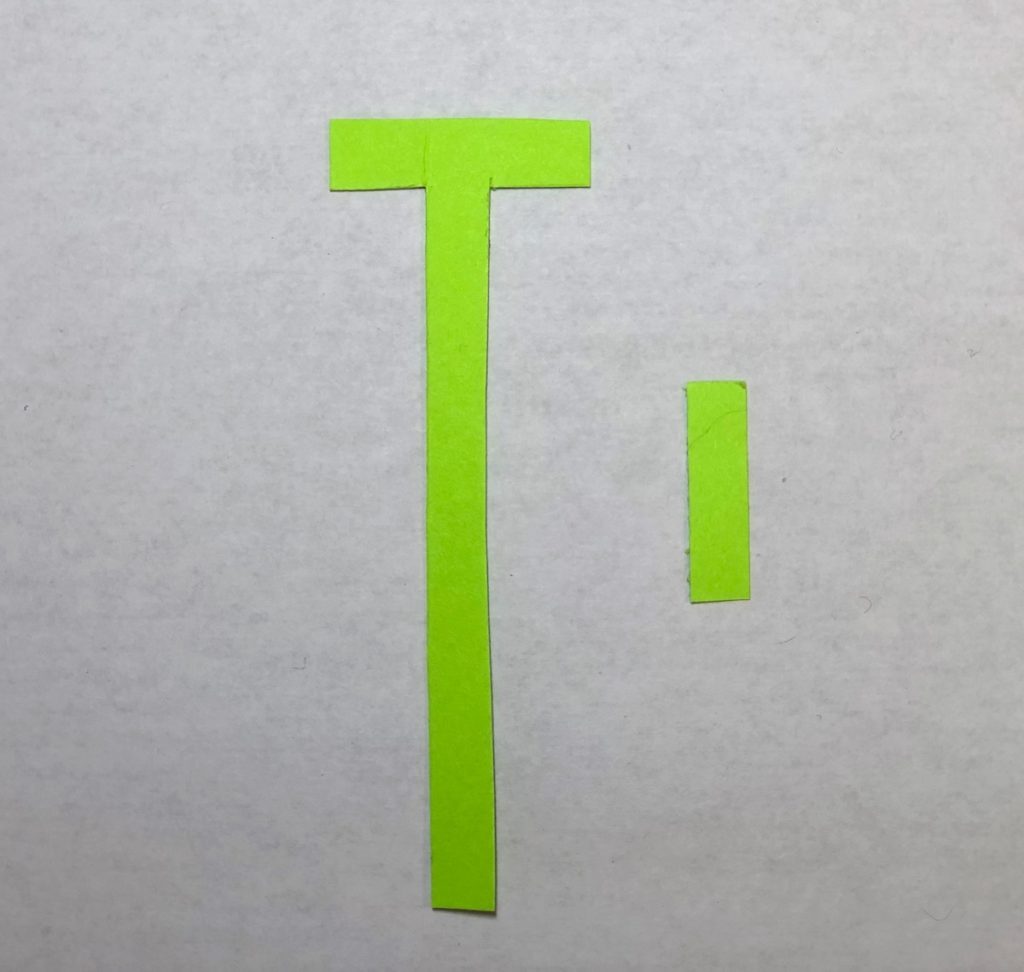
Step Two:
Adhere two pieces of green cardstock together to create a firmer handle. Cut the “T” shape 3 1/2″H x 1/4″W. The top portion of the “T” is 1″. Next, cut a second piece of green cardstock 1″H x 1/4″ wide. This piece is used to keep the handle from shifting.
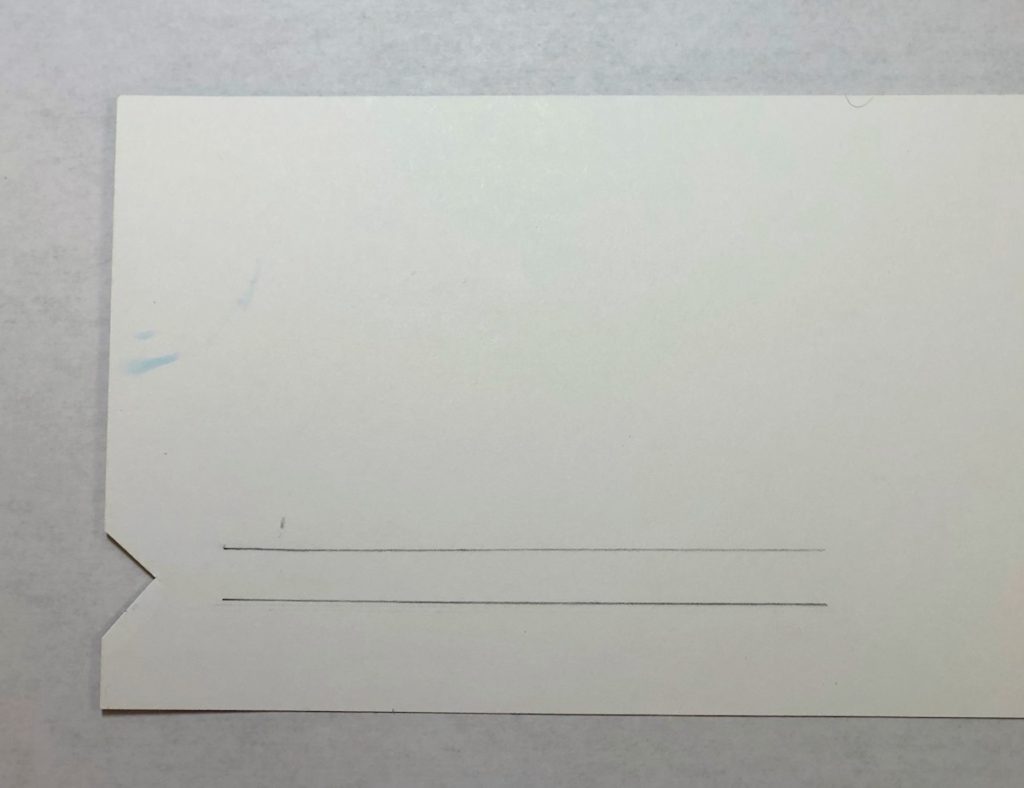
Step Three:
On the back of the patterned paper, cut a small “V” shape. Next, cut two slits 3″ long, leaving a 3/8″ in between slits. Note: These measurements are specific to this card. The patterned paper is precut 8 1/2″W x 3 1/2″H.
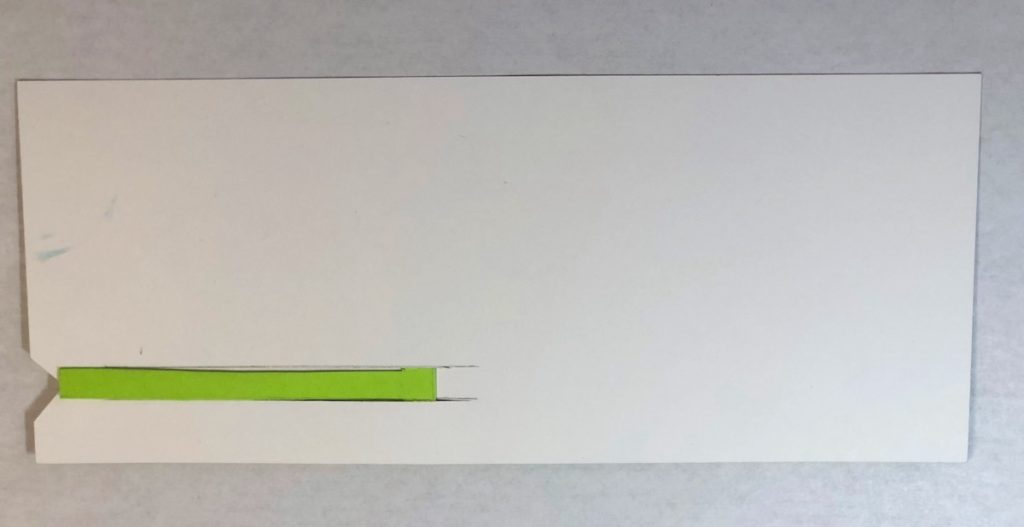
Step Four:
Insert the handle by pushing the “T” part into the slits from the right side of the patterned paper.
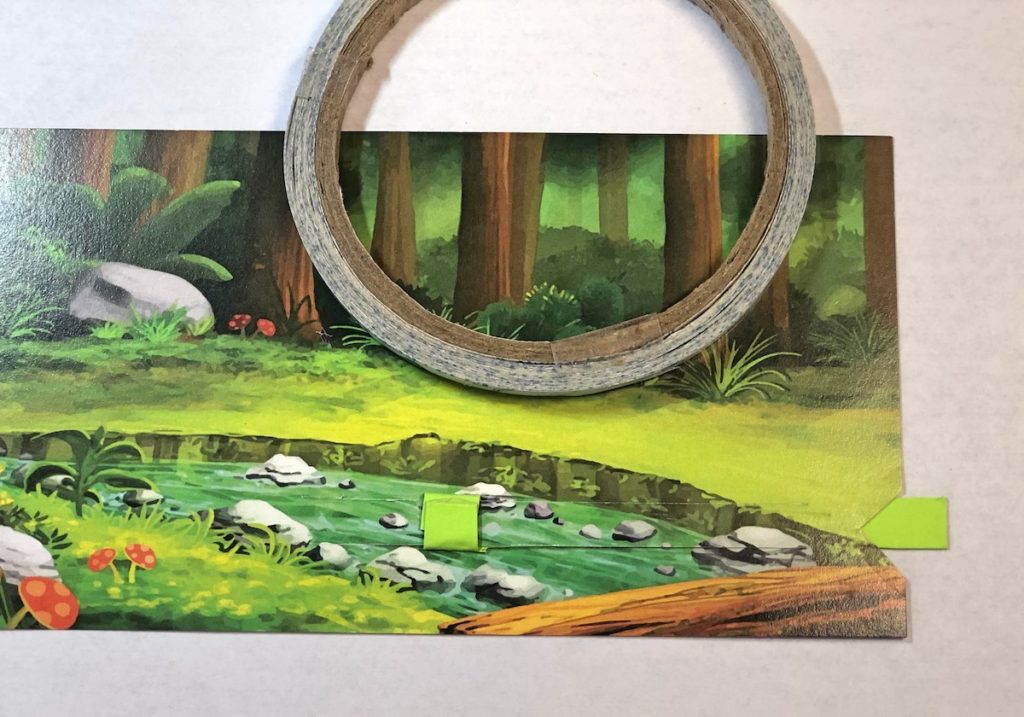
Step Five:
Fold the “T” shape over and adhere together with double-sided tape being careful not tape any other areas.
Step Six:
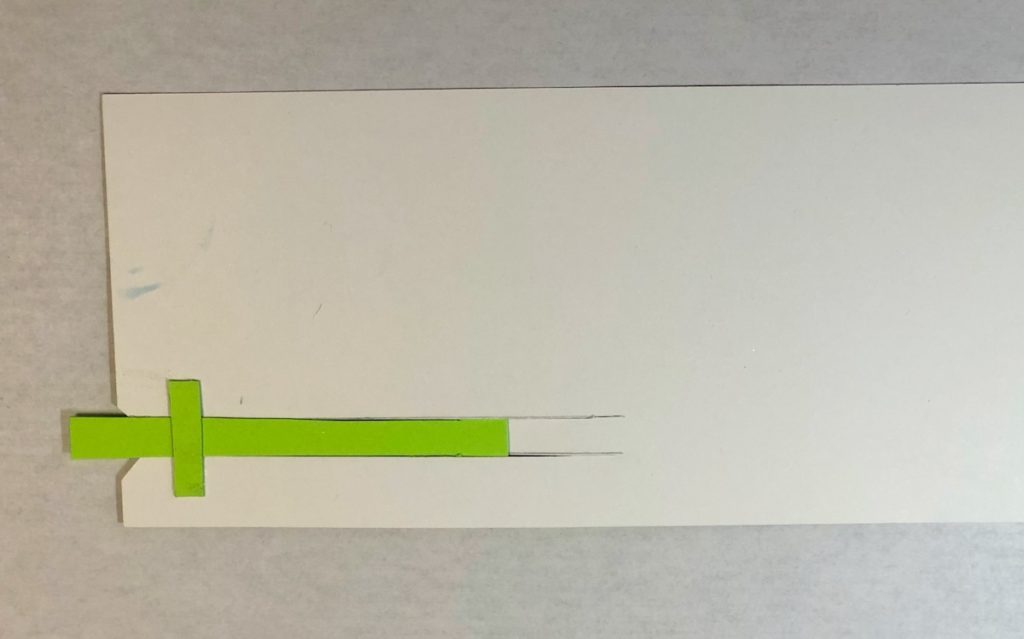
On the back of the patterned paper, add a small dot of glue on each side of the small piece of green cardstock. Do not glue the handle. For the sign, cut red cardstock 1 1/2″ x 1″ and yellow 1 1/4″ x 3/4″. Stamp saying with black inkpad. Attach embroidery floss and brad to sign, and then add a piece of foam tape to adhere the sign to the patterned paper.
To finish the card, cut a small piece of foam tape to the folded part of the handle and adhere the gnome couple image. Attach a button to the handle with double-sided tape. Adhere the green base card, orange and yellow pieces of cardstock together with glue. Add the patterned paper to the card using double-sided tape, again being careful not to apply any tape to the handle. That’s it! You have now created an interactive slimline card!
Pull Out Slimline Card
Supplies for Pull Out Slimline Card
- Cardstock: Green, Yellow, Orange, White, Black, Red
- Slimline Designer Paper by Whimsy Stamps
- Gnome One Else Rubber Stamp Set by Whimsy Stamps
- Black Inkpad by Gina K Designs
- Stabilo Chalk Pencils
- Yellow Button
- Yellow Embroidery Floss
- Green Mini Brad
- Zip Dry Paper Glue by Beacon Adhesives
- Foam Tape
- Double-Sided Tape
- Paper Trimmer
- Scissors
- Exacto Knife
Trackbacks/Pingbacks