With all the technology that we have now for taking pictures, our phones, iPads, cameras, etc., we need to get our pictures off of our devices and put them in some cool and creative frames to show them off to our friends and family. Our guest blogger today, Carmen Whitehead, is back with a great holiday picture frame. We love how she created this frame without the usual holiday colors. Our thought is, why take all those great pictures if no one is going to see them? So, dig out all of those craft supplies you have and create some holiday picture frames. They make wonderful gifts for everyone on your holiday list.
*************************************************************
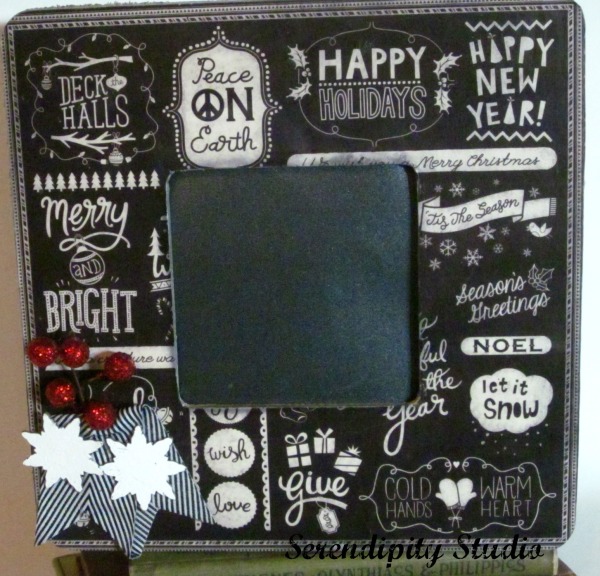
It’s never too early to start thinking about the Holidays, decorating and homemade presents. But this time I wanted to create something that wasn’t the traditional red and green of Christmas, and I wanted to use just what I had on hand in my “stash”. Here’s what I came up with…
Materials:
- $1 wood frame from Michael’s
- scrapbook paper – Holiday themed (8 x 8 size is the perfect size)
- snowflake chipboard
- ribbon, sprig embellishments
- acrylic paint
- DecouPage gel medium
- VersaMark Ink clear for embossing
- Wow white embossing powder
- Tim Holtz Distress Ink (I used black soot)
Tools:
- foam brush (2)
- exacto knife
- nail file
- hot glue gun
- heat tool
Instructions:
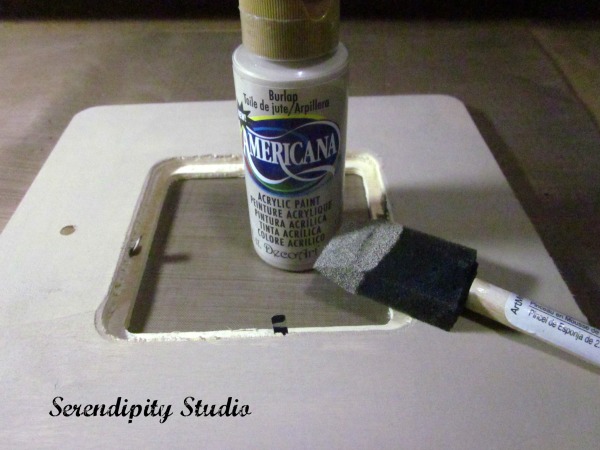
- Paint the back of the wood frame with acrylic craft paint in your choice of color using a foam brush.
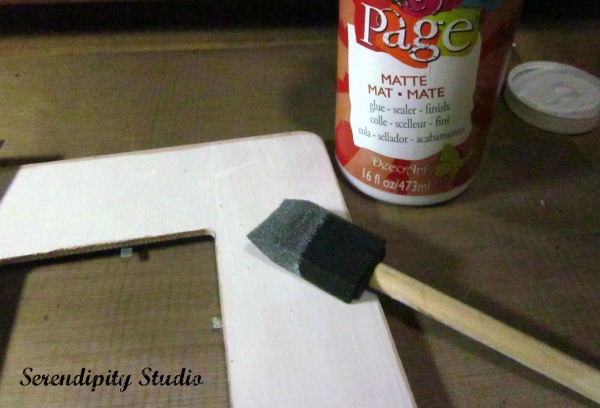
- Apply DecouPage gel medium to the front of the wood frame with a foam brush and adhere scrapbook paper. Smooth out the paper with your hands to remove any bubbles and ensure the sides are sealed.
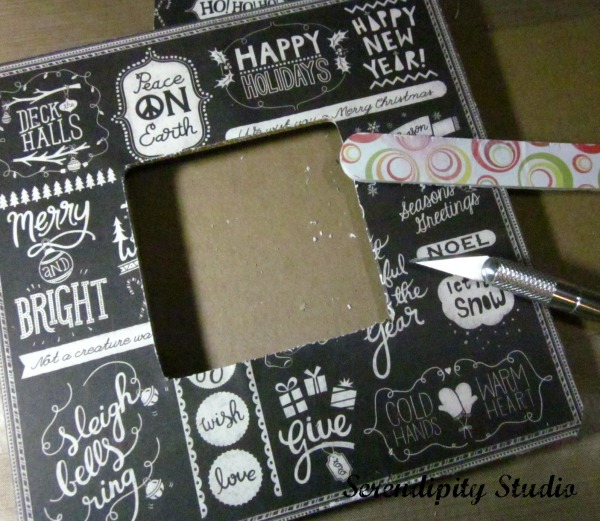
- Using the exacto knife trim off the edges of the paper and the center insert. I like to use a nail file to sand off any remains, it’s much easier than a bulky sanding block. Then apply the DecouPage to the front of the frame to seal it.
4. While the gel medium is drying, apply VersaMark clear ink to the snowflake chipboards. Dust with the white embossing powder and melt the powder with your heat tool.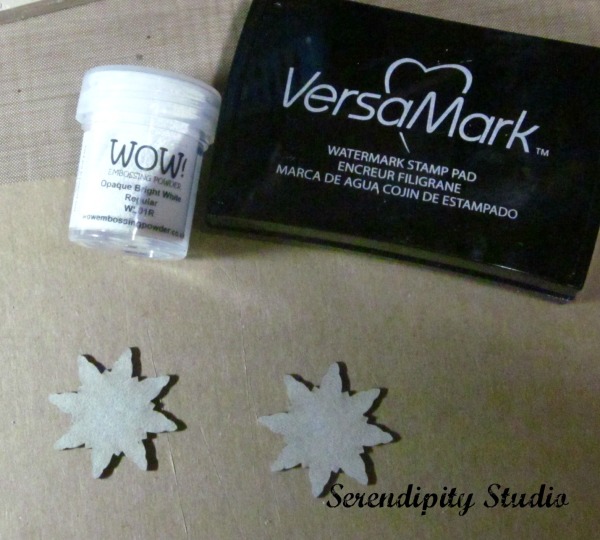
5. I then applied Tim Holtz Distress Ink in Black Soot to the edges of the frame. This gives it a more vintage look. Use whatever color ink that would coordinate with your paper.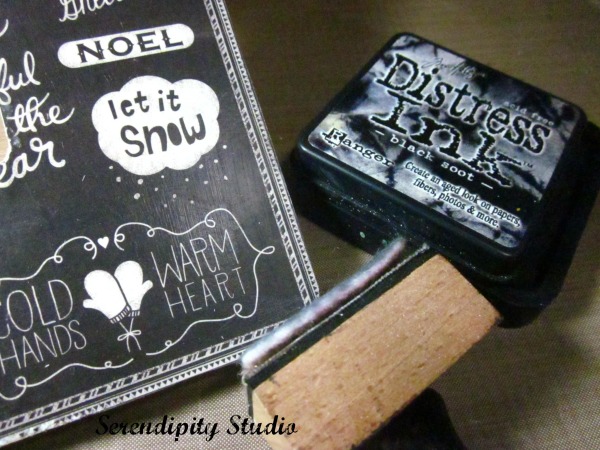
6. The final touch is to add the embellishments. I was lucky to have this black and white ribbon that matched perfectly. I did add a pop of red with the berries sprig.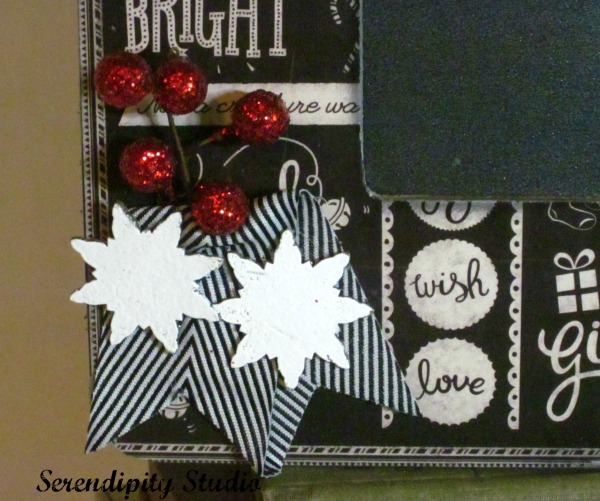
Tips:
- I like to apply the DecouPage gel medium to the back of the frame to seal in the paint. If you use a gloss medium, it leaves a nice sheen.
- Remember to paint the little wood stick that comes with the frame to prop it up.
- You can cut out a cardstock insert for the center or go ahead fill it with a picture.
About the Artist: Carmen Whitehead is a self-taught mixed media artist with recently published art in Somerset Studio magazine. She has a love all things vintage and incorporates that into her artwork by using vintage ephemera and laces. You can see more of her work, tutorials and shop on her blog .
Blog: www.serendipitystudiobycw.blogspot.com
shop: https://www.etsy.com/shop/SerendipityStudioCW

Thanks so much Bella Crafts for letting me share this tutorial! My updated blog address is http://www.carmenwhitehead.blogspot.com
and Etsy shop is http://www.CarmenWDesigns.Etsy.com