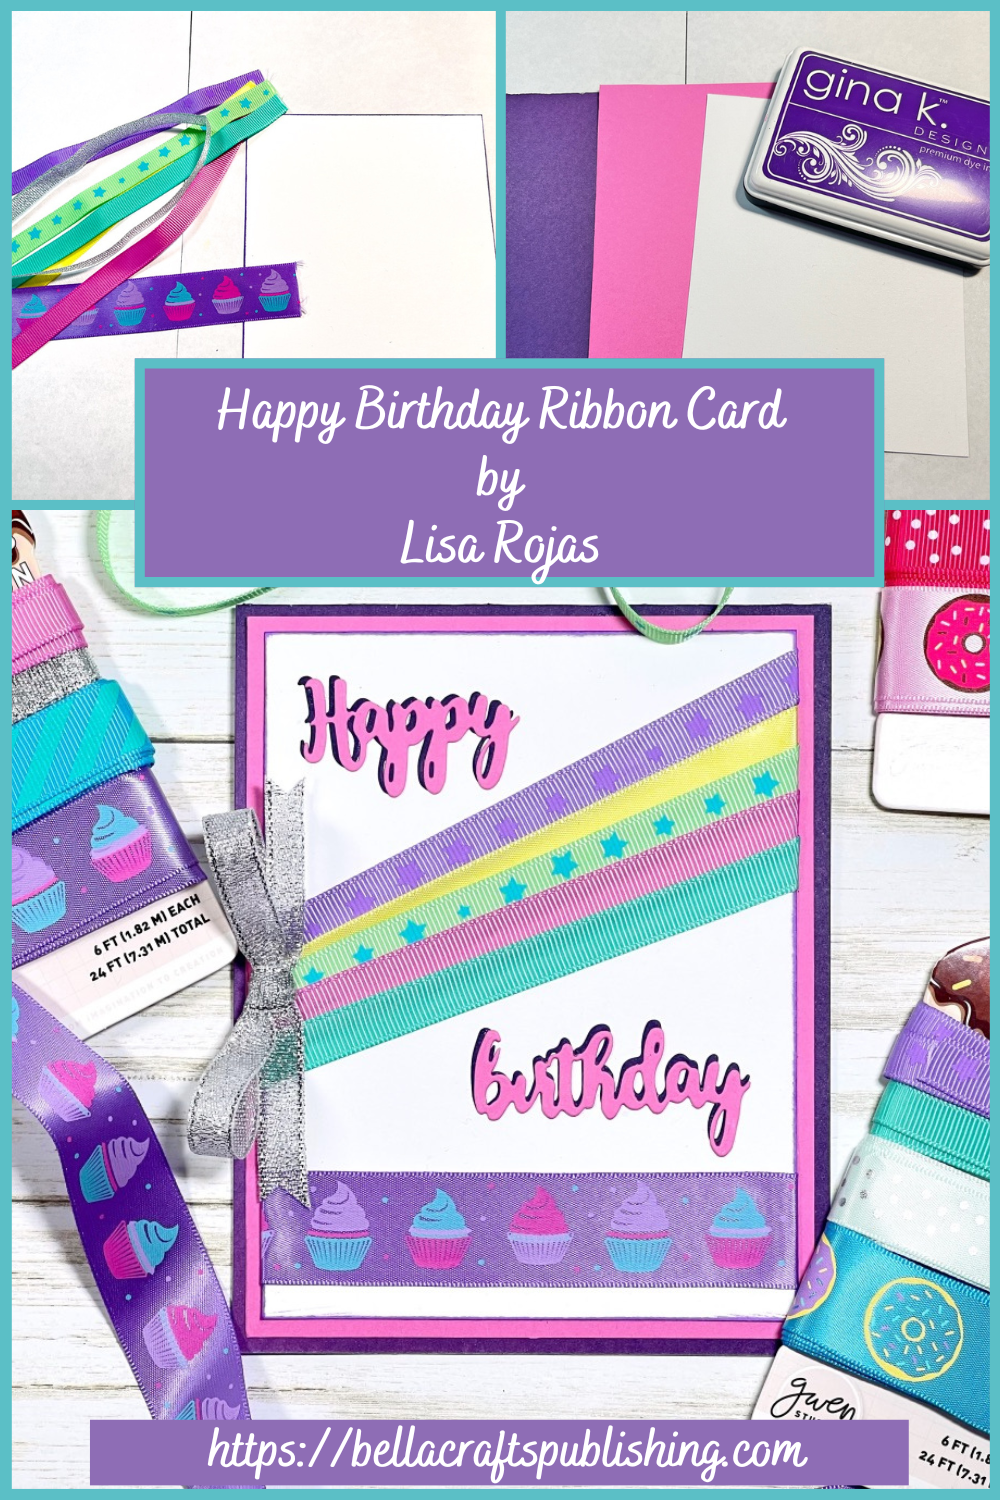
Use beautiful ribbons from Gwen Studios to create quick and easy cards like this Happy Birthday Ribbon Card~
Please note: This post contains affiliate links. If you use these links and make a purchase, we earn a commission at no extra cost to you…
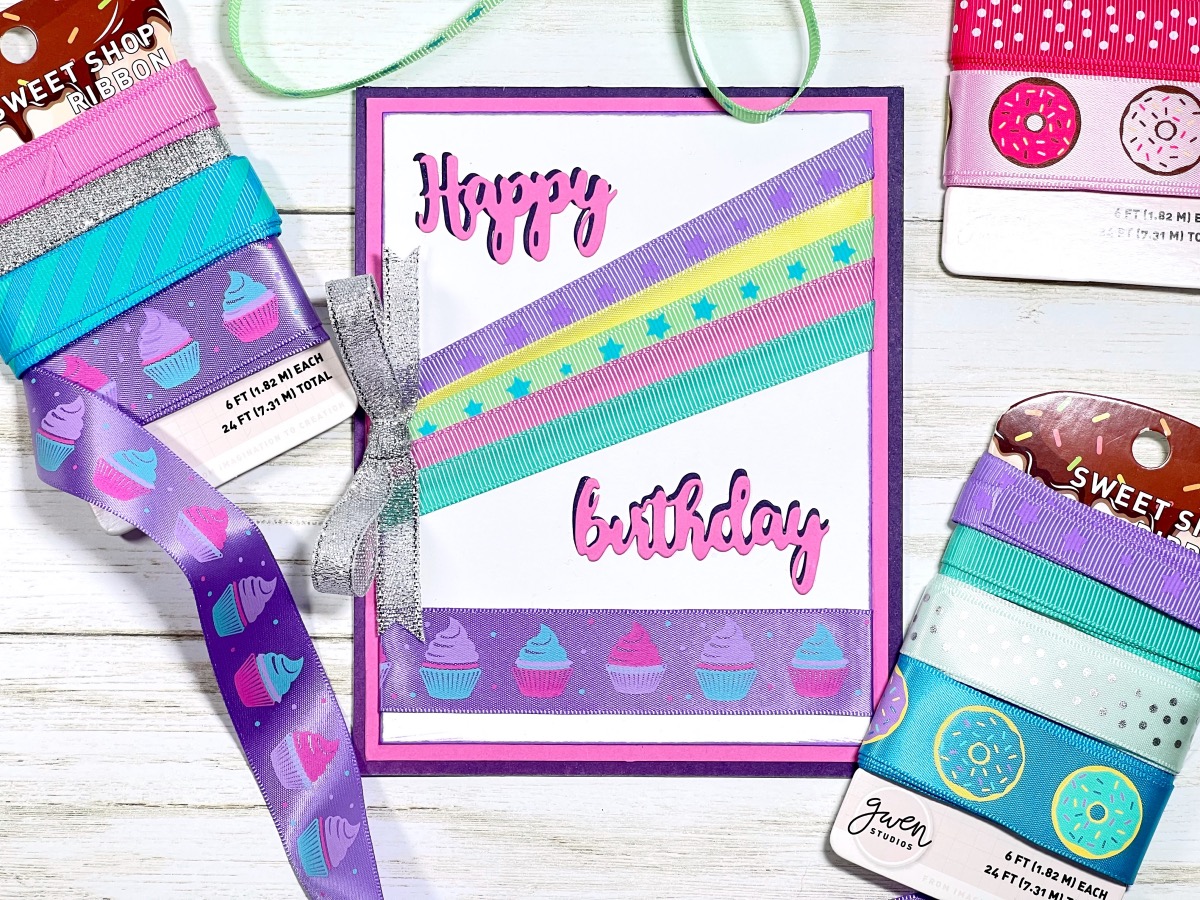
I love adding ribbons to my cards and other projects because they always add a perfect touch. Gwen Studios has a large selection of ribbons and trims. They offer ribbons in a single roll or you can purchase them in a variety package like I used in my Happy Birthday Ribbon Card. You can find Gwen Studios at Walmart stores, Walmart and Michaels. I hope you give this card a try. Have fun! Lisa~
Check out the full list of supplies at the end of this post.
Step One:
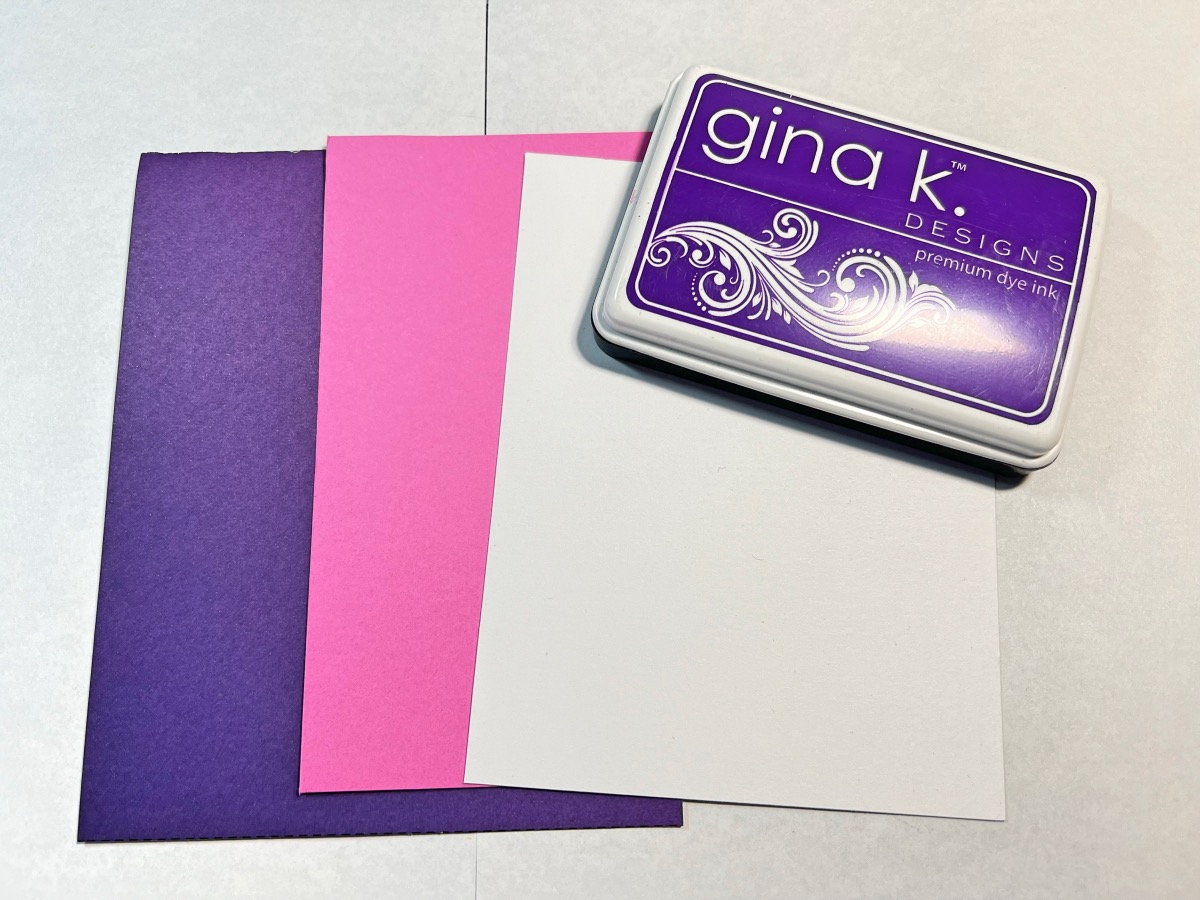
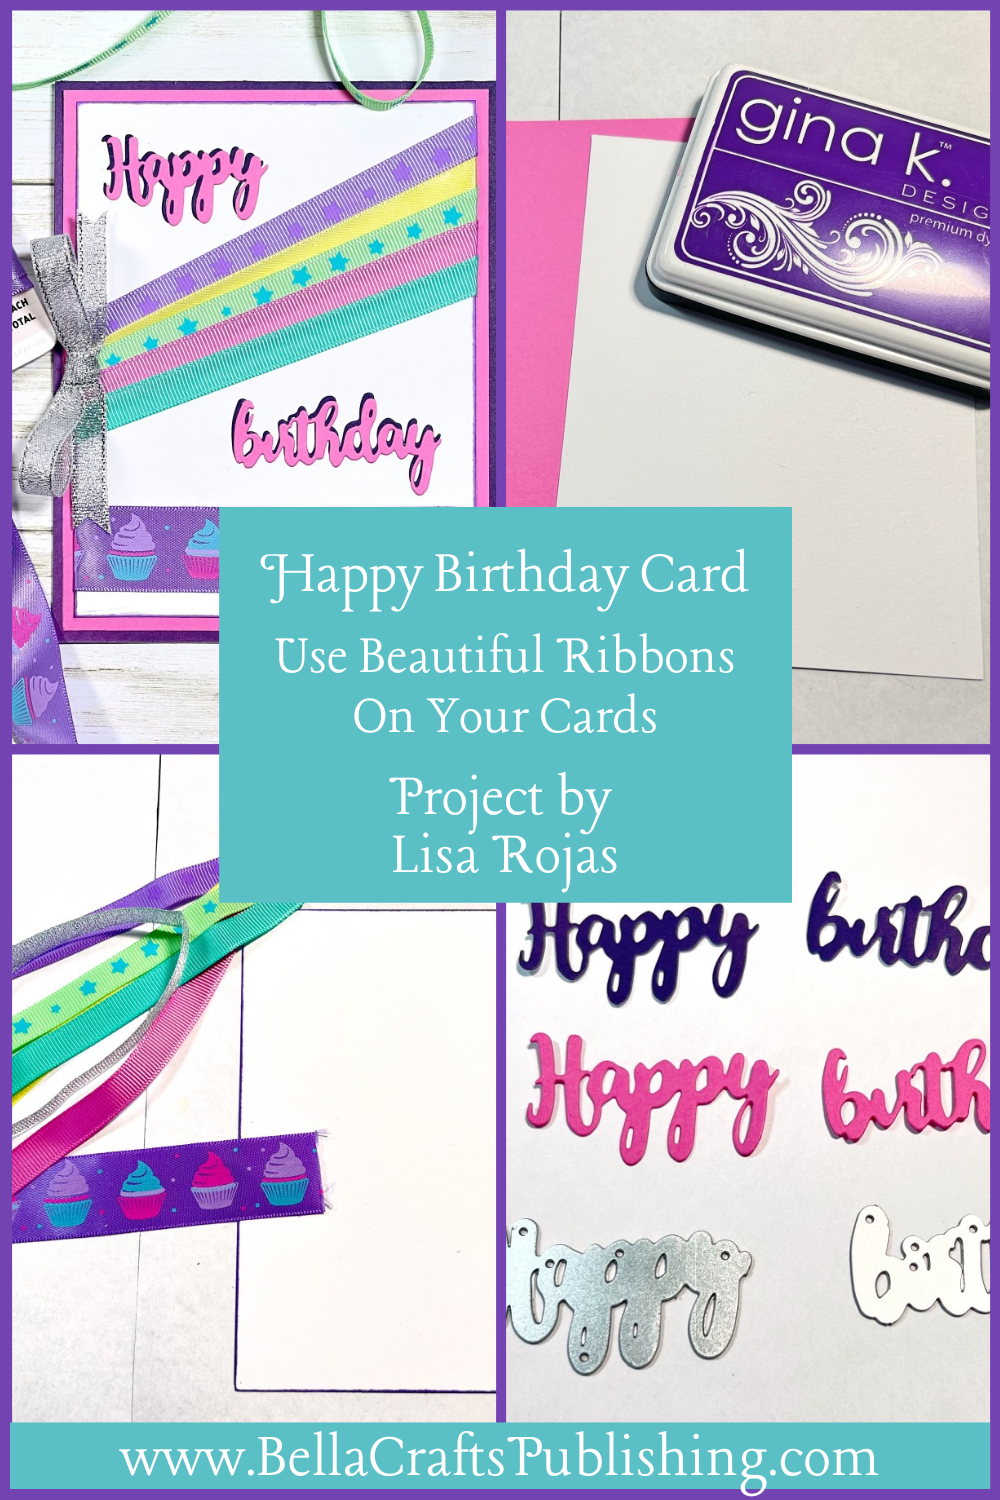
Cut the cardstock as follows: Purple 4 3/4″W x 12″H fold in half to 4 3/4″W x 6″H, Pink 4 1/2″W x 5 3/4″H and White 4 1/4″W x 5 1/2″H. Add the Wild Lilac inkpad around the edges of the white cardstock.
Step Two:
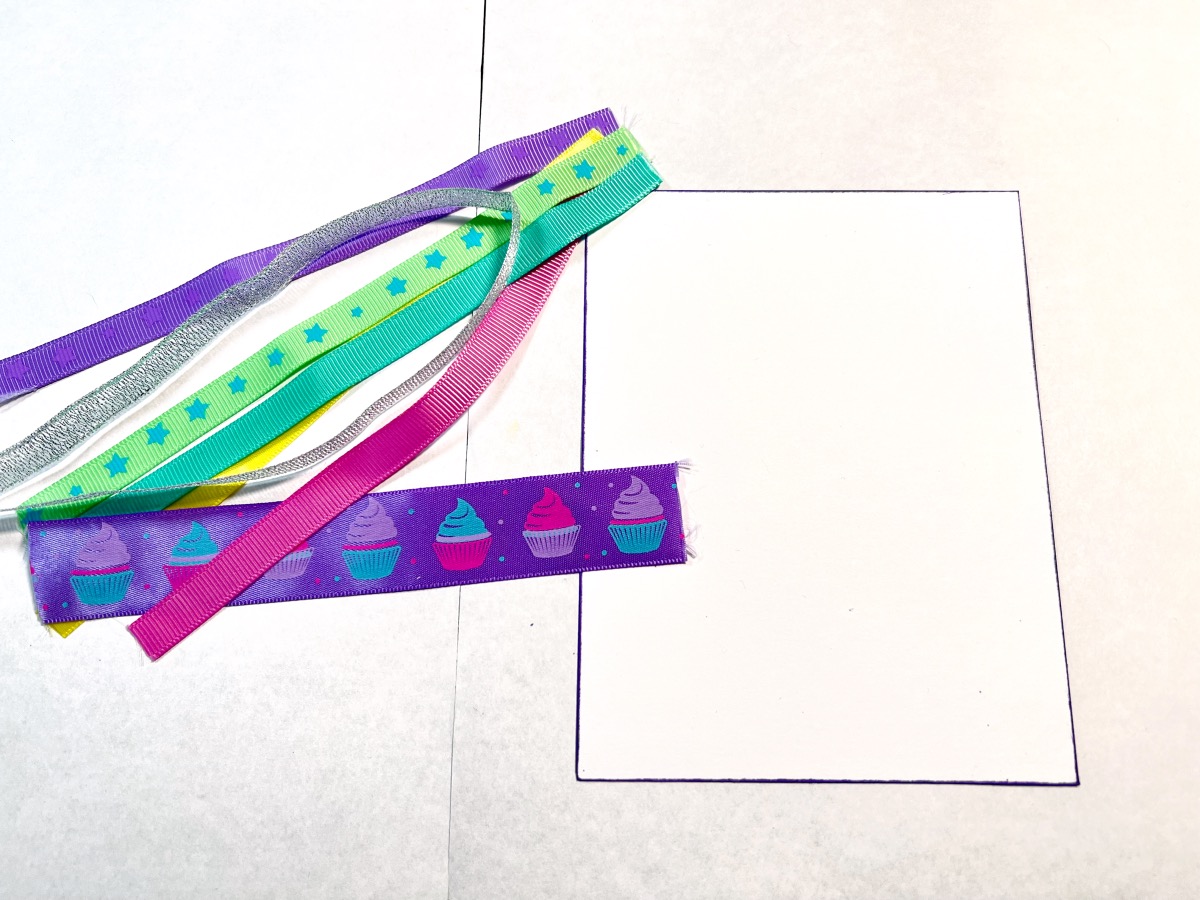
Cut five pieces of ribbon 6 1/2″ and one silver ribbon 13″. Next, cut the cupcake ribbon 5 1/2″.
Step Three:
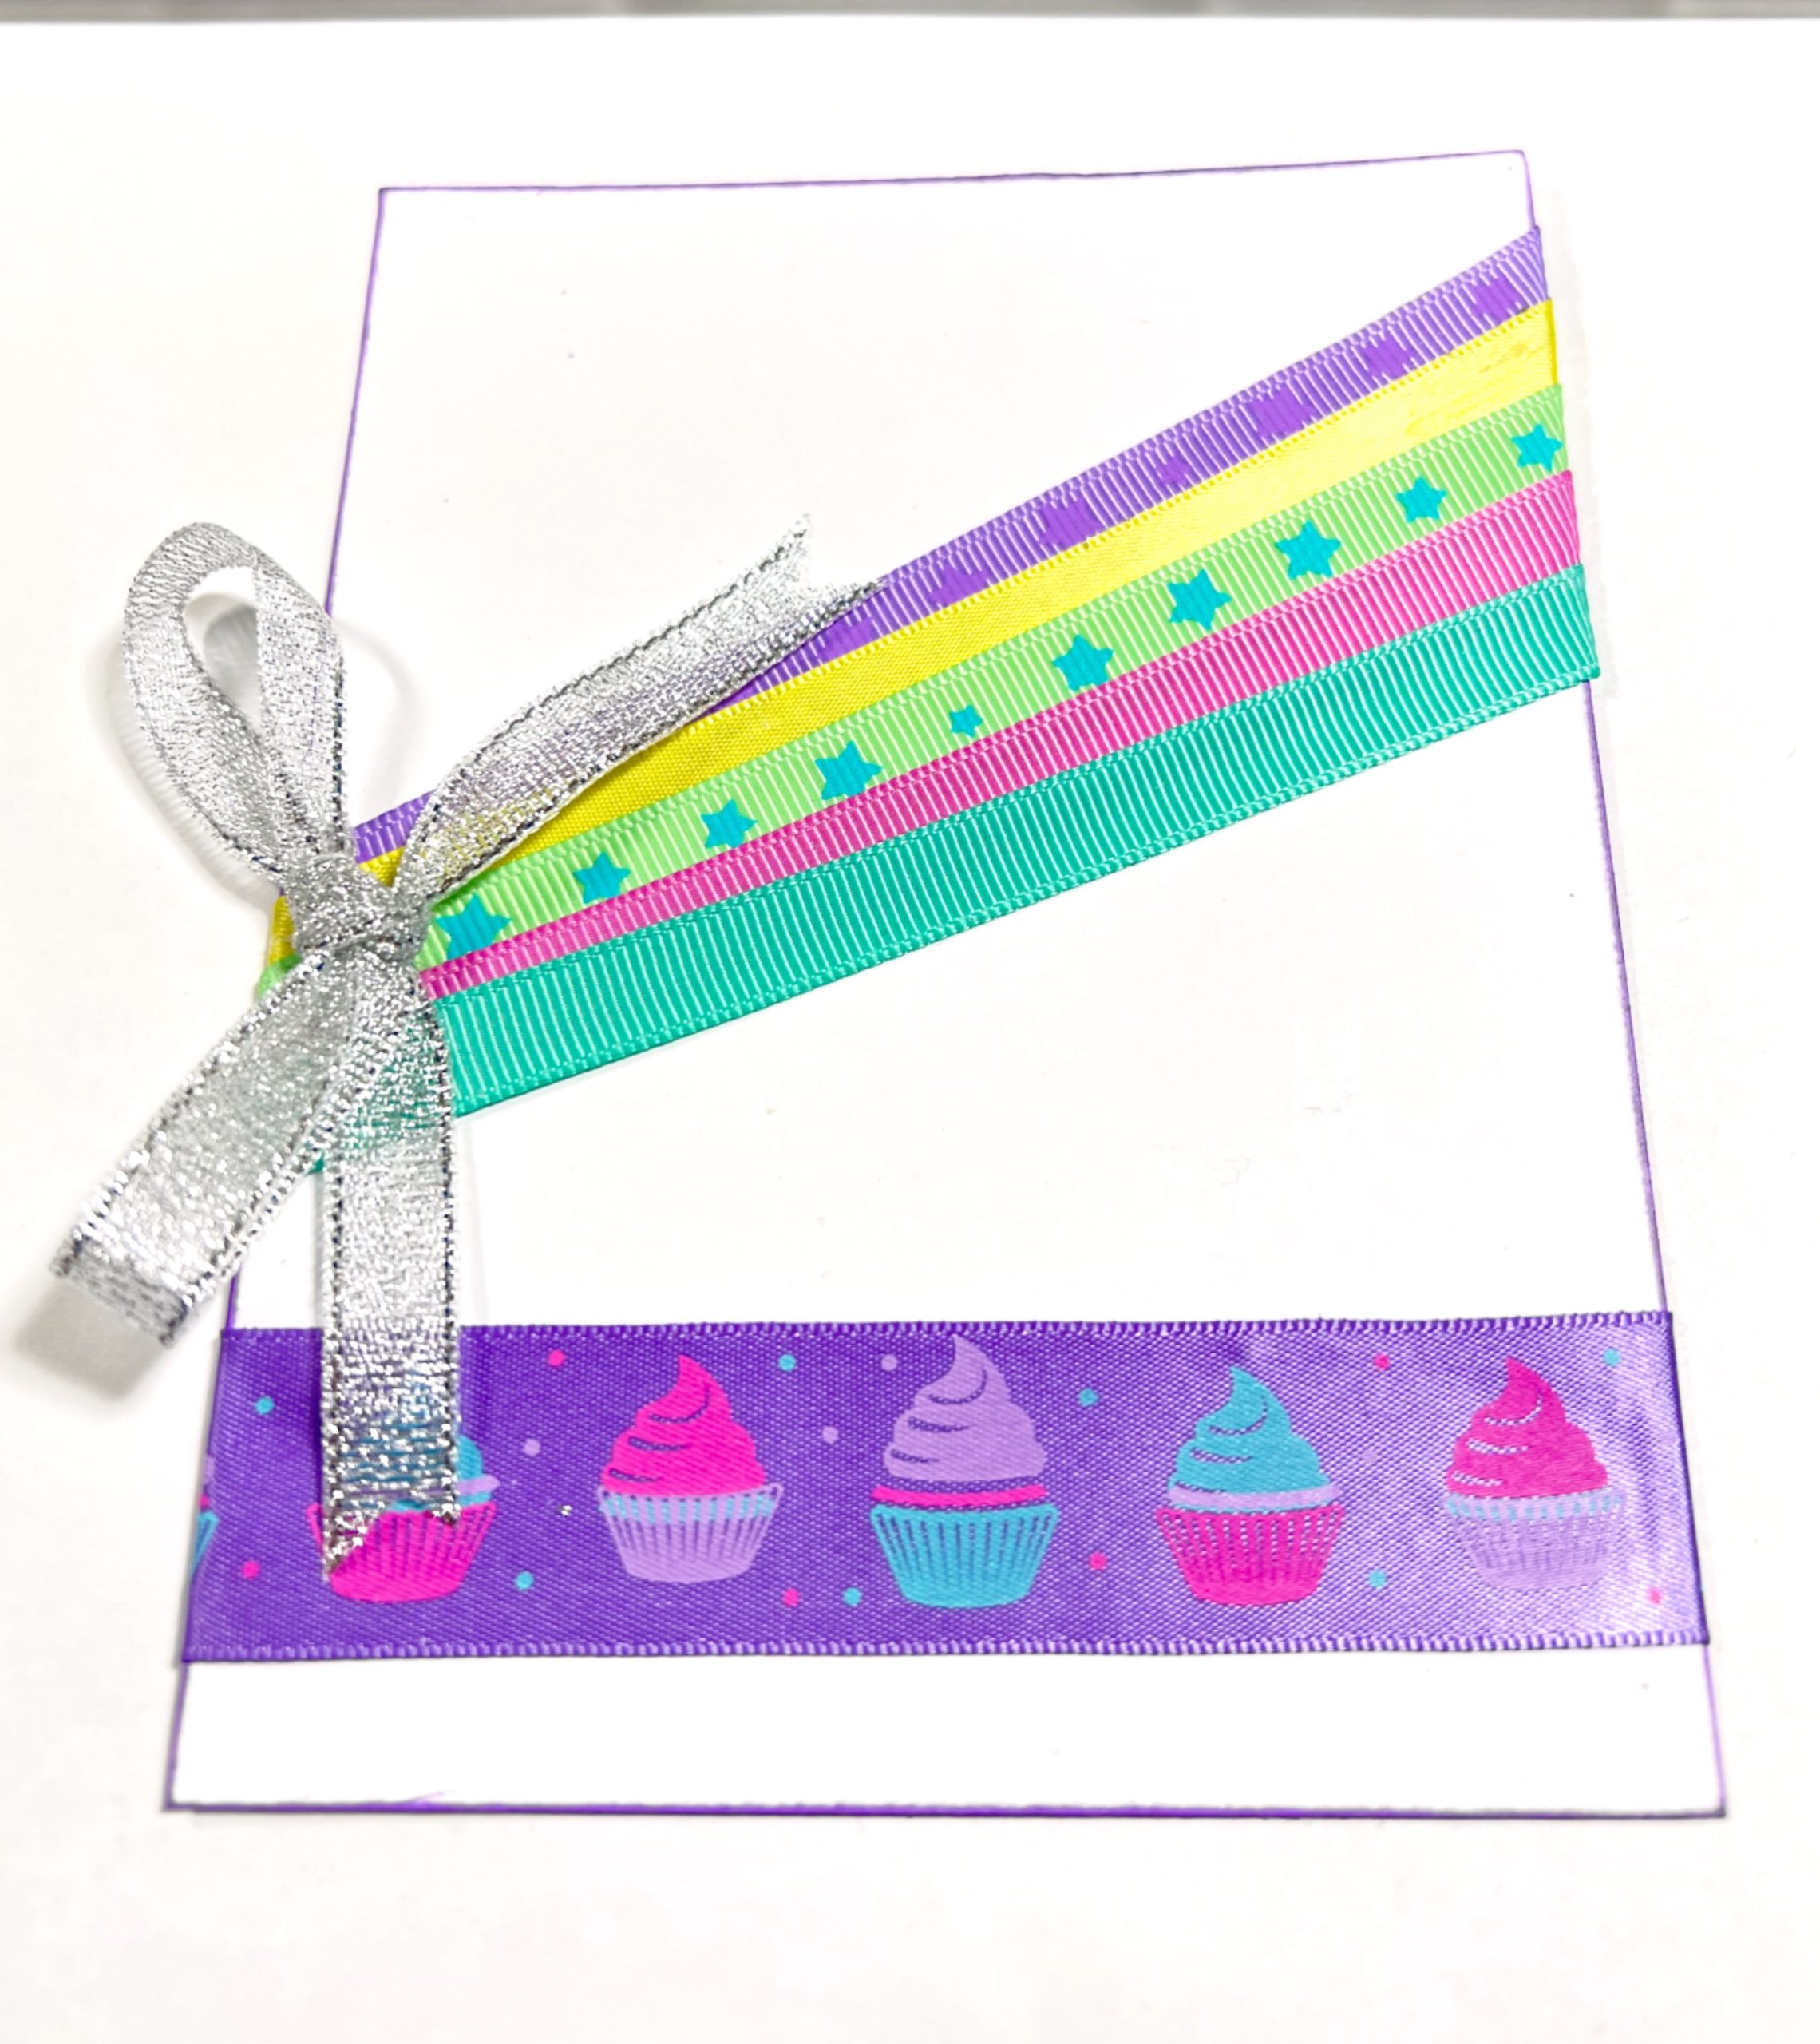
Using a tape runner, start with the purple ribbon and adhere it to the white cardstock. Use the photo for reference and adhere the other ribbons to the cardstock as shown. Tie a bow from the silver ribbon and add it to the cardstock with a glue gun.
Step Four:
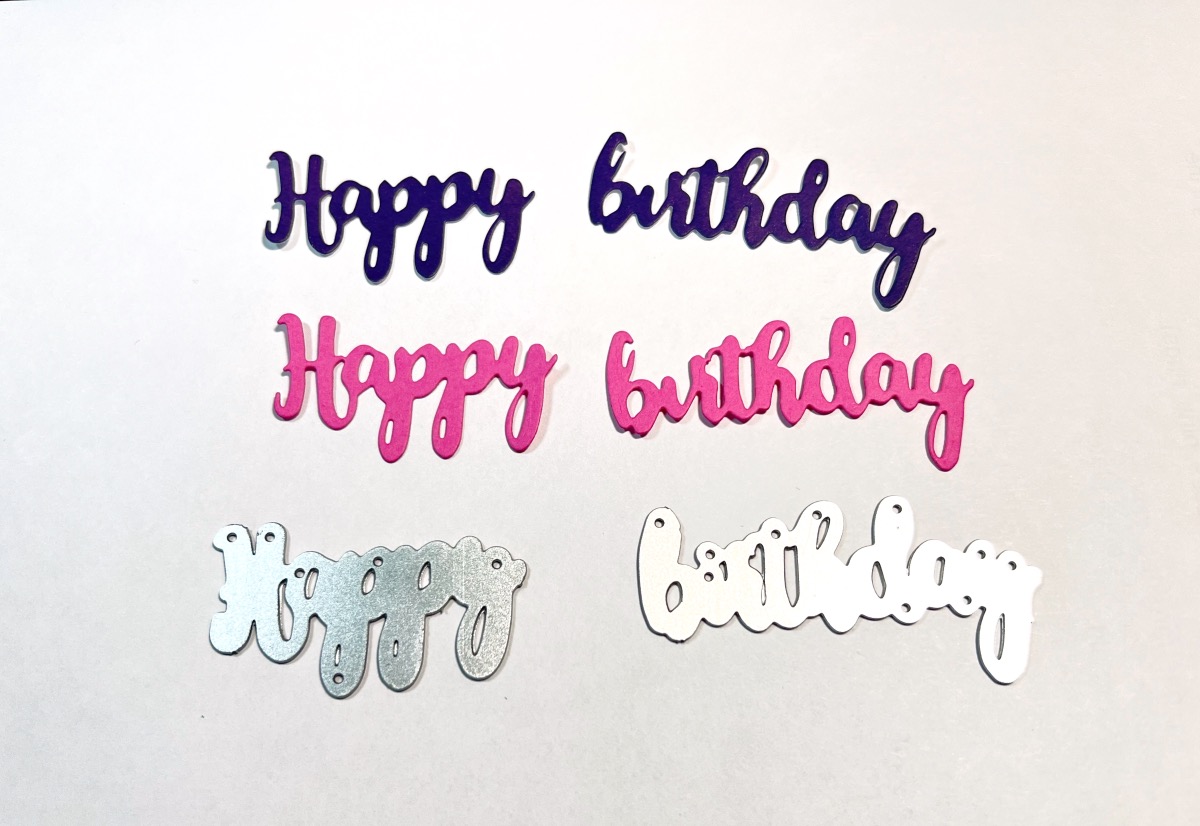
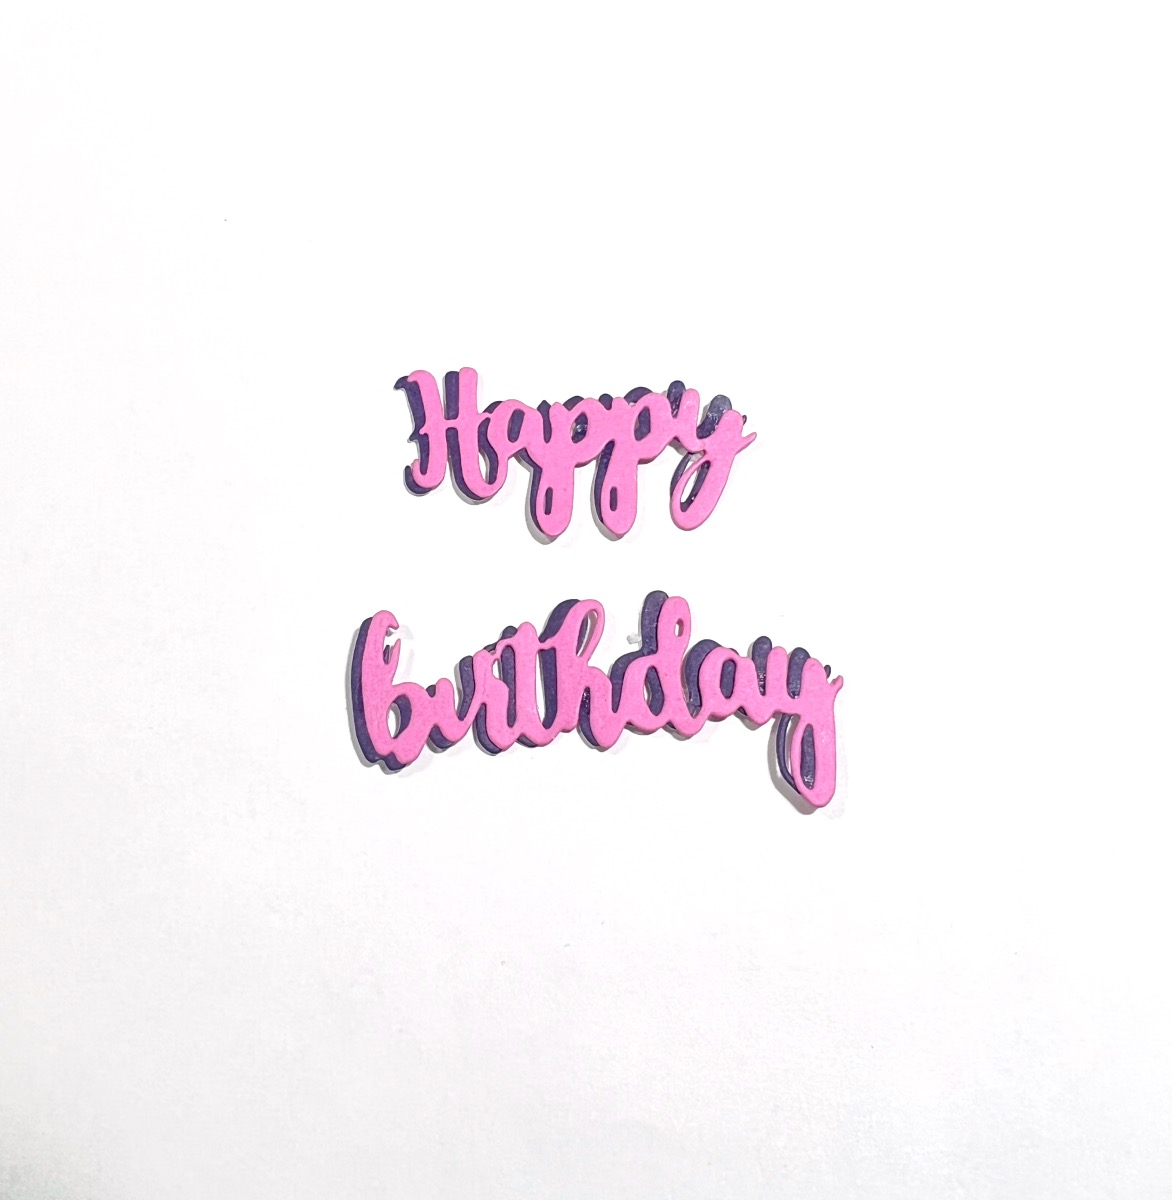
Die cut “Happy Birthday” from a pieces of purple and pink cardstock.
Step Five:
Use a small amount of glue and adhere the words together as shown.
Step Six:
Adhere the die cut words to the white cardstock. To finish the card, layer the white cardstock to the pink and purple.
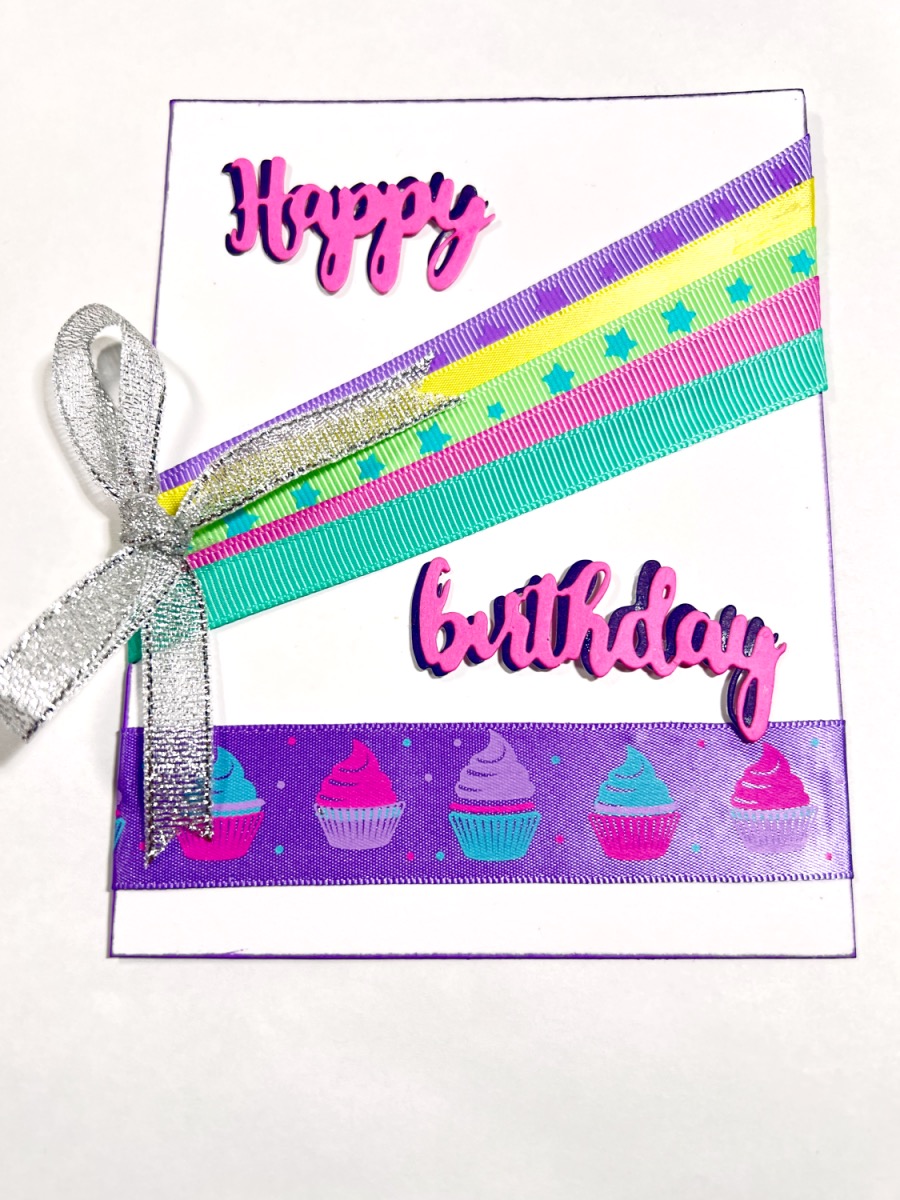
Happy Birthday Ribbon Card
Here’s Another PIN For You To Share!
Supplies for Happy Birthday Ribbon Card
- Cardstock: White, Pink, Purple
- Sweet Shop Ribbon Assortment by Gwen Studios
- Zip Dry Paper Glue
- Tape Runner
- Glue Gun
- Happy Birthday Word Dies
- Scissors
- Paper Trimmer
- Big Shot Die Cutting Machine
Such a cute card! Do you have a link for the word die? Thanks!
Cute card. Makes me want to get my ribbons out and try/
Glad you like it, thank you so much!