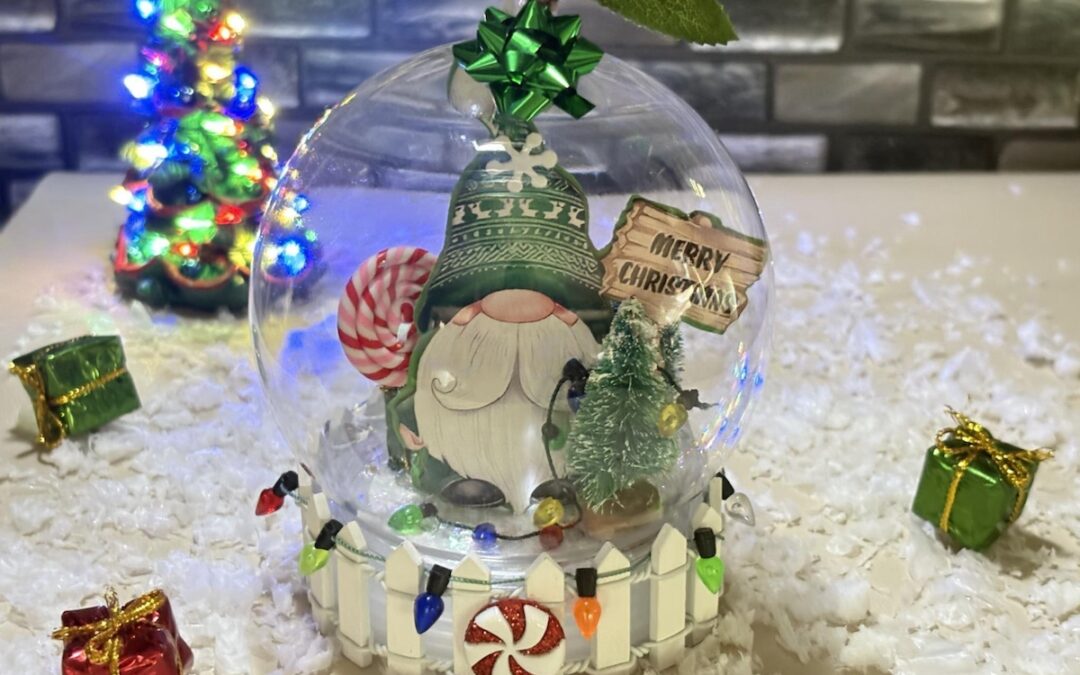
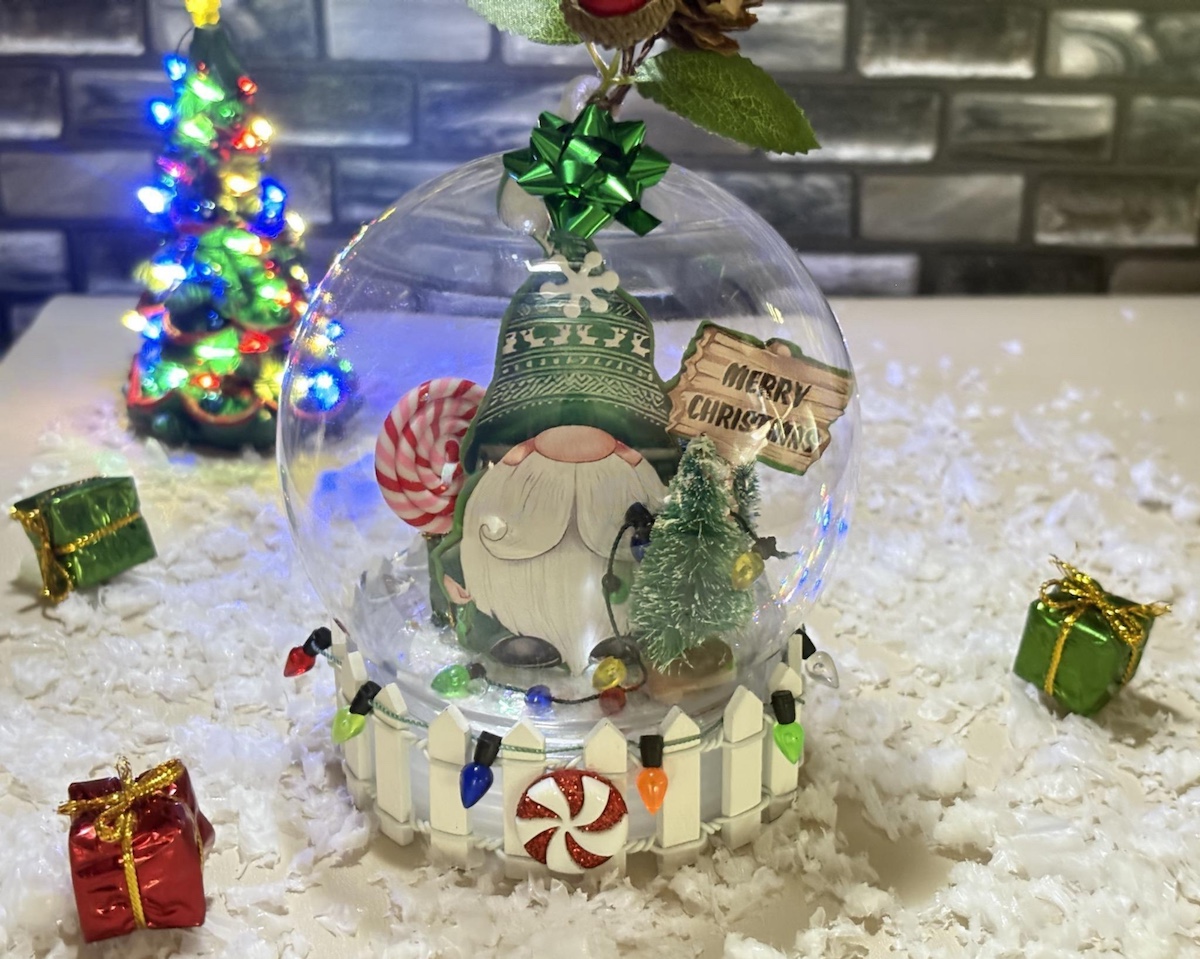
Our Gnome for the Holidays Globe features a whimsical gnome amid holiday cheer. it’s a delightful addition to your seasonal decor.
Please note: This post contains affiliate links. If you use these links and make a purchase, we earn a commission at no extra cost to you…
This gnome globe was so much fun to create! I used a wood gnome ornament and some miniature embellishments. Then, using my glue gun, I adhered everything inside the globe. It was so simple and would be a fun project with your kids or grandkids. I hope you give it a try. Crafty hugs, Lisa~
Check out the full list of supplies at the end of this post~
Step One:
Die cut four 2 3/4″ circles from White cardstock and adhere them together with glue. Adhere the iridescent confetti to the circles until it’s covered.

Step Two:
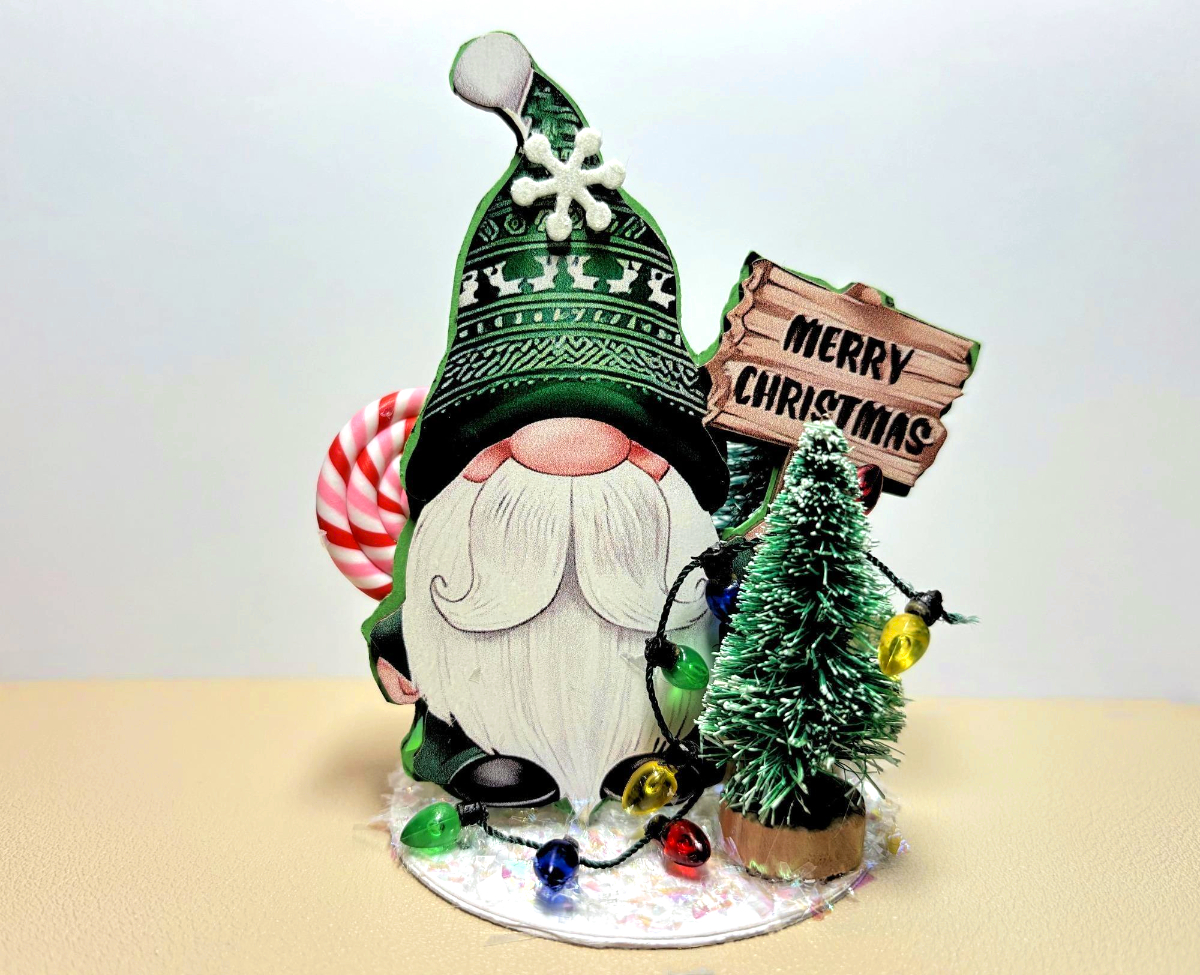
Trace the wood gnome onto a piece of Green cardstock and cut it out. Next, adhere the wood gnome to the cutout.

Step Three:
Using a glue gun, adhere the gnome, tree and some lights to the base. Attach a snowflake sticker to the gnomes hat.
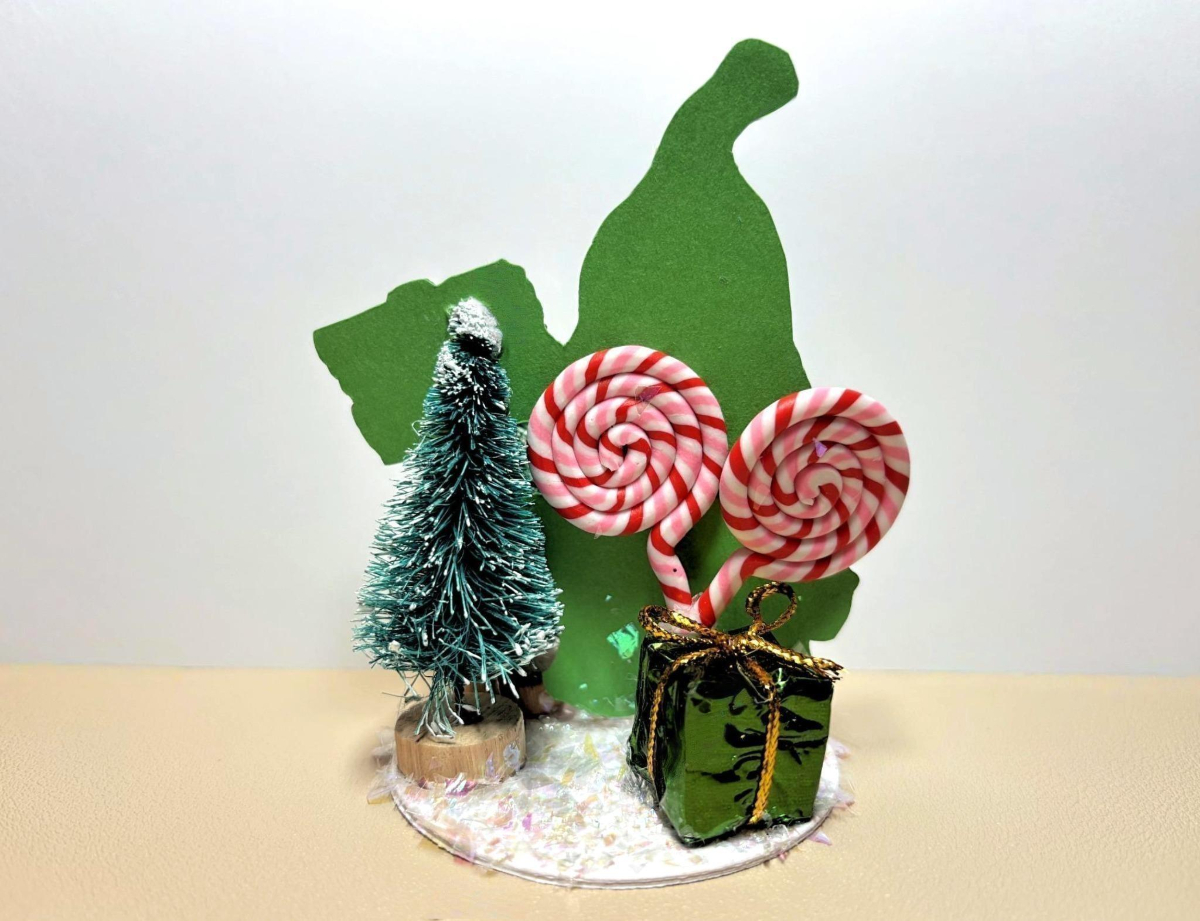
Step Four:
On the back portion of the base, attach a second tree. Adhere the two lollipops to the small package, and then to the base. To finish, place the globe onto the base. Next attach some lights to the white fence and wrap the fence around the globe base and tie it together in the back with Silver wire thread. Adhere the peppermint button to the front of the fence, attach a small holiday pik to the top of the globe and add the Green bow. Have fun with your holiday gnome globe!
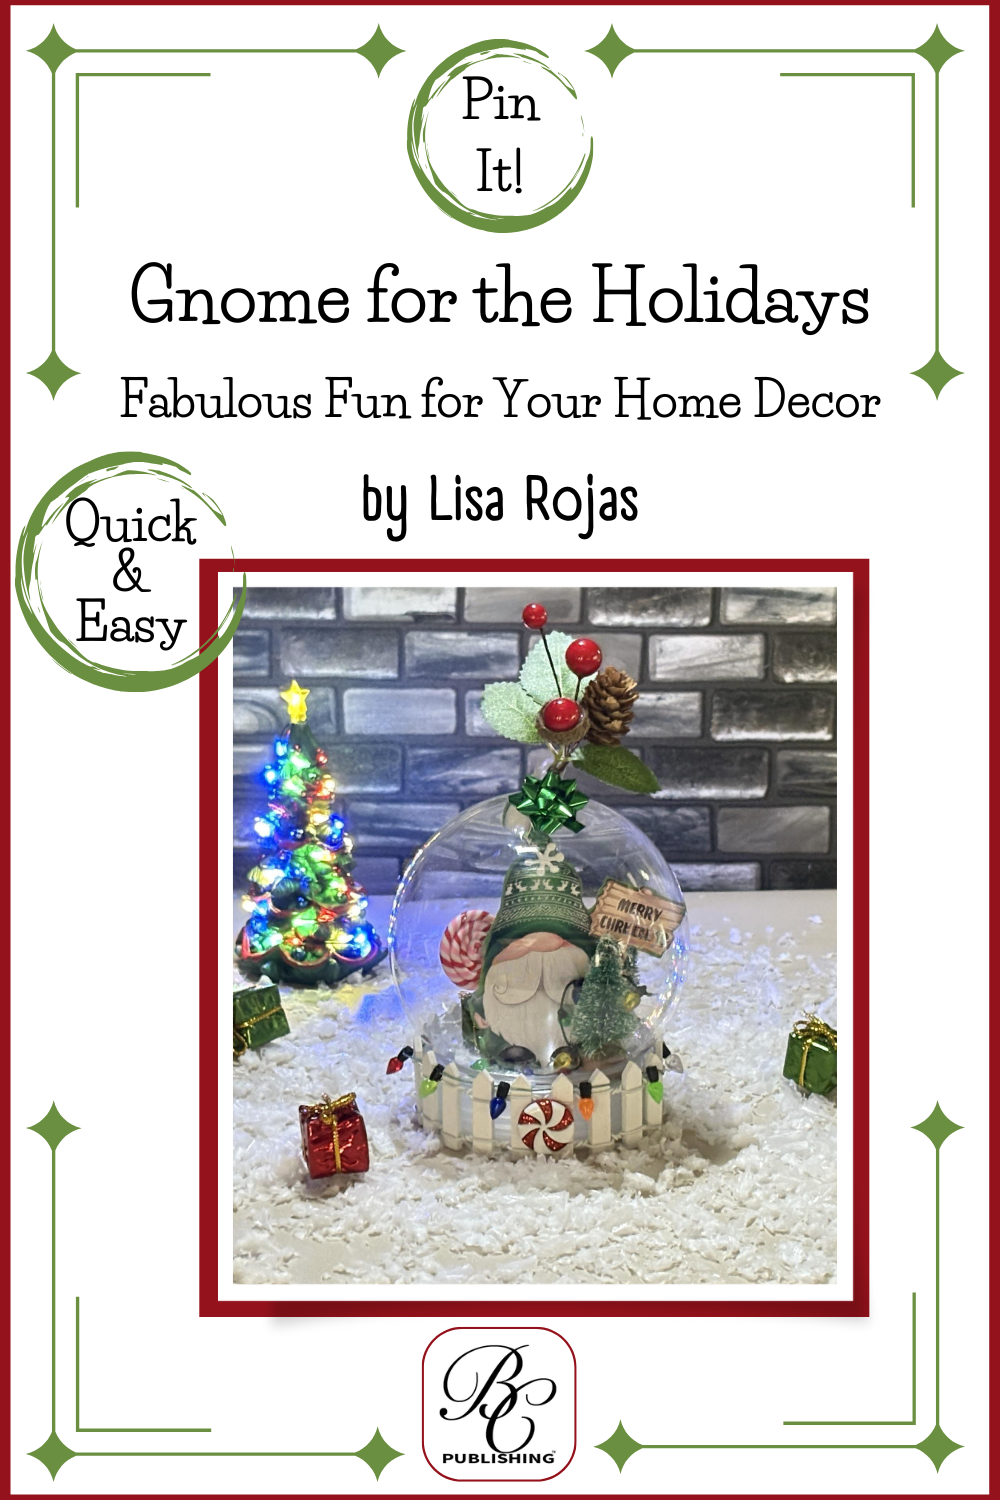
Gnome for the Holidays Globe
Here’s Another PIN For You To Share!
Complete Supply List
- Plastic Globe
- Cardstock: White, Green
- Wood Gnome Ornament
- Miniature Embellishments: Trees, Packages, Christmas Lights, Lollipops, Bow
- Holiday Greenery
- Chunky Glitter
- White Glue
- Wire Thread, Silver
- Scissors
- AdTech Adhesives Mini Glue Gun
- Sizzix Circle Die, 2 3/4″
- Sizzix Big Shot
NOTE: You can find the wood gnomes and miniature embellishments on Amazon.