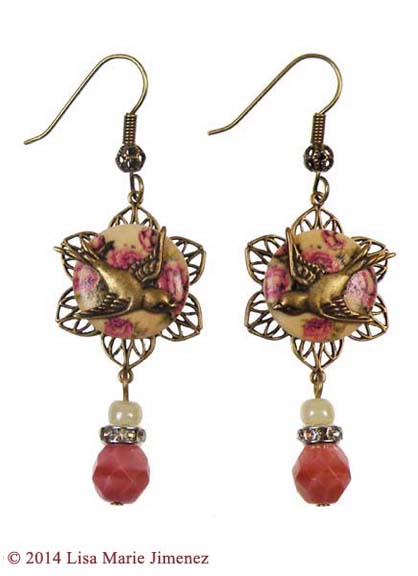
We have another great last minute gift idea for all of those procrastinators out there. For this project, our guest blogger, Lisa Jimenez, shows us how to take simple floral wood buttons and turn them into a spectacular set of earrings. If you’re looking for another last minute gift idea, give these earrings a try!
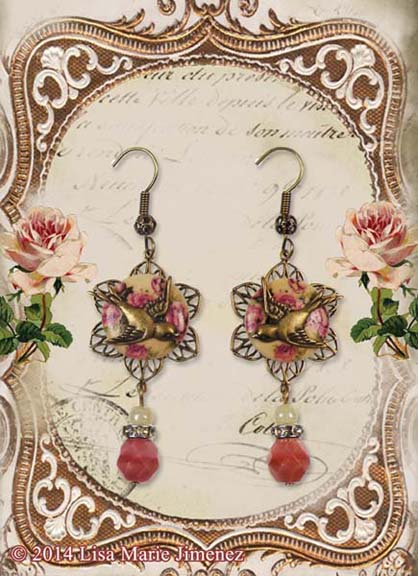
The holidays are coming quick and last minute gifts are always a necessity. These Floral Wooden Earrings are quick and easy to make. Make several at a time to have on hand for that “little something” you need to give a co-worker, neighbor or secret santa. Use digital graphic cards to card the earrings for that artistic touch.
Materials:
- 2 Filigree Connectors 20 x 25mm ~ Brass Ox
- 2 Floral Wood Buttons
- 2 Small Bird Charms Left & Right ~ Brass Ox
- 2 Filigree Ball Earwires ~ Brass Ox
- 2 Headpins 1.5” ~ Brass
- 2 Fire Polished Beads 8mm (to match floral design on button)
- 2 Seed Beads 6/0 ~ Cream
- 2 Crystal Rondelle Spacer Beads 6mm
- 2 Rubber Earwire Stoppers
Tools:
- Chain Nose Pliers
- Round Nose Pliers
- Cutters
- Metal File
Other Supplies:
- E6000 Glue
- Toothpick
Instructions:
- Add a small amount of glue to the back of the wood button and place in the center of the filigree connector.
- Use cutters to clip off the ring on the bird charm. File away any rough edges that may be left. Add a small amount of glue to the back of the bird charm and place in the center of the wood button. Position the charm so that it covers the holes on the button. Set aside to dry.
- Load headpin with beads in the following order: 8mm bead, crystal rondelle, seed bead. Trim and make a simple loop. Before closing the loop, connect to the bottom ring on the filigree connector.
- Open the ring on the earwire and connect to the top ring on the filigree connector. Close earwire ring.
- Repeat all steps for the second earring.
Carding Earrings:
- Print a 2.5 x 3.5 inch digital card on card stock paper. Cut the card and poke holes with a pin where the earwires will be. Add rubber earwire stoppers to the back of the earwires to secure on card. Sign the card, so the receiver knows they are made by you. You can also add earrings directly to the front or inside of a Christmas card.

Material Source:
Metal: www.TrinityBrassCo.com or www.etsy.com/shop/trinitybrass
Digital Graphics: www.Etsy.com
Beads/Buttons: Local Craft Store
