Hello, my dear crafty friends! Those who know me also know that I am a real ” faux crafty” person and today I have prepared a faux wood tutorial for you.
I mean I love to find my own frugal ways to get supplies that are not available in Israel or at least to find a way to make very similar ones. Wooden pieces are one of those products.
[Tweet “Make faux wood with paper,gesso & gelatos. #crafts #tutorial “]
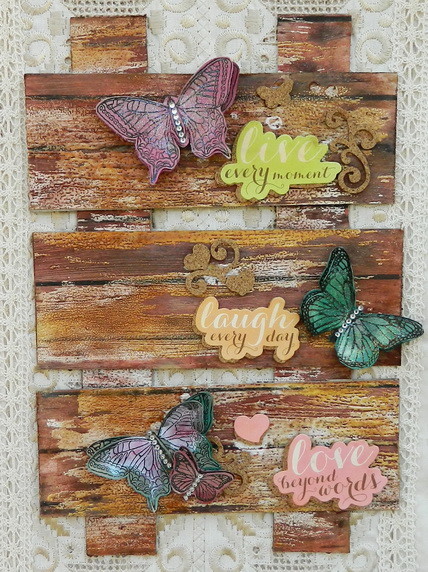
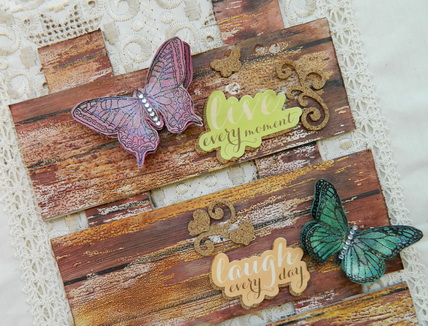
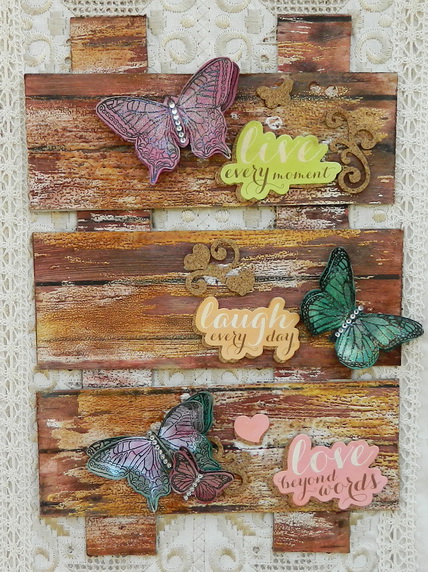
So this is my faux wood tutorial made for those who love wooden pallets on the wall, but can’t buy them as they are far away from any craft shops, like I am or can’t afford to ship them from USA to wherever they live. This was the main reason to try to make my own ‘wood’ and it’s quite a success!
Supply list:
- Kraft cardstock: American Crafts
- Paints, marker, and gesso: Faber-Castell DMC Gelatos
- Embossing powder: Clearsnap
- Stamps: Inspired by Stamping
- Ink: Clearsnap
- Stickers: Paper House Productions
- Other: a toothbrush. mists
Here is my tutorial:
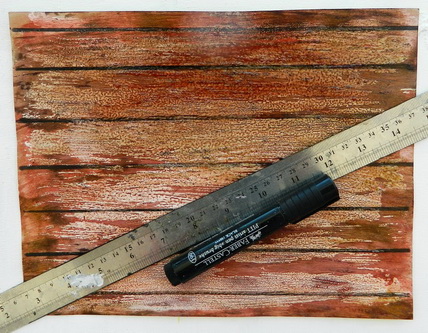
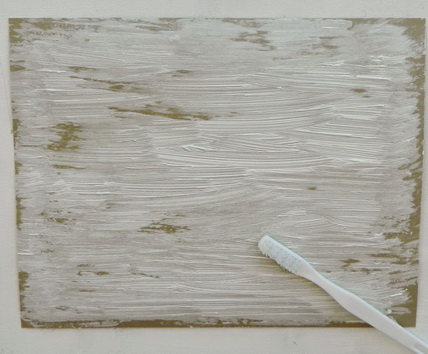
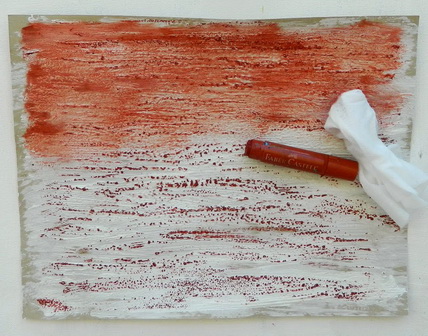
1. Take an old toothbrush and cut every second row with scissors. Add gesso- I used Faber Castell DMC gesso- over Kraft cardstock using your new low-cost crafty tool.
2. Add a thick layer of clear embossing powder over the wet gesso and heat emboss it completely.

Great tutorial, Irit. You could have fooled me!
Greetings,
Great project and tutorial. I love “faux”.
Love and light,
Michele
That is so cool! It really looks like wood. Great tutorial!
Wow this is just Awesome Irit.
Fantastic tutorial Irit!!!
Great tutorial!!! I love this technique!!! Thank you for sharing this with us Irit.