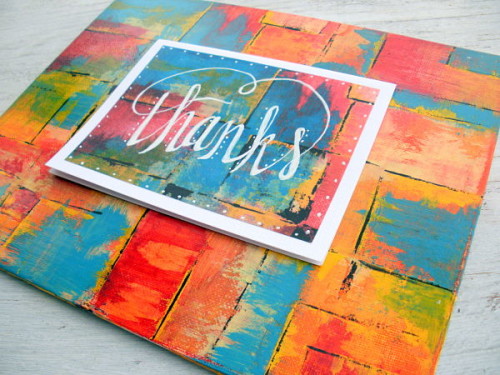
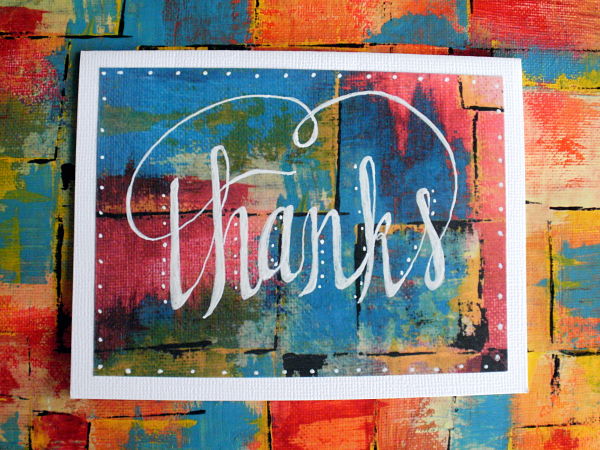
One of my newest skills is creating fun, whimsical faux calligraphy lettering, and today I am sharing this gorgeous faux calligraphy upcycled art card with you!
Since my son got engaged in April, we have been up to our necks in wedding plans at our house; wedding decor, invitations, and thank-you notes are the topics of conversation as is the lettering. I also like to utilize my original artwork in different incarnations and am always looking for ways to incorporate it into new projects. This card seemed an ideal way to combine the faux calligraphy lettering with a copy of one of my pieces of artwork.
After much trial and error, I think I’ve got the hang of it and wanted to share some handy shortcuts to creating your own hand-lettered projects with easy-to-find materials.
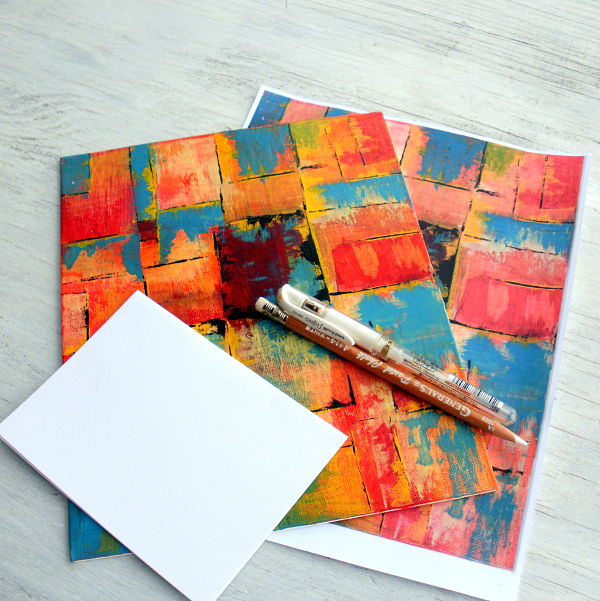
You will need:
- A copy of a piece of artwork
- A chalk pencil – white
- A Uniball Signo Broad UM-153 white gel pen
- A blank notecard
Instructions:
- Cut a piece of your copied artwork into a size that will give you a 1/4″ border when you stick it to the blank notecard.
- Using your own handwriting, carefully and lightly use the chalk pencil to write your caption on the piece of copied paper. Connect the letters and add some flourishes. In the example, you can see that I connected the “s” in the word “thanks” with the cross of the “t” with a little swirl.
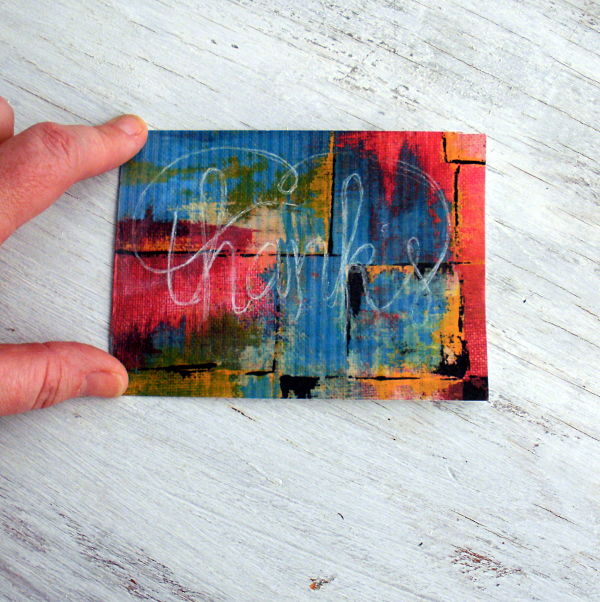
- After you are happy with your design, use your white gel pen to write over your handwriting, thickening the line on the sides of the letters. The goal here is to make it look as if you used a calligraphy pen, so you need the broad downstrokes and the thin upstrokes for it to seem authentic. Below you can see where I thickened the letters in my design:
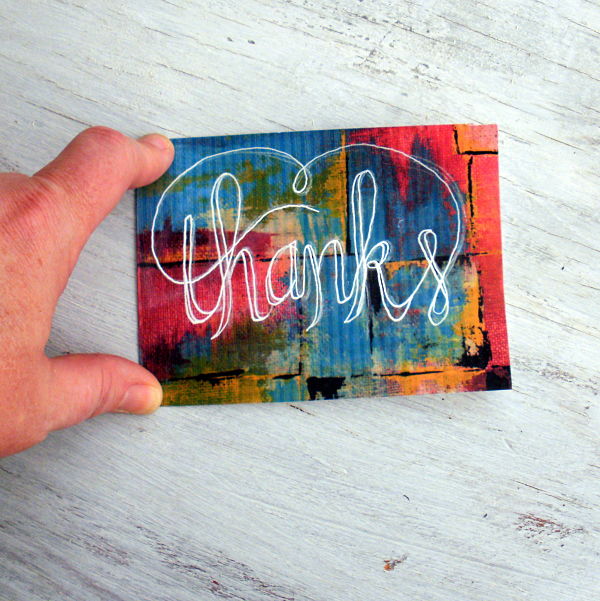
- Now color in the letters where you have thickened the lines and add some doodling to the design. Gently erase any remaining chalk and glue your paper to the notecard.
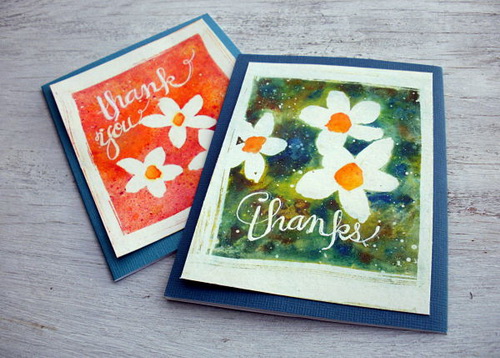
Here are examples of other cards I made using some of my original small watercolors to make thank you notes:
[Tweet “#Howto create whimsical #faux #calligraphy lettering and upcycle your own artwork.”]The best thing about this project is that you probably have many if not all of the materials on hand already making it cost-effective as well as fun and whimsical. If you decide to try this technique out, let us know in the comments!

SO pretty and I love how you re-purpose your own artwork. Thanks Molly!
Thanks Roberta – I’m having a lot of fun with the lettering techniques!
This is amazing Molly! I LOVE lettering! And the faux calligraphy is my new favorite! It is so much easier than traditional calligraphy and you can use any pen. You look like you mastered it! I bet the invitations are going to be amazing if you do the lettering!!
xxDaniella
Thank you so much Daniella – I am really having fun learning the different techniques!
Molly, I love everything about this. I too love lettering and this technique is awesome. I am going to have to do this. Thank you for sharing.
Thanks Larissa – I can’t wait to see your projects using the lettering techniques!
Molly, awesome tutorial! I’m goning to have to try this lettering!!!
Thanks so much Lisa – I can’t wait to see your lettering projects!
Greetings,
Love this project and can see many ways of using it……….re-purposing the art work and a great way to do lettering…….deffinetly will try this!
Love and light,
Michele
Thank you Michele! I would love to see your lettering projects when you get them done! :)
This is stunning! I LOVE the colors!
Thank you so much Anita! I was experimenting with new color combos, and this one jumped out at me!
Molly, I think I am your fan #1!!!
Thank you so much Martha – right back at you! I absolutely love your work as well! :)