
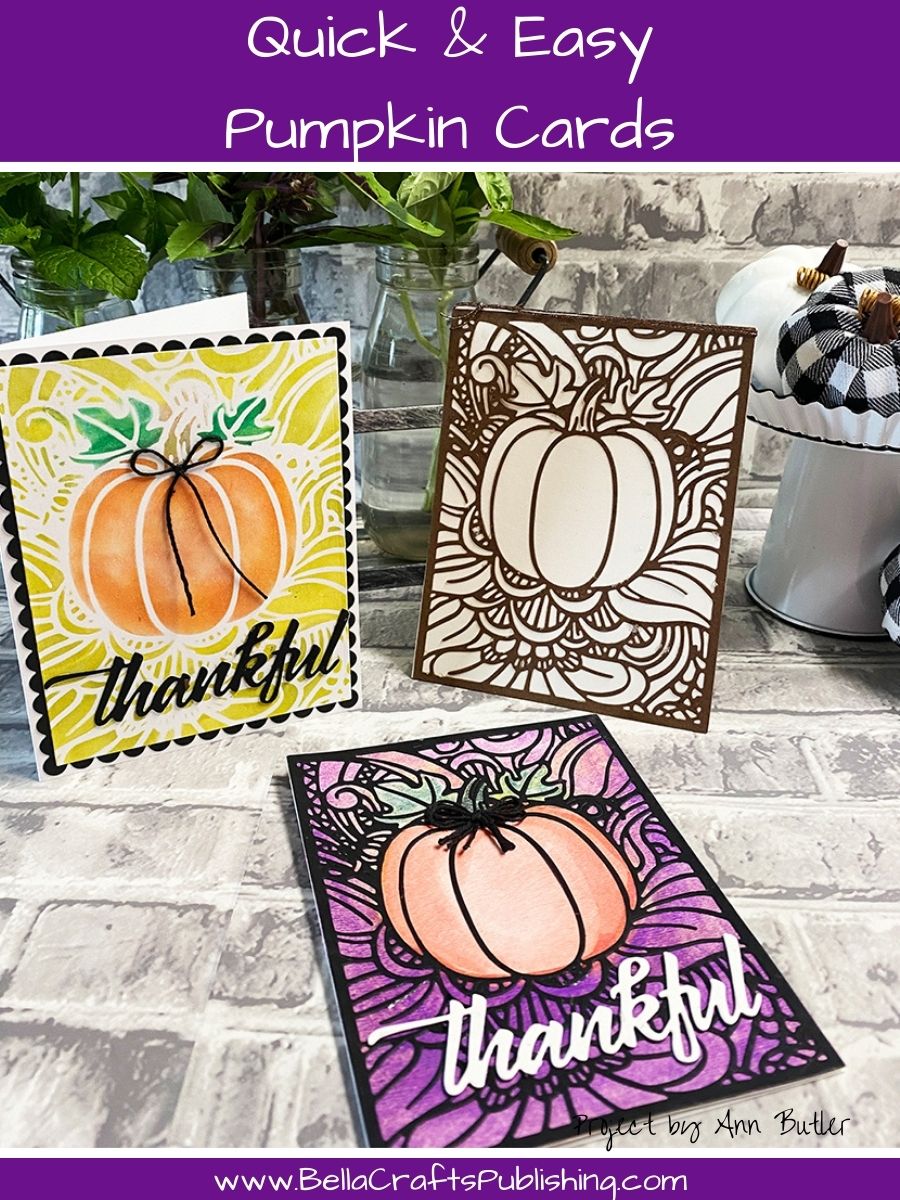
These Easy Die-Cut Pumpkin Cards show how to use your supplies in another way.
Please note: This post contains affiliate links. If you use these links and make a purchase, we earn a commission at no extra cost to you…

Steps One, Two, Three:
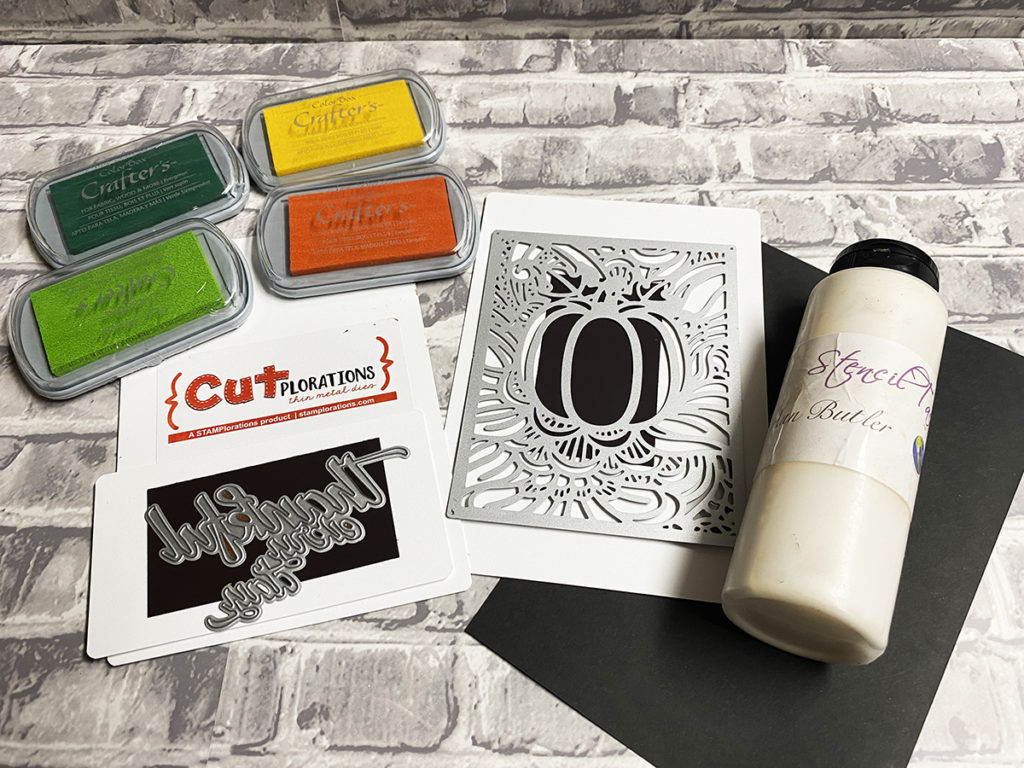

Gather your supplies.
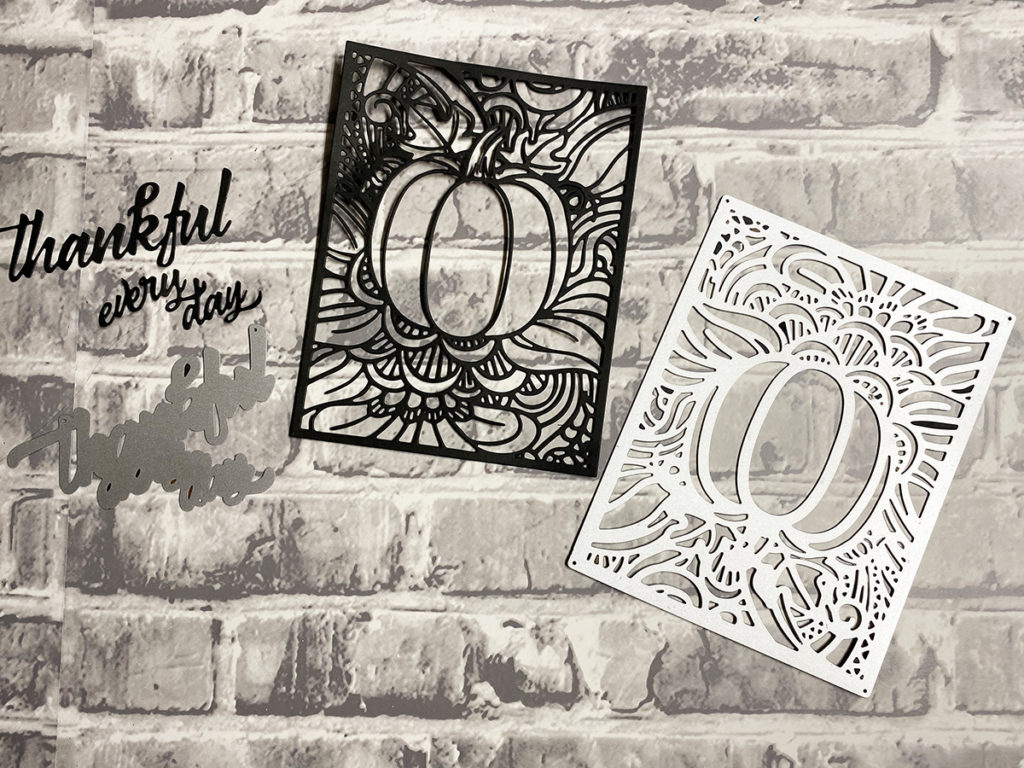
Die cut the pumpkin and sentiment with black cardstock.
Remove the die cut pieces, the pumpkin with become a stencil for the card. Trim the “Thankful” from the rest of the sentitment.
Steps Four, Five, Six:
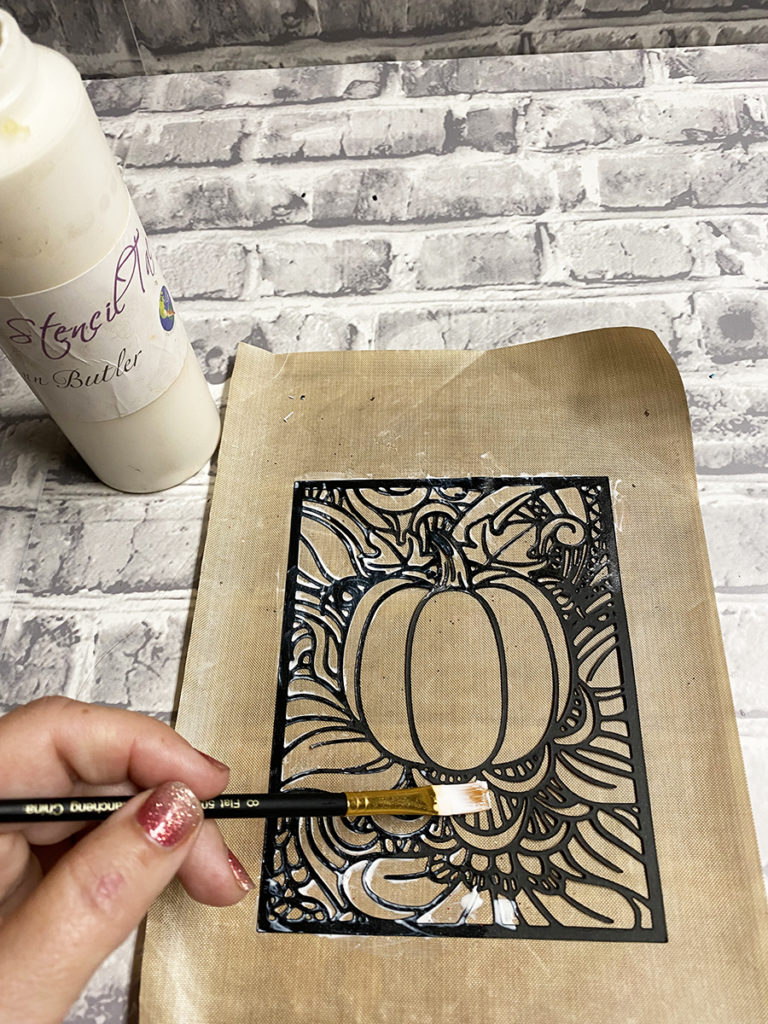
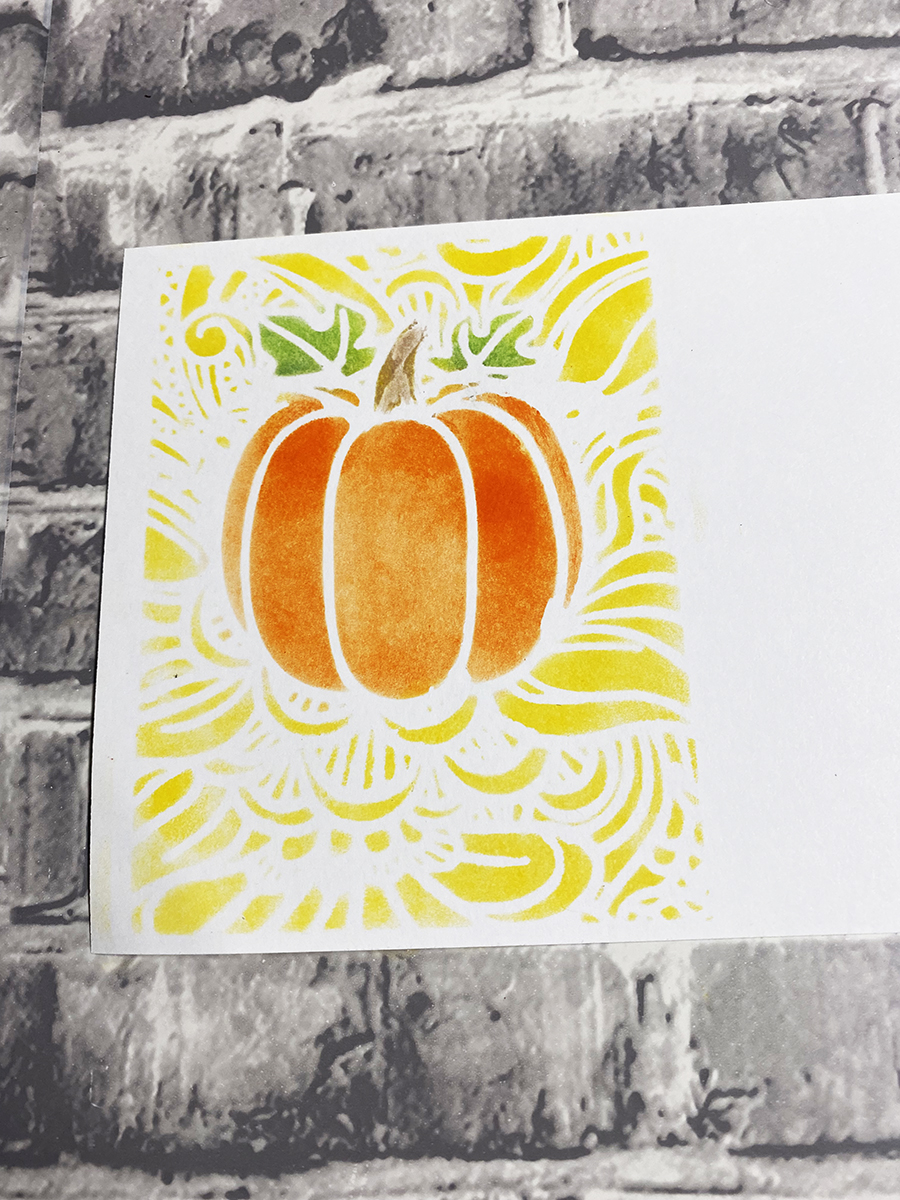
Apply a light coat of Stencil Tac to the back of the pumpkin stencil. Let dry, this only takes a few minutes.
Adhere pumpkin stencil onto a piece of white cardstock.
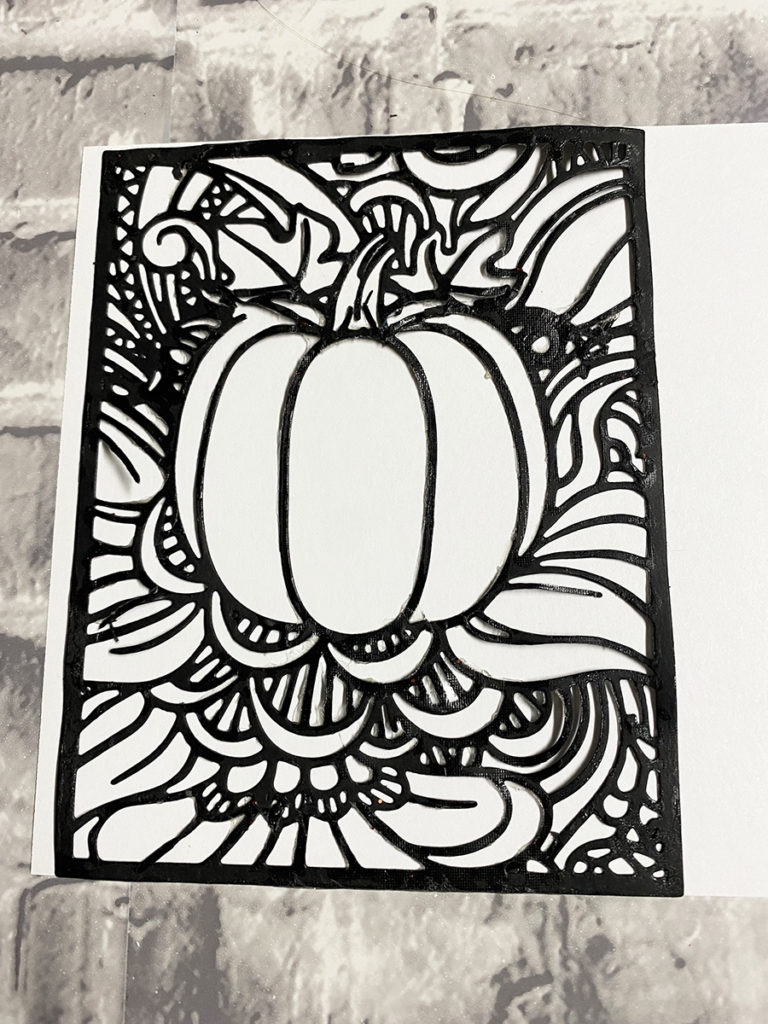
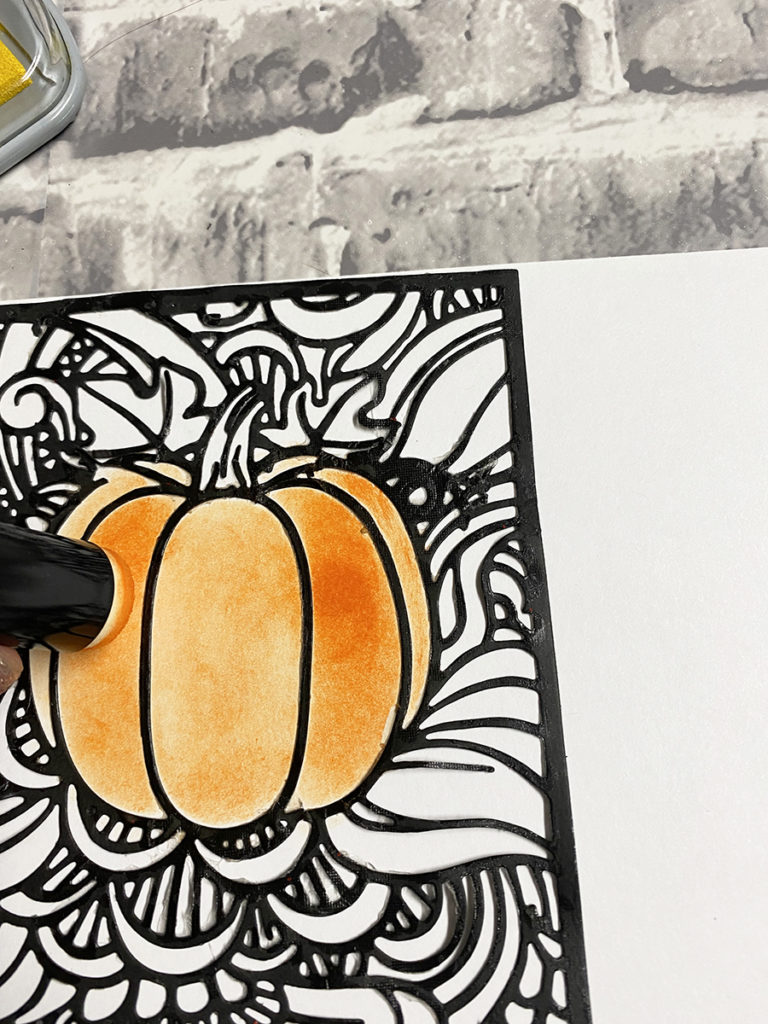
Apply Tangelo in the pumpkin area, blending with a dauber.
Steps Seven, Eight, Nine, Ten:
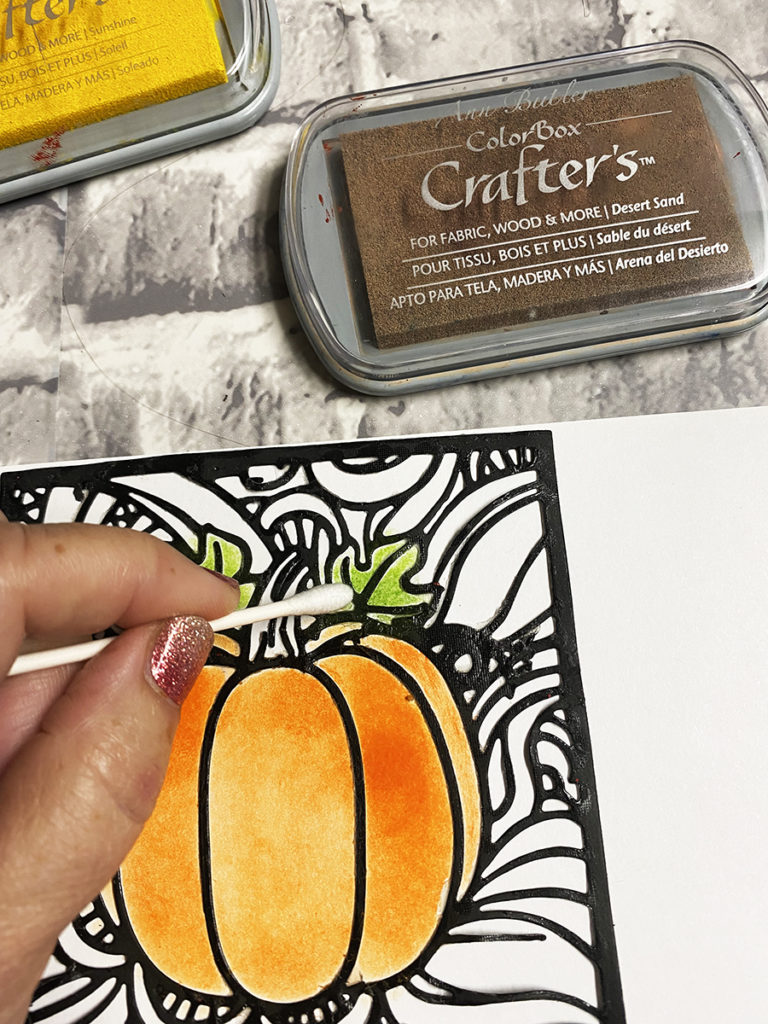
Apply Limelight and Evergreen to the leaves, start out with a dauber and then use a q-tip to blend the small area.
Use Desert Sand for the stem.
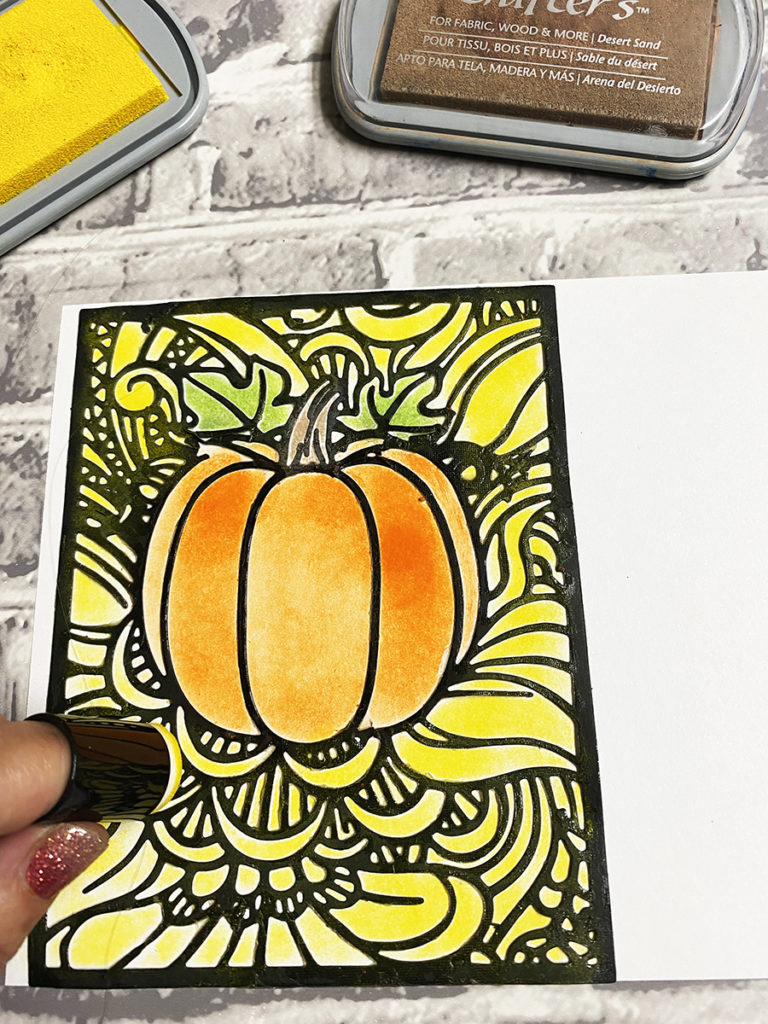
Blend Sunshine over the background. You could use a variety of colors in each area of the background, but I opted for one color.
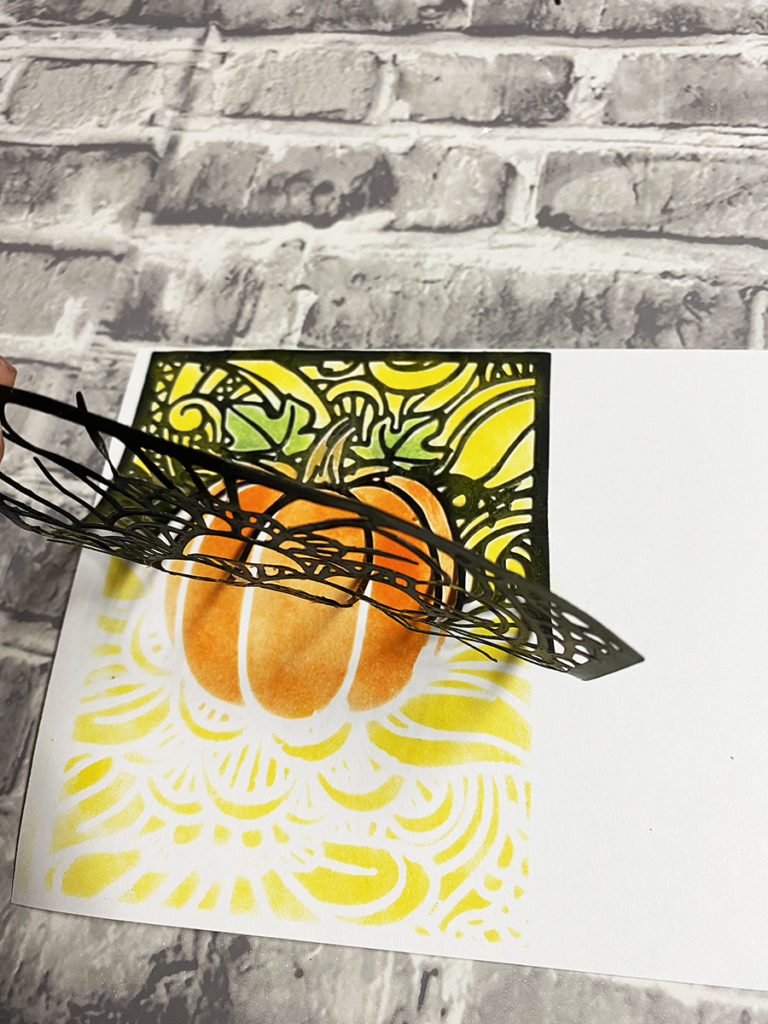
Pull the stencil off the cardstock. This can be placed on a piece of wax paper to be used again. The Stencil Tac last for several uses before loosing its tac.
Steps Eleven, Twelve, Thirteen:
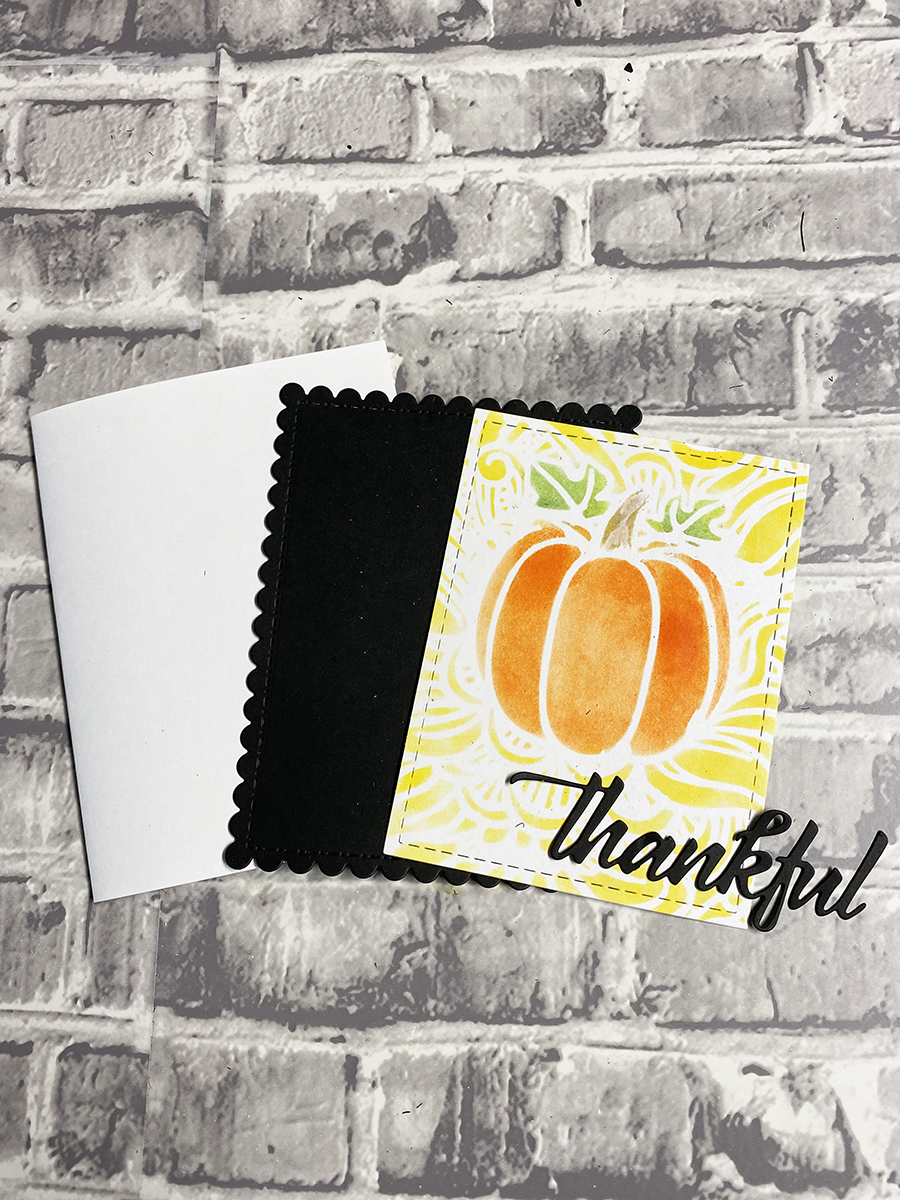
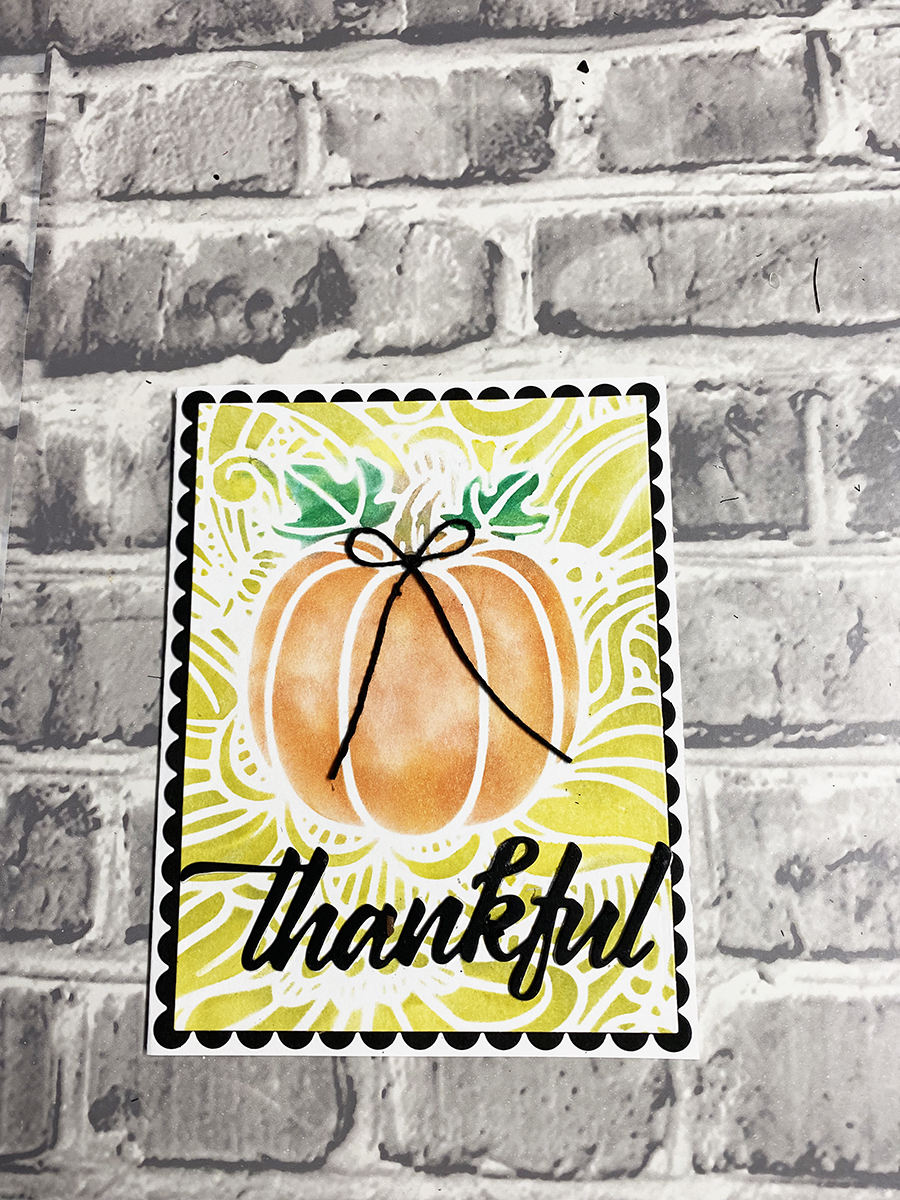
You can easily line the stencil back up if you need to fill in any spot.
Cut the card front to fit an A2 card base. I chose to layer this with a scalloped black background.
Attach the layers to the card base. Tie a black piece of twine into a bow and glue to the pumpkin as shown in the photo.
Here is another PIN to share!
Supplies for making Easy Die-Cut Pumpkin Cards
- Stamplorations Dies: Pumpkin, Thankful
- Ann Butler Crafters Inks: Sunshine, Tangelo, Limelight, Evergreen, Desert Sand
- Big Shot
- A2 Card Base
- Cardstock: White, Black
- Stencil Tac
- Adhesive
- Twine, Black
- Daubbers
- Q-tips
Trackbacks/Pingbacks