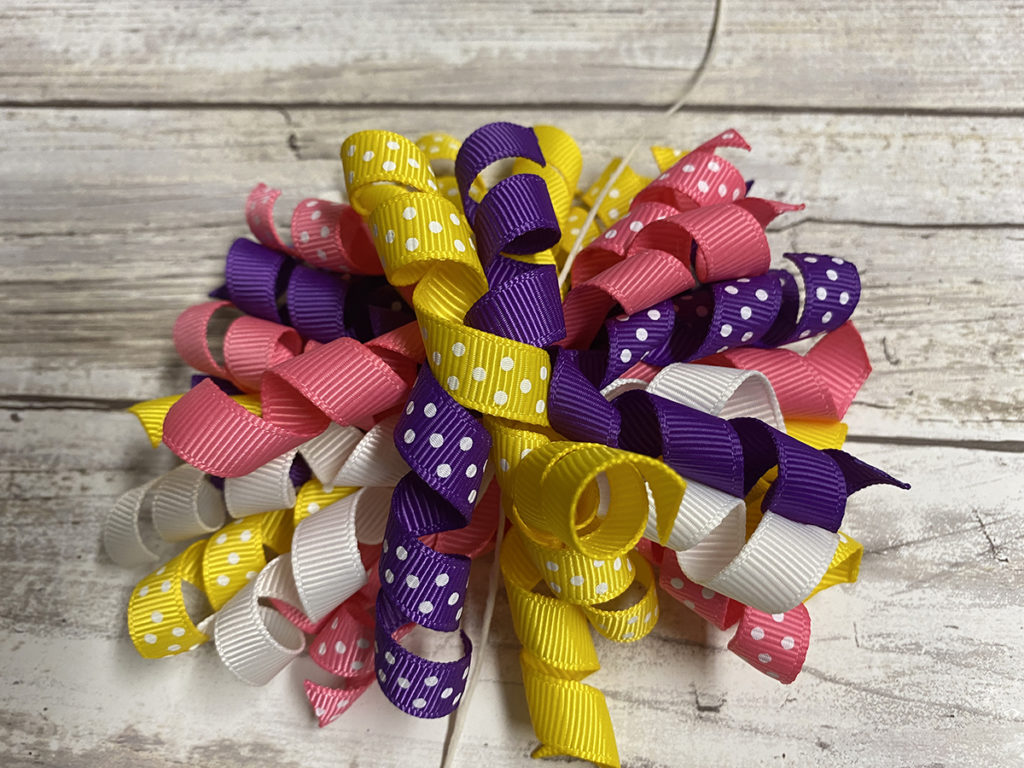
Every little girl you know will want you to make these for her…good thing they are easy to make!
Please note: This post contains affiliate links. If you use these links and make a purchase, we earn a commission at no extra cost to you…
Steps One, Two, Three:
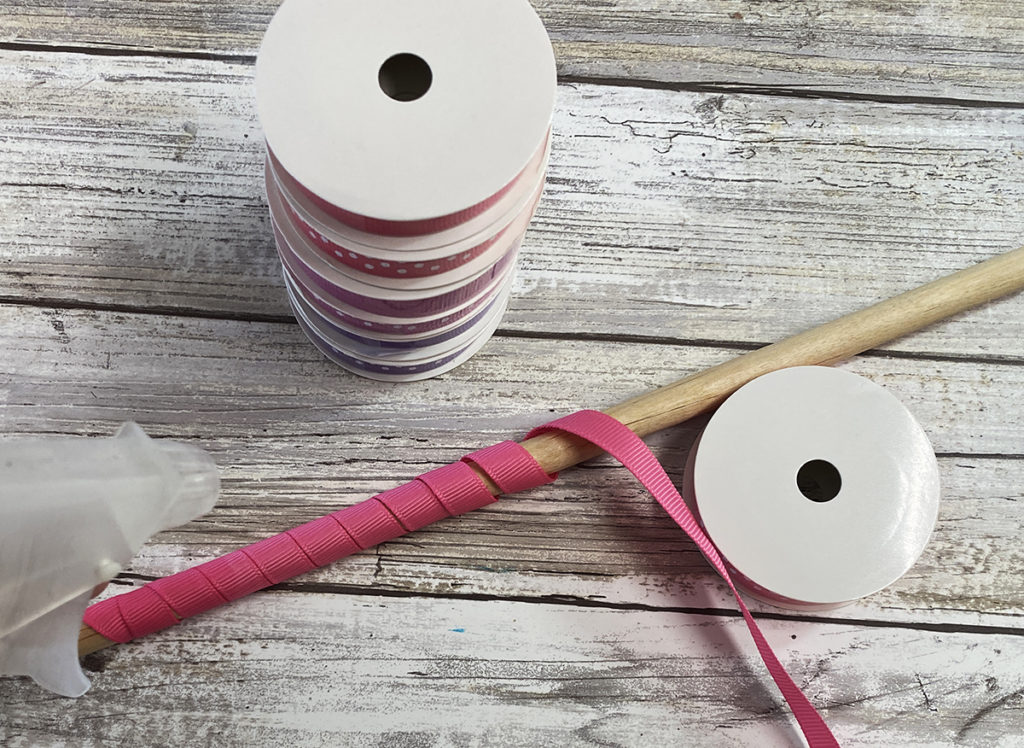
Gather all your supplies and choose your ribbon colors. This can be hard as there are so many wonderful ones to choose from!
Wrap ribbon around dowel rod. You can clip them with binder clips or clothespins on each end. I acutally spayed my ribbon with water which held the ribbon in place.
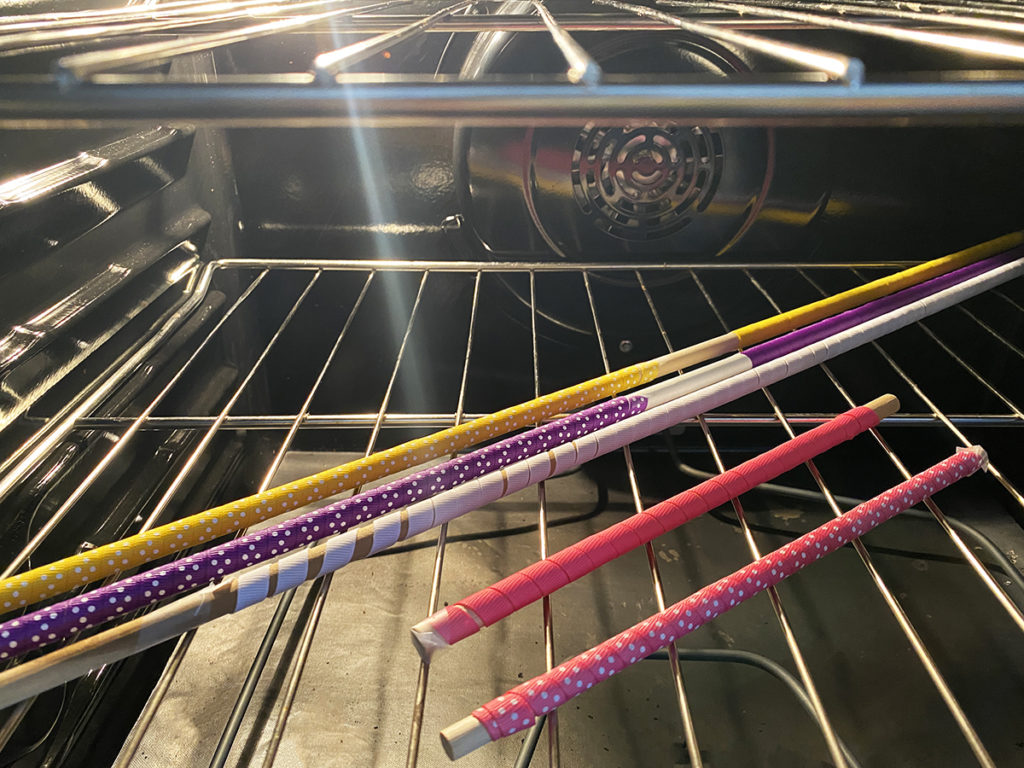
Place in the oven at 250 degrees for 20 minutes. Let cool.
Steps Four, Five, Six, Seven:
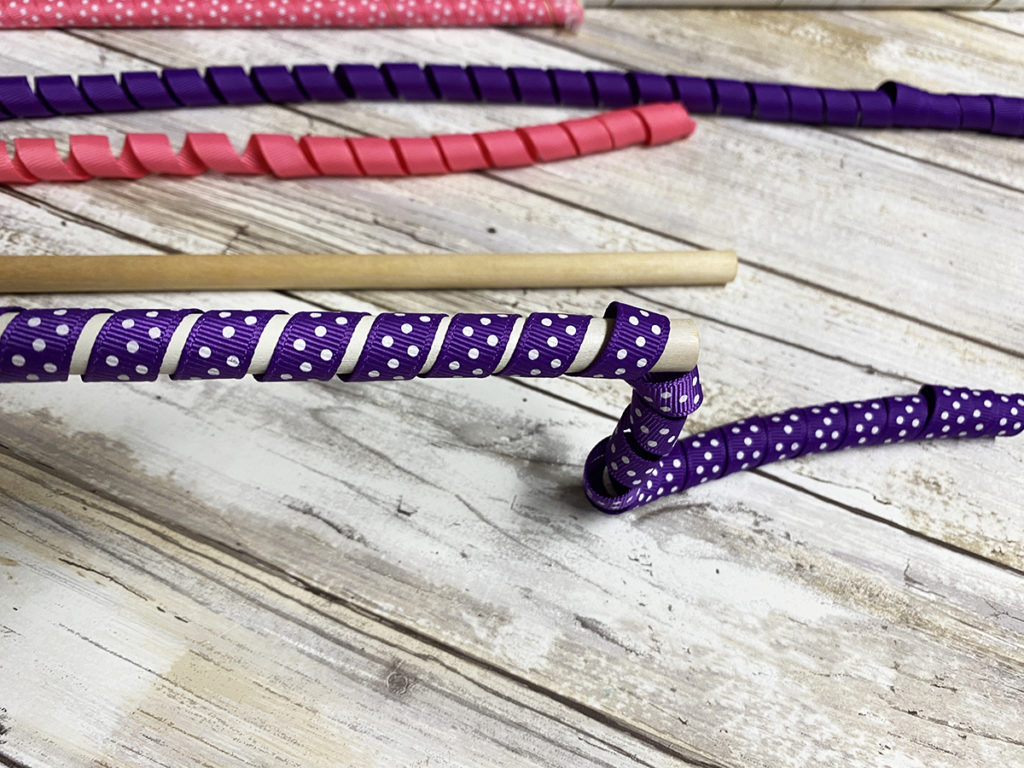
Unwrap the ribbon from the dowels.
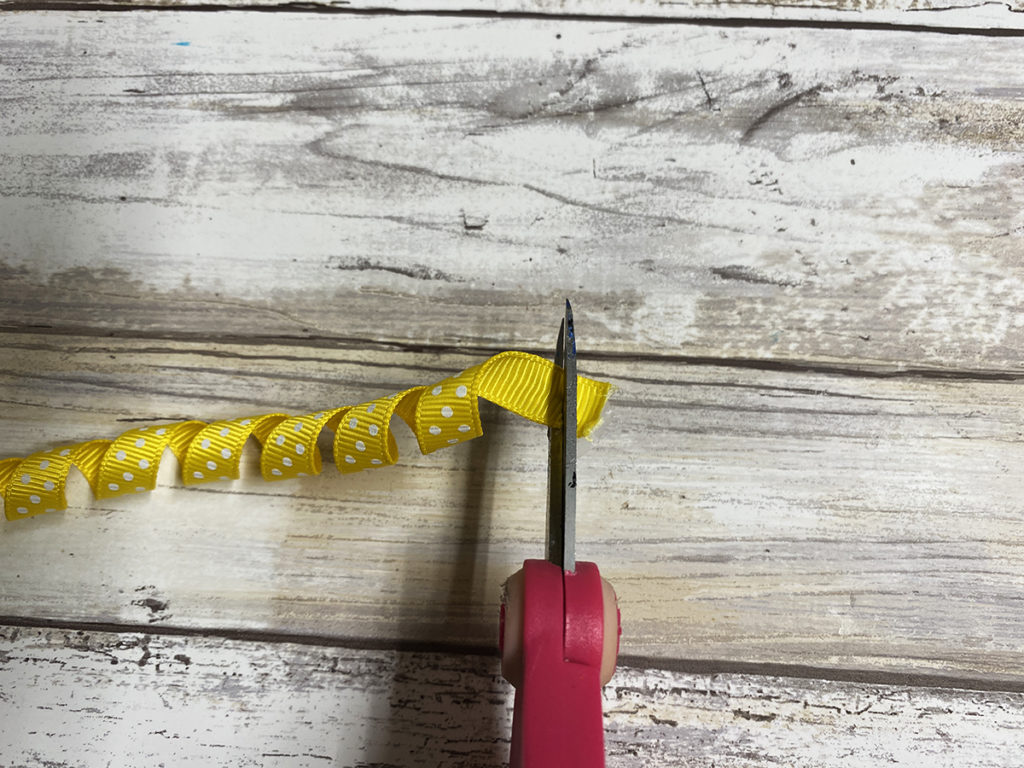
Trim ends for a clean edge.
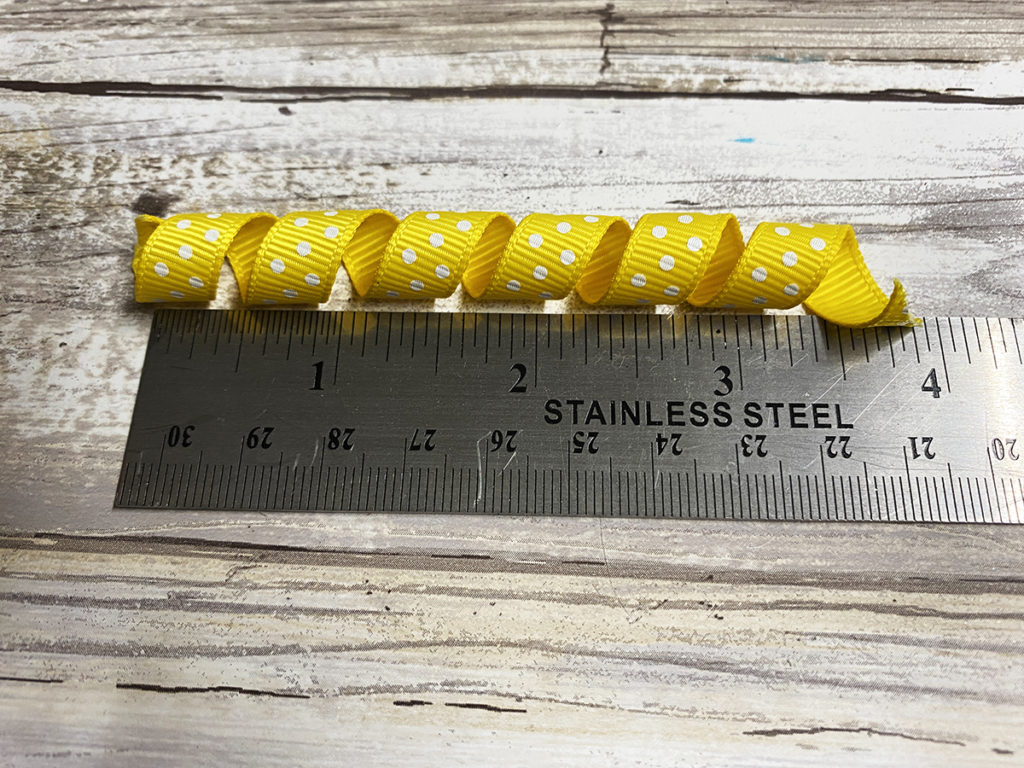
Cut curled ribbon to 3 1/2″ to 4″ in length.
Use Fray Check on the ends of each ribbon you cut. This will prevent the ribbons from fraying.
Steps Eight, Nine, Ten:
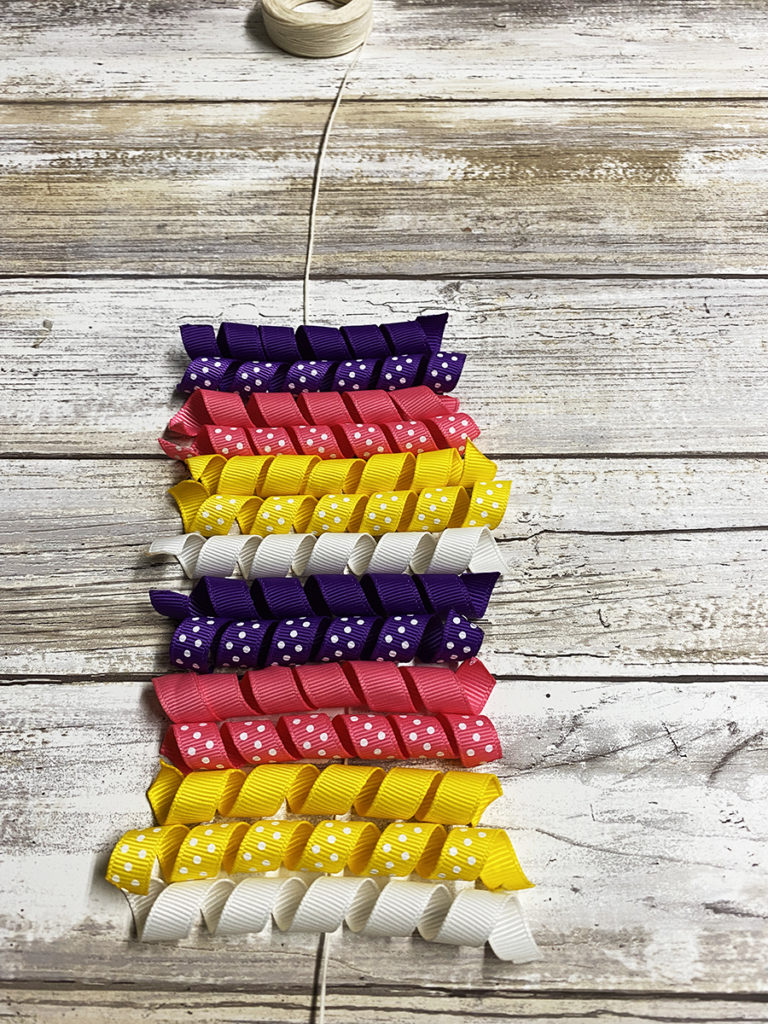
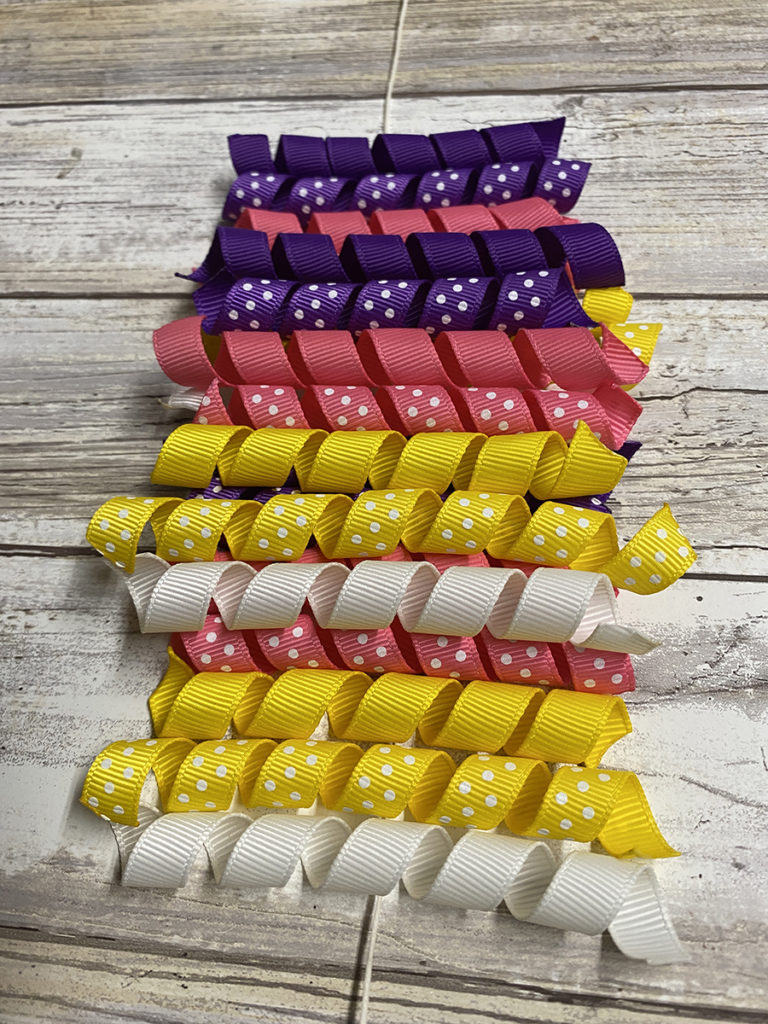
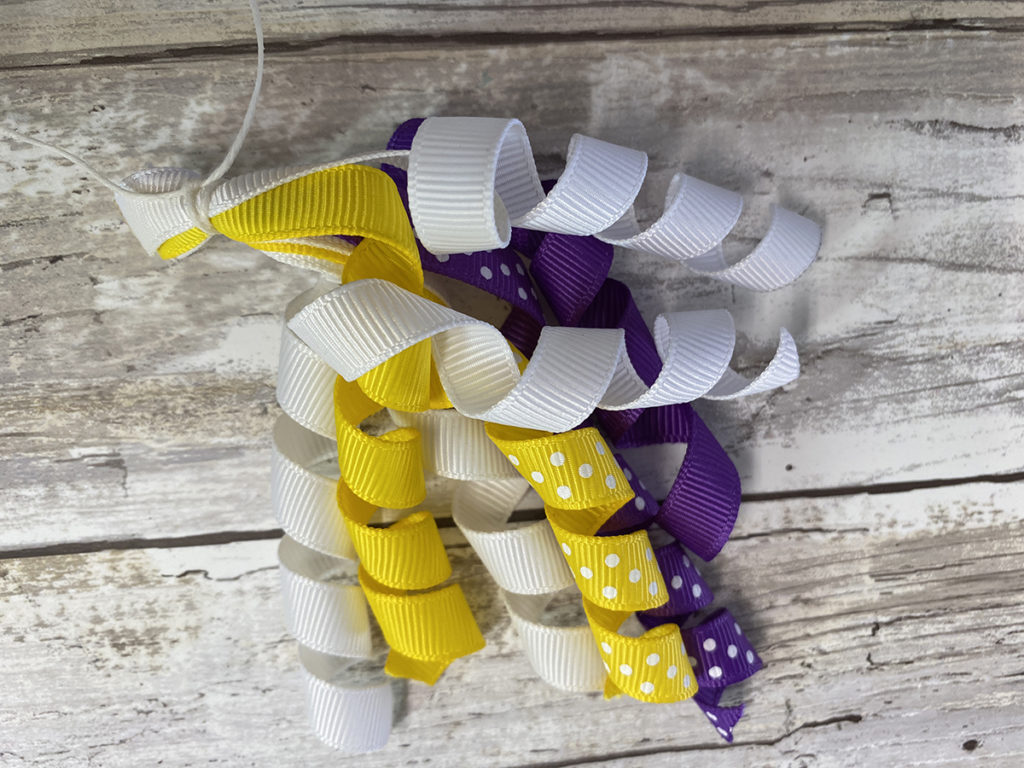
Lay ribbons out in a pattern on waxed linen, twine or a strong thread.
When placing ribbon sections on waxed linen you can double layer. This Curly bow used 21 pieces of ribbon.
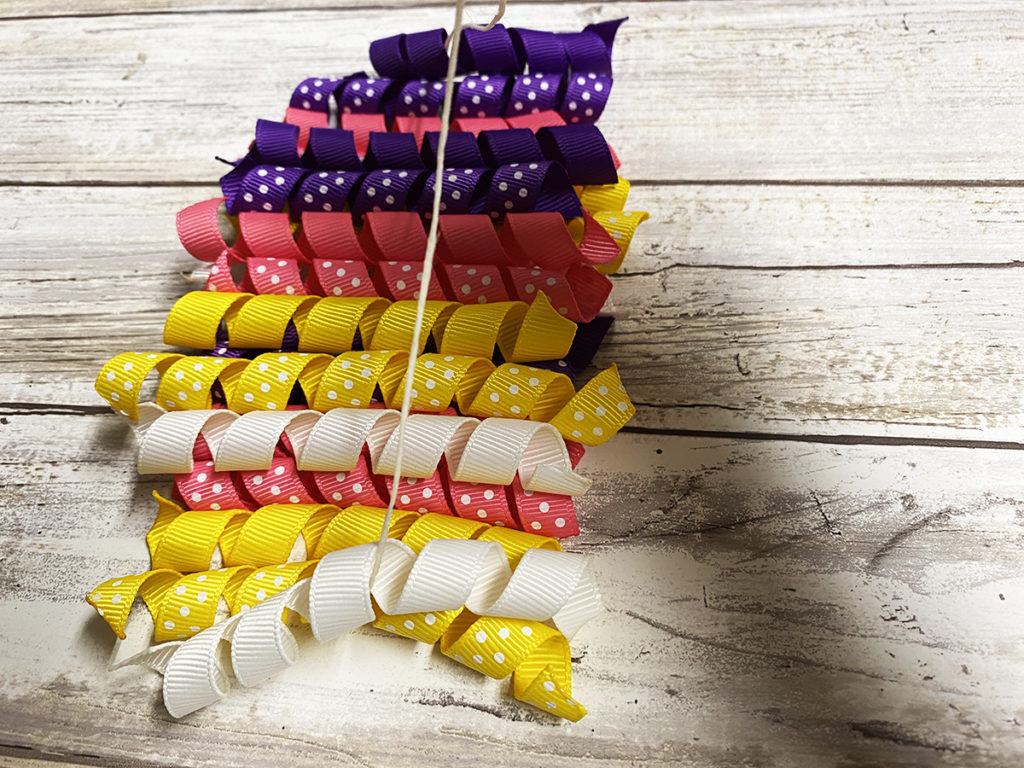
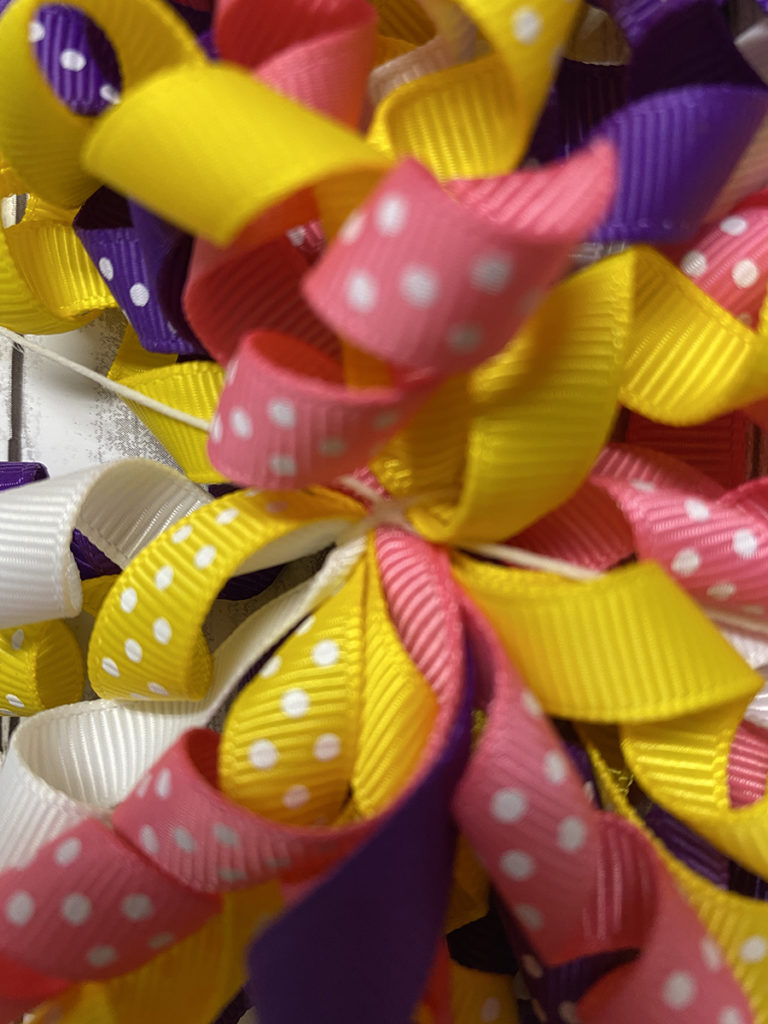
Once all the ribbon is layed out pull both ends up and tie tightly.
Steps Eleven, Twelve, Thirteen:
Make sure first knot is tight. Then, tie a second knot.
Turn over and double tie on the back side.
You can glue this to a hairclip now if you would like, or…
Steps Fourteen, Fifteen, Sixteen:
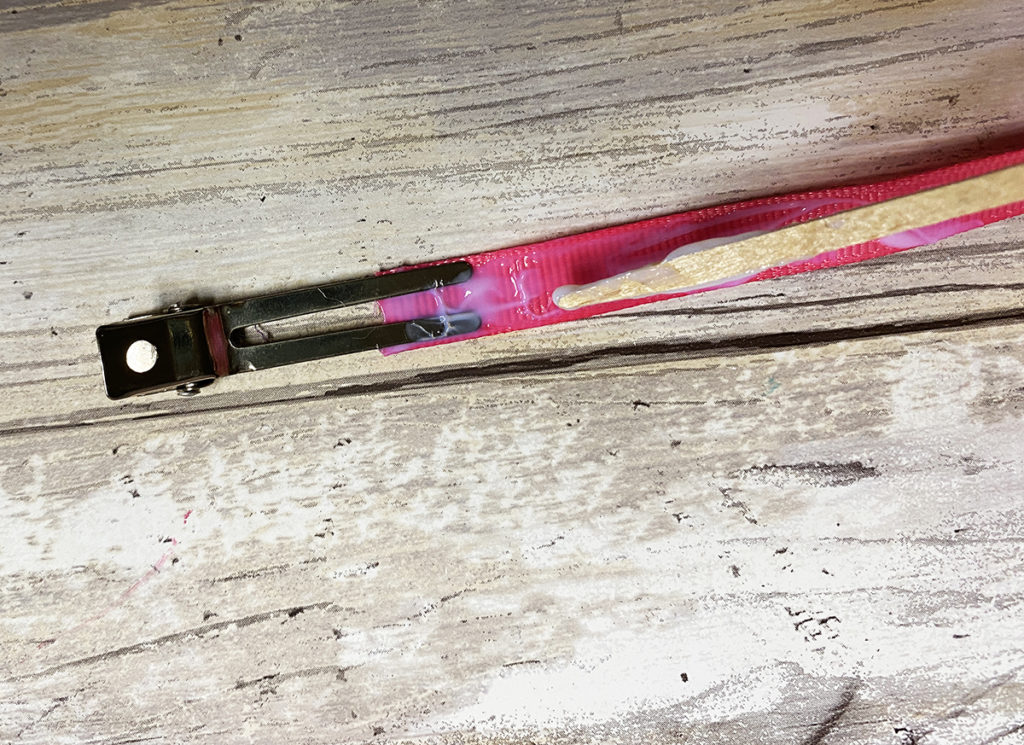
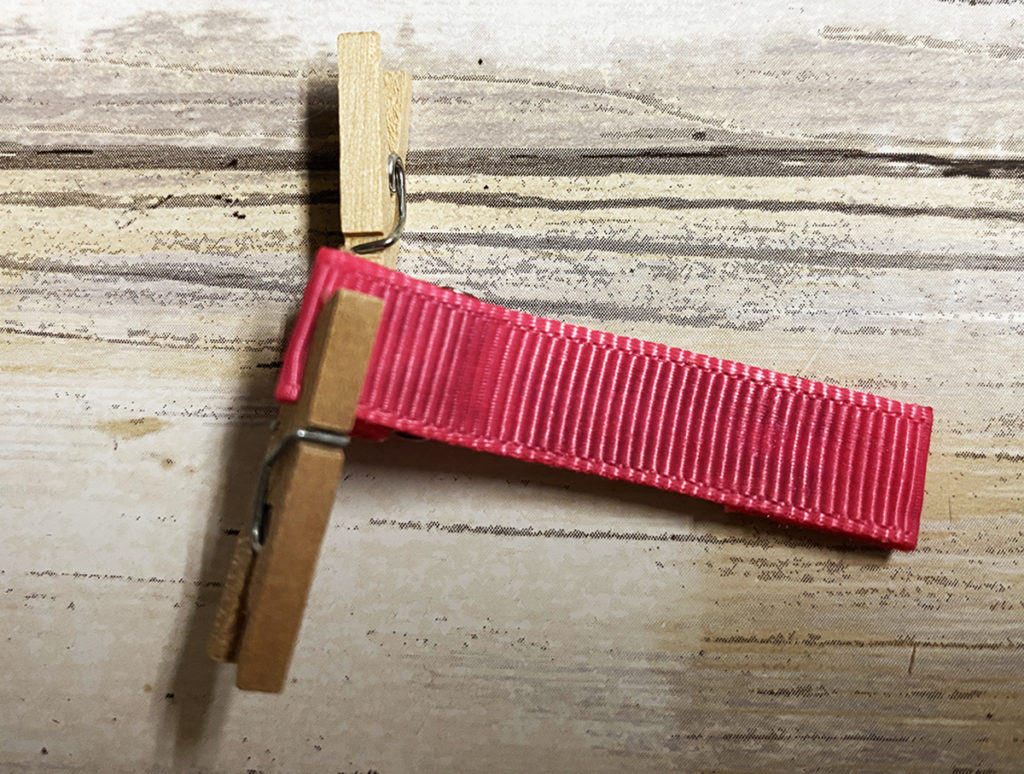
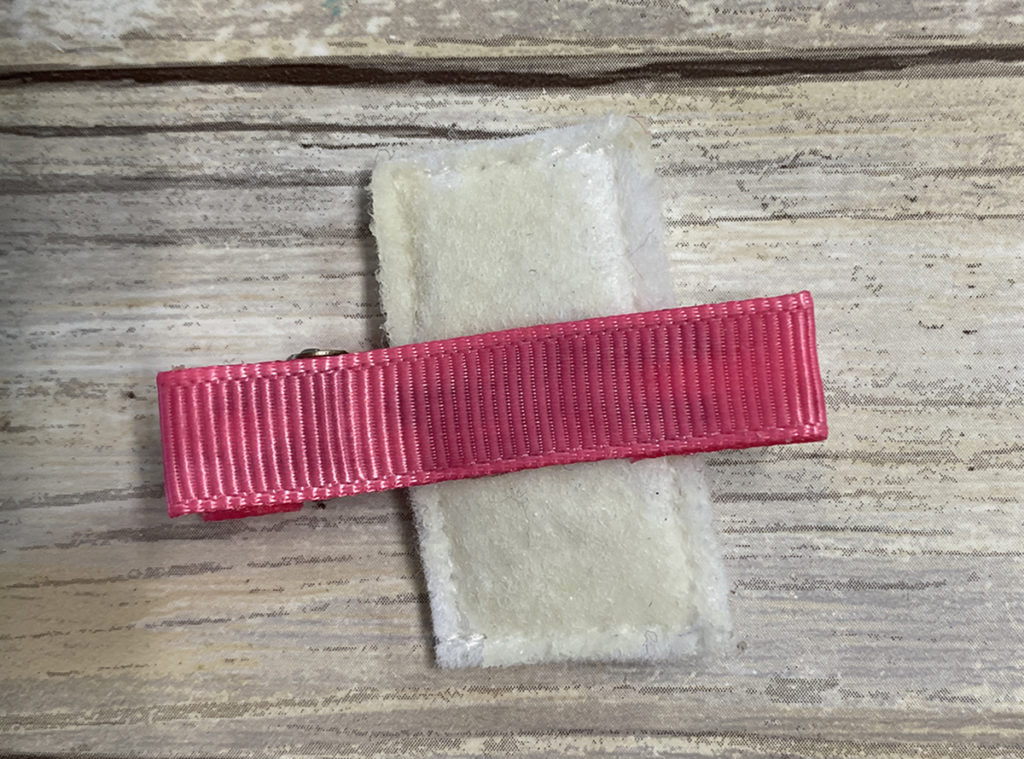
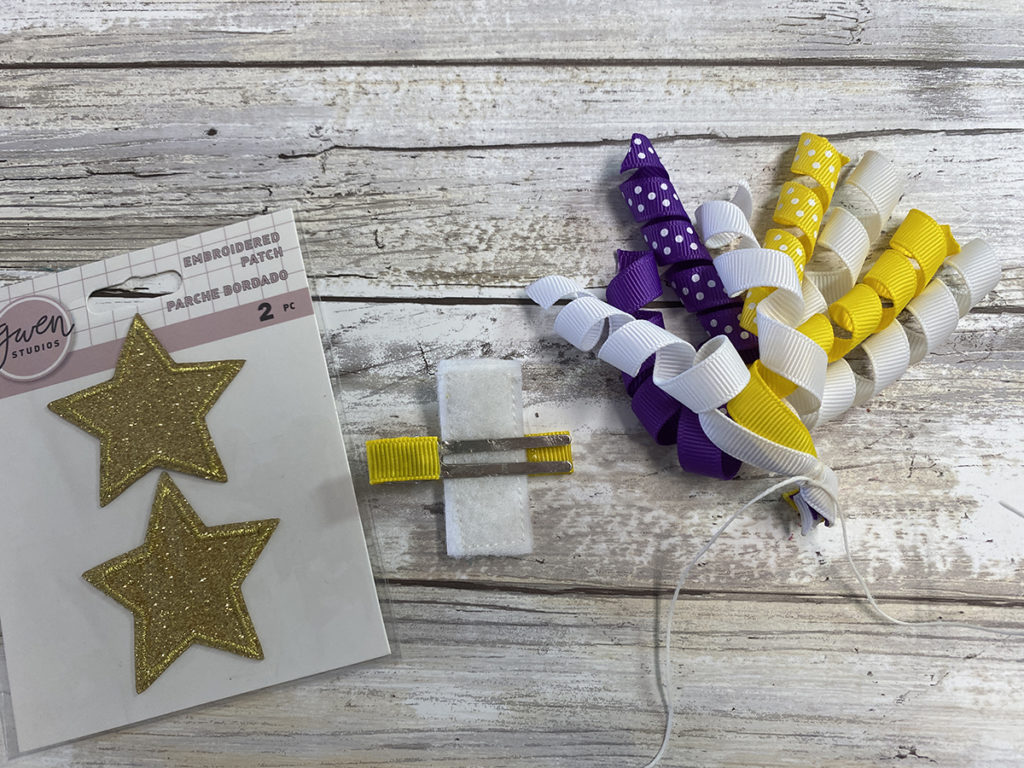
Cut a piece of ribbon to cover the hairclip. Glue one side of the ribbon and place on the back side of the fron of hairclip as shown.
Glue the ribbon to the front side of the hairclip, around the the top and about a 1/2″ onto the back side. Use small clothespins to help keep in place until dry.
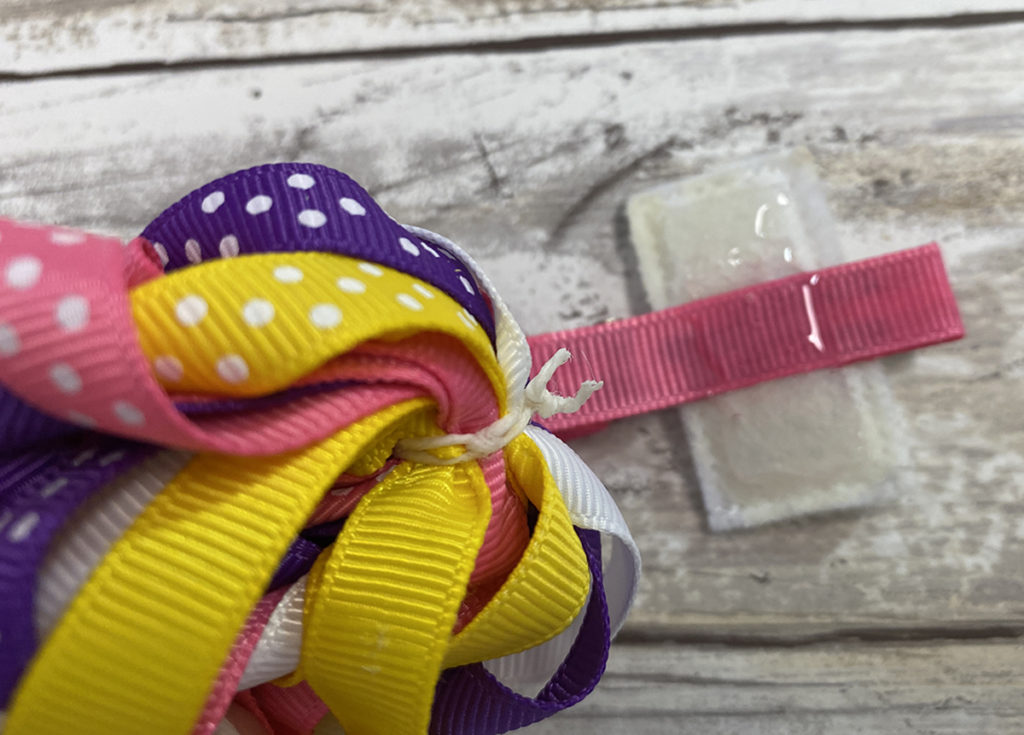
Sew the loop side of a piece of Velcro to felt. Open the hairclip and glue felt side of Velcro piece to the backside of the front of hairclip. Let dry.
Steps Seventeen, Eighteen, Nineteen:
Hold all the curls away from the knot on the backside and attach to the hairclip. Let dry.
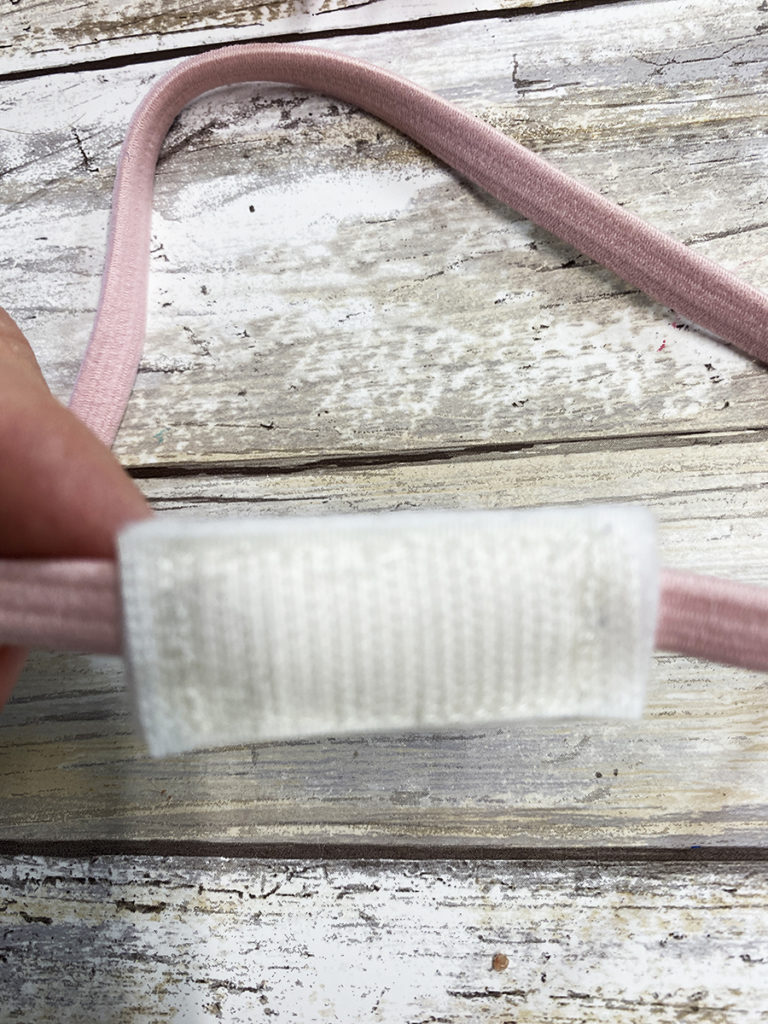
Place the felt on one side of the elastic headban and the hook side of the Velcro to the top side, sew in place. You can glue if desired.
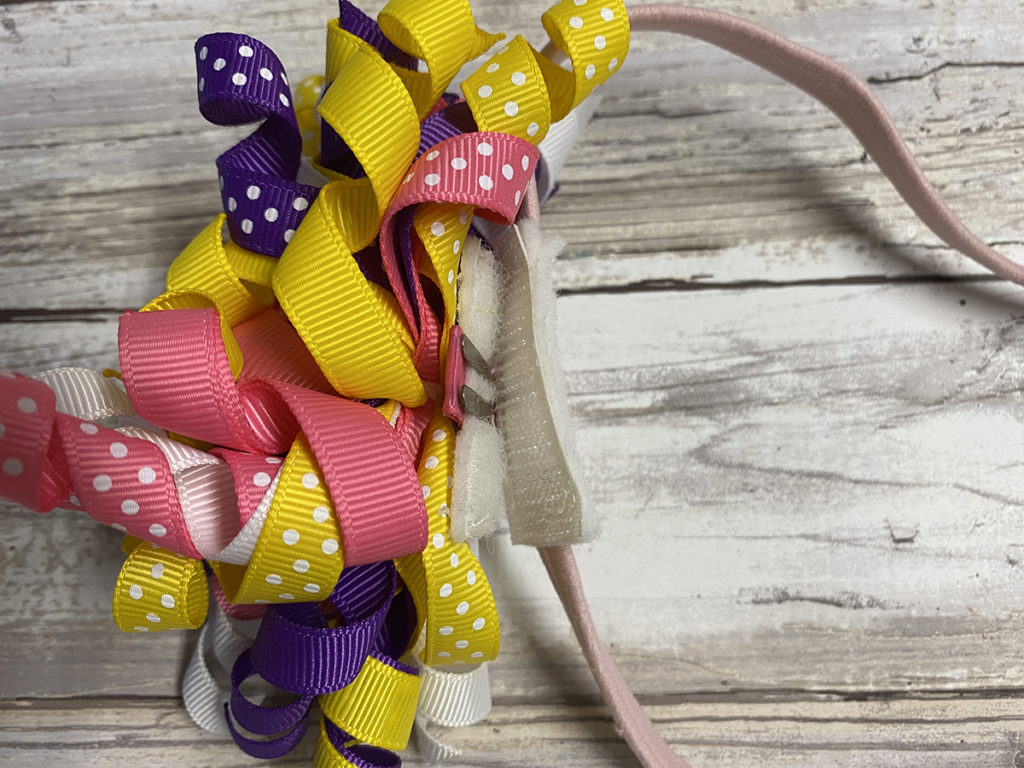
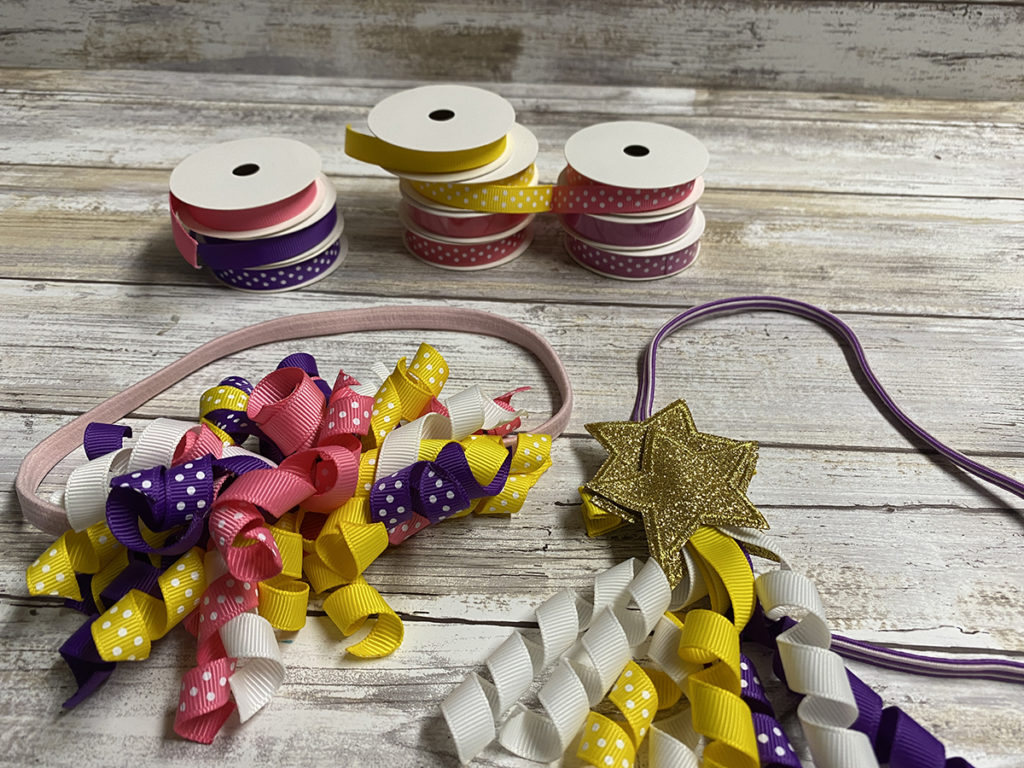
Place the hairbow onto the elastic headband. This is removable so you can make several and change them out.
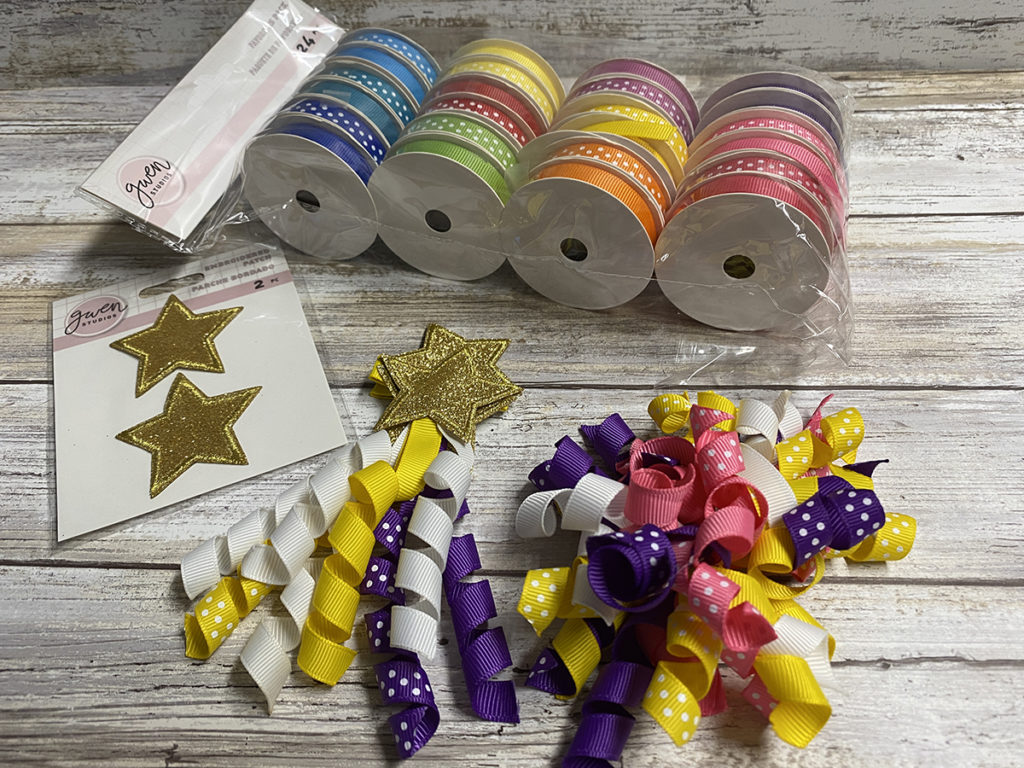
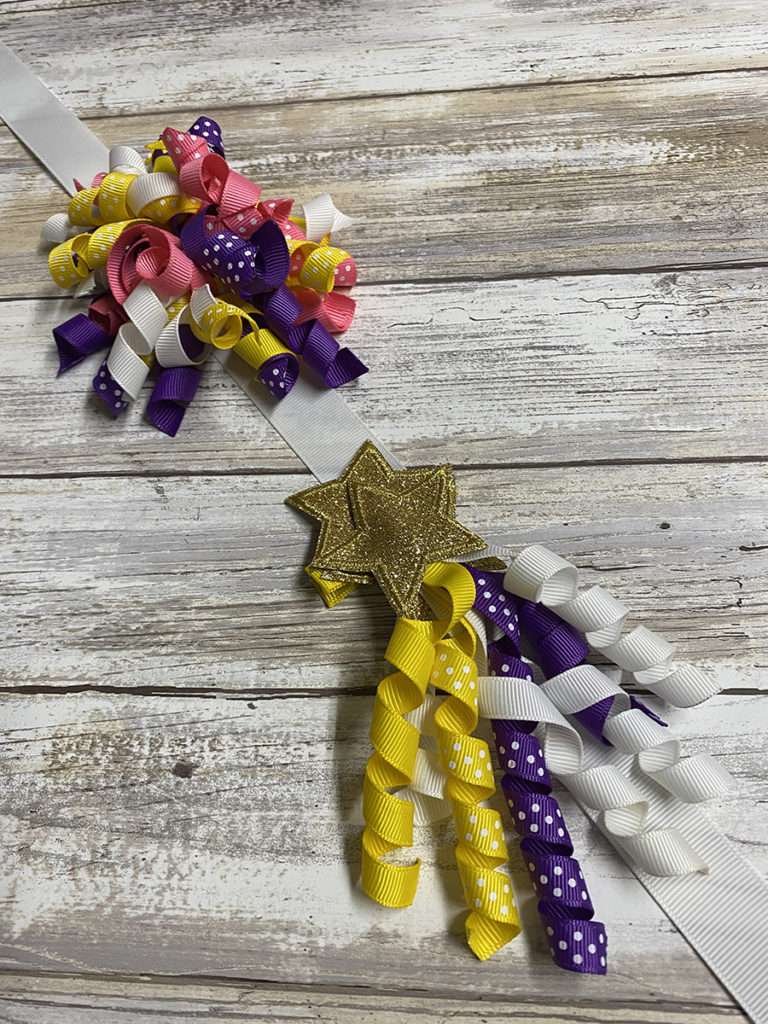
And…since these Quick & Easy Curly Ribbon Hairbows to whip up in no time…here is another version…(this could go on and on:0)!
Steps One, Two Three:
Repeat steps 14, 15, 16 from above for the hairclip.
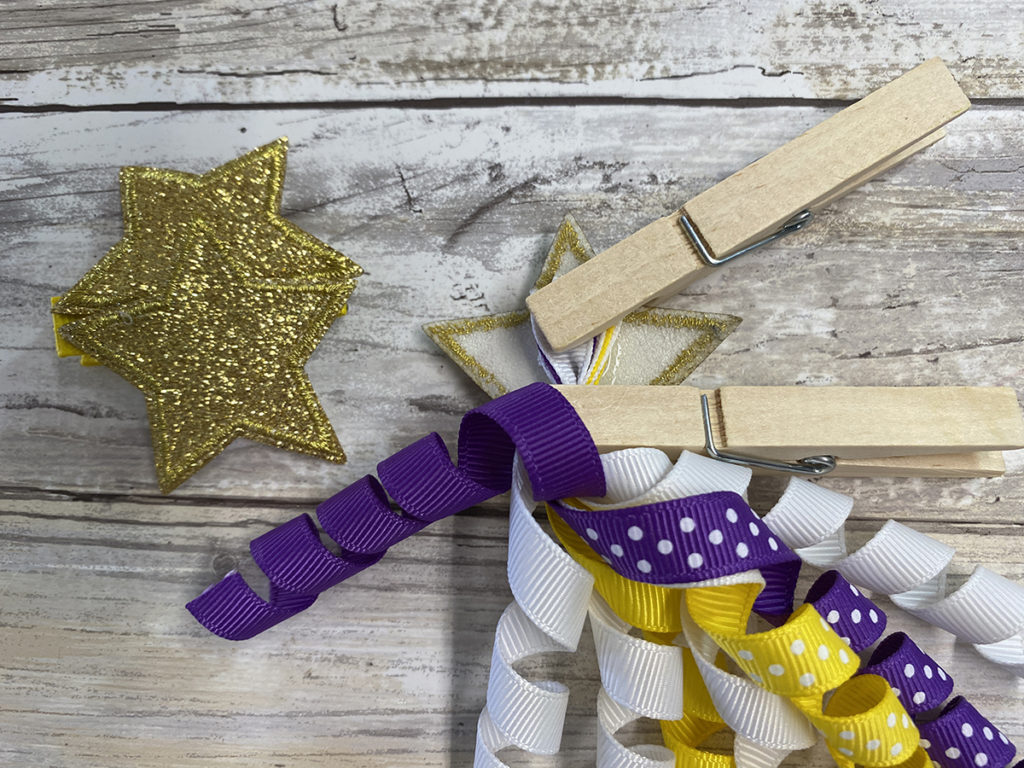
Glue two Star Patches on the top side of the hairclip. Attach one Star Patch onto the tied ends of the ribbon. Then, glue to the hairclip and use clothespins to hold together. Let dry.
Use these as hairclips or changable hairclips, the choice is yours and the possibilities are endless!
Here is another PIN to share!
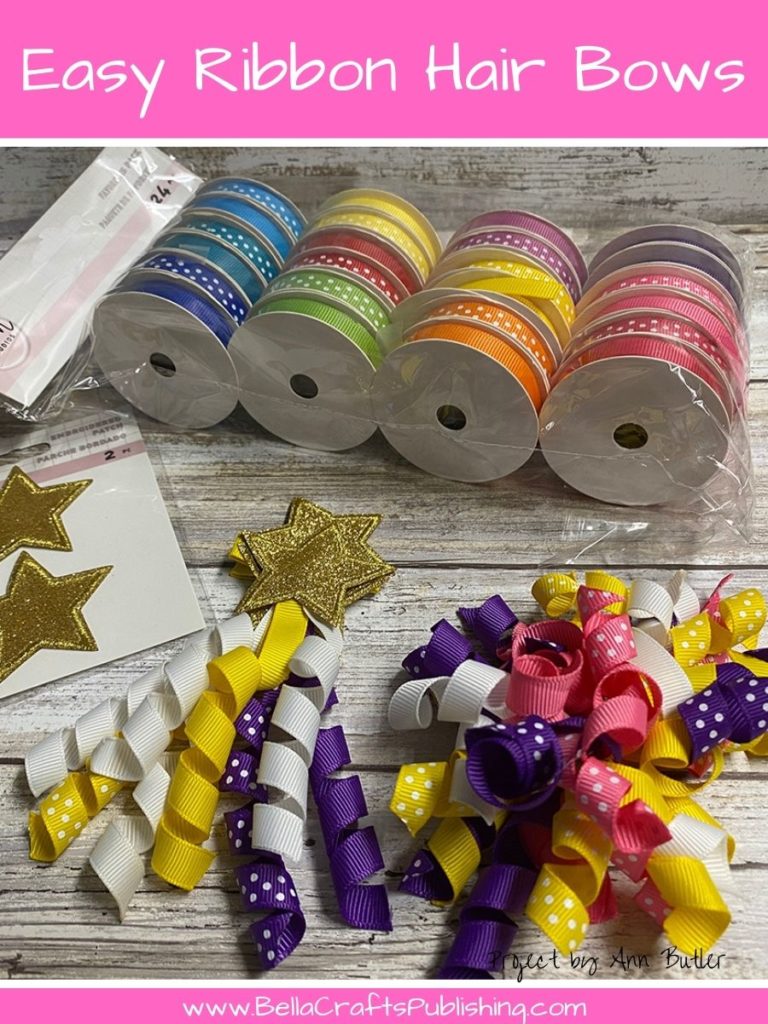
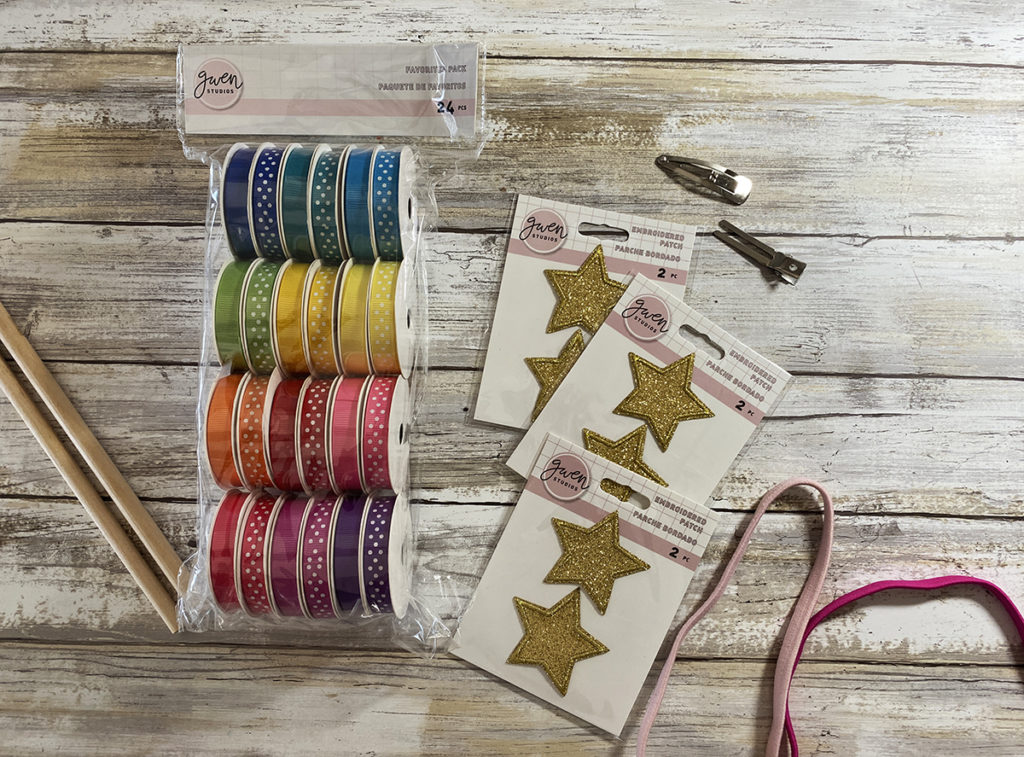
Supplies for making your own Easy Curly Ribbon Hairbows
- Ribbons from Gwen Studios, assorted
- Star Patches from Gwen Studios
- Hairclips
- Elastic Headbands
- E6000
- Waxed Linen
- Dowel Rods, 1/4″
- Fray Check
- Velcro, 3/4″ x 1″ for each hairbow
- Felt, 3/4″ x 1″ for each hairbow
- Clothespins
- Scissors
- Ruler
- Sewing Machine

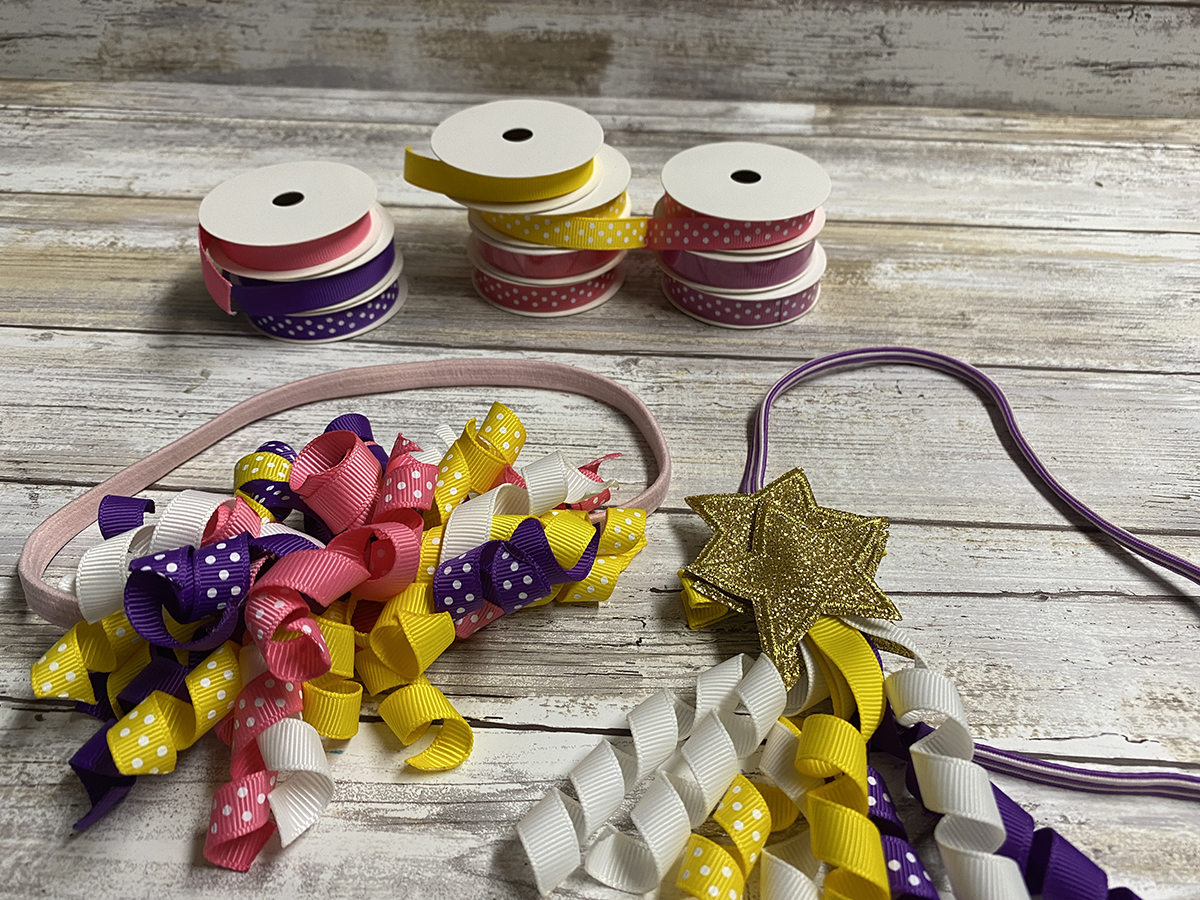


These are so cute, with two grandaughters, I’ll be making these for sure!