Fabric painting can be so much fun! It’s a craft technique that has been around for a long time, yet crafters everywhere are finding new ways to add paint to their fabrics. Some of the ways to apply paints is with a paintbrush, sponges, and the “scribble” bottles that the manufacturers make where you can draw on your fabrics right out of the bottles. And now our guest blogger, Ann Davies, shows you how to add spray painting as one more way to add to your technique list!
Spray, Spray, Spray: Turn Cloth from Drab to Fab with Spray Paints
Do you have old bed sheets or table linen stored in a chest or cupboard at home? If the answer is ‘yes’, then why not try upcycling your fabric stash into something new. It’s amazing how much texture and visual interest you can add to cloth with a few sprays of colour. So pull out those fabrics, grab a can of spray paint and take your cloth from drab to fab in just a few easy steps.
1. Choose Your Spray Paint:
You need to use an appropriate type of spray according to the type of surface to be sprayed. For cloth, select water-based fabric spray paints that are sold in a convenient pump-action spray bottle and come in a wide ranging colour palette. This paint is suitable for light-coloured fabrics with up to 20 % man-made fibres. After fixing (iron through a thin cloth: 30 x 30 cm, 3 min. at cotton setting) the colour will be washable up to 40°C .
2. Prepare Your Work Area:
Always wear rubber gloves and an apron when handling spray paints, as they can stain. Spray in a well ventilated area. Be sure to cover your work surface with plastic.
3. Prepare Your Cloth:
Wash the cloth in hot, soapy water. Then rinse in cold water and leave to dry. Press with a steam iron. Secure the cloth in position to your work surface using masking tape.
4. How To Spray:
Shake the bottle well. Simply spray one or several shades colour on the cloth as you prefer. Note: Create a fine spray mist or an intensive colour layer, depending on the spraying distance. Make sure to clean the nozzle on the spray bottle at intervals to avoid clogging. Leave the cloth to dry for several hours, and iron to fix the paint according to the manufacturer’s instructions.
5. Spray Techniques:
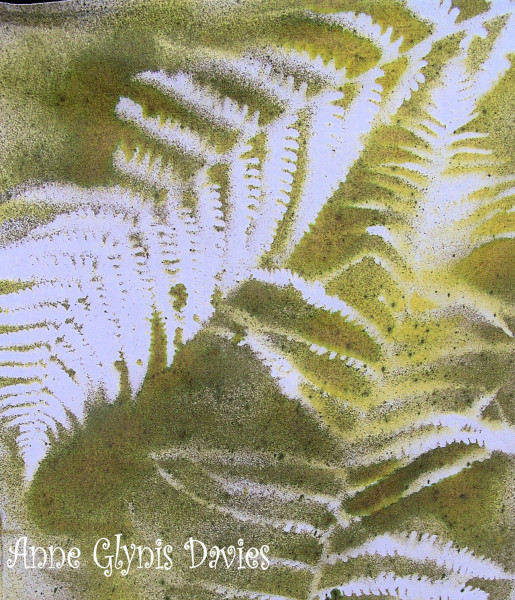
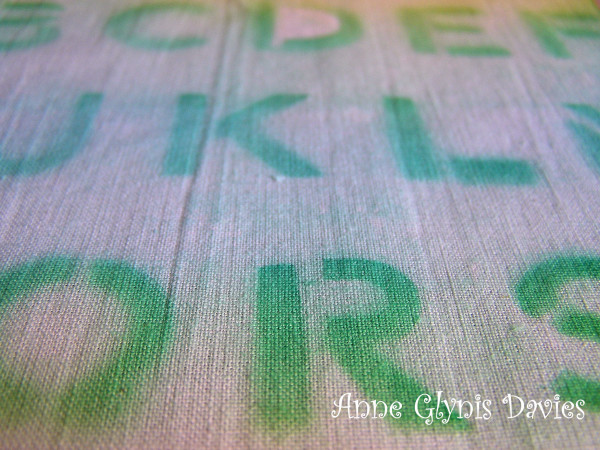
Try free-hand spraying with colour transitions. By carefully overlapping bands of colour the sprayed areas mix optically to create gentle changes in colour. Alternatively, spray cloth and use a stencil to ‘mask’ areas. The masked parts will resist the colour to create ‘negative’ patterns. A stencil could be a fern leaf, doily, or feathers, for example. You could also try more unusual items as ‘masks’ including letter stencils, lace, fish net tights and even netting. A temporary fabric adhesive spray applied to one side of a stencil helps to keep it in place and prevents colour getting underneath it and blurring the image.
6. Further Steps:
You can use your length of sprayed cloth to make a wall-hanging for the living-room or a bedroom. Another option is to cut up your fabric and turn it into a cushion, bag, blind, soft toy or even a quilt. Spraying is also a great for breathing new life into ready-made items such as t-shirts, curtains and lampshades. Have fun!
To see more of Anne’s work, please visit her website at
